Just getting back to normal after a very unsettled domestic environment that has included trips to Europe, a kitchen remodel (that turned our lives upside down for twelve weeks) and then six weeks of guests and mini-trips away from home. Whew! All over now till the end of December after which I’m off to Europe again.
I’m itching to get back to a heavy modelling schedule. I’ve got so much on my list to get done and feel completely overwhelmed by it all. In particular I want to:
- finish wiring up The Town and get the control panel built.
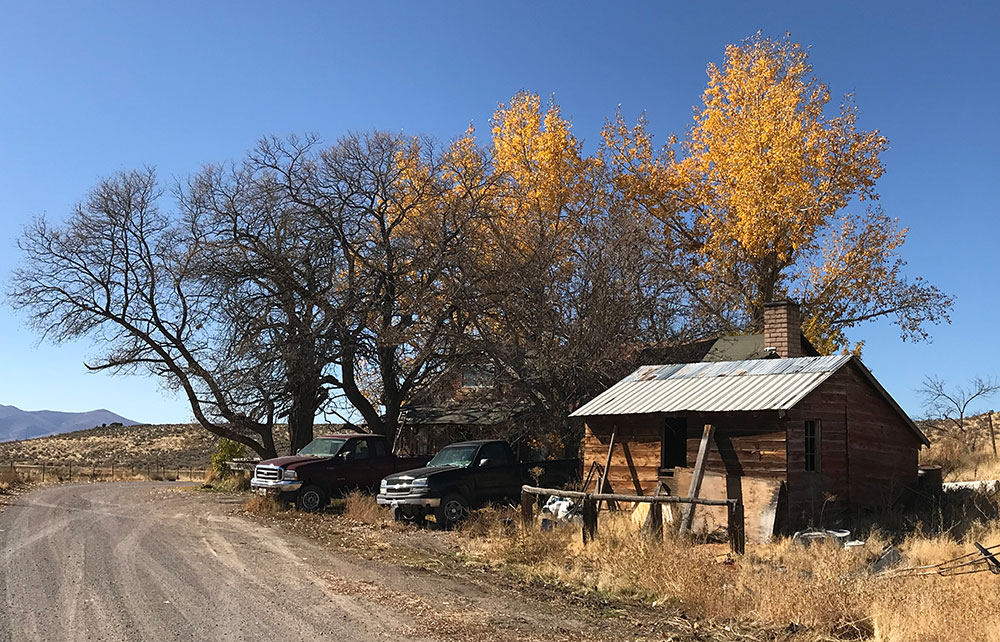
- start another diorama – not sure what I want to model though I found a house in the Californian desert that I’m contemplating basing a model on.
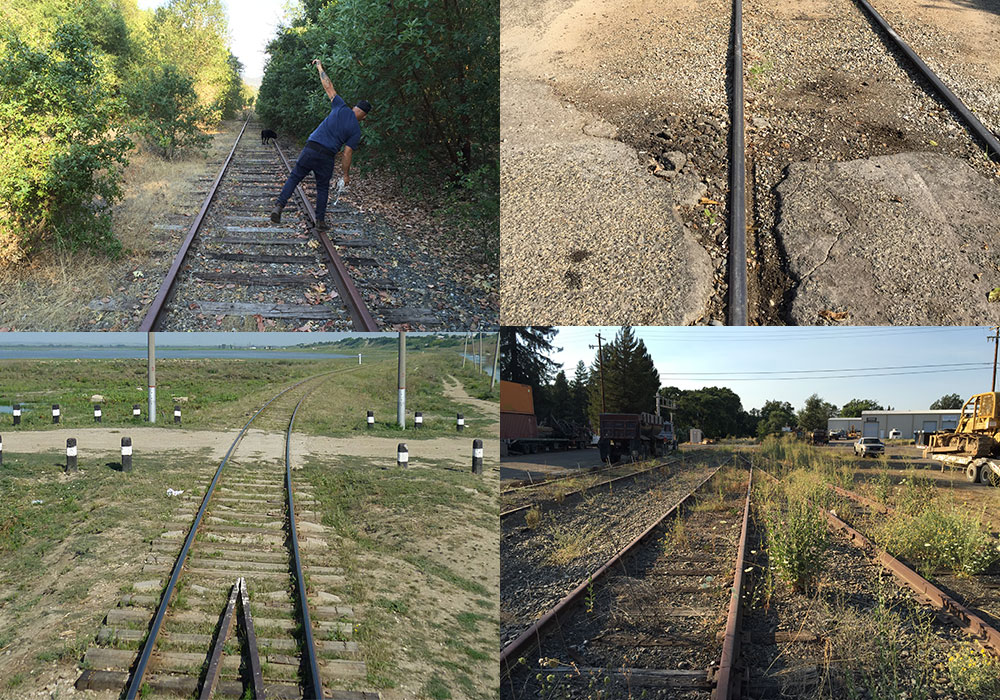
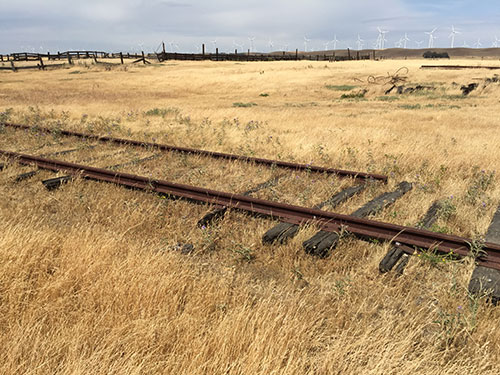
- build a series of small trackbeds where I experiment with prototypical rail lengths, worn and bent rails, tie plates, rail joiners etc. I want to try different ballasting methods so that I can recreate the way the track has blended with the surrounding landscape. I also want try out the Brooks-Smith method of tracklaying – a method borrowed from the finescale movement in the UK.
- continue my weathering project.
The biggest issue of course is time. I work from 9am to 8pm every weekday which doesn’t leave alot of time in the evening for the hobby. However I’m going to try to grab the 9pm to 10pm slot every evening and do the heavy modeling on weekends. Hopefully this will return my modeling mojo which had disappeared for a while.
Onto the weathering project.
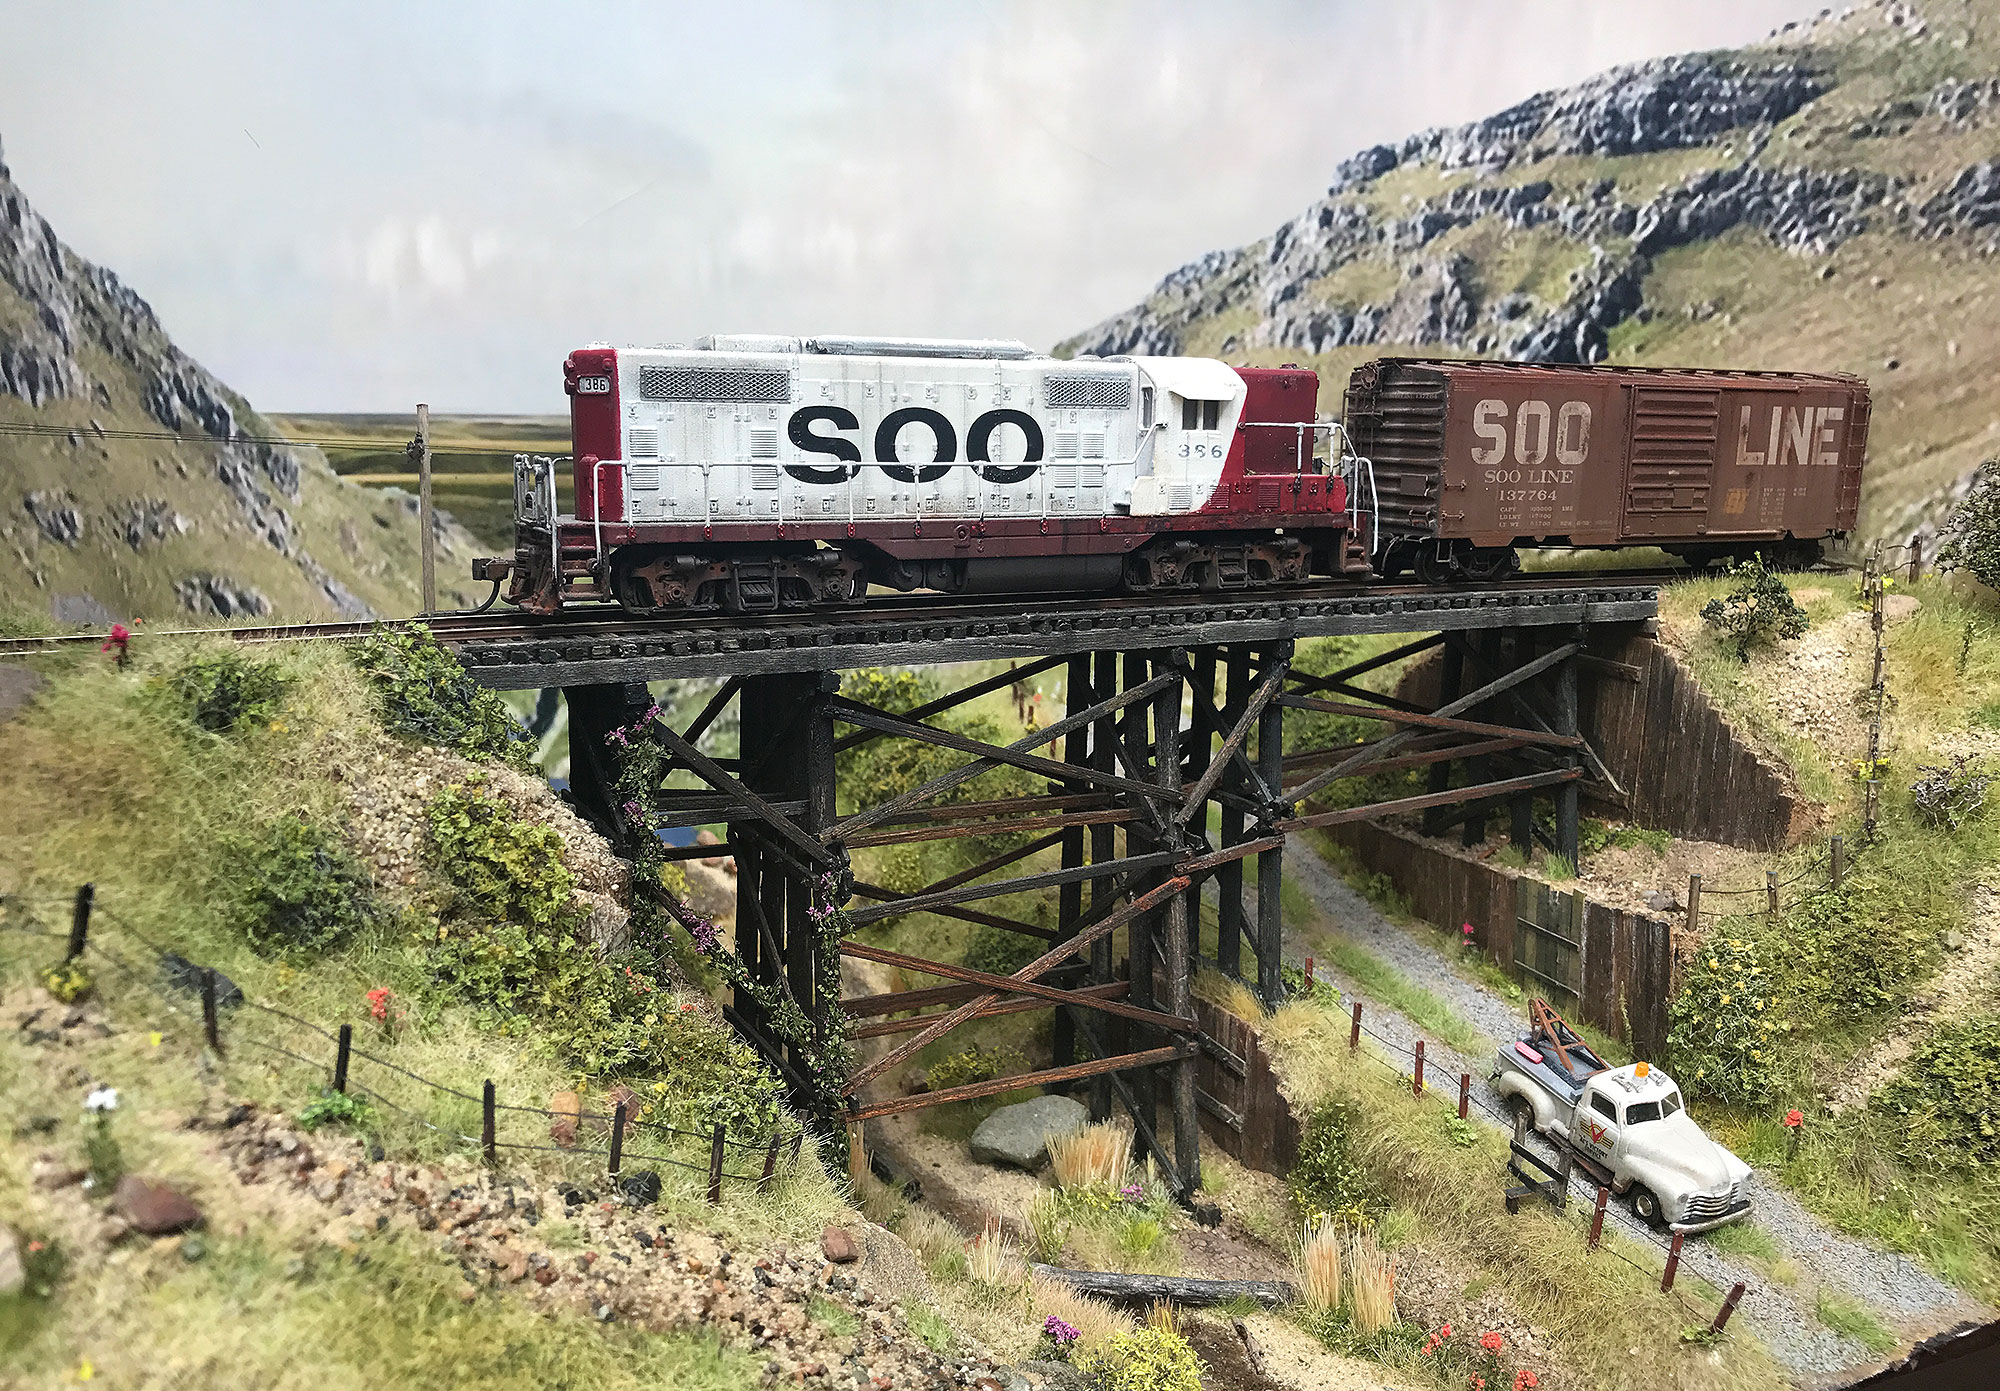
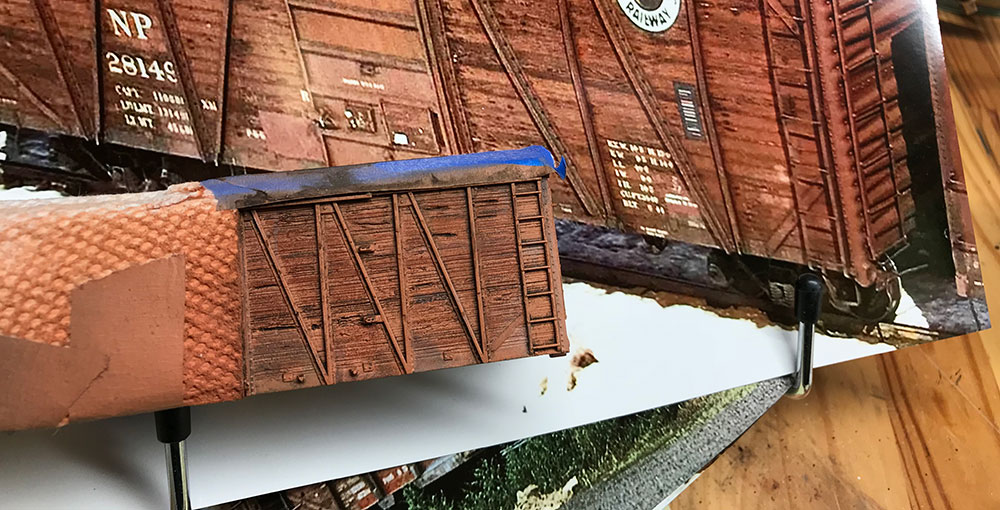
Ok well with attempt number one out the way it was back to the drawing board for me. I decided to take a very close look at the weathering of my prototype in the photo. Luckily I had parts of the picture blown up so that I could see the details better.
The goal from the start has been to simply model in minature what I see in the photo. I decided to just observe weathering as a series of colors, blends, and textures. All I had to do was using paint, pens, chalks and washes to recreate what I saw. Instead of starting with a white wash to get the model color to fade I just started with the actual color that it had faded to – the light skin color in the photo. After that it was just a matter of adding darker colors on top and trying to match the patterns found on the surface of the box car.


Anyway I’m excited to get back to this project. To be continued.