The new diorama

I’ve decide to ease back into modeling (after a much needed four year break, long story, another time) by attempting to tackle a small diorama project. 

The new diorama

The purpose of the project is varied: 

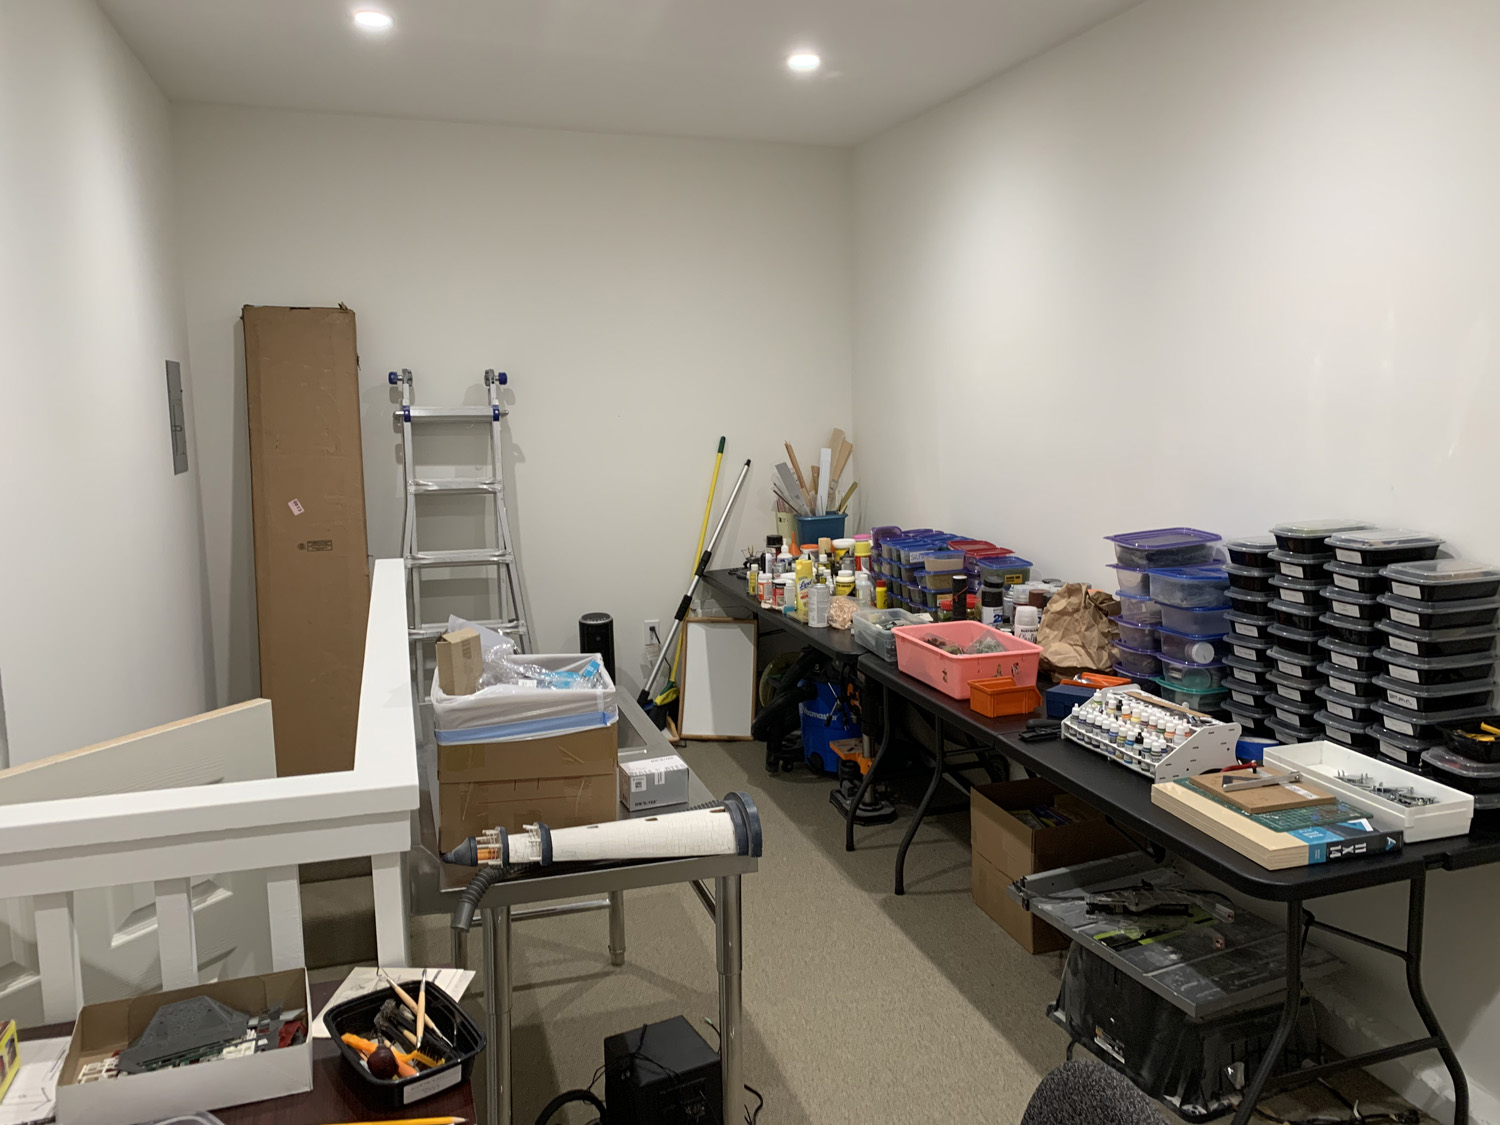
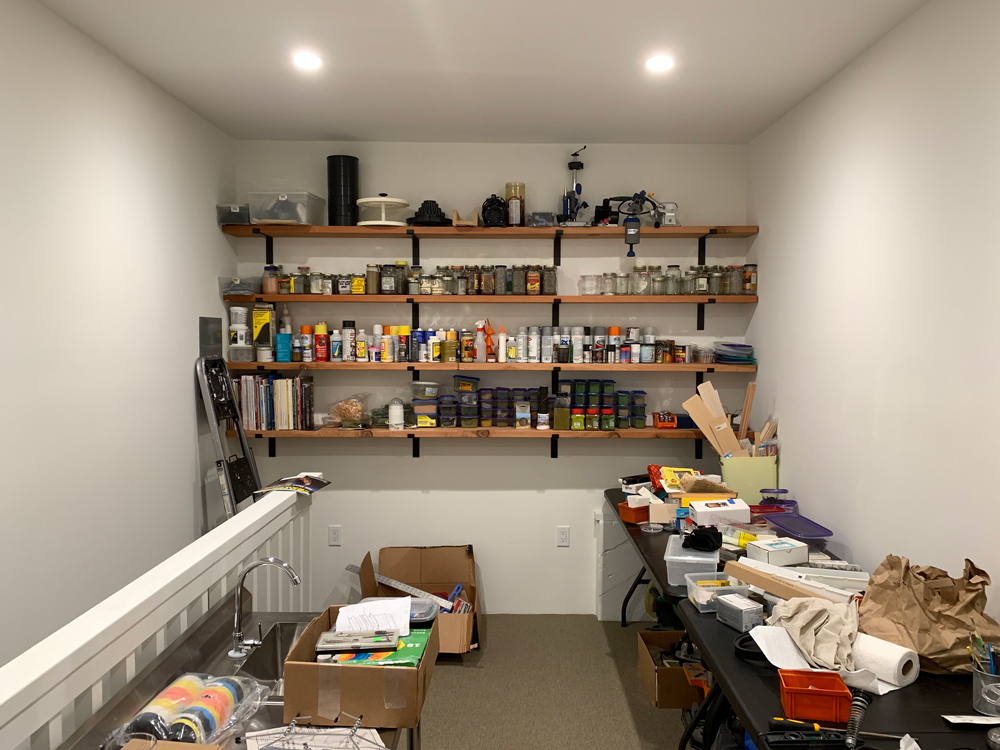
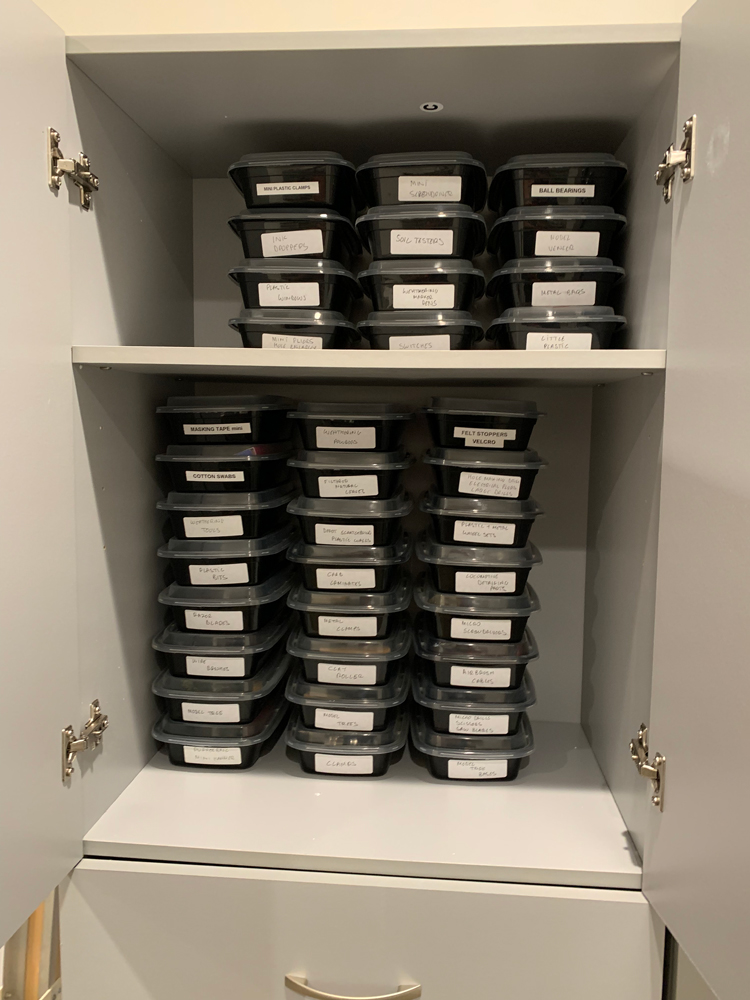
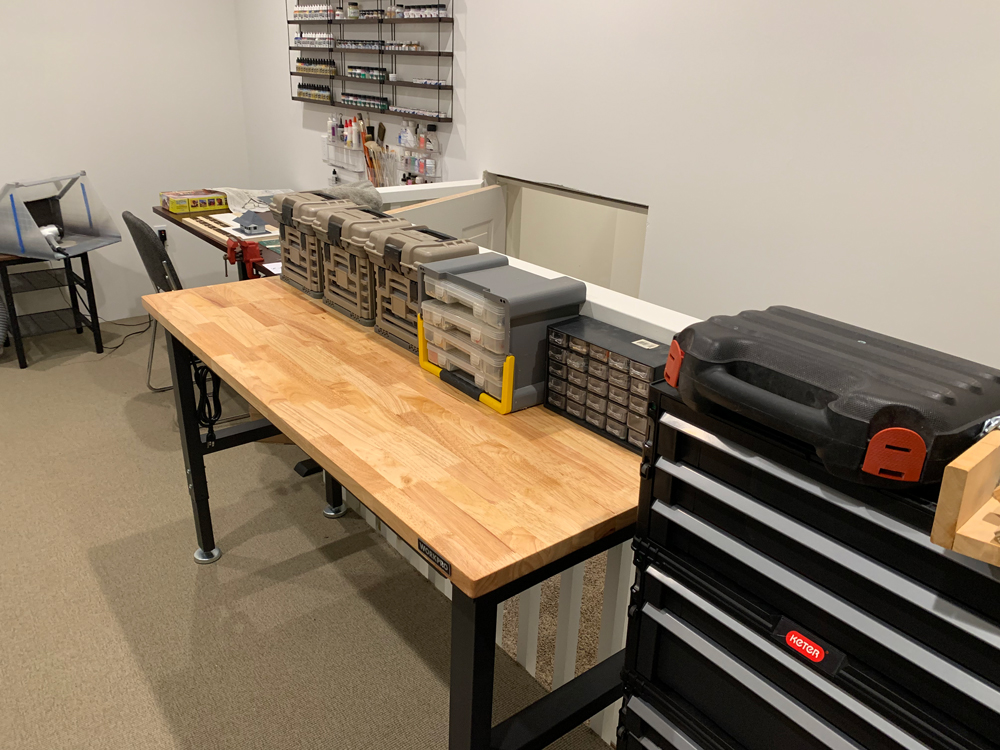
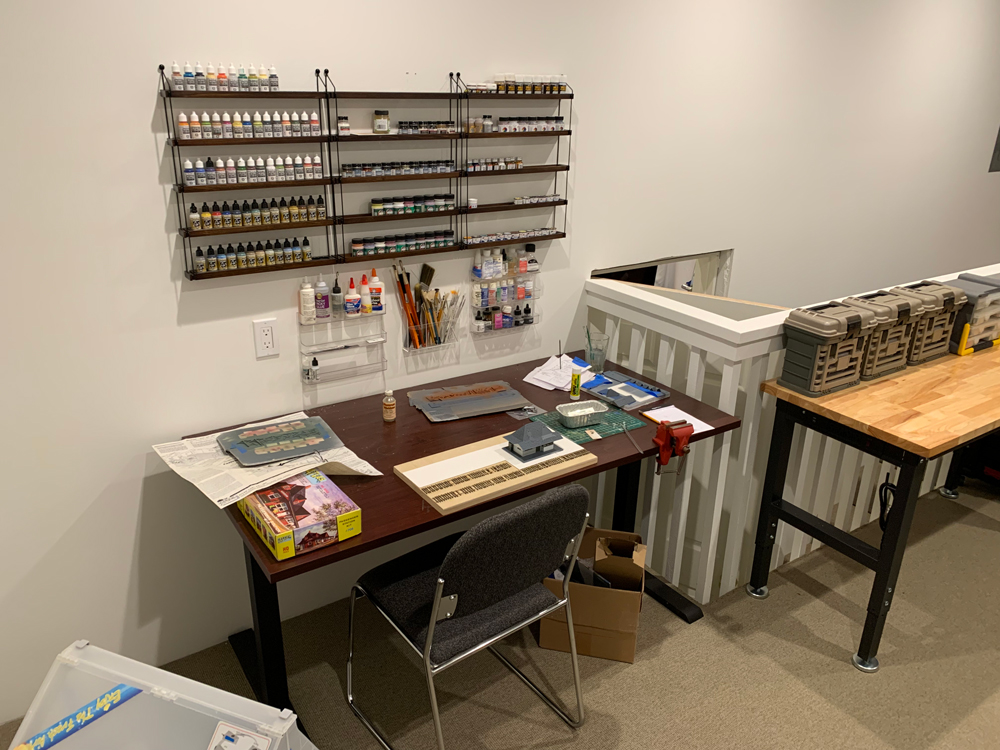
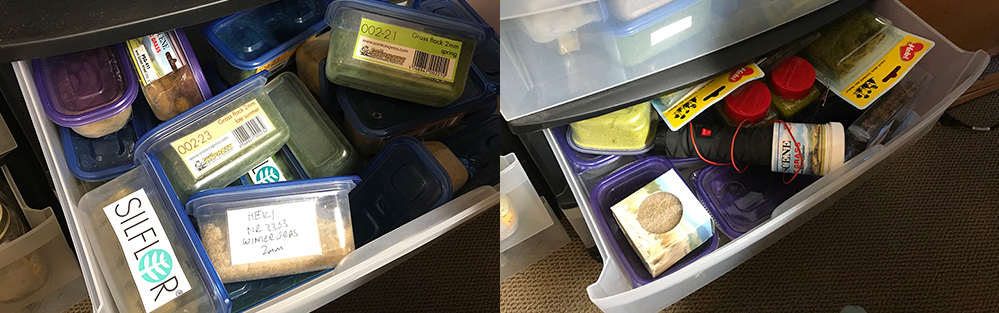
  1. To help me get the new modeling room organized
  2. Refamiliarize myself with all my tools and materials, 
  3. Practice, mess up, fail and succeed while all the time relearning the various skills needed to achieve a successful model.

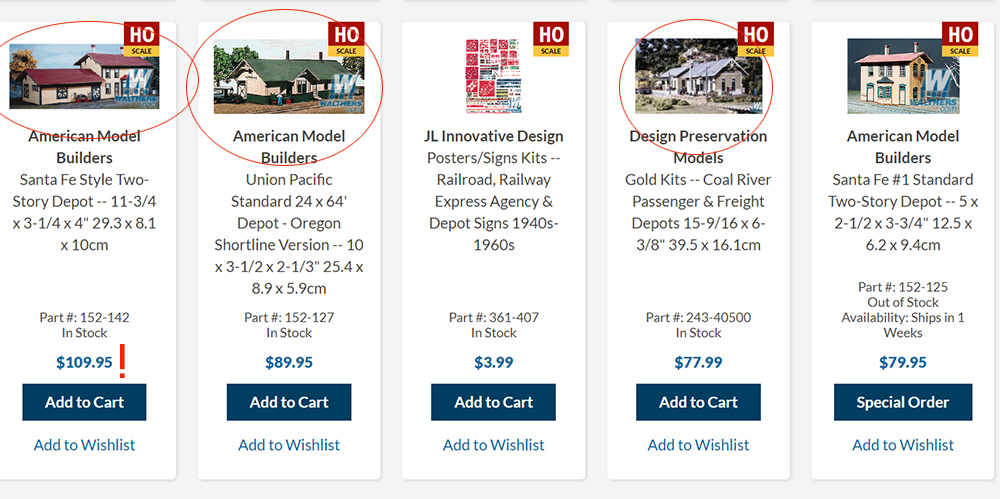
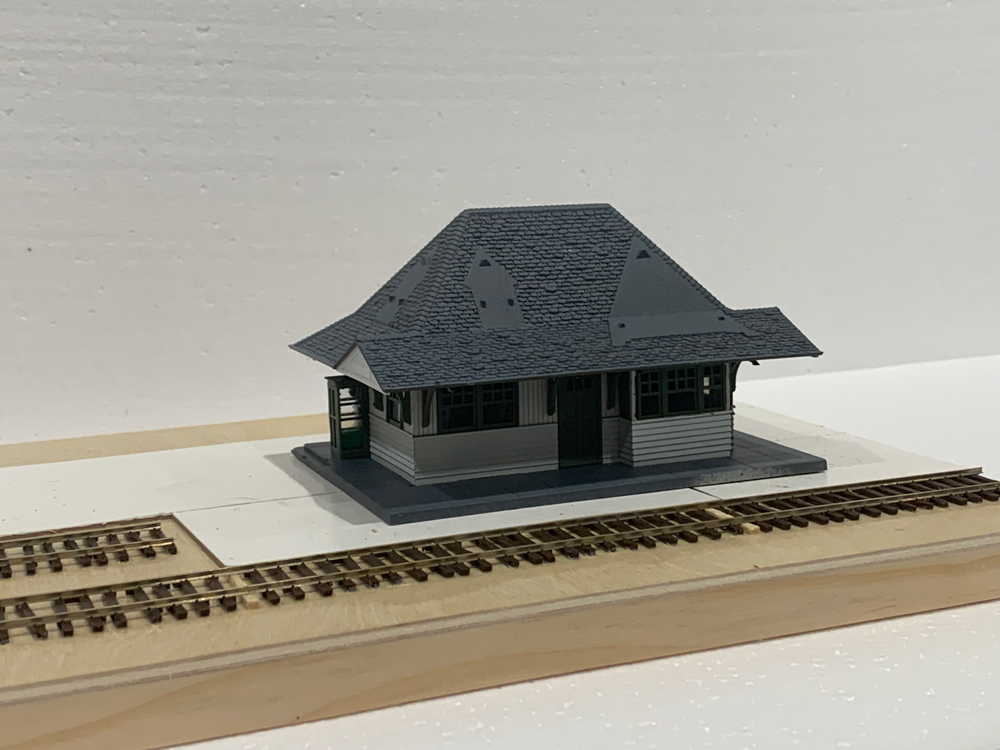
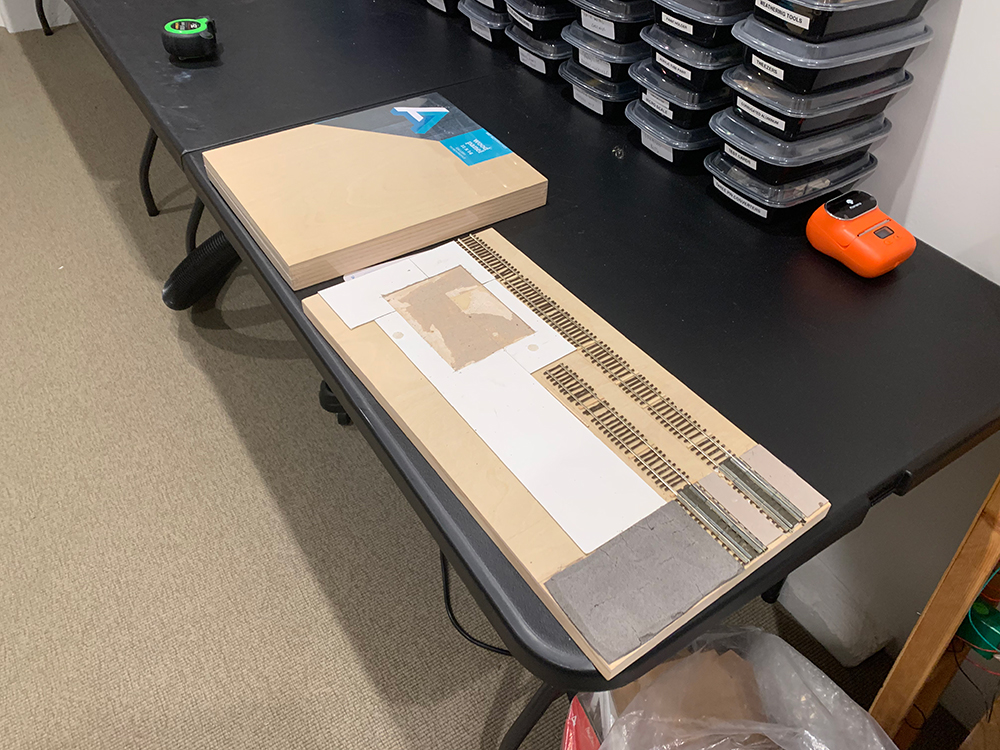
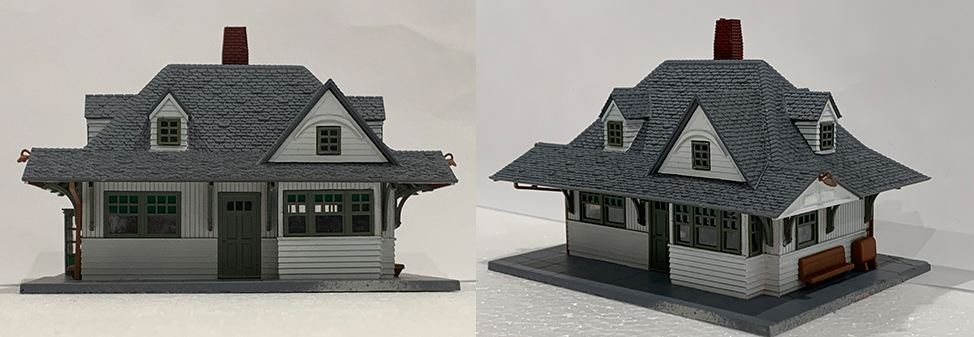
The diorama is meant to be a quick build but I intend to take as long as needed to make something I’m happy with. As such I decided to use a commercial (and cheap) depot kit from Atlas along with a couple of small pieces of commercial track. The diorama is another photo-box similar to the Trestle diorama that I built a while ago.

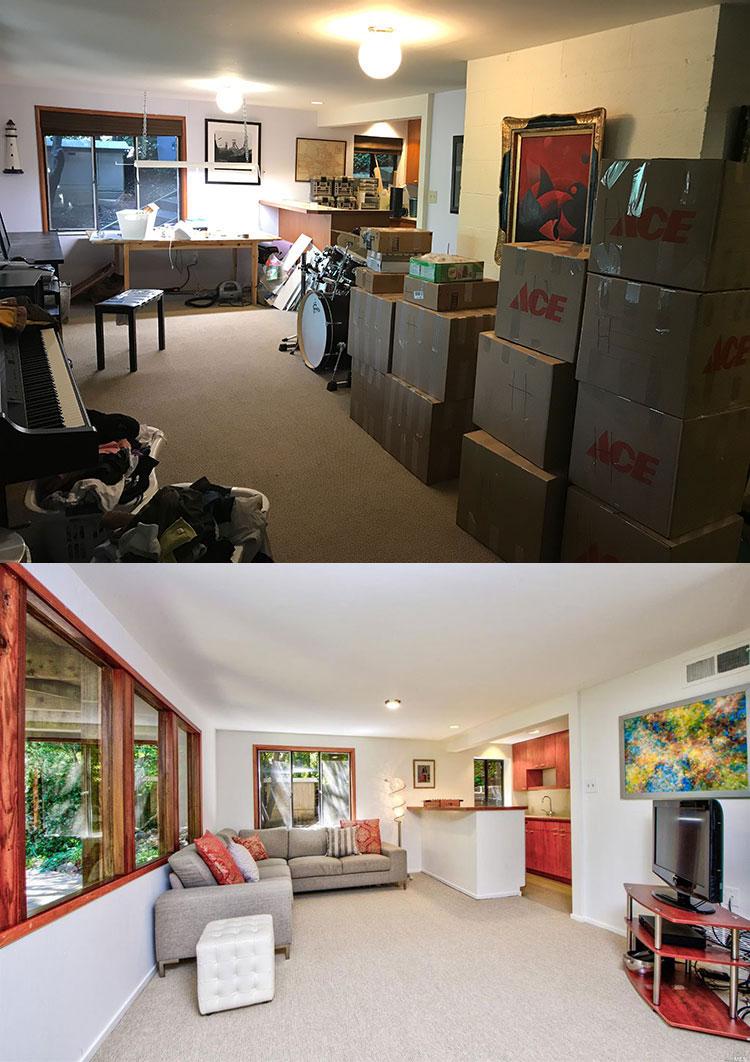
One of the most important changes in my modeling life has been the time of day that I model. I was definitely a ‘weekend warrior’, spending most of my time modeling on Saturday and Sunday morning.  During the week I’m too tired after work (I’m a software engineer) to find the mental energy to think or act creatively. My wife, on the other hand, who is a writer (among other occupations) does her creative work in the morning. I looked to her example as a possible solution to my modeling woes and decided that I would set my alarm for 4:30am each morning. 

I wake at 4:30am, I make my coffee at 5am, I read for an hour and then I go into the train room at 6am. I do my modeling between 6.00am and 7:30 am. The change has been remarkable. I’ve got more done in the last 8 weeks than the previous six months. The fact that I’m in there every morning means that I build a kind of momentum. It is exciting to watch my progress. It used to take me weeks to get some modeling tasks done which I now get done in a matter of days. I’m able to spend more time experimenting, testing, learning, and organize without feeling guilty that I am not doing enough actual modeling. Most important of all I’m actually having fun and going to bed each night feels like the night before Christmas. 

Before and after. Once the room was finished I had many boxes to sort through and it took two whole weeks to get through them. Waking at 4:30am each morning was what ‘done’ it. Models will be built here and displayed in the house.

Any how enough yakking, here is where I am at:

The depot will be set in the midwest, probably Indiana as I’ve just read George Hilton’s book on the Monon and want to display Monon rolling stock, but in fact it could be anywhere with a small town feel plus trees and fields.

The base is 20″ by 10″ and was purchased at an art store.
The depot building is a plastic Atlas kit. Purchased from Ebay for around 15 dollars, I figured if I messed up I could easily buy a second one – something I still might do as I’ve made a few mistakes here and there on the current model.
I decided to use commercial track as I wanted to see if I could get it looking as good as hand-laid track. I purchased a couple of lengths of Micro Engineering flexible track. I wanted to try this brand as the tie plate and spike area is much smaller compared to other brands. If those elements are too prominent then I feel they ruin the look of the track.  I worked the track by weathering the plastic and removing and replacing ties. I also moved ties around to create the foundation for a heavily used and worn section of track.

I don’t really have a plan yet for the laying out of the elements. I know I want a road and crossing. I want to try things I haven’t done before such as an asphalted parking area. I also want to spend much more time on the backdrop. With a small diorama such as this the backdrop plays a huge role in the overall scene being depicted and I don’t want to do a quick slapdash backdrop as I did on the trestle (where it was pure luck that it worked). I want to get it perfect this time.

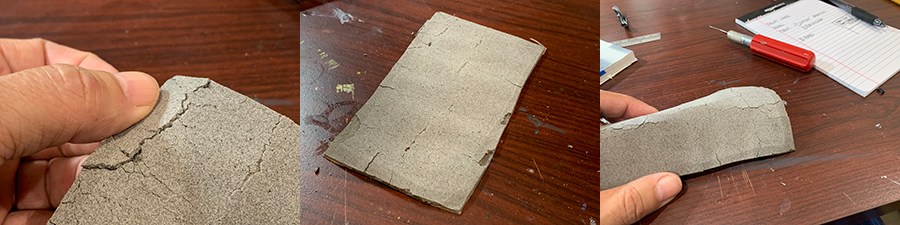
I’m currently working on learning how to:

  1. weather wood
  2. use my airbrush
  3. create asphalt
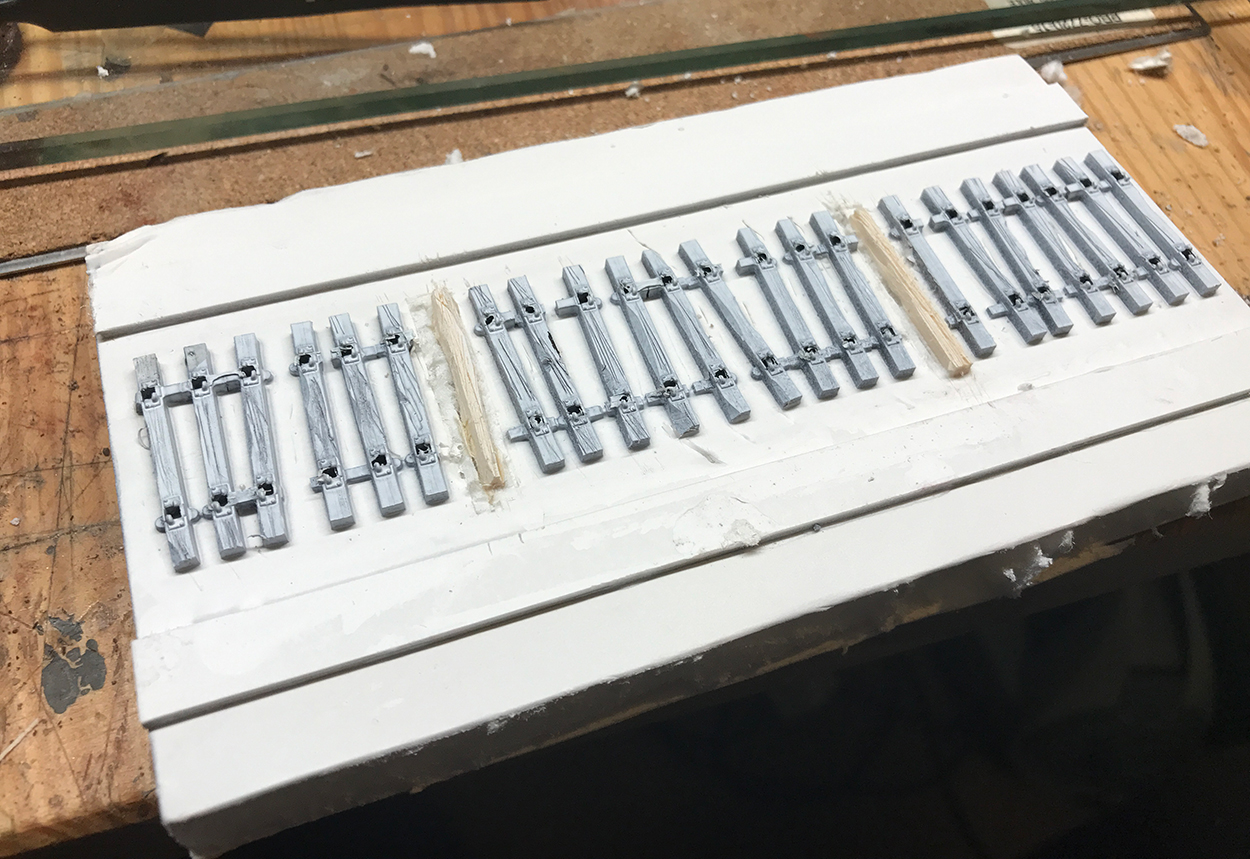
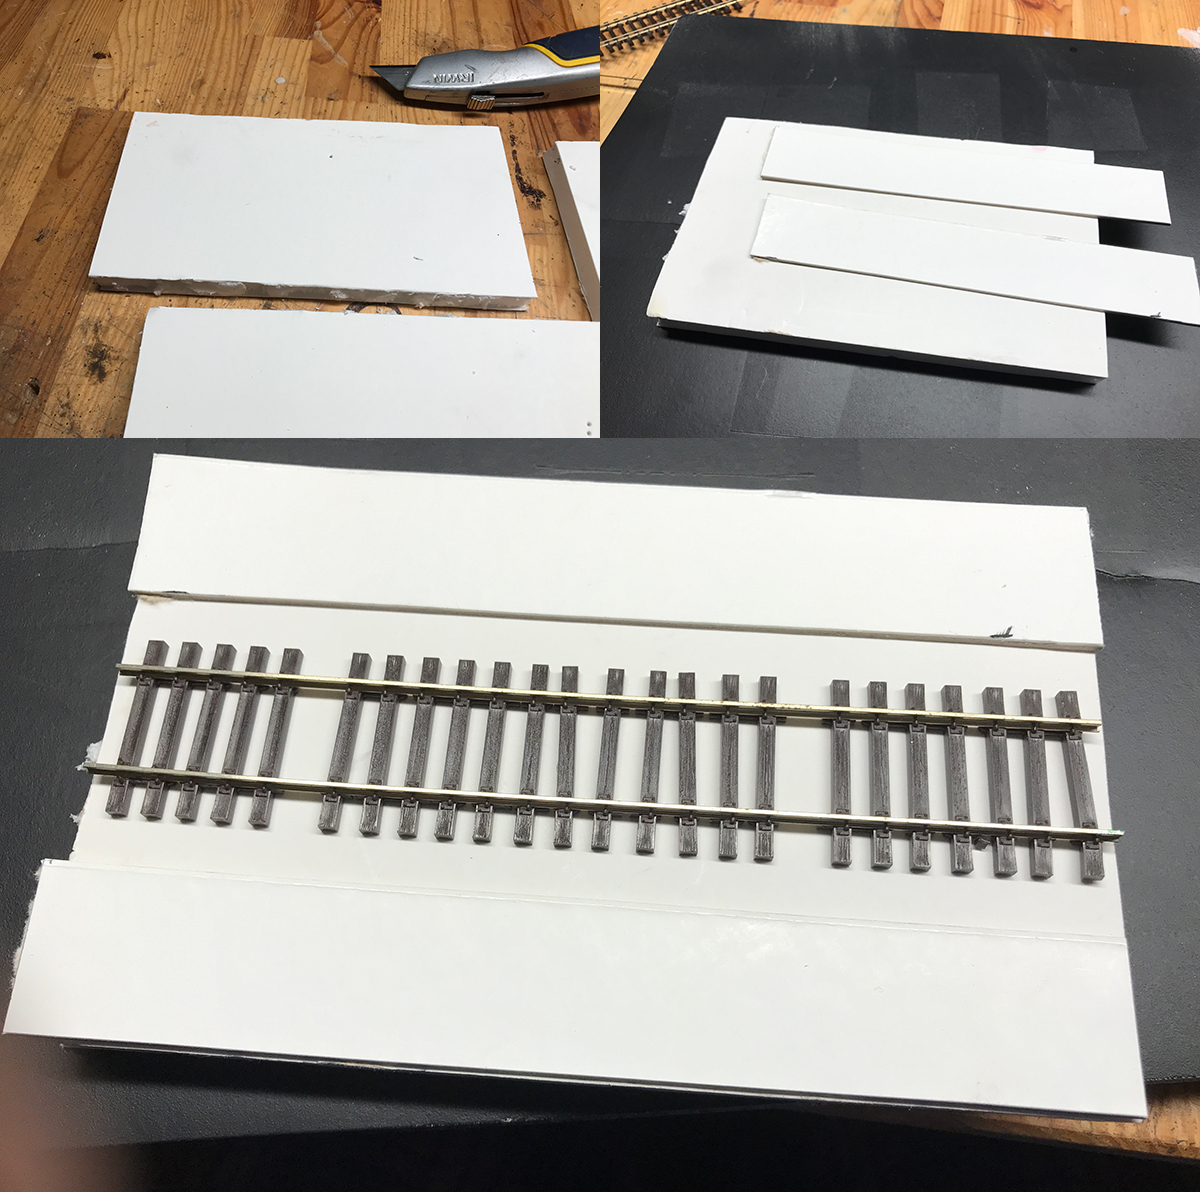
  4. weather commercial track

I’ll post on the asphalt tests next week as I’m still in the middle of figuring out the process.

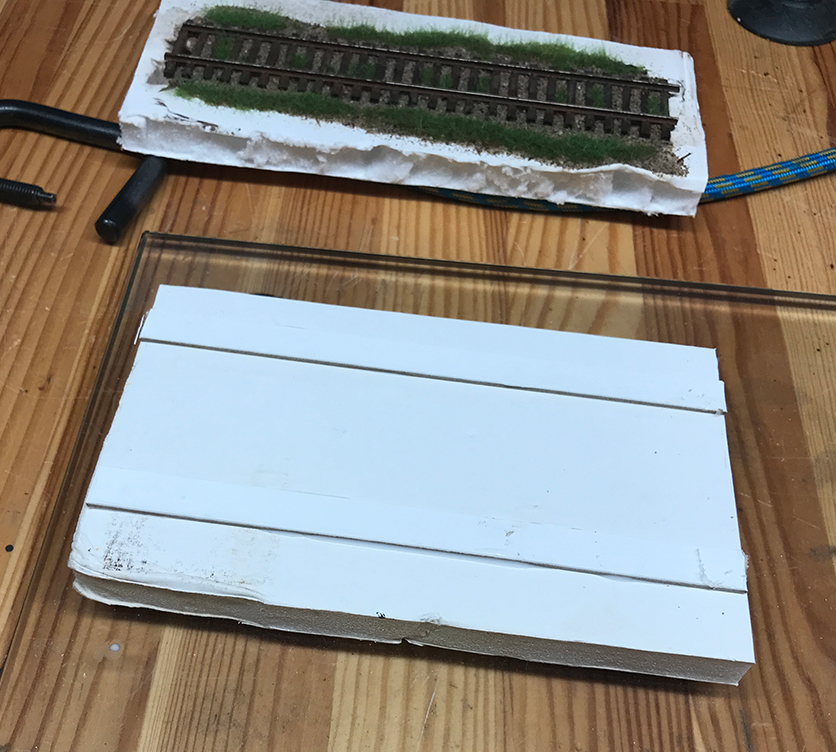
Here’s a quick preview:

Looking more like concrete right now, there is still a way to go involving weathering, chipping, staining and chalking. I’ll have this figured out by next week and will post the step-by-stop process next week.


New modeling center

I finally finished my new train room. All modeling had been on hold while the room was remodeled, furnished and organized.

Before remodeling:

Just empty bare unfinished walls, the room was basically in good condition.
I just need to get the walls paneled and finished and then add lighting and plenty of power outlets.

The work took four weeks and was completed by a friend/contractor.

Here’s the empty finished room:

Once that was done. I needed to get all my tools and materials sorted out. I had  ton of stuff stored in the crawl space and there was no way I could start modeling until that was brought back up and organized.

After spending a few weeks getting things out I got the room into pretty good shape:

I installed shelves to hold all my materials such as glues, ground cover, and large paint cans. I wanted to be able to pull things off the shelf and put them back quickly.
Takeout food containers. I used these to store a range of modeling items. They can be brought to the table easily and prevent the work bench from getting too messy.
Woodworking bench. Most of my heavy tools are in the crawlspace and I will do any major woodworking down there. But for the train room this has been installed for medium level work.
Paint storage and main work area. I wanted easy access to my paint and small tools that I use regularly. These makeup shelves do the job pretty well.
At the opposite end from the shelves I will be installing kitchen units and a sink. They are on order with Ikea (nothing fancy and very cheap). As soon as they arrive I will have them installed.

So anyhow that’s where I am at for the moment. I’ve started modeling and will post again on how that is going.

I’m back

Well hasn’t nearly two years flown by!

I had to stop all modeling activities due to a change of home. My wife and I got fed up trying to squeeze our family life, child, drums, trains, piano etc into our previous home. With a change of job on my part we had the opportunity to purchase a larger house in the same suburban town where we live. It’s about five miles away from our old house and is set in a redwood grove next to the national park. We are surrounded by greenery and the new house is definitely a step up from our previous home.

Old house for sale. We had to clear drums and model train out before we could sell it.

The house is 3800 square feet (twice the size of our previous home) and has a separate garage. Underneath the garage there are two more rooms which I decided to use for my hobbies: drums and model trains.

The only hiccup in the overall plan was that the train room was in a bare unfinished state and was not ‘model train ready’. The drum room however was habitable and I had a drum sound booth built in the space to play and practice drum without disturbing my wife and neighbours.

The first room is finished and I built a drum booth here.

However I am days away from the train room remodeling project being finished and I’m ready to get back to the hobby.

The second room was good for storage but to use it for model trains it needed to be remodeled. That process has nearly finished and I’ll be ready to inhabit it in a few days.

Station Building

Well after months of procrastination I decided to get started on the buildings for The Town. It’s not my favorite activity as I prefer tracklaying and landscaping to making structures, nevertheless the whole point of choosing a more urban setting for this model was get better at this part of the hobby – so I just got started.

The first decision I needed to make was simply shall I scratchbuild or just build a kit? I looked longingly at several very suitable kits in the Walthers catalog but I decided against purchasing one. I enjoy learning stuff and figuring out how to do things and I felt that building from scratch would be the best way to improve my modeling skills. I may using kits for the background buildings so I haven’t ruled them out completely.

Continue reading “Station Building”

Track Studies 5 – Grass

Time for some grass. The secret is layers – short grass first then longer grass later. I’ve stopped using grass right out of the box and now mix different colors, lengths and brands (Heki, Silflor, Noch and more) to create a range of grass types.

It’s good to have a selection of different colors, makes and lengths. The ability to take a scene and be able to match the grass exactly is the goal. I’m always adding to the collection. Silflor is my favorite as the grass has a nice texture and weight to it. The Silflor colors are flat but often I’ll add other brands such as Heki or Noch to the mix to make the grass pop. One can also spray the grass to vary the colors.

Continue reading “Track Studies 5 – Grass”

Track Studies 4 – Weathering and ground cover


Apologies for the delay in the next installment. When looking through the set of photos for this part of the series I realized that I was missing some crucial images. I decided to start over and build a new track study while writing this post. Here are the results:

————————————————————————————-

Once dry the ties were ready for coloring. The white primer equalizes the color of the plastic and wooden ties so that they are able to be weathered and colored leaving no discernible difference between them.

The paint will allow the various weathering methods to grip both the plastic and the wooden ties equally.

Continue reading “Track Studies 4 – Weathering and ground cover”

Track Studies 3 – Foundations and mavericks

As previously mentioned I made four bases from 1/2 inch foam board of about 5.5″ x 3″.  I added a little strip of card to either side in order to bring the level of the surrounding ground up to the height of a tie. I really like that sunken-tie effect on real track. It  gives the impression of the track having emerged out of the ground in an almost organic way.

Even though the area is ballasted, the ground around the track is the same height as the track. It’s an incredibly important detail to capture. The track seems more integrated in a natural way with the surrounding landscape and adds to the short-line charm of the railway. This location is Schellville CA.

Continue reading “Track Studies 3 – Foundations and mavericks”

Track Studies 2 – Raw materials

I wanted to model track vignettes – little scenes where I could explore the rapid changes that occur from tie to tie. Three ties may be split or moved over to an angle, others may have been splintered. Dust may have stained a few more and vegetation might have spread across another group. I wanted to model all these effects.

I built series of small testing platforms in order to work on short stretches of track. They were made of foam board and no other support. Once glue goes down on these boards they can warp but these pieces are so small (5.5 inches by 3 inches) that any warping was not noticeable.

Continue reading “Track Studies 2 – Raw materials”

Track Studies 1

I’m about to start working on The Town this upcoming week but before that I wanted to share some results of recent studies. Every now and then I try to get away from the layout to test out new ideas, to work with new materials and generally get experience in different areas of the hobby. As such I spent the last few weeks working in an area of the hobby that fascinates me the most: trackwork.

I’ve always been fascinated by trackwork – nicely eased passenger track, the complex arrangement of track around a station entrance, the spread of yard track, rickety old branch-line or short-line track; even abandoned track. I like the technical aspect of trackwork – how the components of a turnout fit together and how different weights of rail are used in different situations. But mostly I focus on the aesthetics of track and how the environment over the years affects its look and condition and how the look of the track affects the overall railway scene.

A stretch of track just covered in dirt and dust. No ballast to be seen at all. Also look closely and you can see so much variety and change that the effects of weather, time, and wear and tear have had on this stretch.

Continue reading “Track Studies 1”