I decided that I’ve been avoiding working on the Town module for long enough. On one of my Facebook groups a new modeler asked the group for tips about the hobby. One of the tips that really struck a chord with me was: don’t get distracted by other smaller projects. I realized that I’ve been distracted for most of the year by the diorama project and had not given The Town module the attention it needed to keep it moving at a reasonable pace. I’ve seen other modelers complete at least two layouts in the time that I’ve been working on The Town. So with no more excuses or distractions I put the weathering project away and got back to building the control panel for The Town.
Before proceeding with my weathering project I wanted to find a matte varnish that would actually lay down an unmistakable matte finish. I first noticed the problem of shiny matte when I went to seal my first weathering attempt – the corner of the boxcar. The finish went from very dry matte to an unmistakable sheen – ruining my wonderful work! I decided to find the perfect matte before proceeding. For years I’ve been using trusted favorites such as Testor’s Dullcote but I’ve never been happy with the finish. I generally found the result too shiny – not really matte at all and much more of soft sheen. I believe it really ruins the look of a nicely finished model makes the result look toy-like. I really wanted to find a matte varnish that would do a better job.
After spraying this with Krylon Matte spray there is an unmistakable sheen on the boxcar which ruins it and makes it very unlifelike.
Just getting back to normal after a very unsettled domestic environment that has included trips to Europe, a kitchen remodel (that turned our lives upside down for twelve weeks) and then six weeks of guests and mini-trips away from home. Whew! All over now till the end of December after which I’m off to Europe again.
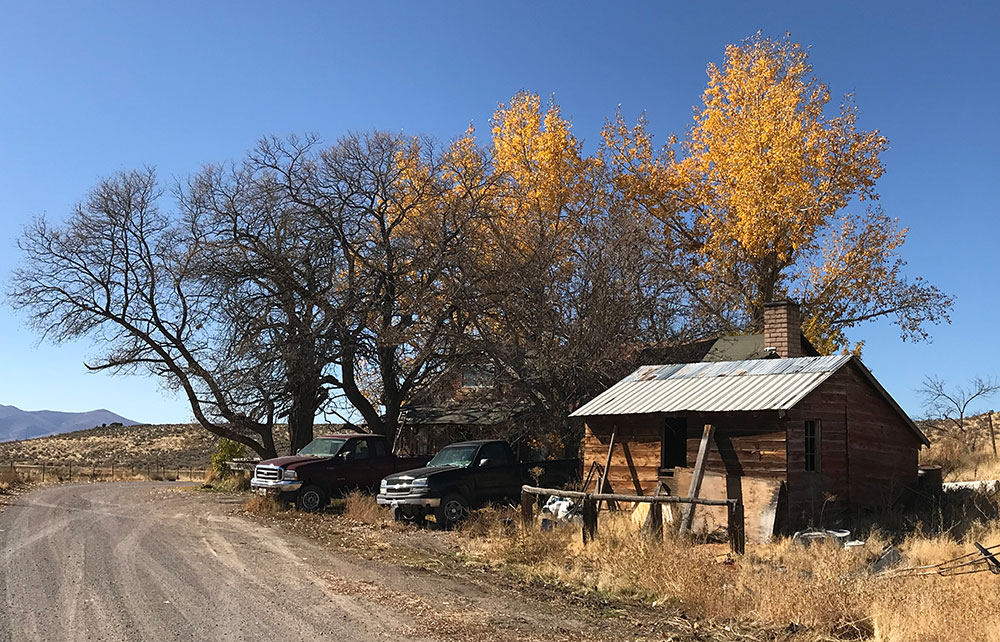
Found in the north-eastern California desert. I didn’t get any more pics of this house but will return next year to do so. I’m thinking of building a model of it within a diorama – and of course moving the location to the upper midwest. The SP’s Modoc Line is nearby.
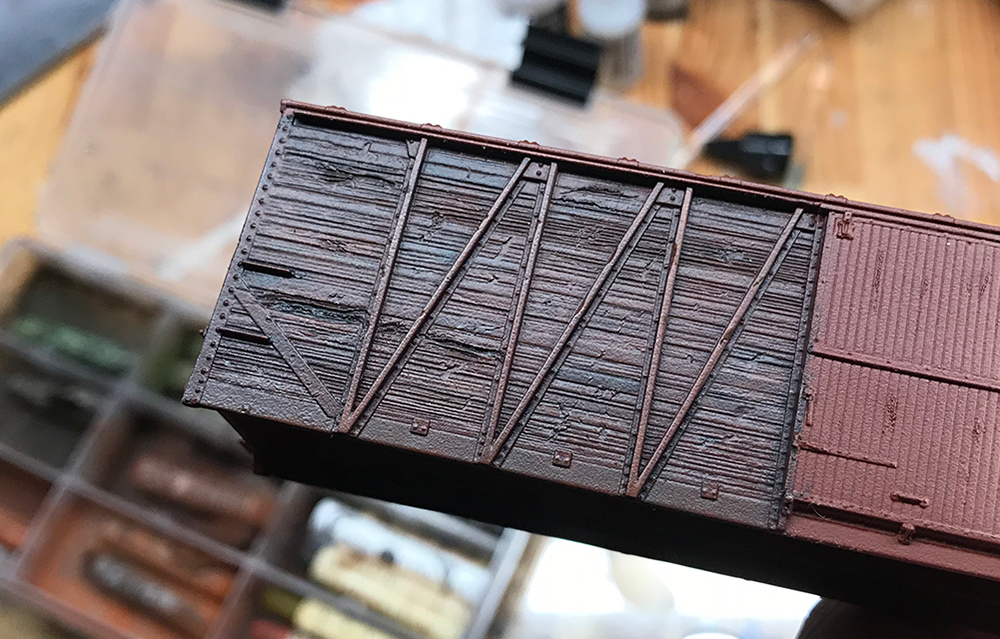
First step in this process was to start adding physical changes to the model. This is a very important stage as it represents the first step away from the finish of the original manufactured model and immediately gives the piece its own identity.
The marks represent what I have previously called ‘short-term specific weathering events’ and will be treated slightly differently from other areas of the model. The damage may have been sudden or over a time period but whichever way it has led to a unique effect that has occurred faster than the weathering elsewhere. This is an important detail that can be represented on any model from boxcars to oil tankers.
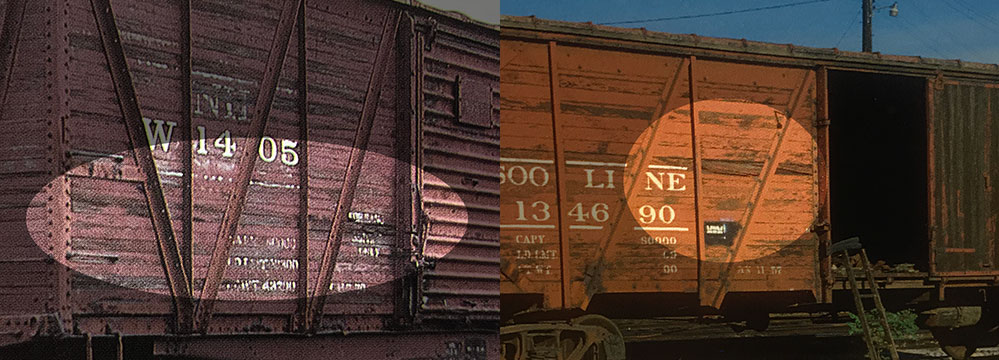
Looking closely at the prototype I noticed that wooden slats can get damaged in place. The wood is pitted, gouged out, chipped, stripped and generally worn while metal can be bent, rusted, and pitted. I found a couple of examples of this kind of weathering:
Pitted and damaged slats are a particular weathering feature of these single sheath boxcars. Marking each box car differently begins the process of giving each one its own identity.
I’ve started my weathering project at last. The goal is to produce nicely weathered and realistic looking rolling stock. Easy to say, hard to do well – especially for someone like myself with almost no artistic skill. I’m less worried about the result as much as finding a bunch of different methods to produce different effects when I need them. Therefore any rolling stock will do and the items don’t have to be expensive and may get painted over and over again. Once I have a grip on what I’m doing whereby I have a better understanding of paint, thinners and chalks I’ll then turn to figuring out how to create the infinite weathering effects of time and nature: rust, dirt, paint fading and chipping etc. After that I’ll be able to work on detailing – adding grab irons, breaking equipment, ladders, stirrups, and so on. The detailing project may grow into a scratching project whereby I build boxcars from scratch but let’s not get ahead of myself.
My starting point was to choose a piece of rolling stock to be my first patient. My favorite piece of rolling stock is the boxcar: modern or classic. However I do have a special place for the 40′ boxcar – especially those built between the wars. I’ve had trouble finding books devoted to boxcar history but I was able to find more generic freight car books such as those written by Jeff Wilson: Freight Cars of the ’40s and ’50s, The Model Railroader’s Guide to Freight Cars, and Detailing Freight Cars.
One of my favorite writers on railroad history and modeling, Jeff Wilson books have been an important part of my general railroad book collection. Easy to read and full of great tips and information about the prototype they’ve broadened my knowledge in the many areas of railroading that a modeler needs.
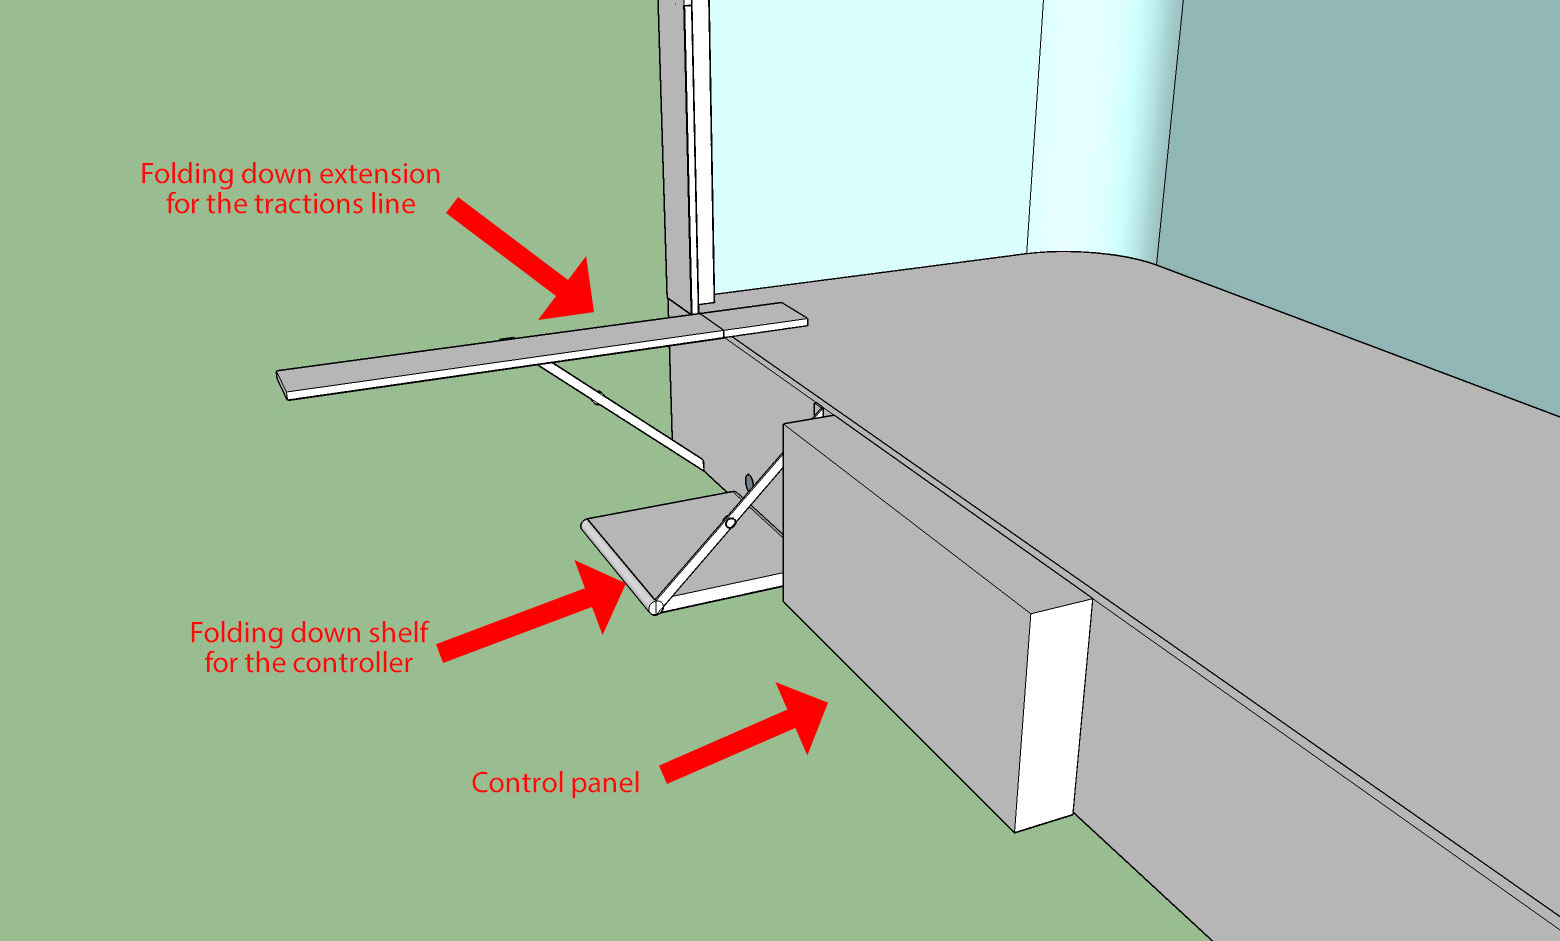
So I’ve started working on the control panel design. The work has to be divided up between different functions required. Firstly laying out the space available for the controller, control panel and traction extension (see diagram). Then I need to select and design the hardware solutions and then finally decide on the panel front design. Tonight I attempted to layout the space roughly and get an idea of how to install the hardware pieces to hold the whole thing together.
I don’t enjoy this work. I see it as an evil but essential task if I am to get the design right. I used Sketchup to layout the space and solve some of the issues of suspending platforms for use only during operations. When not being operated the platforms either should be removed or folded away.
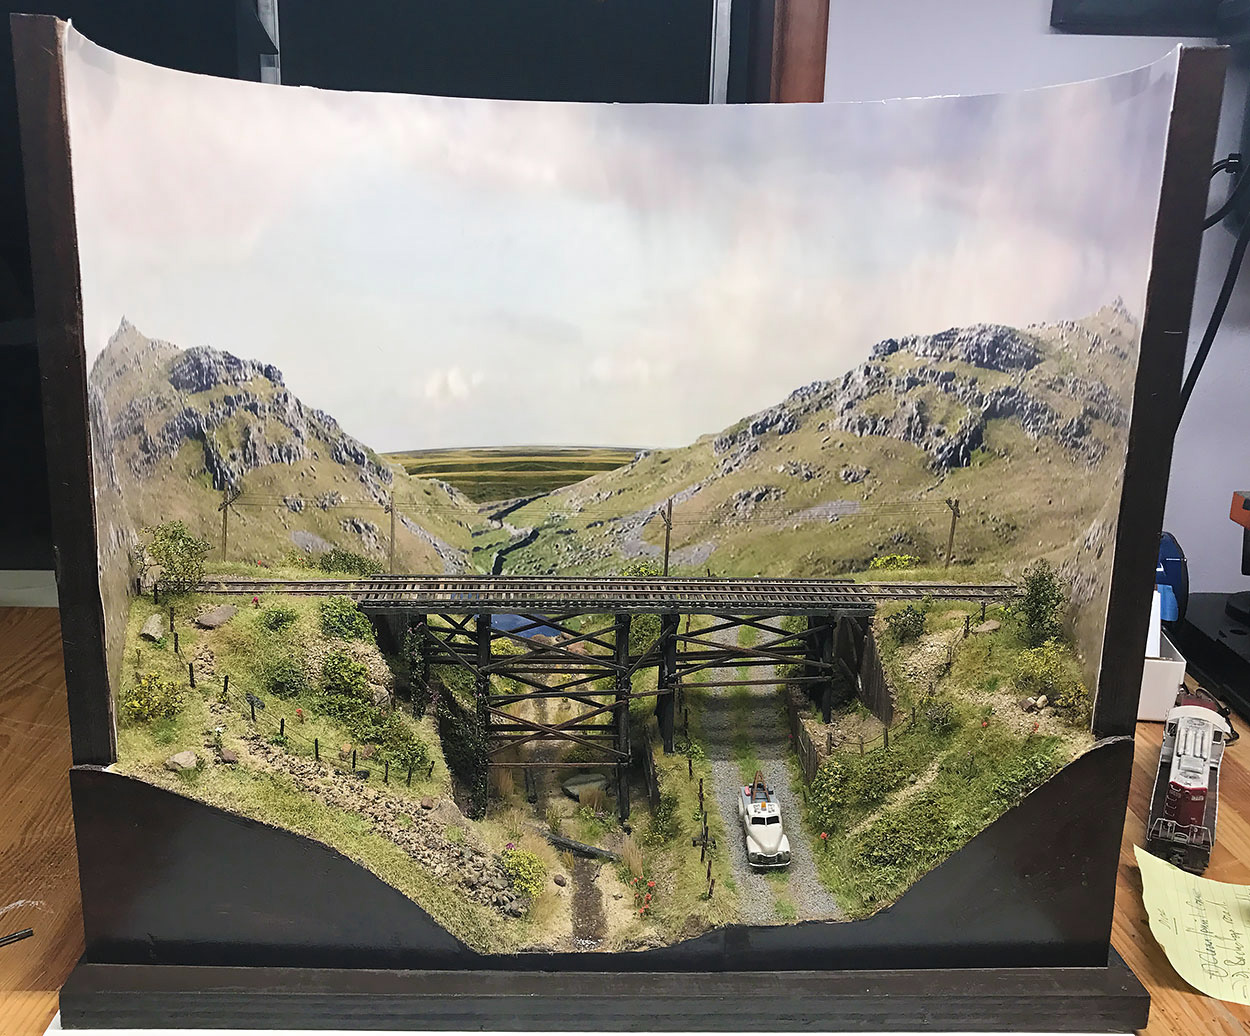
Yes finished. I started working on it nearly ten months ago and still can’t believe that it took so long. I hoped that it would not get in the way of The Town module construction but in the end it completely overtook that project.
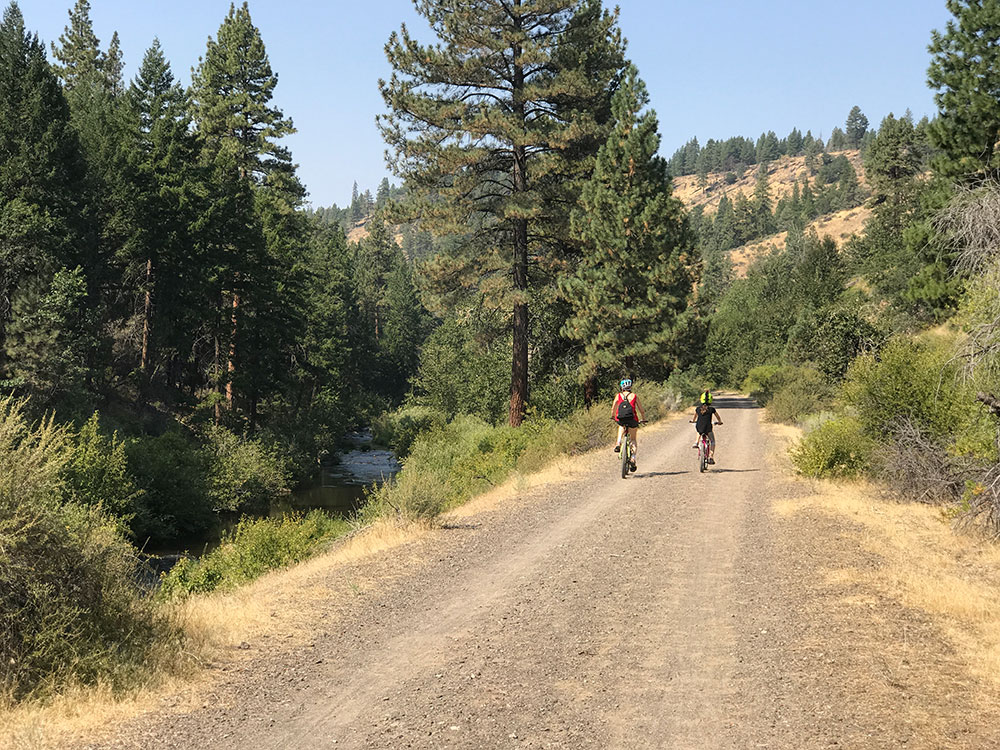
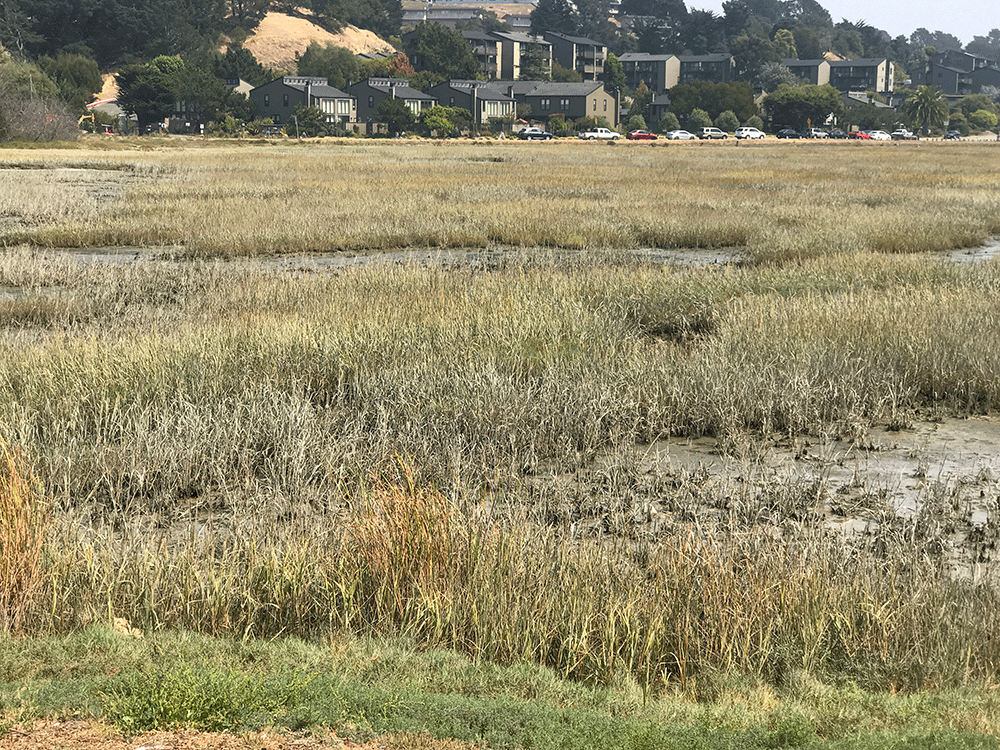
I went cycling on the Lassen and Fernley railroad near Susanville CA recently. This old logging railroad runs alongside a river I so I was able to take pictures of the wide variety of plants around the water. The challenge will be to figure out how to model some of this plant-life.
The old railway bed has been turned into a cycle path. It runs for about 25 miles through some spectacular scenery.
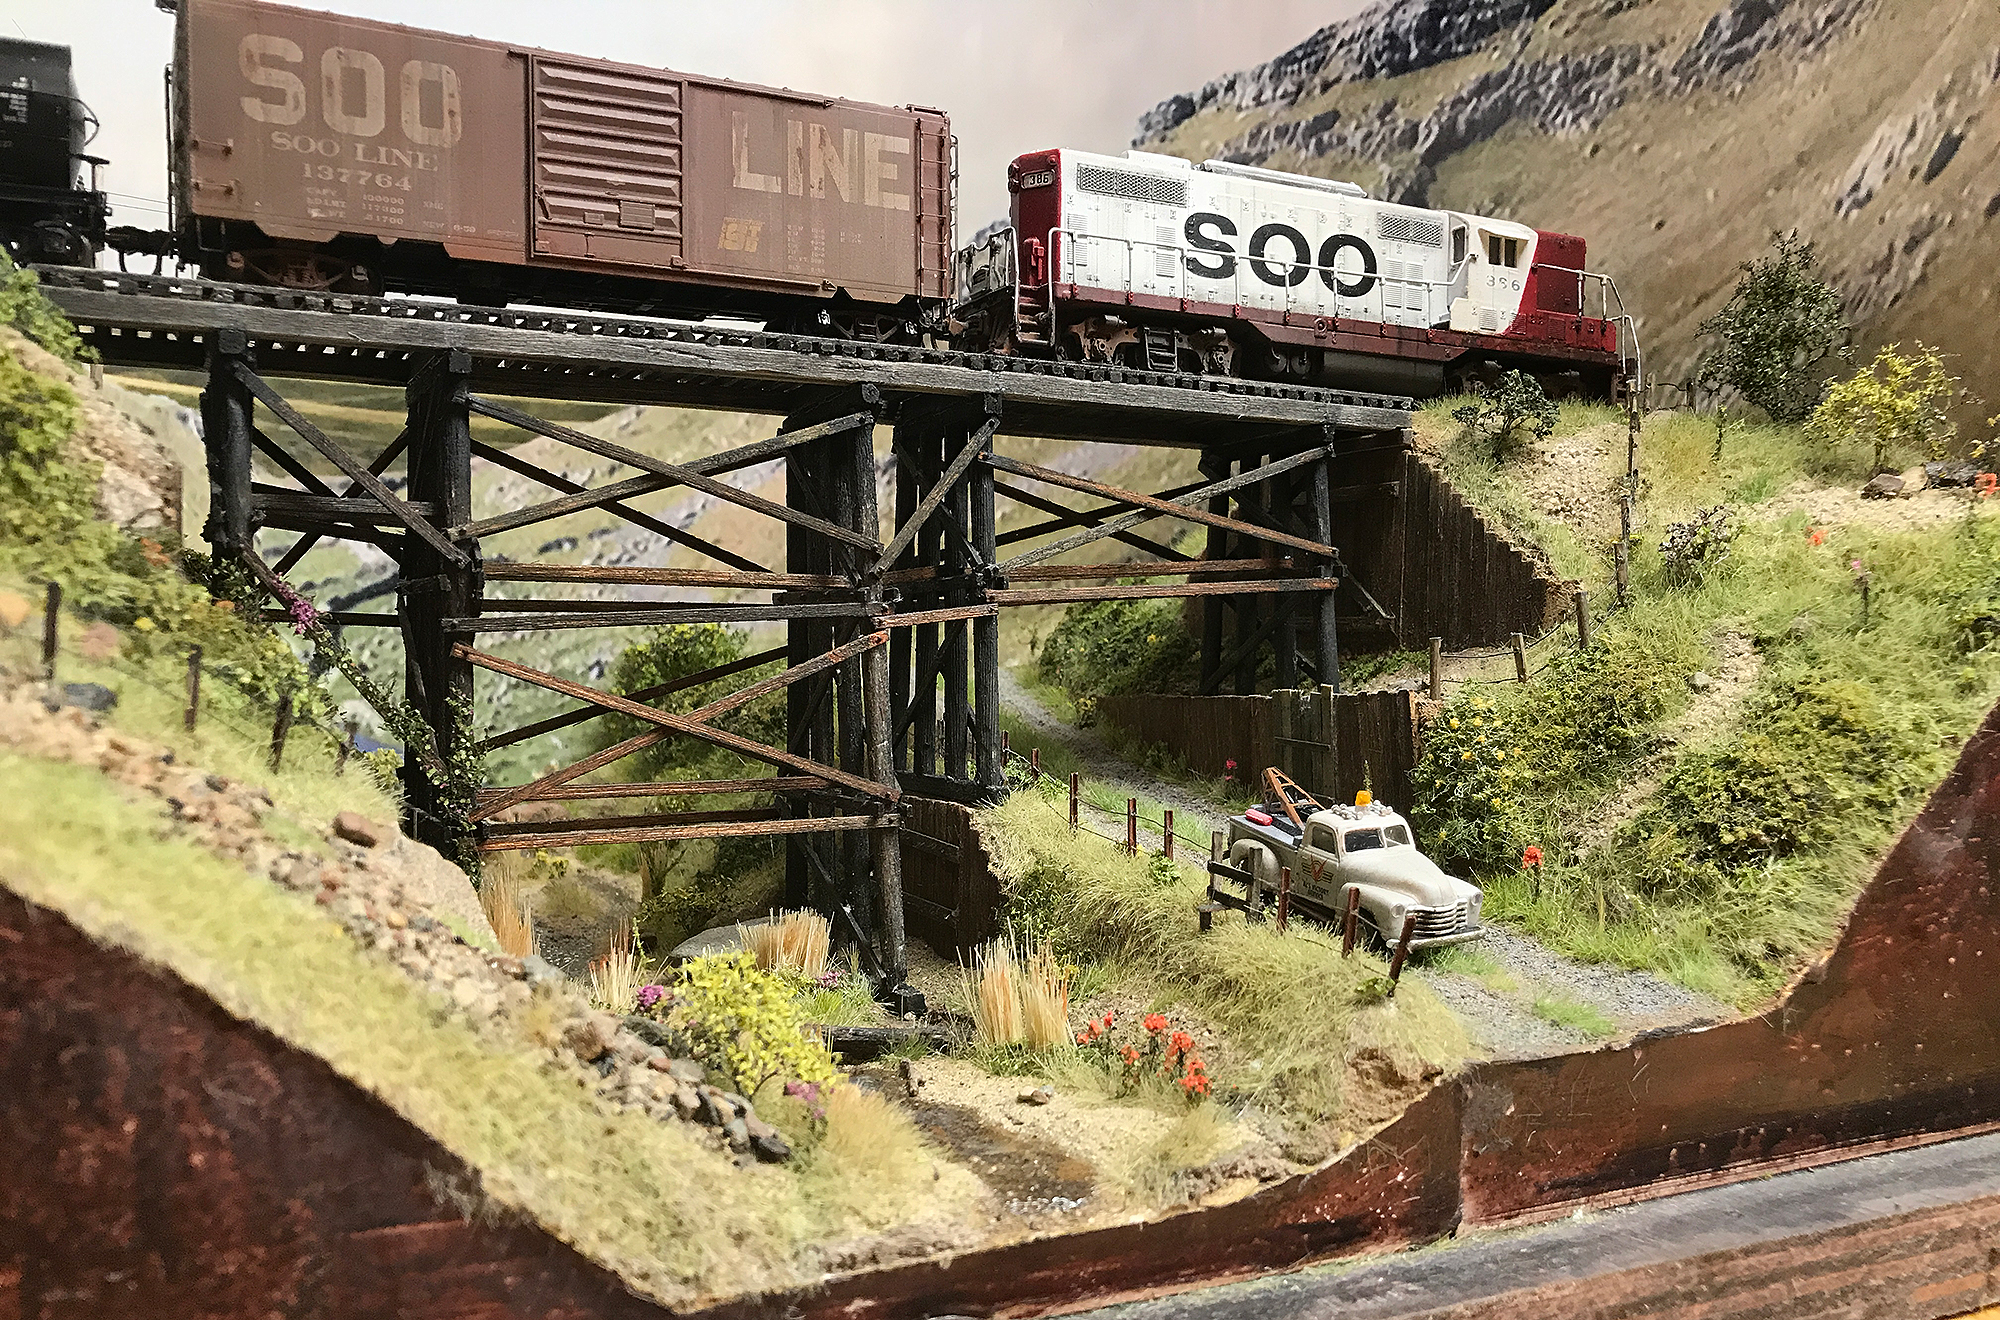
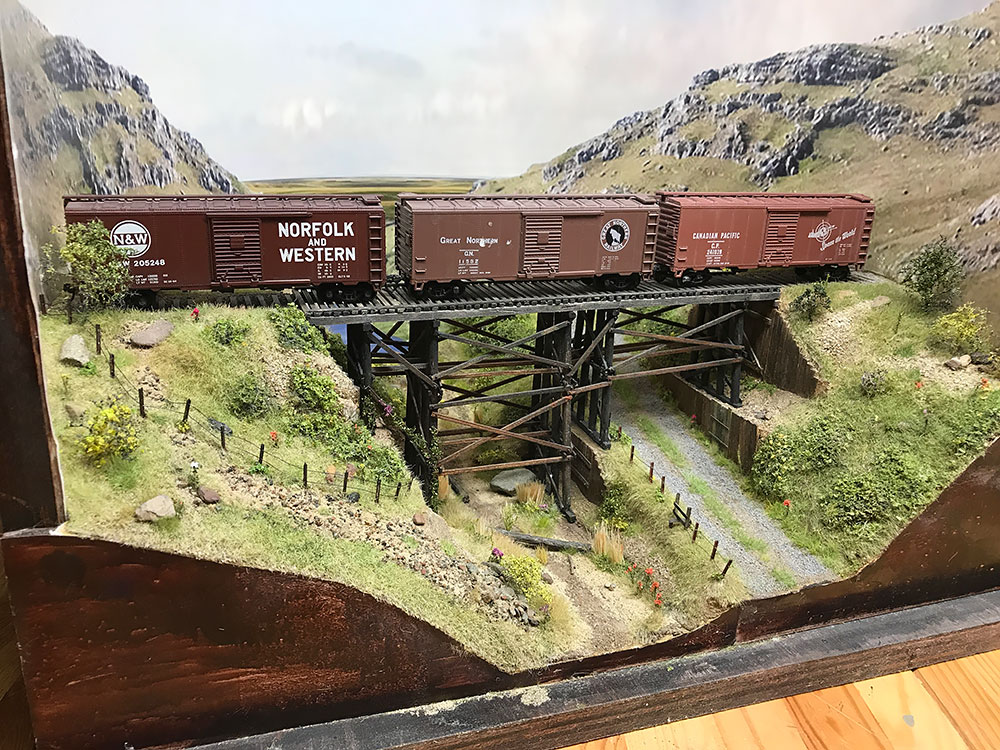
I’ve spent the last couple of weeks detailing out the creek bed. It’s a process of layering primarily. I added one class of vegetation (such as grass tufts) each evening and then saw how that looked before continuing with a different class of vegetation (such as flowers). Things are slowly coming together. I’m not sure now if I need to keep working at it. I’m just about ready to add water. While I wait for the Woodland Scenics water to arrive I’ve been working on small details elsewhere – adding a vine to the trestle and flowers here and there. I may still add a fence to the east side to balance things out a little. I’ll do that over the weekend.
So tonight I spent some time adding flowers and plants. Things are coming together slowly. I’m carefully positioning all the elements to try to create nicely composed scene. A rock here, a stone there, some weeds here, some grass there – it should all combine to create a credible picture but one that is nice to look at too. I’m enjoying finding that balance between real life and a pretty picture.
Grass is not one color or texture. There is a gentle variation of color within the strands but a group or area of grass strands can have several ‘sweeps’ of color. By mixing the colors of the static grass you can have a nice variation of color at a ‘granular’ level but by using an airbrush you can capture those colorful sweeps as well.