I finished the diorama this week and I’m happy with it. The initial plan for the project was for it to help me organize my new dedicated modeling room, figure out a good time to model during the day, and get back into things after a 2-3 year break. As such it was supposed to be just a small throwaway project using a cheap plastic kit and a not-very-original concept of a country depot. I did not want to scratchbuild or kitbash and used commercial products as much as possible. As these things do the project ballooned into something a little bigger to allow me to work on ideas and techniques that had been swirling around my head while I was away from modeling.
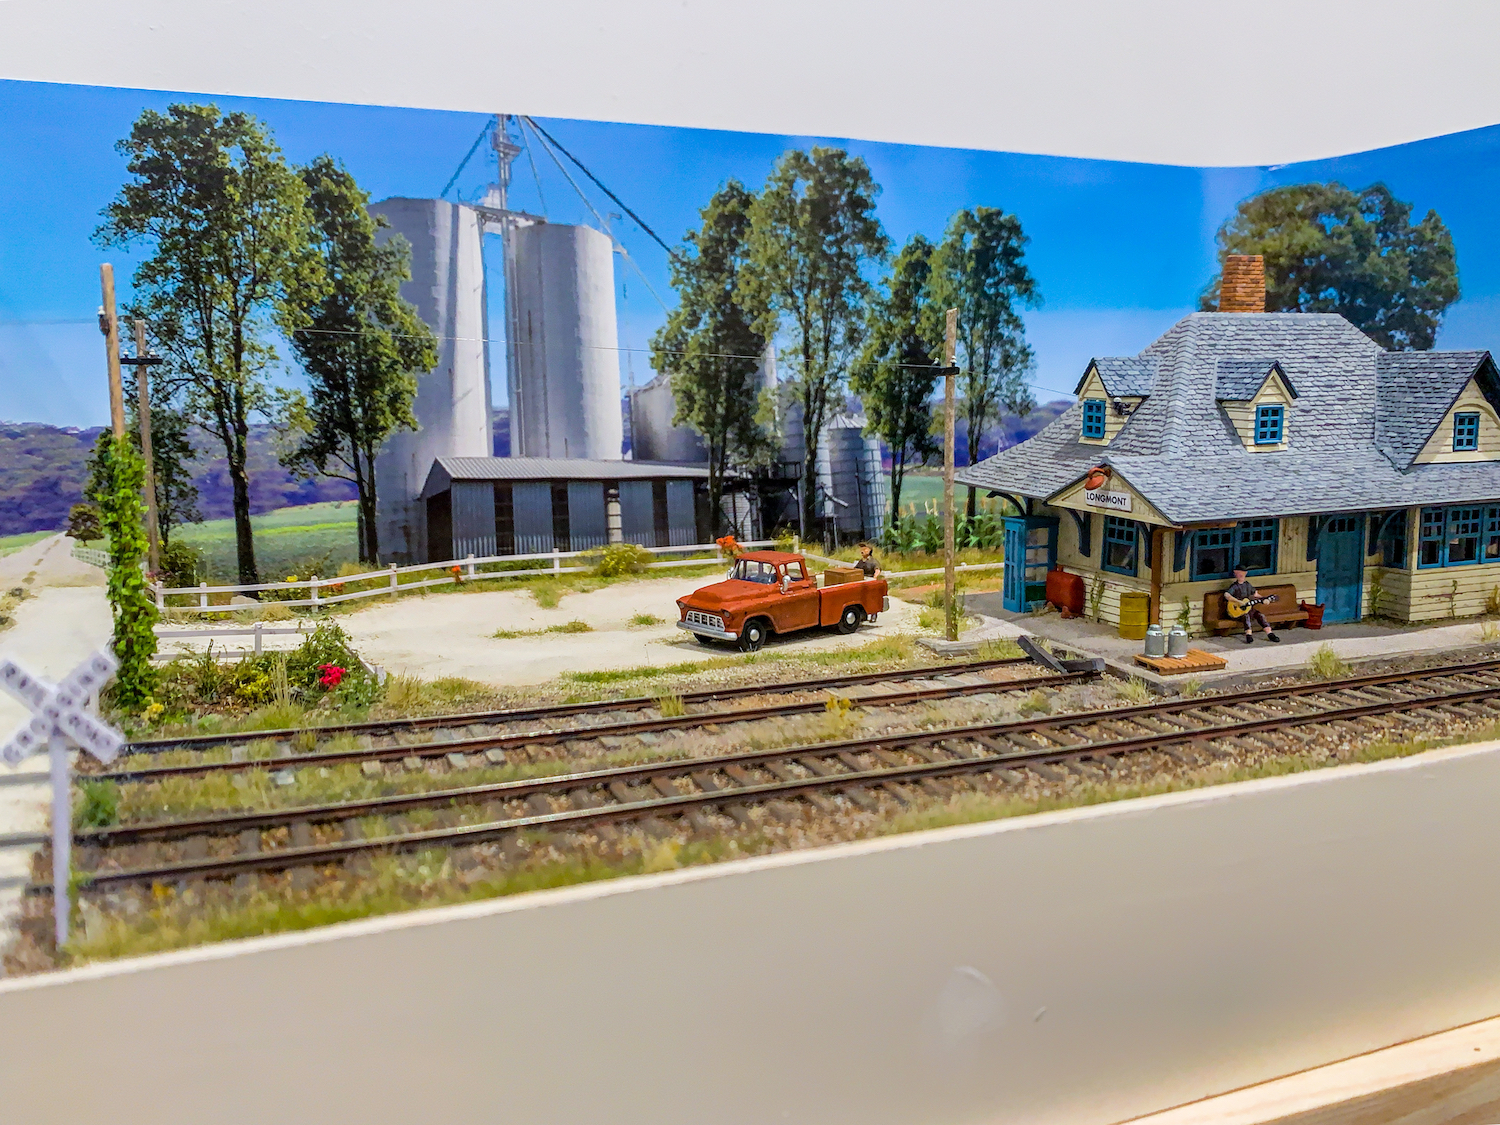
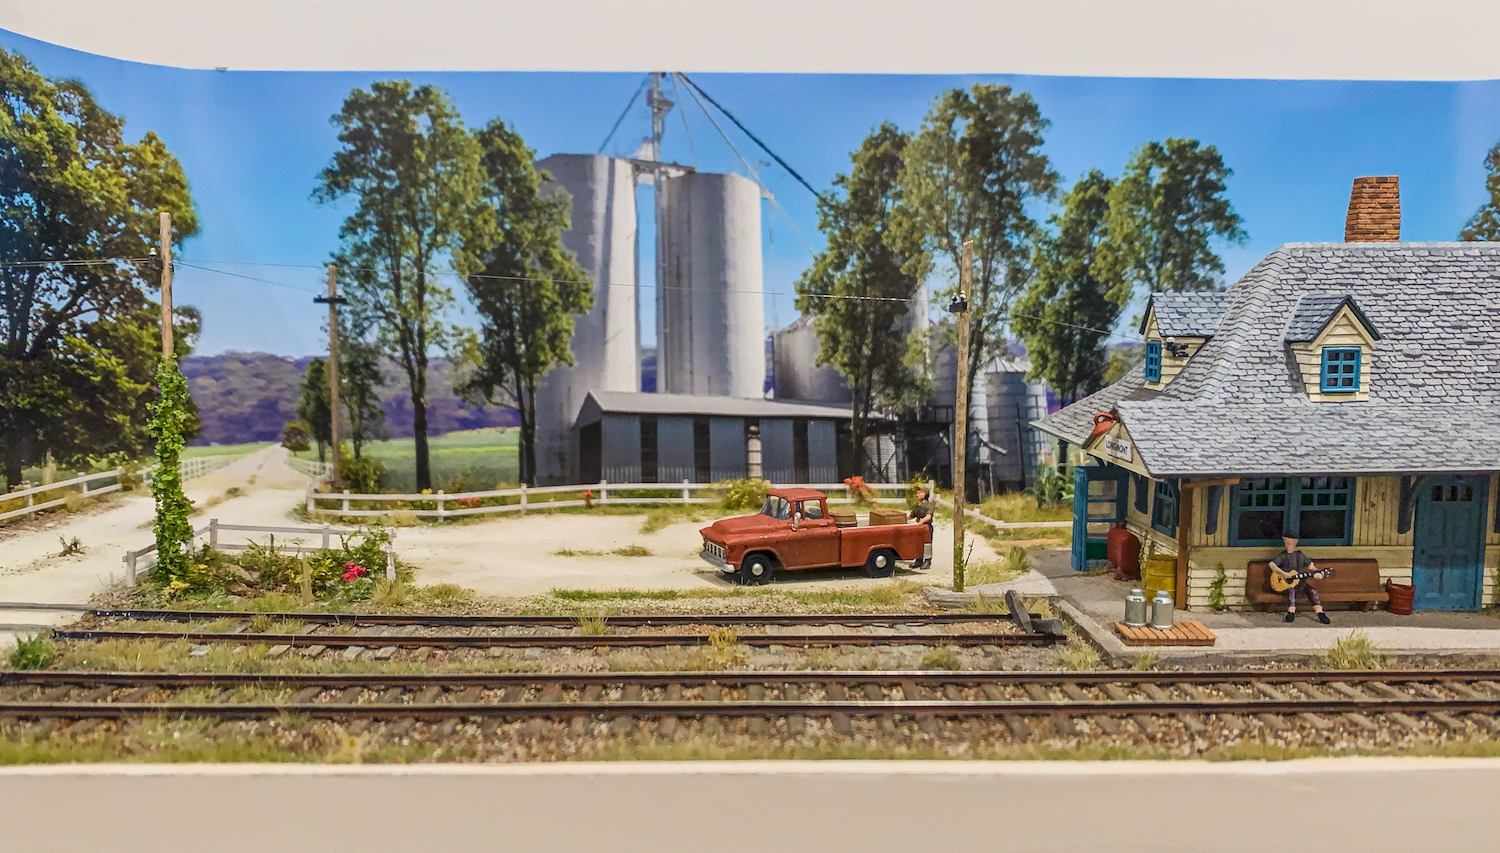
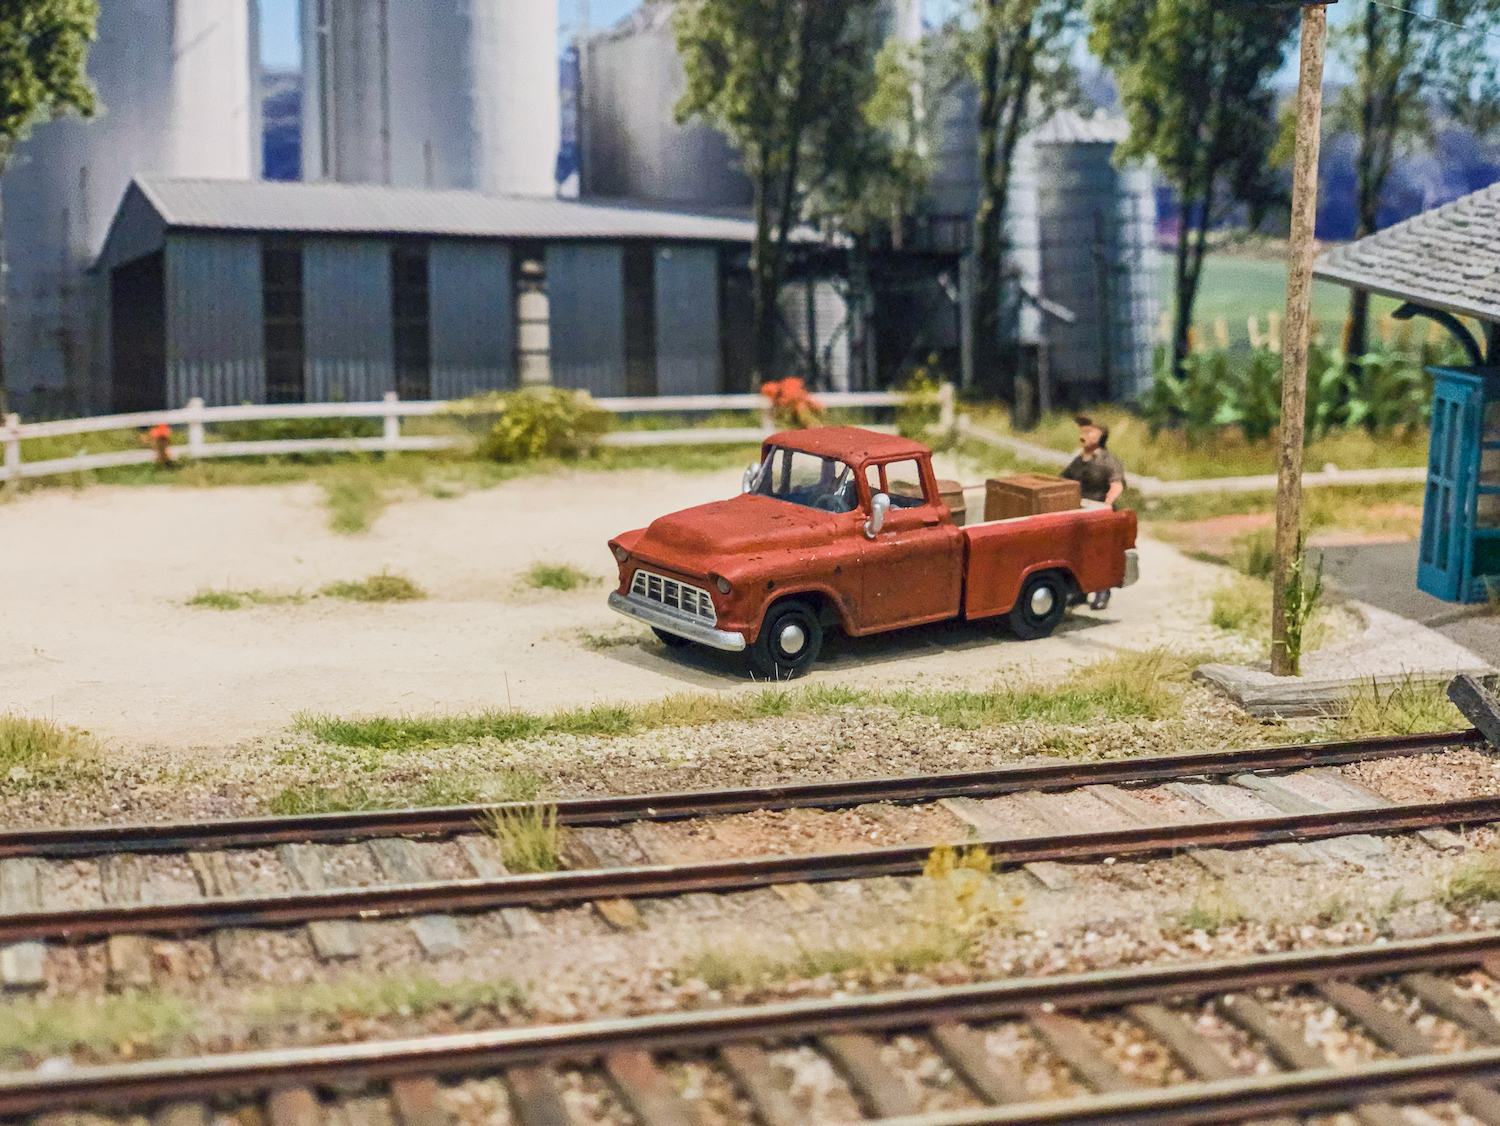
When I built my first layout – The Depot – I wanted the overall aesthetic to be a hyper-realistic miniature world with a limited and toned-down range of colors. On this diorama (called Longmont) I wanted a more idealized, saturated and toy-like appearance; a look that captured the warmth and beauty of the heartland. There is something much more joyous about this model compared to the previous models I’ve built. I’ve been very influenced by Tom Johnson’s style of modeling and felt that that was a direction I wanted to go – but with my own twist on it. I still have a long way to go before I model anywhere close to as good as his modeling but I’m happy with my own progress so far.
I also developed a modeling routine whereby I was able to carve out solid modeling time during the week: 1.5 hours per day, 6am to 7:30am, at least three out of five work days and then around 3 hours on Saturday and/or Sunday – again in the morning, leaving me free to attend to family stuff for the remaining time.
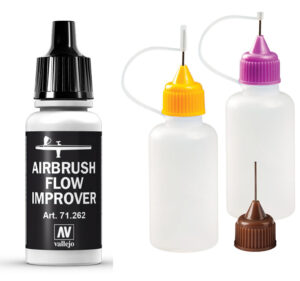
I learned a lot and became a better modeler in the process. I’ve developed solid airbrushing skills. I switched paint brands to Vallejo Air and started using their Flow Improver to prevent airbrush clogging. Now my spray painting is faster, more precise, and has a nicer finish. I started using precision-tip application bottles to apply any liquid (glue, alcohol, paint) where I needed tiny amounts in tiny spaces. I figured out how to ‘plant’ tiny bits of vegetation using wire and thread so that I can just place two or three strands of a plant firmly in an exact position. And so on, and so on. If anyone has any questions on how I did something just post a request for the method and I’ll respond with a stop by step description with photos.
Wins:
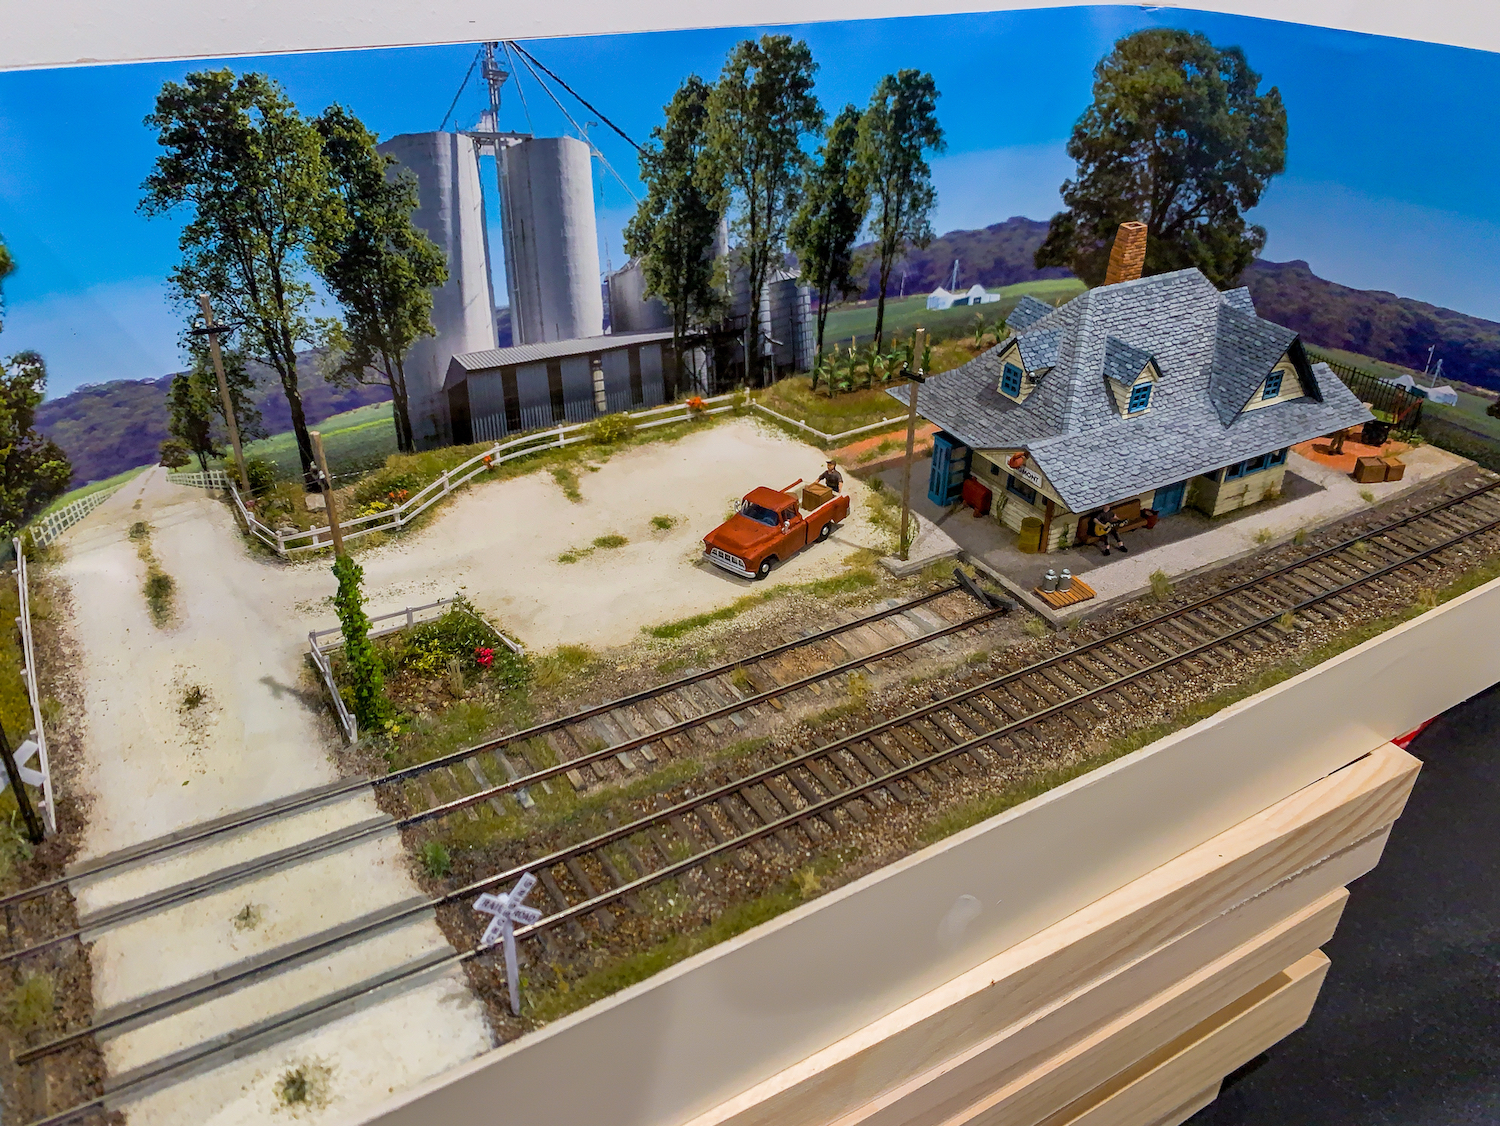
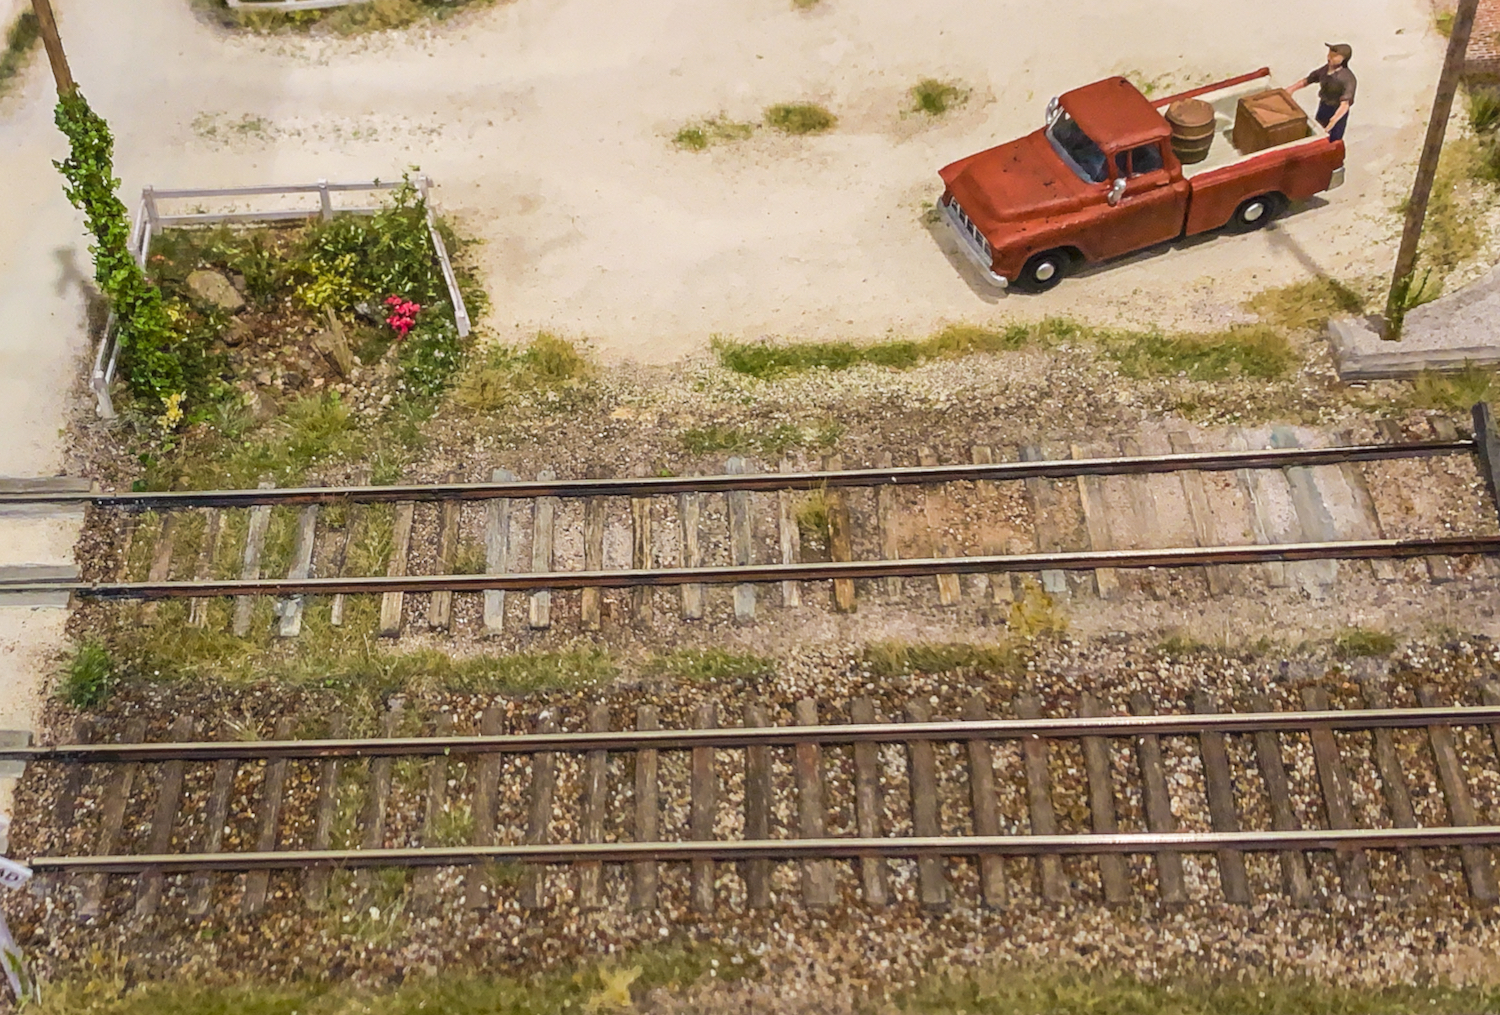
1. Track detailing: in my opinion if you can get the look of the track right then the rest of the model just falls into place. I hand-laid my track on this model as I find it much easier to model trackbeds if I add the rails after laying and weathering the ballast. Another thing I tried to get right was grain sizes for ballast. Most commercial ballast has a too uniform size and color and is often over-scale. Therefore I made my own ballast from real ballast stones collected during my rail-fanning trips. I have various jars of stones labelled with the location they came from. I grind the rocks up in a mortar and pestle and then use a filtering process to get just the right size needed for the area they will be used in.
2. Surfaces: road and platform – I developed a technique to create realistic grainy surfaces with cracks. This is especially important for creating asphalt. I used it for the platform and if you look closely you can see cracking on the surface.
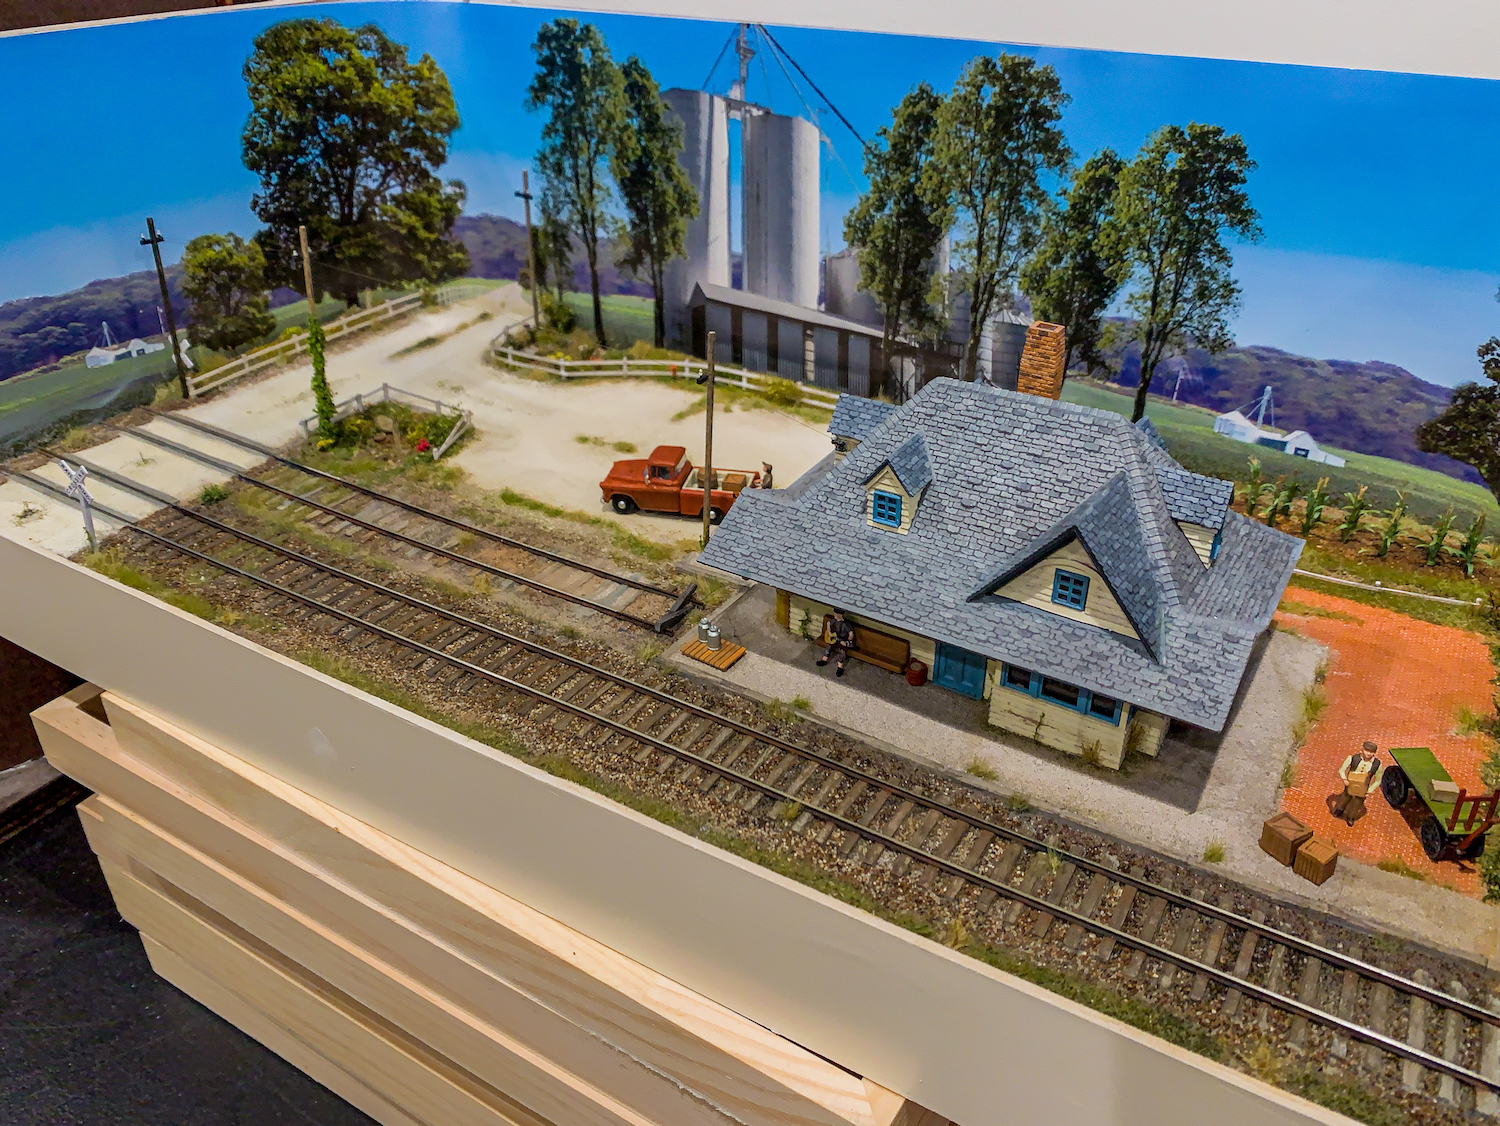
3. Aesthetics: I wanted gentle weathering and strong colors. Buildings and details got a gentle wash to tone down the paint and then I used chipping fluid to create a few cracks and chips. Overall I wanted a very toylike or cartoon appearance without losing too many elements of realism such as weathered track and realistic surfaces.
4. Grass: I starting using nose hair clippers which allowed me to cut away strand at a much more precise level than before. I wanted to avoid the splayed effect of tufts and did ok – still away to go before I ‘have it’
Fails: there were several ‘fails’ and these are on my list to improve:
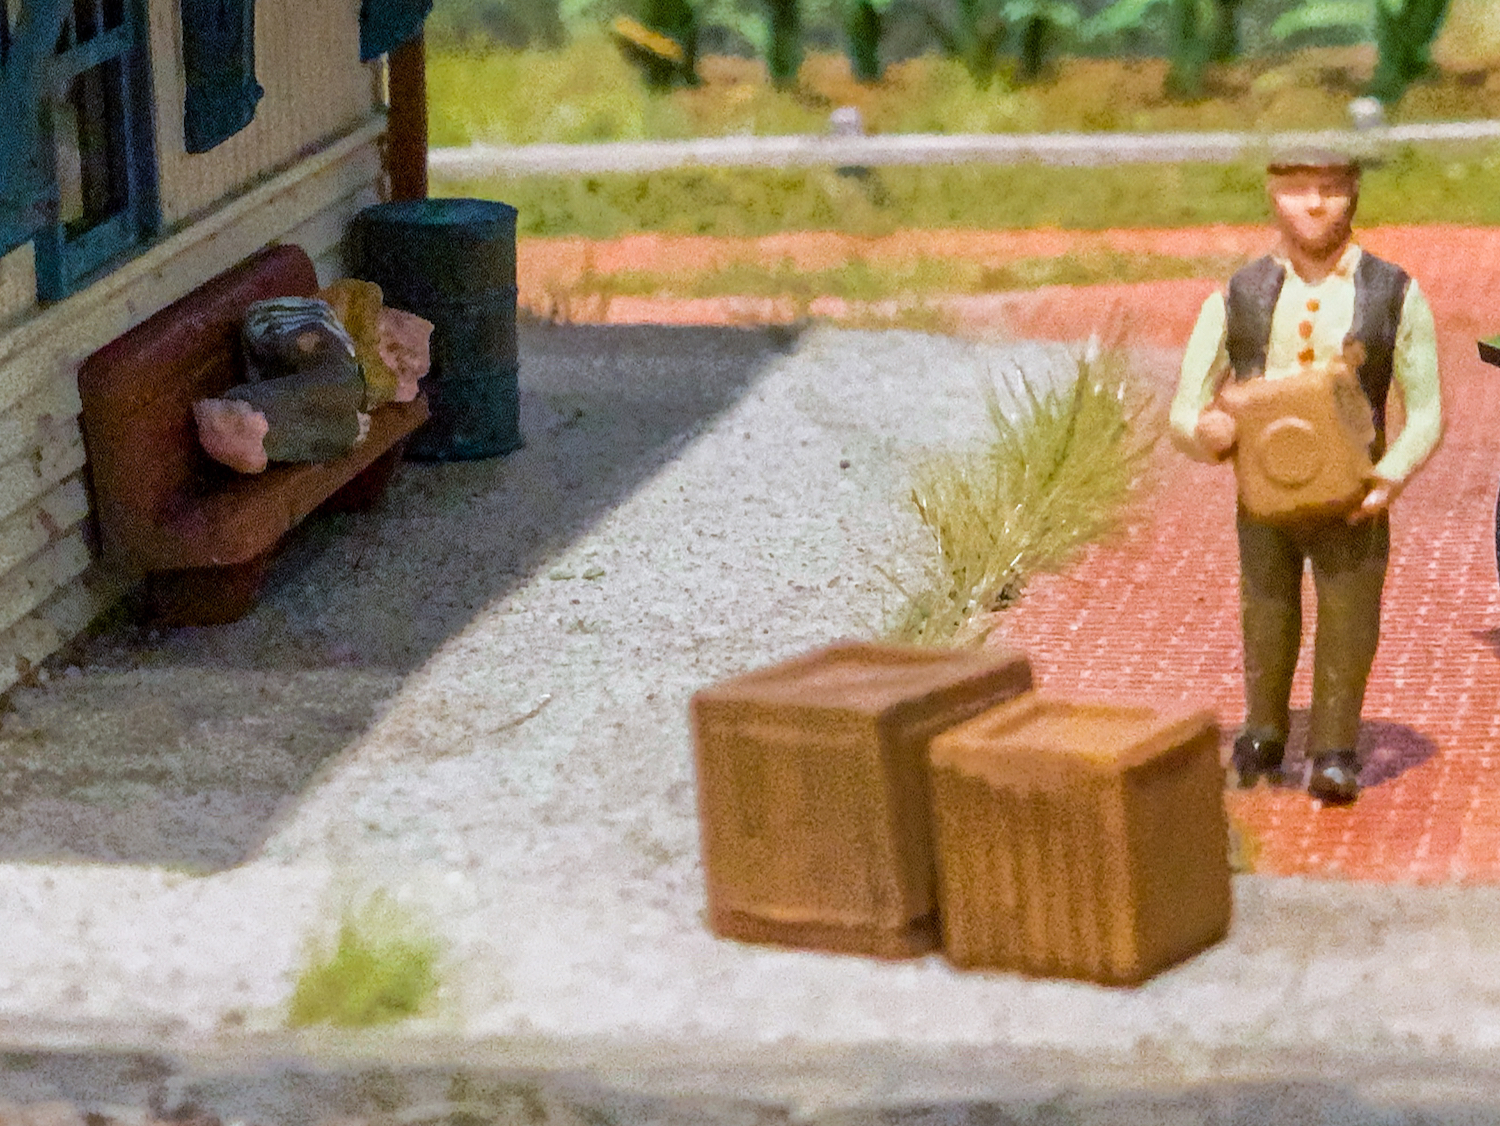
1. Detail parts: benches, boxes, vehicles, people etc – I used what I had in my little parts box but in many cases they don’t stand up to close scrutiny. For my next model I will make sure to use details that look sharper, are better painted and weathered, and match the overall model better.
2. Grass tufts: the grass tuft on the roadway didn’t look great. I attempted to do realistic grass tufts and tore them out at least twice before deciding to clear them altogether and just add some small bits of vegetation. They still don’t look right but are better than before. I may tinker with them some more.
3. Roadway surface: the roadway originally had a nice powdered and gravelly top-layer. However in my attempts to model center tufts in the road I destroyed the surface and was never able to get it back to the one that I originally laid down.
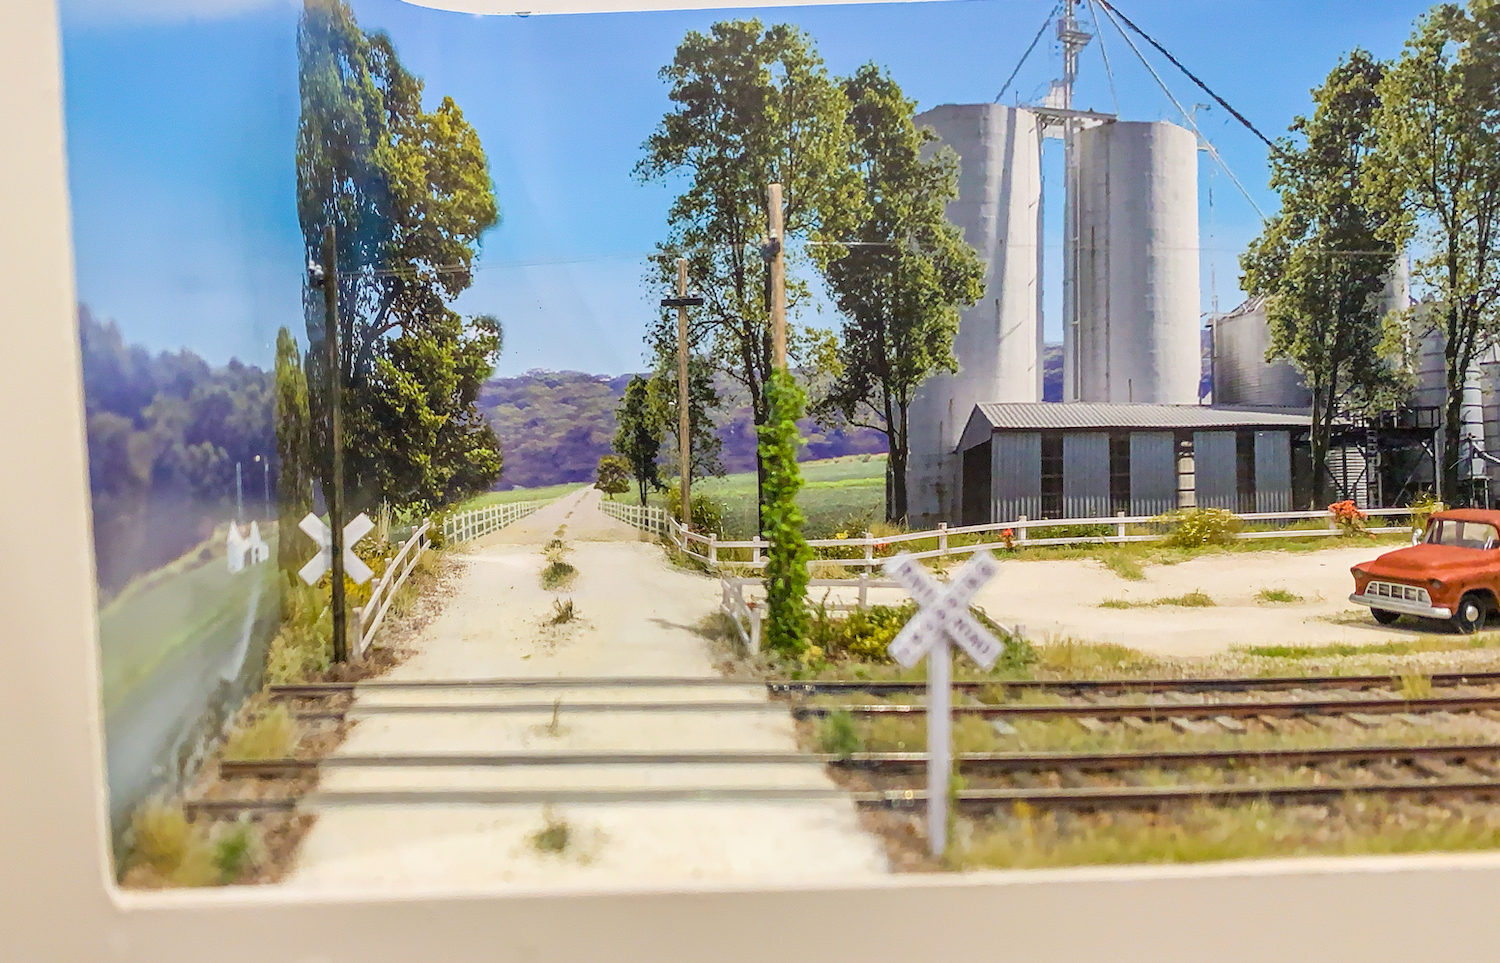
4. Backdrop roadway fade: I was never able to get an exact match with the model. I have since figured out how to get the match to work but it was too late for this model.
5. Baseboard: there is a slight bow in the board caused by the moisture from the model. This was my first ever use of extruded polystyrene foam board and didn’t realize that I needed to brace it before using it. Lesson learned for my next model.
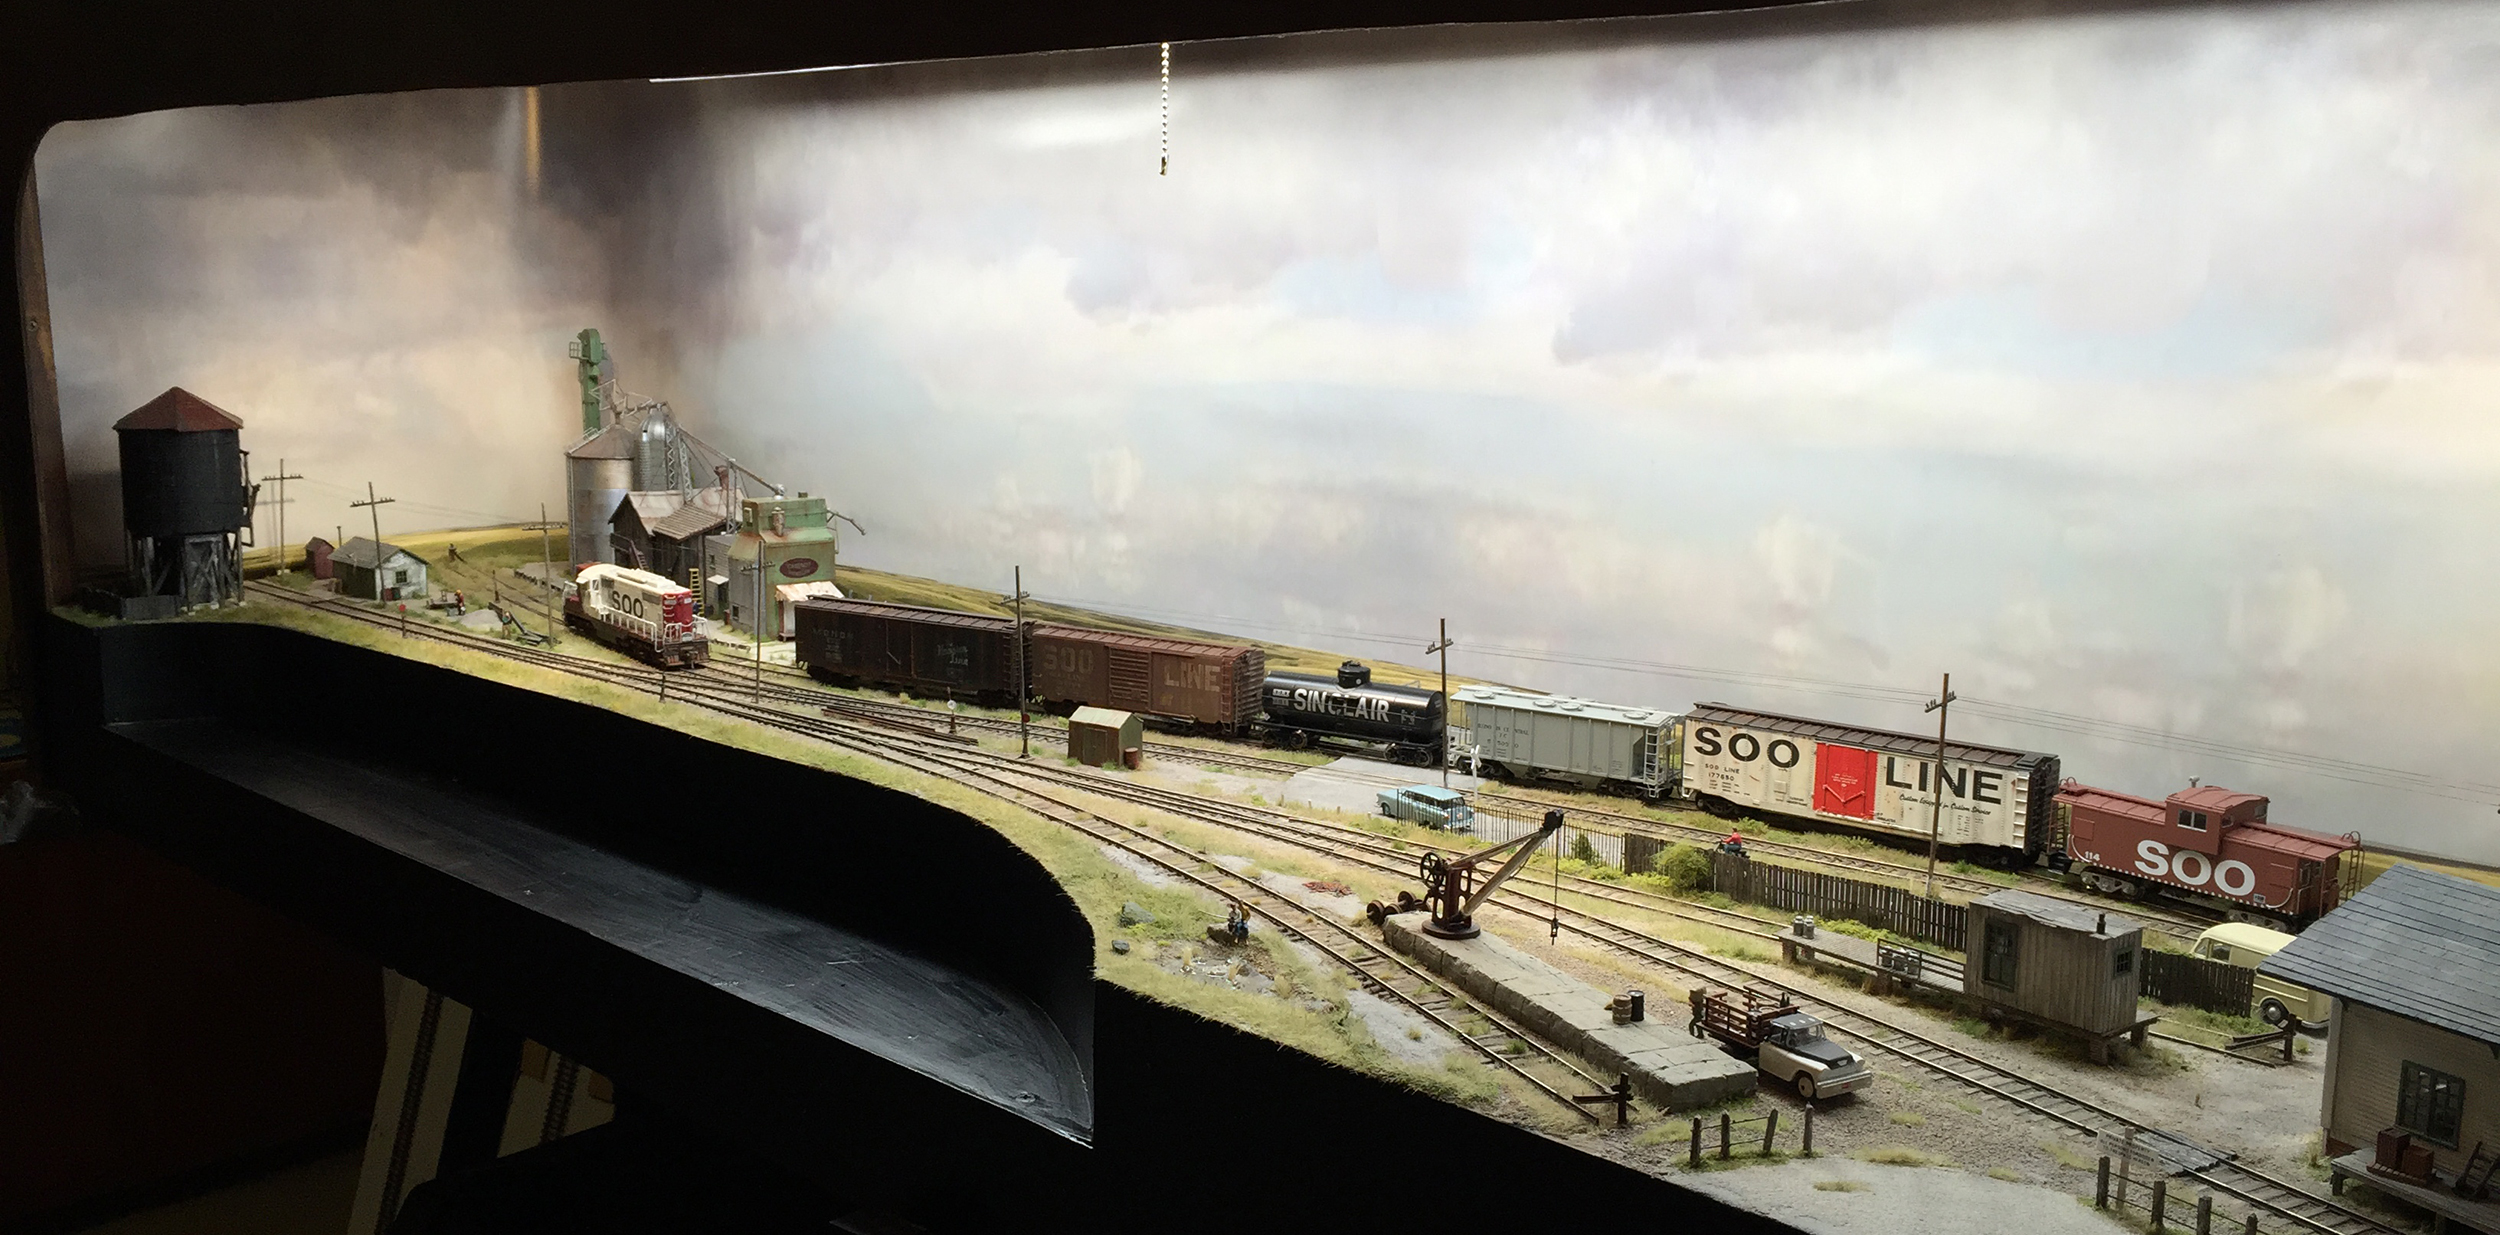
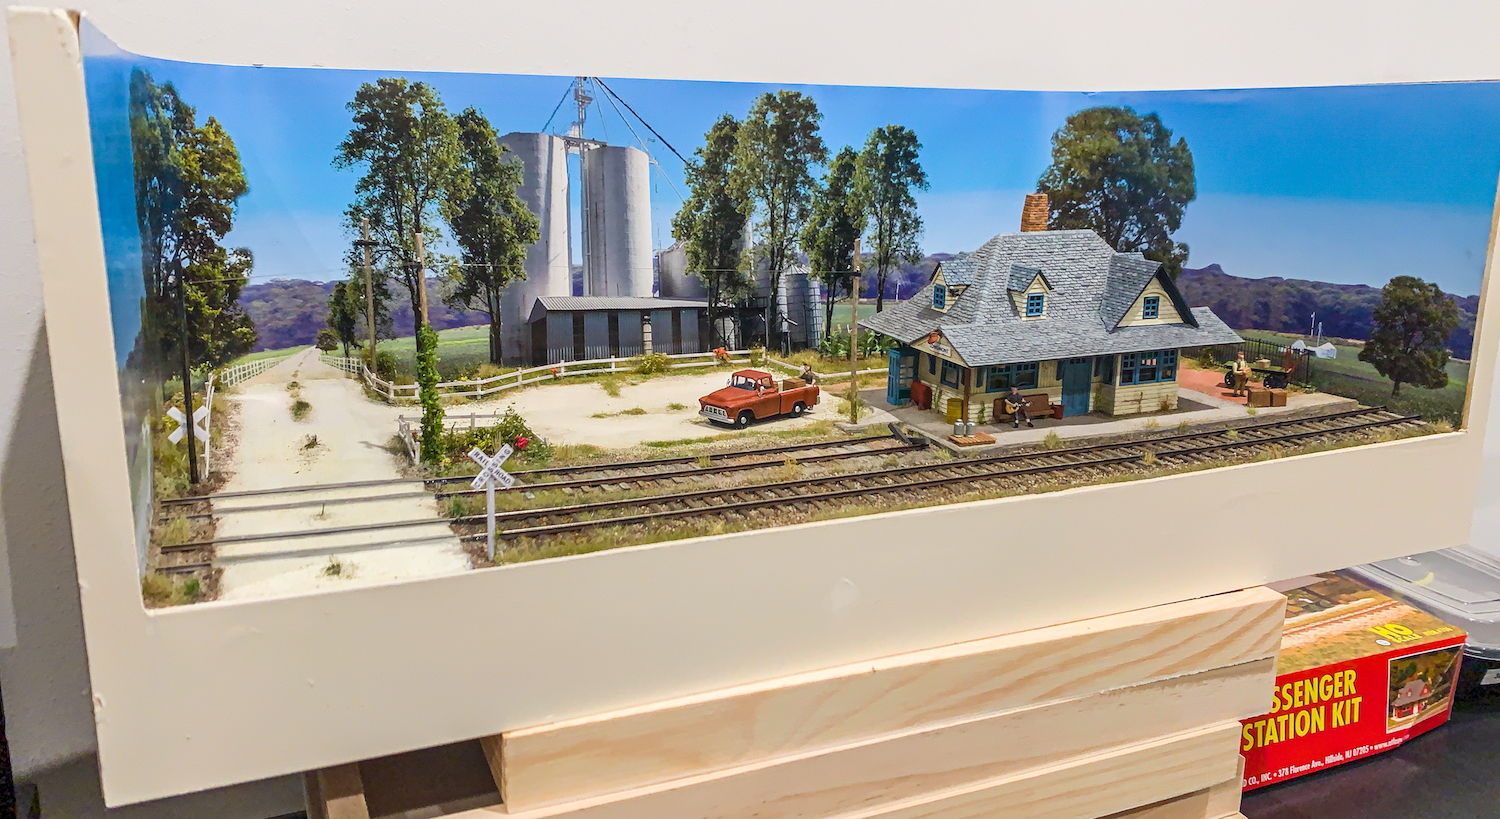
Anyhow here are some photos:
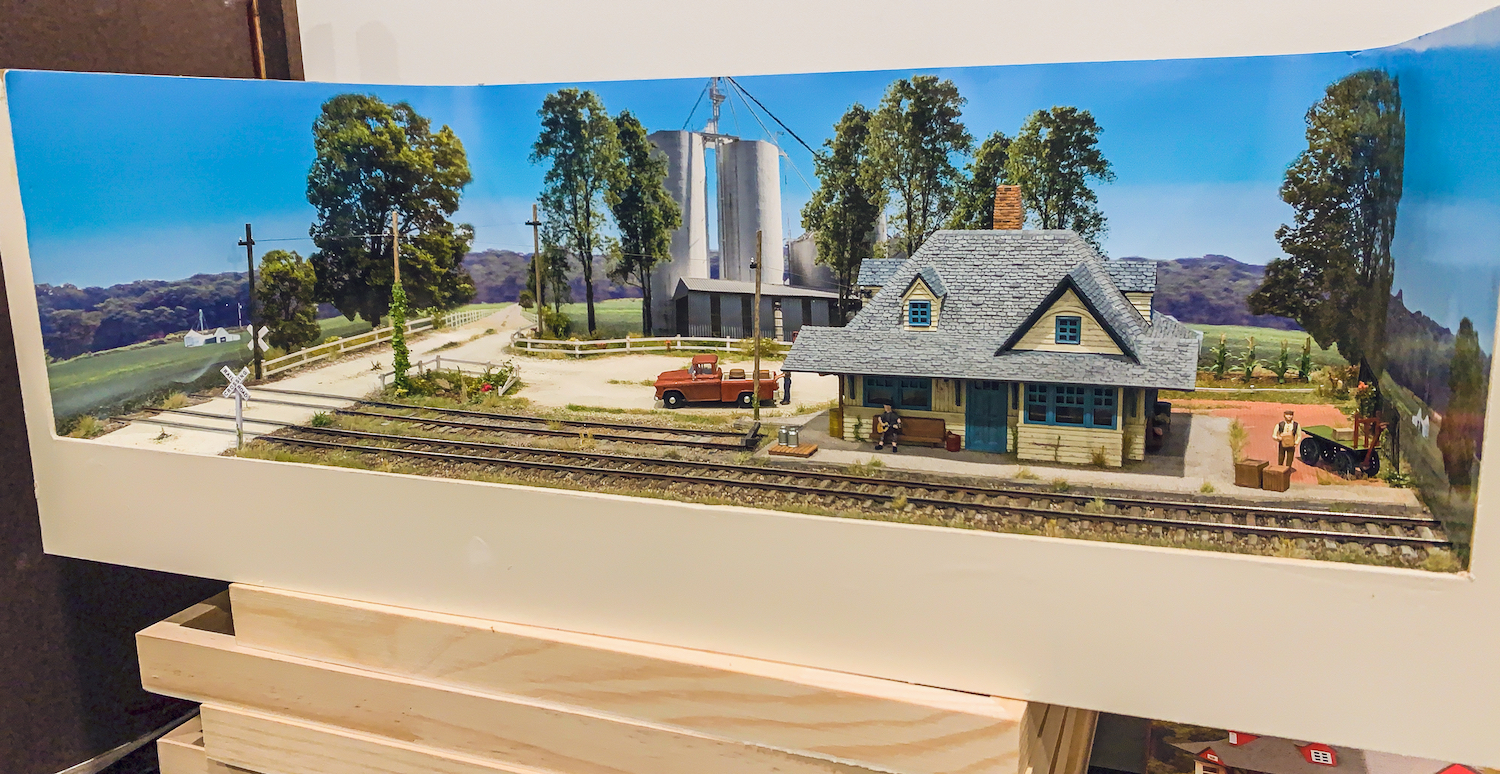
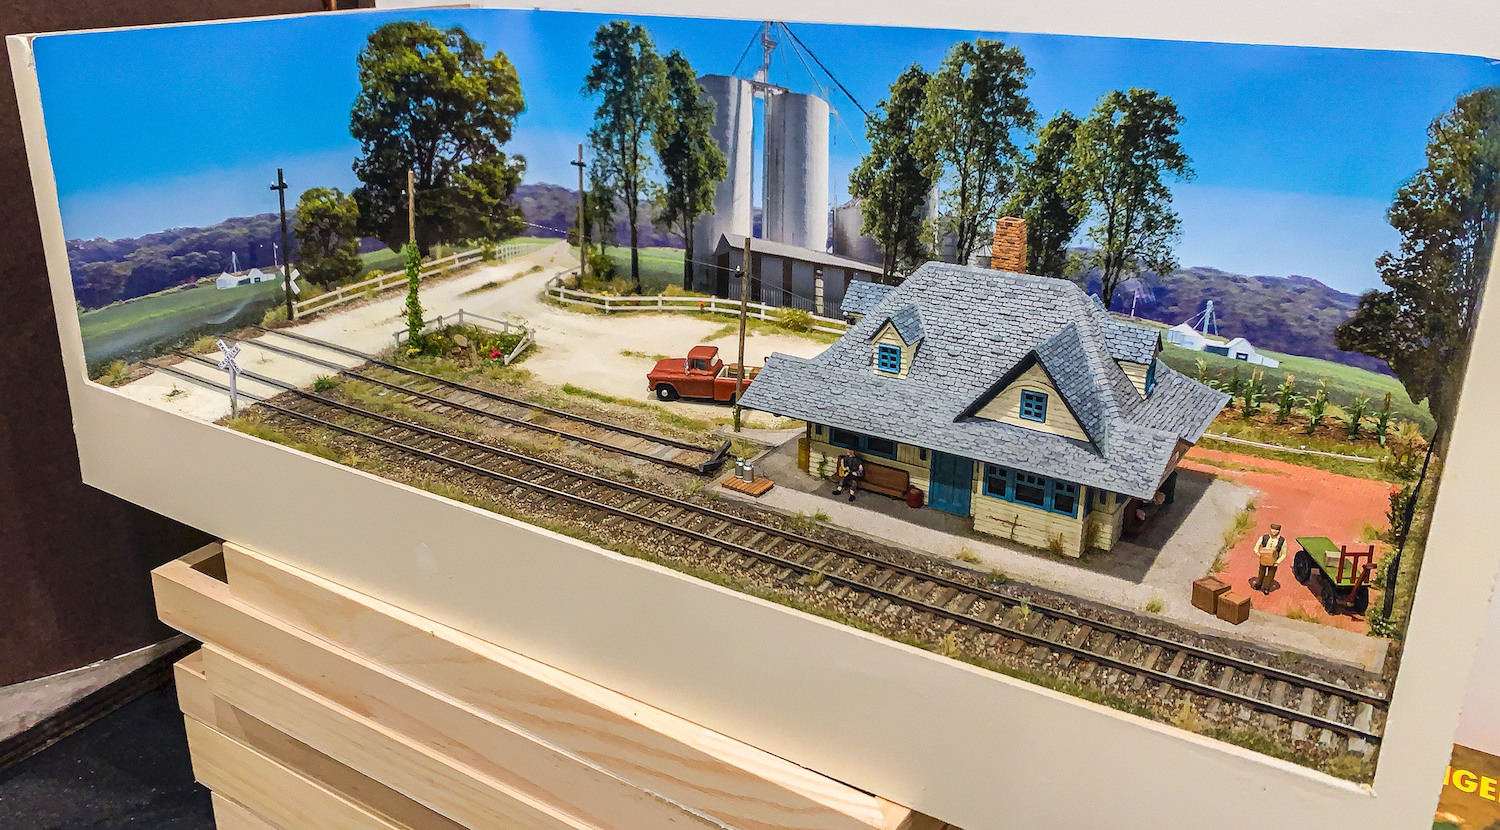

So overall I’m pleased with it. I excited about this new aesthetic direction (toy-like, heavily saturated etc) and can’t wait to start modeling my new layout.
New Layout
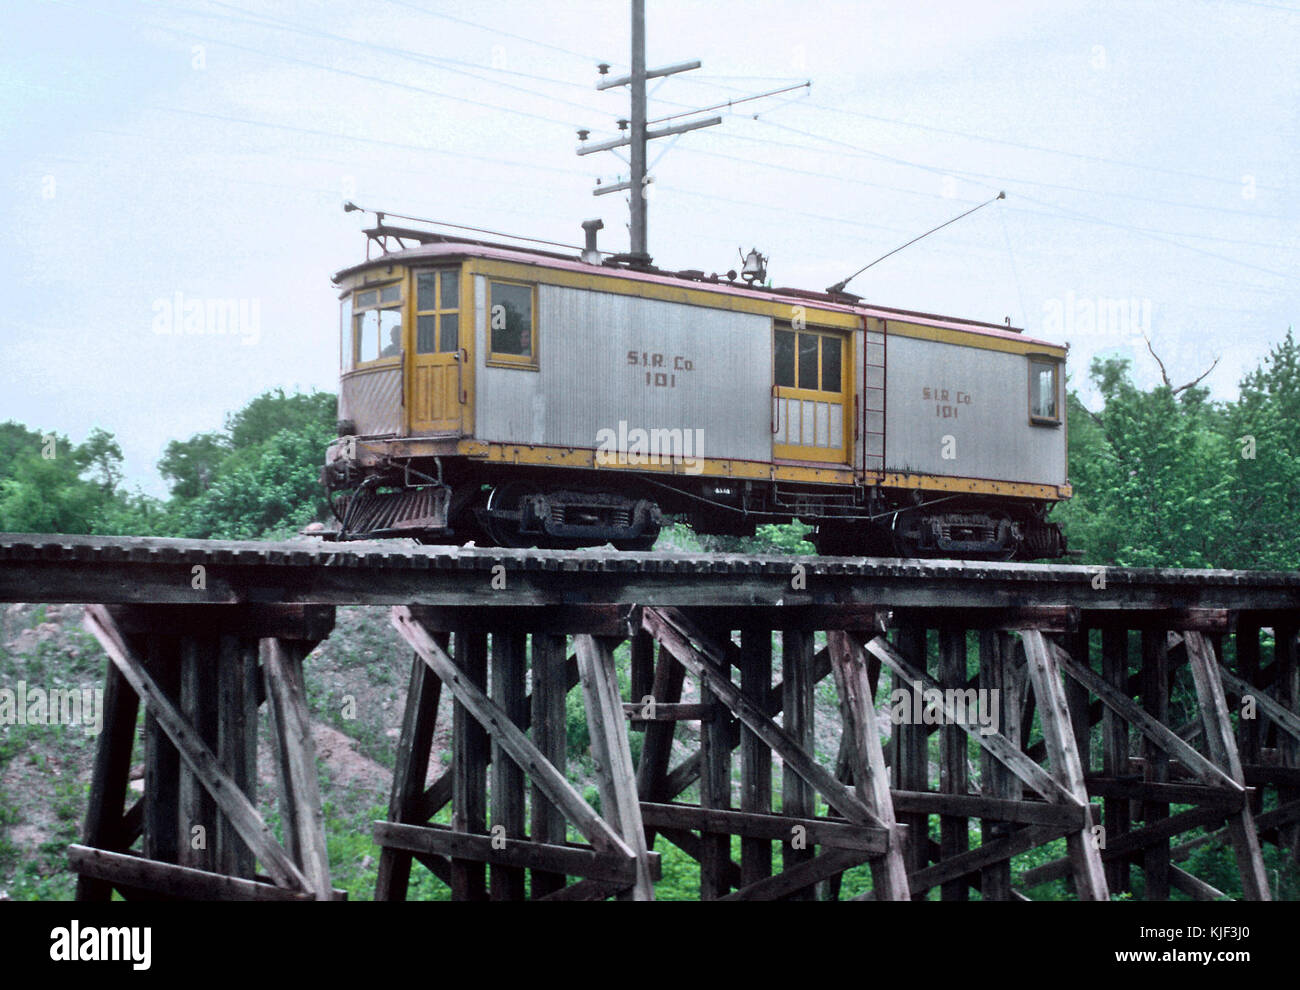
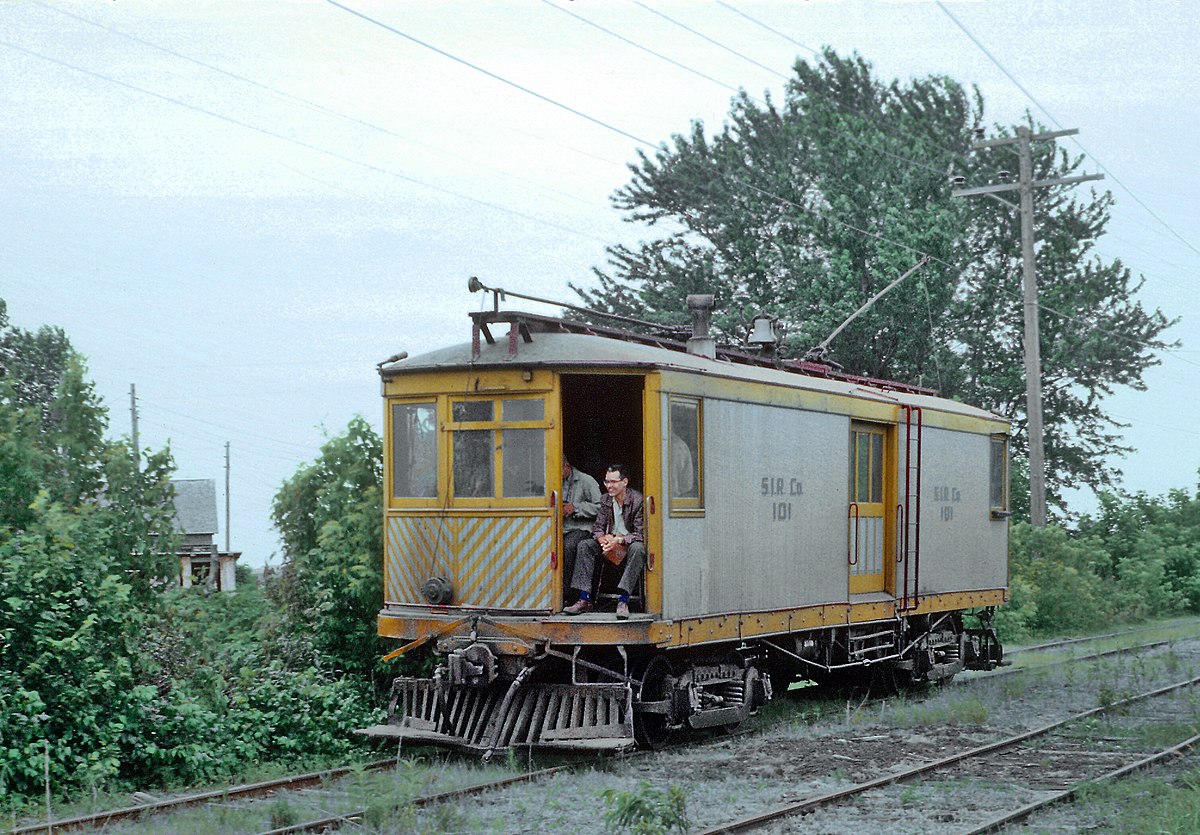
I am starting the planning for the new layout this week. I’m thinking of the Southern Iowa Railway as the starting point but a freelancing it and adding scenes and structures taken from a variety of railroads around the country. More on that another time.