
I used a home made tie spacer jig to assist me and speed things up.
by Kumar Desai
I decided to take a couple of weeks off from The Town wiring project to focus on some experiments and learn new skills. In particular I wanted to try out Iain Rice’s tracklaying methods for finescale OO track (called P4 in the UK) and apply them to USA track.
 In his 1991 book Finescale Track in 4mm he runs through his tracklaying method process in a step-by step-manner and I had the book in front of me while I conducted my tests and practiced his methods.
There were several things I wanted to try. I wanted to:
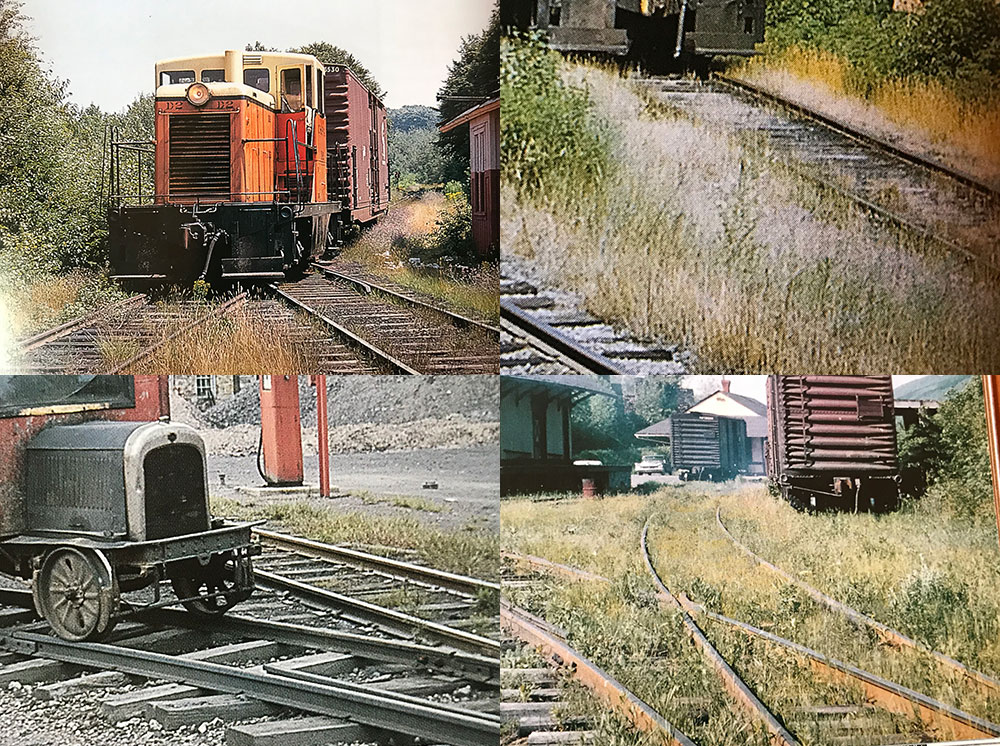
In line with previous experiments I selected four pictures of trackbeds (that I had blown up at my local Walgreens) to try to replicate using the materials at hand. I also created a few test platforms to build these sections of track upon. I’m also making other tools where needed to assist me with the construction of the various parts the trackwork.
I have several misgivings about the two main methods of tracklaying: spiking rail and solding rail to PCB ties. I’ve tried both methods.
I find that the spikes too noticeable in close up photography and shout ‘model’ or ‘toy’ when detected on a model railroad. I’m fully aware that some of the greatest model railroads used spikes throughout their track construction (Gorre and Daphetid, Virginian and Ohio) but with those railroads there was a lot of ‘model railroad wonder’ to distract the observer away from the trackwork. Also, with the rise of iPhone photography (my choice of camera) and the ability to place the camera on the track, spikes become much too visible. In addition spikes don’t hold the track very well and have a tendency to move and loosen over time. Lastly I find spikes are a poor solution for laying turnouts as they tend to get in the way of rails that are close together and again don’t hold the rails firmly enough.
PCB ties solve many of the problems of spikes. Firstly after soldering the rail and cleaning up the joint the join between ties and rail is nearly invisible. Secondly the join is firm and will stay fixed over time. This method makes laying turnouts much easier and once again all the parts are fixed firmly to the ties once soldered down. Nevertheless the problems are twofold for me:
I don’t have a lot of information about the origins of this method in the UK but it seemed like the answer to my prayers when I read about it in Iain Rice’s book. The basic idea centers around using tiny rivets that you embed into the tie. Once embedded you solder the rail on top of them. It’s a simple concept in theory but not necessarily easy to do in practice.

I ordered the rivets from the Scalefour society in the UK: https://www.scalefour.org/stores/stores.html
Unfortunately you can’t just order them – you also have to purchase a Scalefour Society membership and then have them shipped to the USA.
This makes the initial cost quite expensive. However once signed up the cost comes down to something more reasonable.
Nevertheless I bit the bullet and had 1000 sent to me. They took about a week to arrive here in California.
I waited for a break in the Town Project before proceeding with my little experiment.
Nothing much to say about this: you can either use a jig or lay the ties one by one.
I used a home made tie spacer jig to assist me and speed things up.
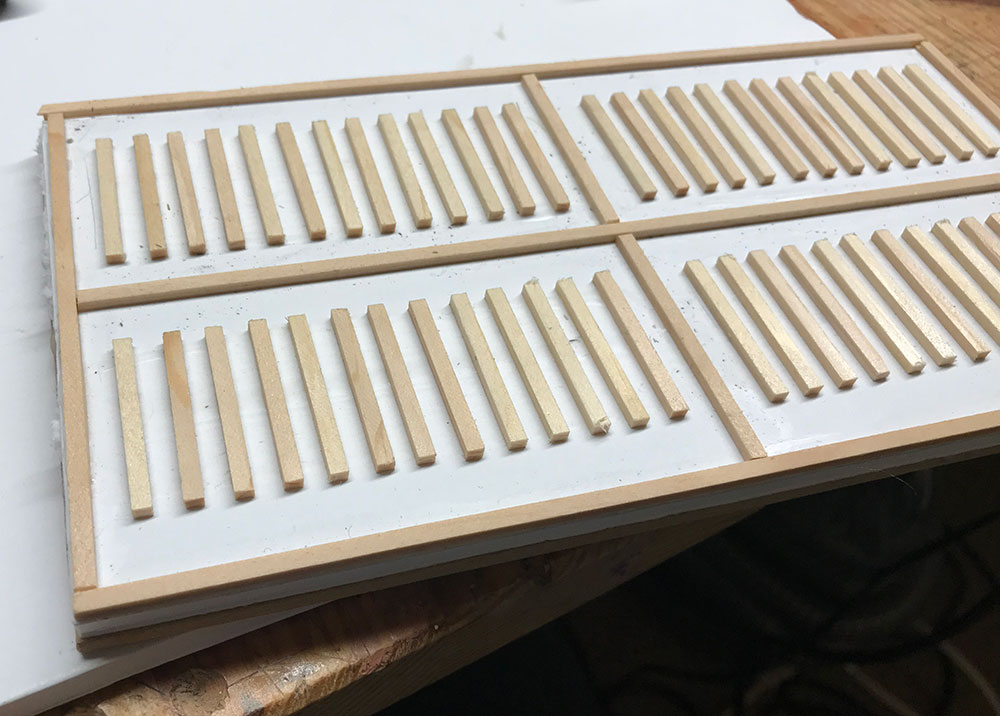
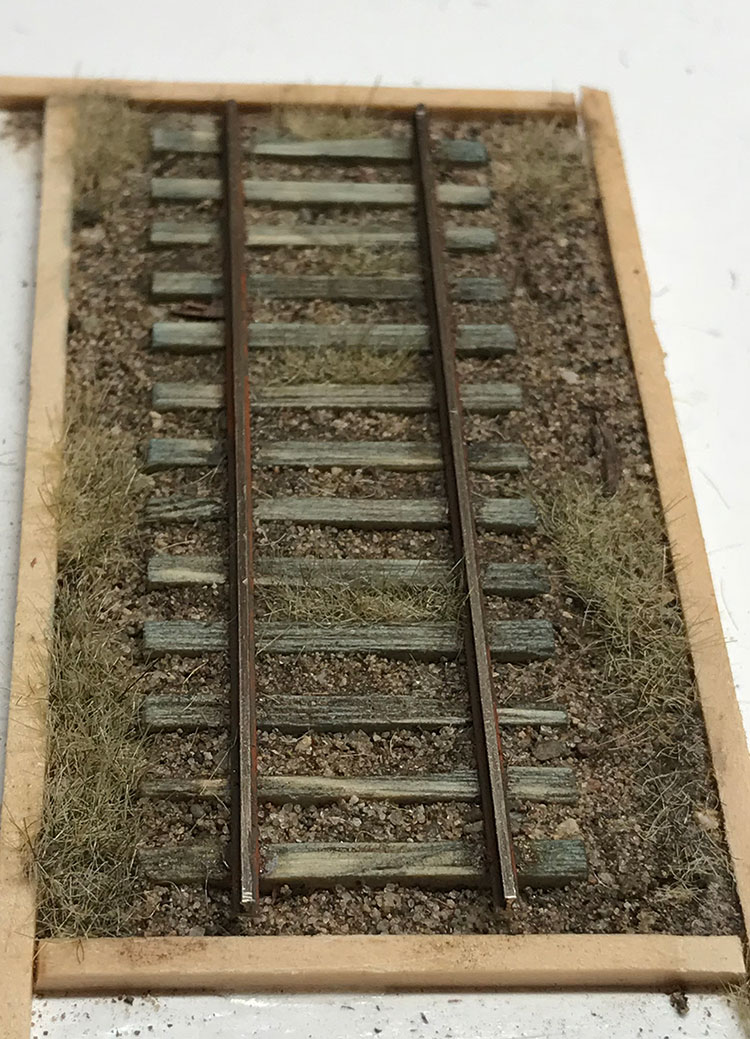
I made myself a little demo platform to test out tracklaying and landscaping/ballasting ideas.
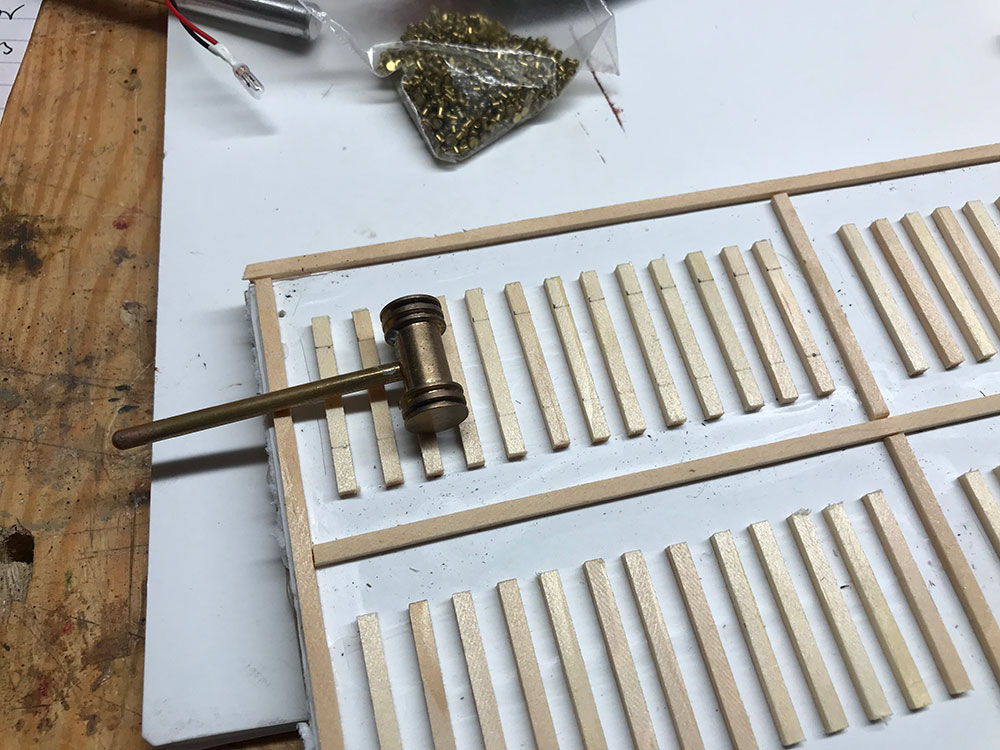
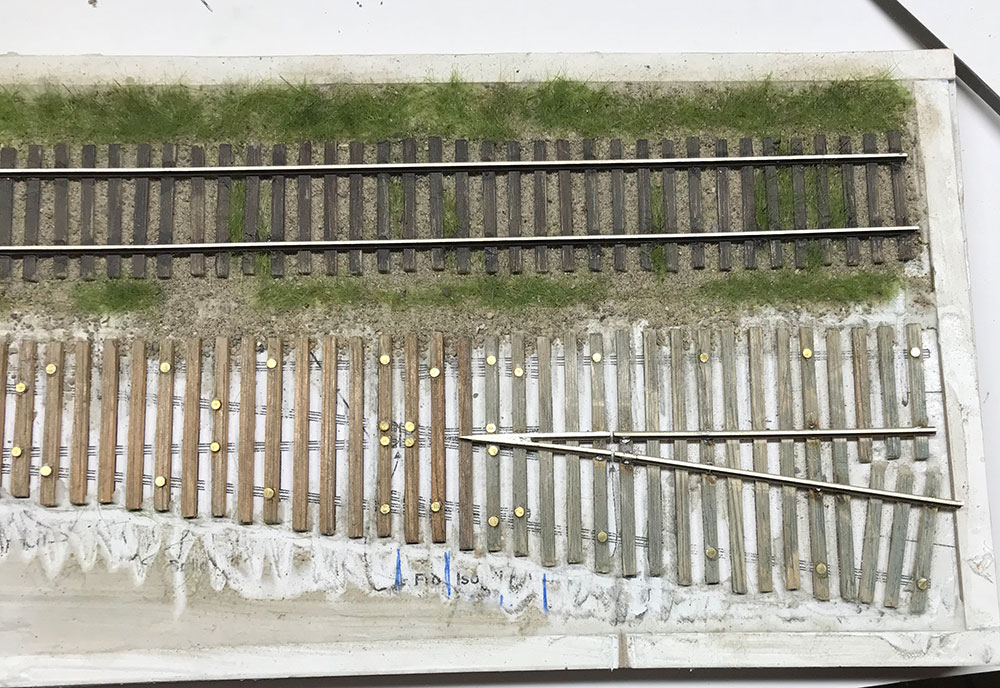
I used a gauge to mark out in pencil the spacing for the rails and the rivets.

I measured the rivet stem and then chose a slightly larger micro drill to drill the hole.
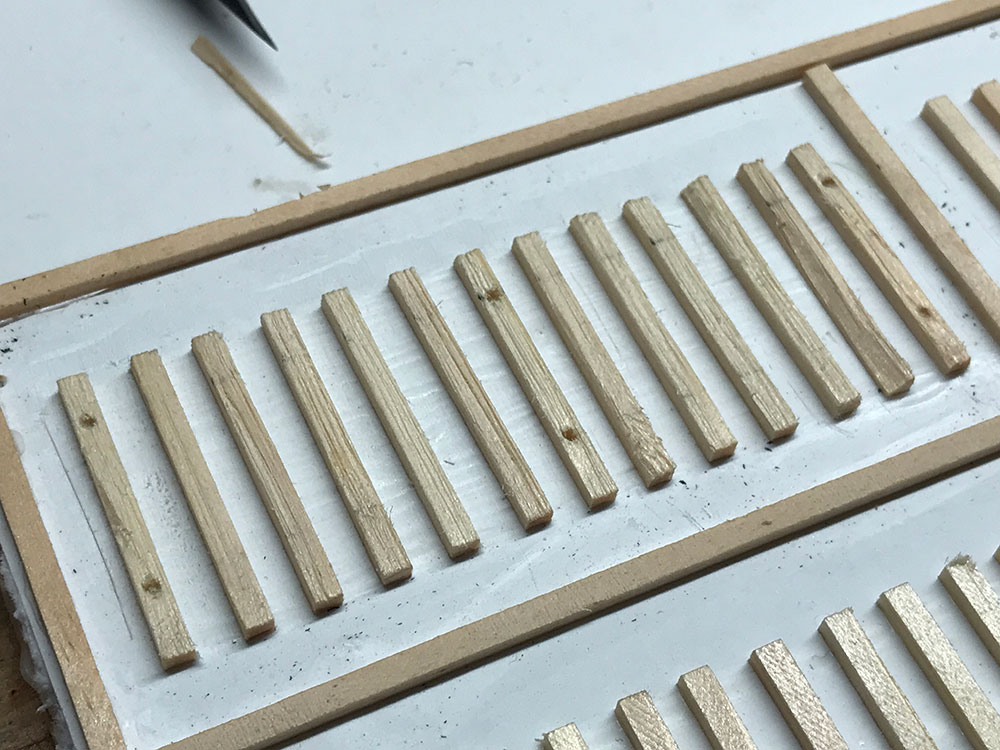
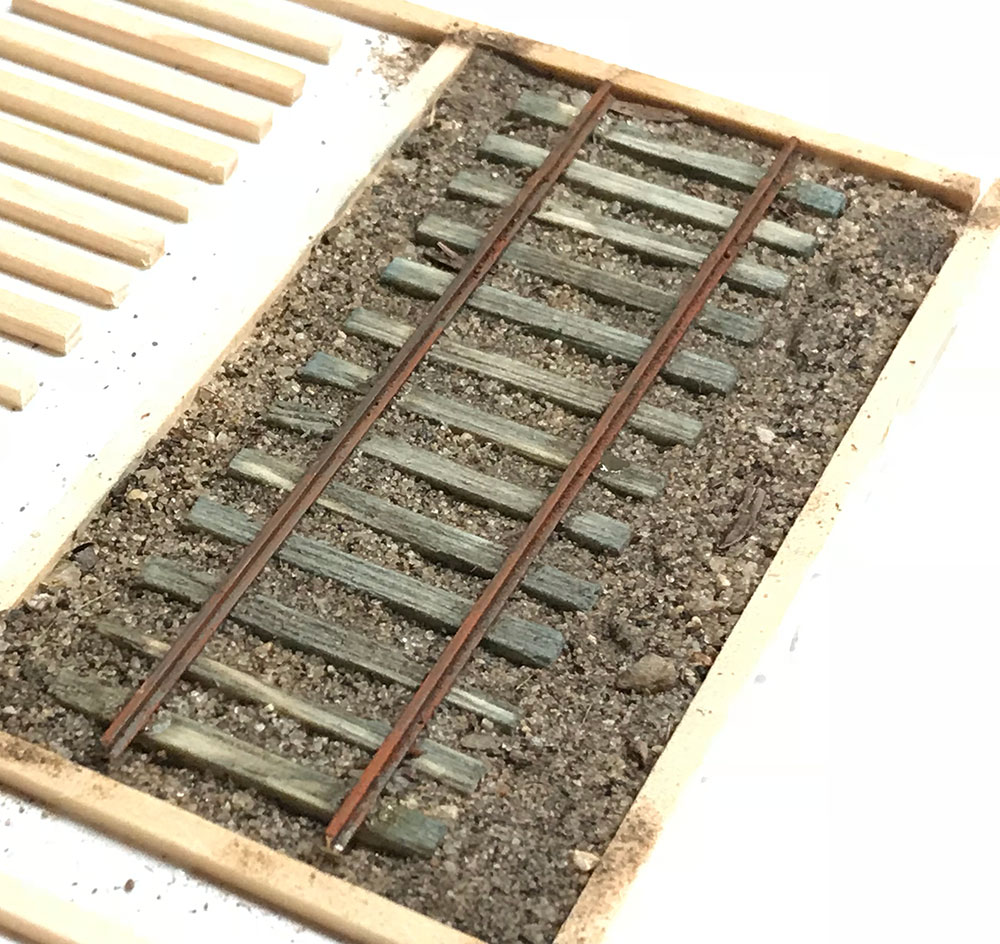
I drilled the holes 5 ties apart. 4 ties apart would probably work better on curves. I also weathered the ties using a wire brush and cut them and damaged them to create the impression of a roadbed that has a poorly maintained backwoods feel.
I decided to weather and stain the ties before fitting the rivets. I prefer to stain the ties with the lightest grey available. You can add darker colors later. It's easier to build colors on top of a light color than a dark one.
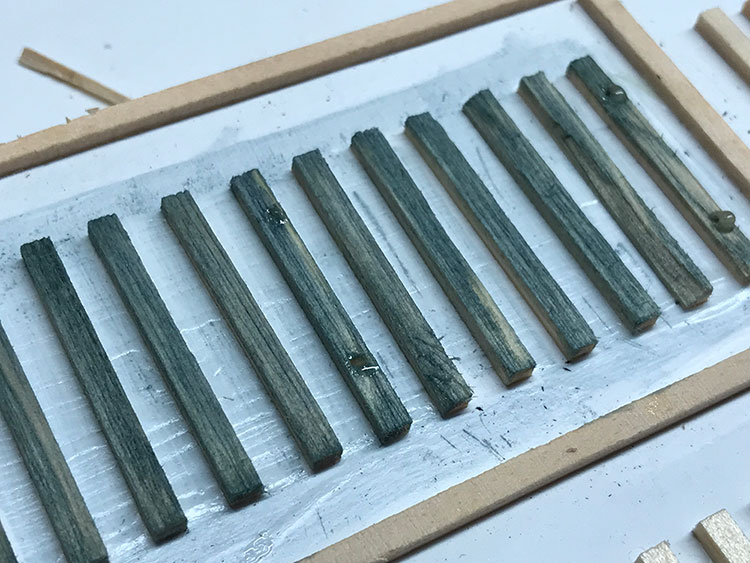
I filled the holes with two part epoxy.
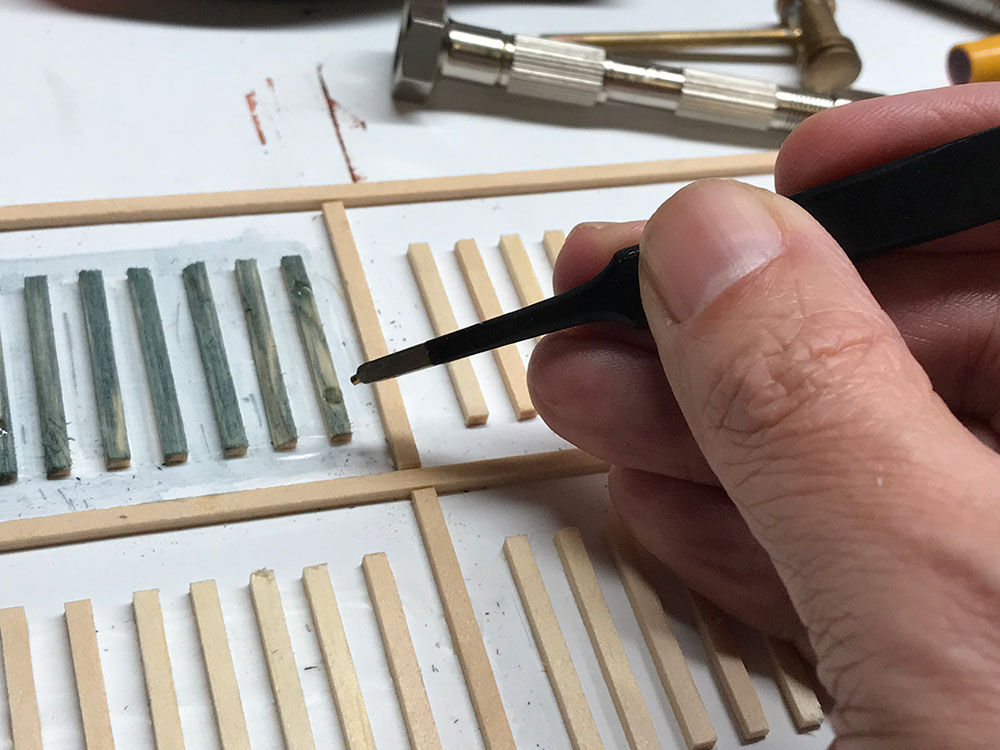
I used tweezers to fit the rivets into each hole
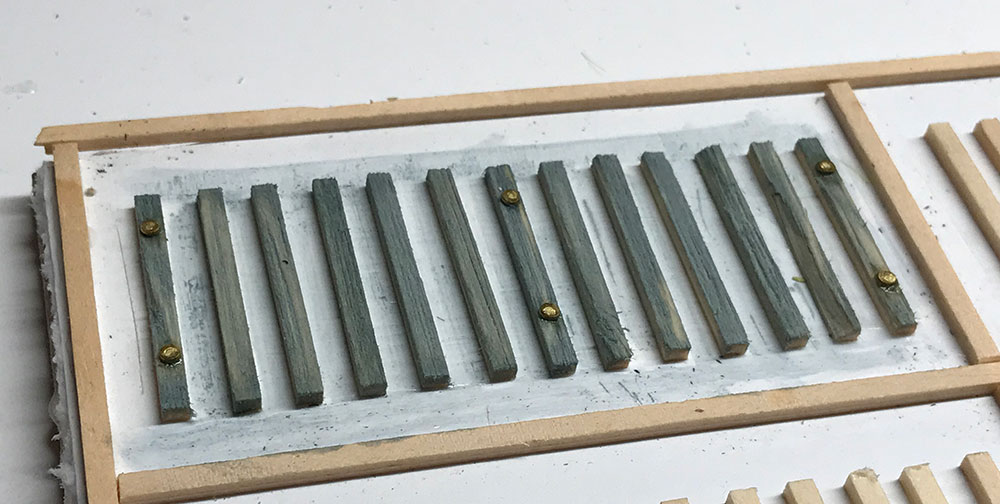
The rivets were really easy to fit and the glue was dry within 30 minutes leaving the rivets stuck hard in the tie.

The Brook Smith method was designed to allow the UK modeler to model UK bullhead track. Bullhead rail is elevated above the ties using chairs. The UK rails are elevated higher than in the USA.
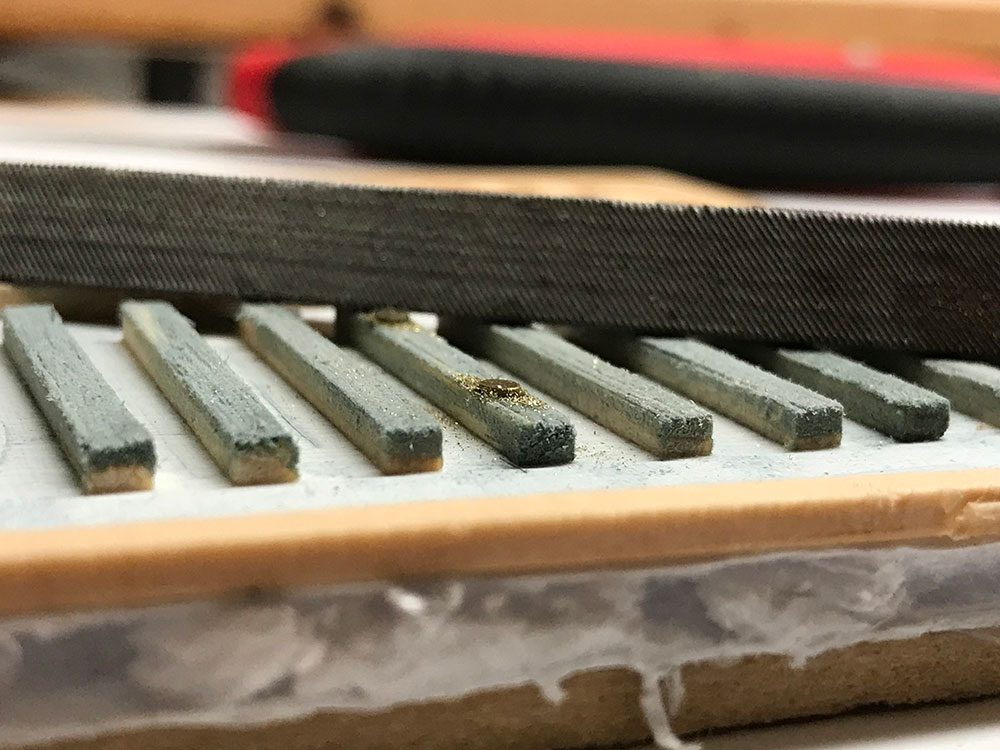
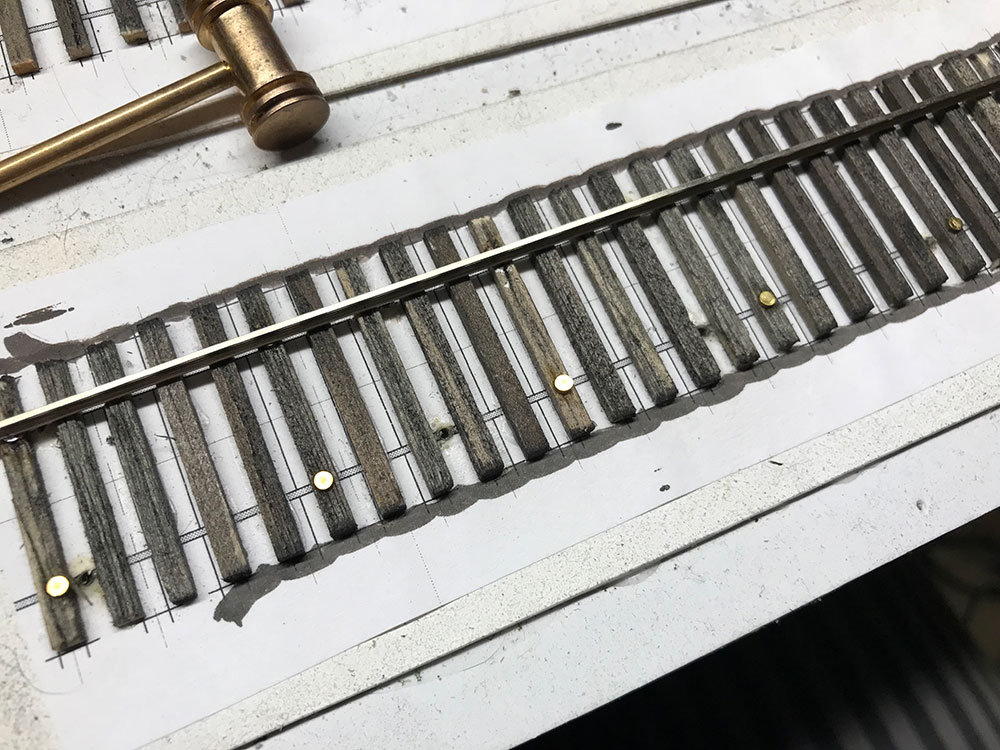
The head of the rivet is a little too high for USA track and needs filing down. The rivets are quite soft and filed down easily.
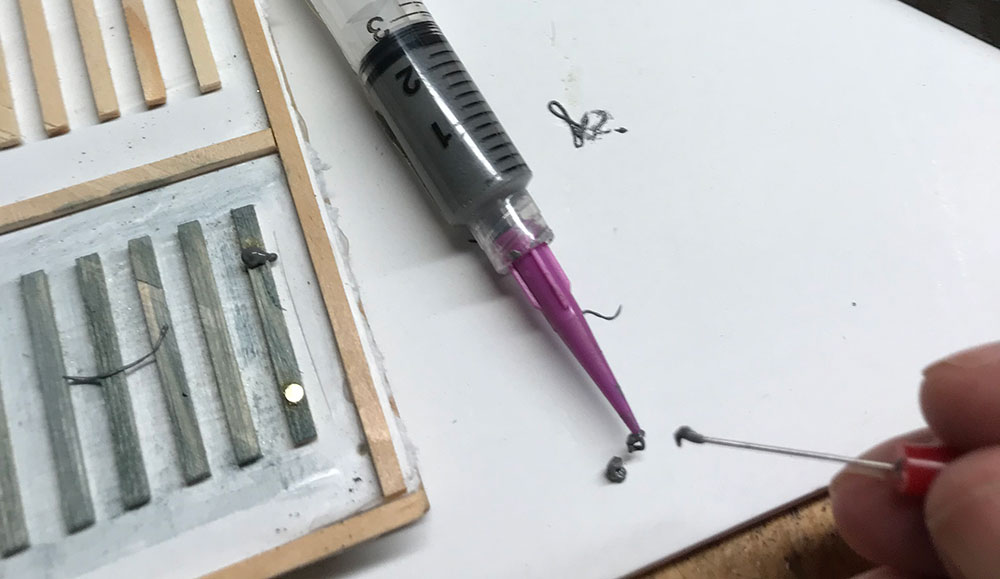
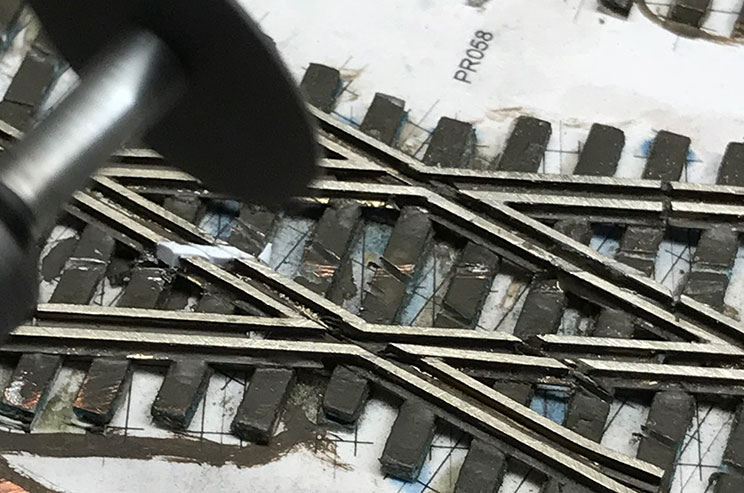
Starting with one side, I added a drop of low-melt solder paste to each rivet.
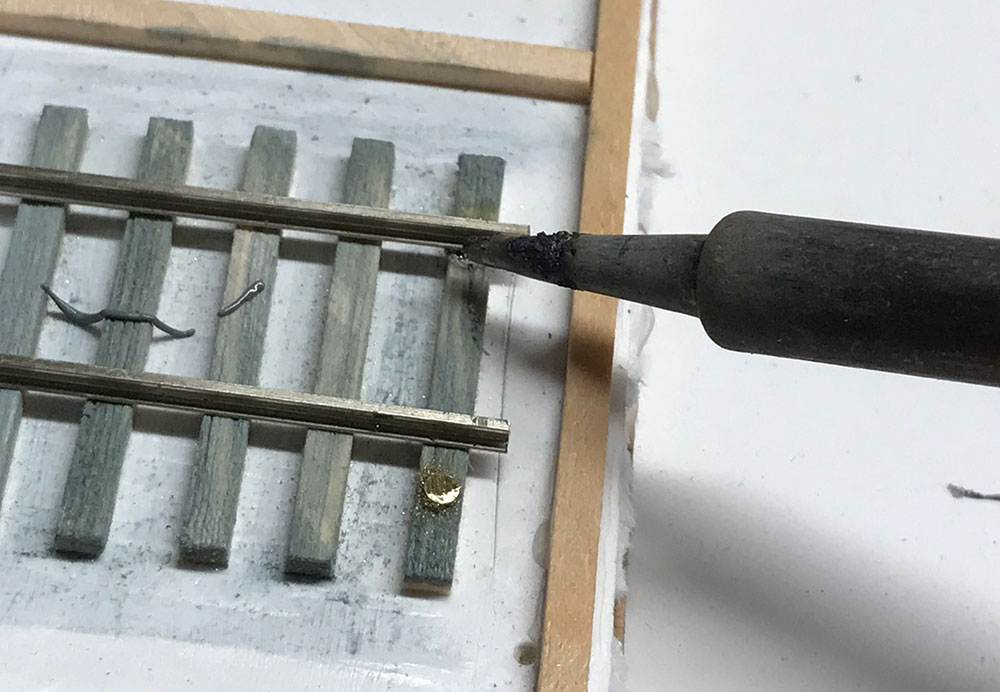
After balancing the rail on top of the rivets (held in place by a weight) I placed my soldering iron into the groove of the rail above the rivet area (it never touched the rivet). Heat quickly transferred onto the joint below and melted the solder. I removed the soldering iron and didn't move anything for about five seconds - low melt solder takes longer to harden once the heat is removed. Once removed and cooled I had a very strong joint.
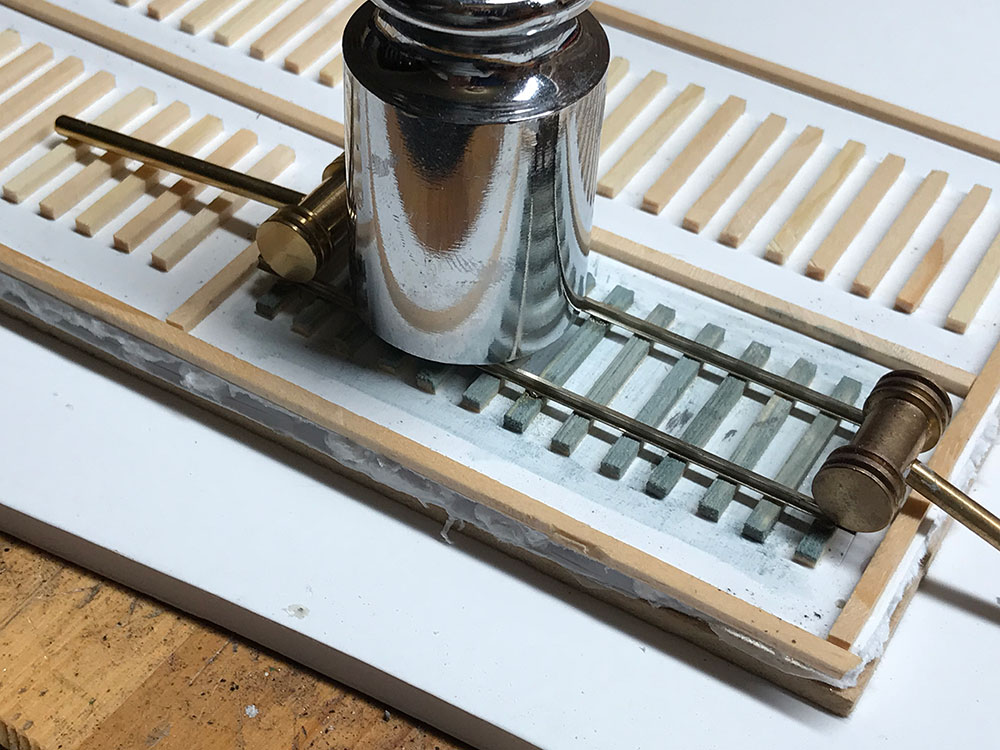
Using a weight to hold the rails and gauges to keep the spacing correct I soldered the second rail.
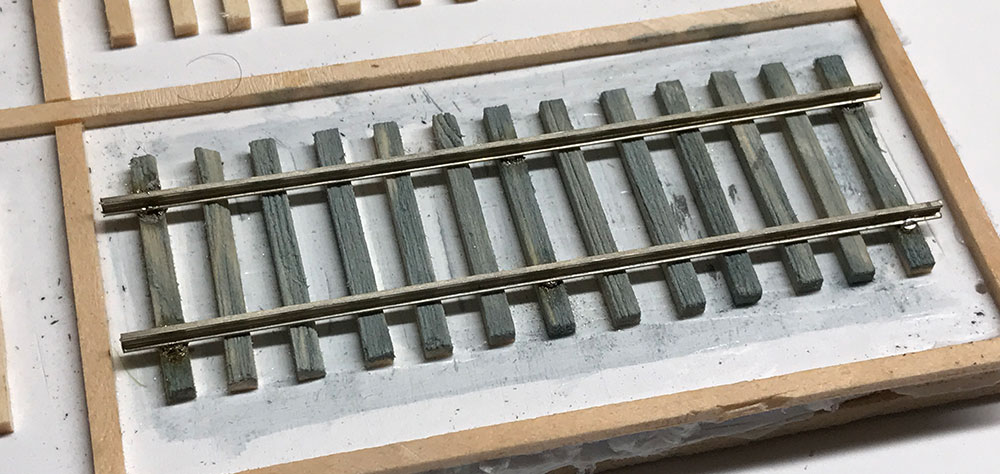
The result was a very nice piece of track held tightly against the ties. The rivets are barely noticeable and in my opinion look better than spikes. Instead of the jarring effect of PCB ties the wooden ties look consistent.
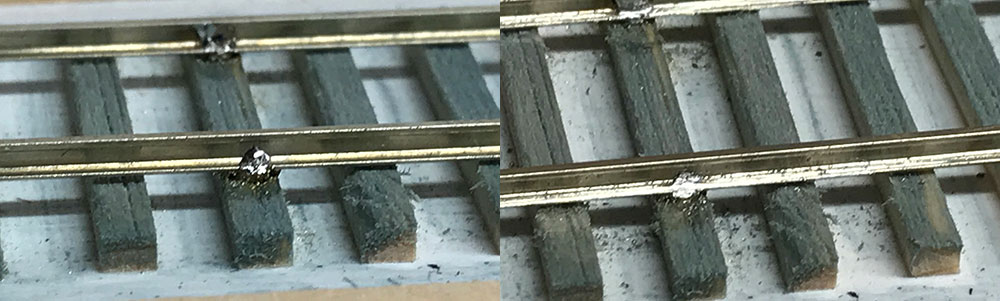
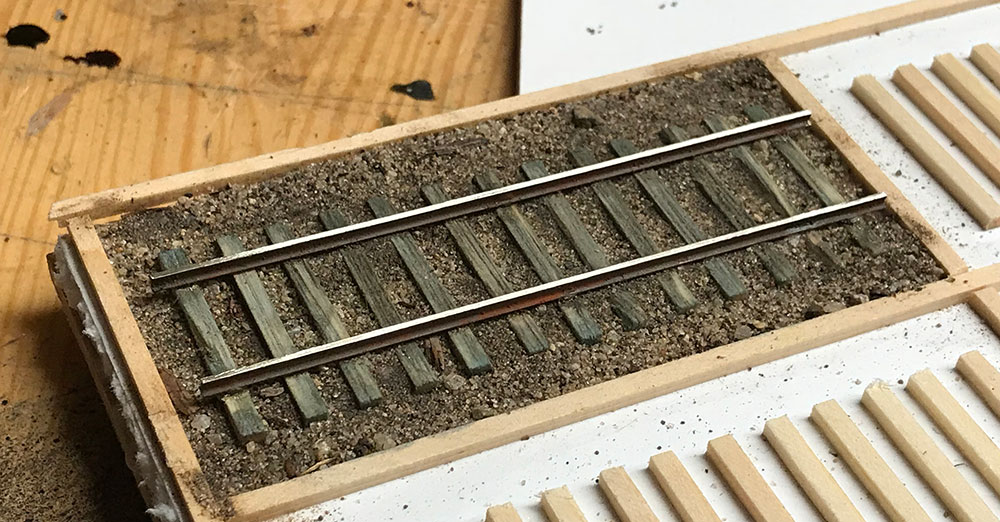
Any excess solder can be easily filed off. Low melt solder can almost be rubbed off as it is very soft.
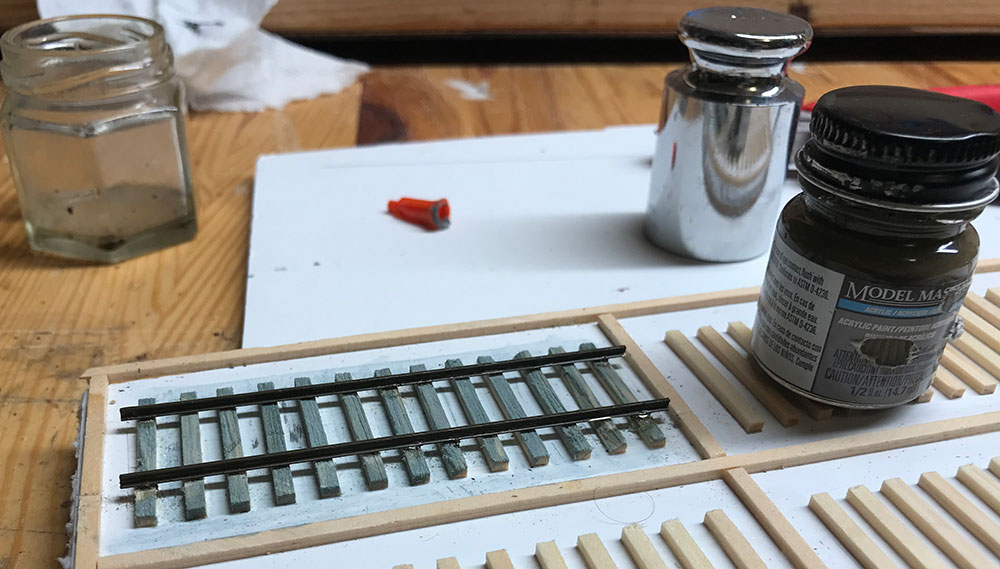
I painted the rail brown before starting the landscaping/ballasting. I'll continue to work on the rail once some ballast has gone down.
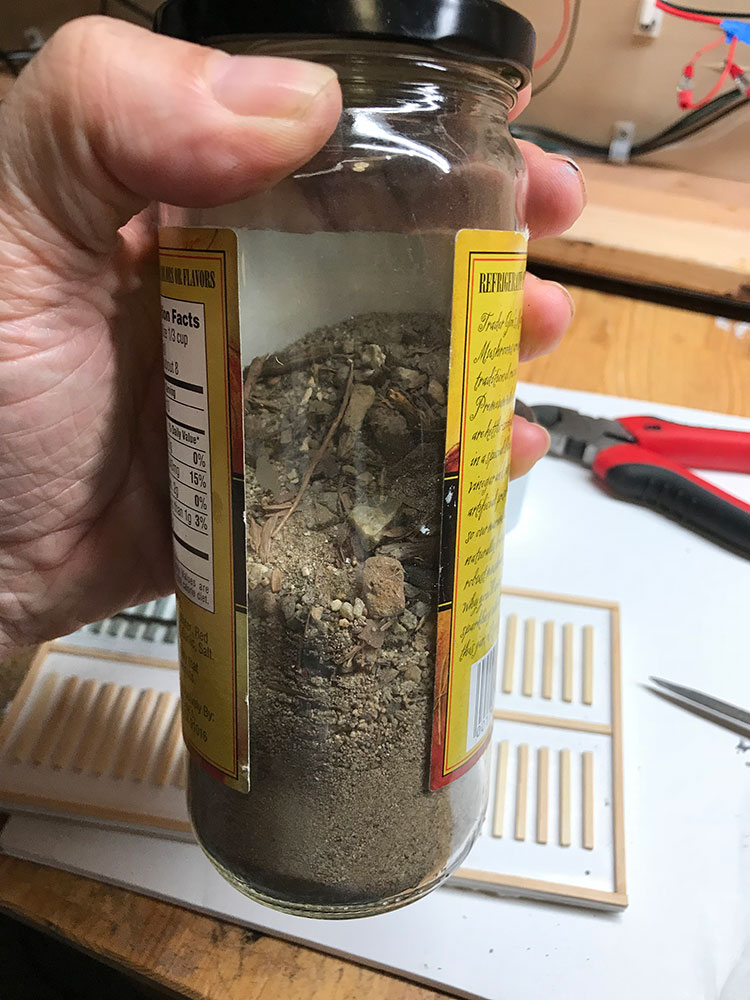
I prefer to use real materials for ballasting and landscaping. Real materials can scale really well and retain a nice mixture of grain sizes, texture and color even at a microscopic level.
This is my favorite jar of soil gathered from one of my local walks.
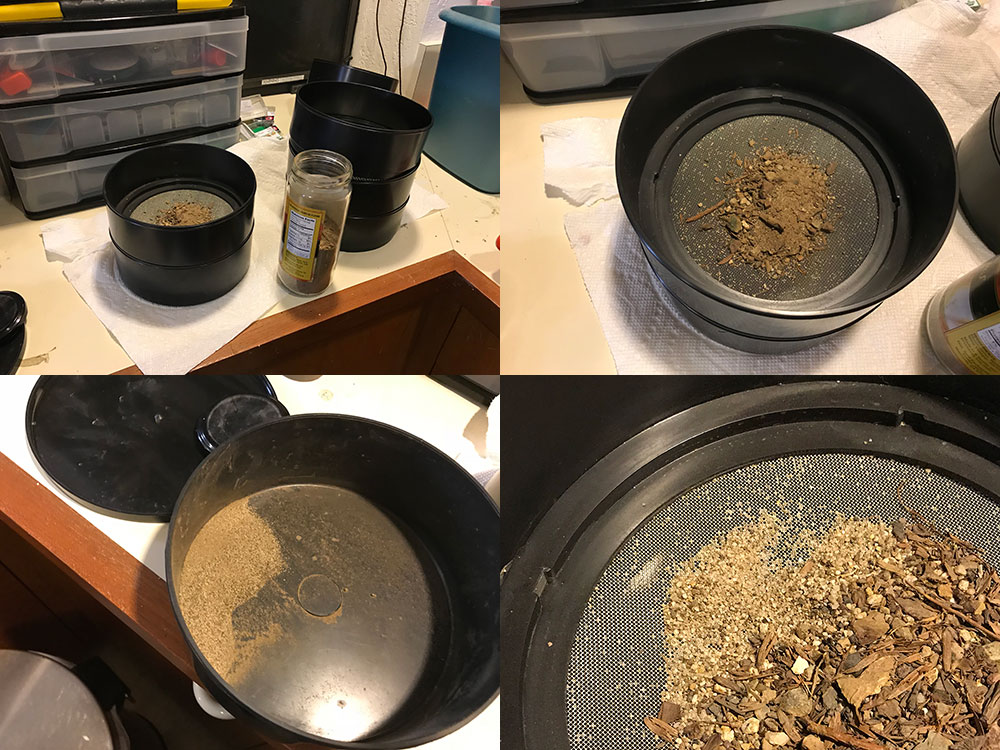
I filtered down the soil to create a mix that would look just right.
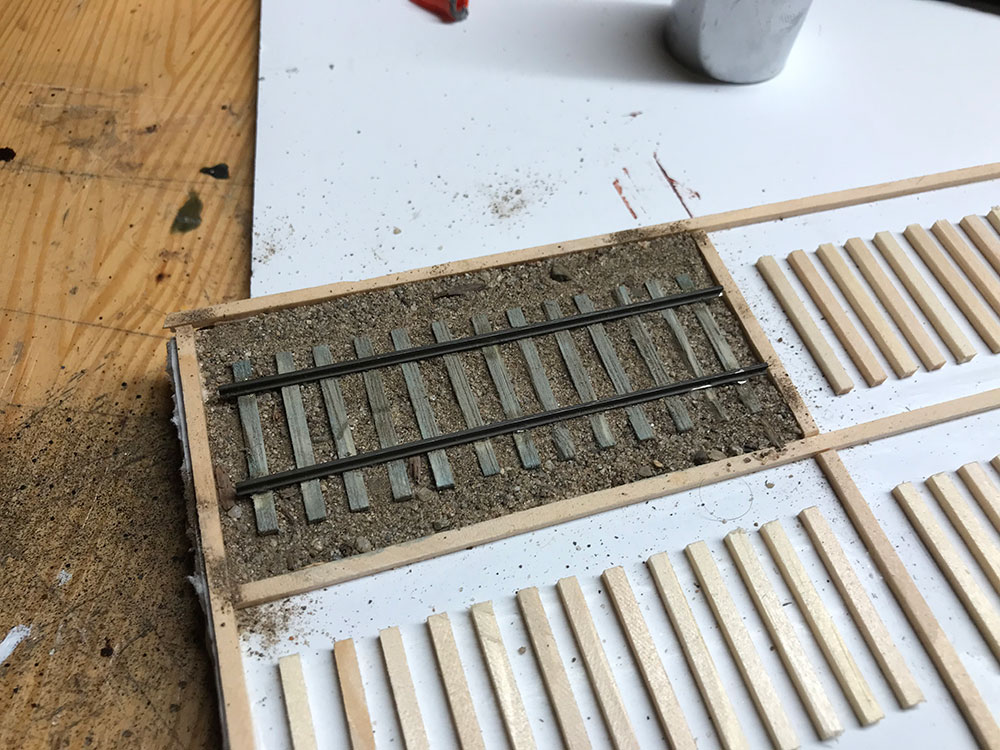
I added the dry soil to the roadbed.

I used the familiar alcohol mist and eyedropped Mod Podge to secure the soil.
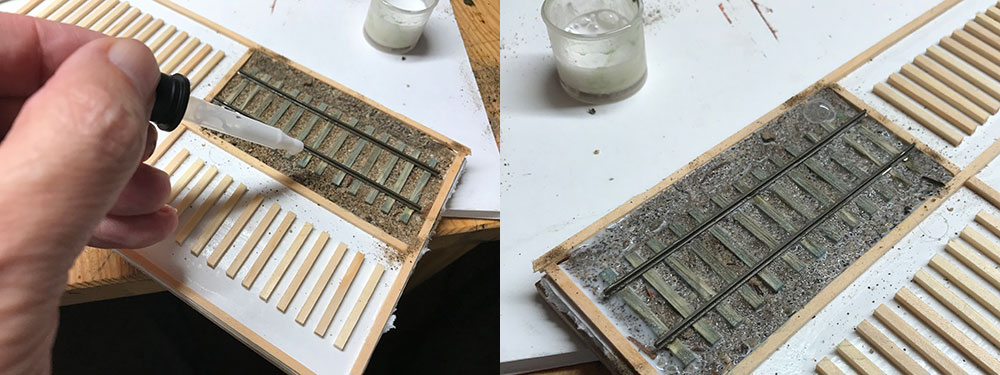
I prefer matte Mod Podge over PVA. MP dries to a matte finish and doesn't over-darken the colors (PVA dries dark and glossy)
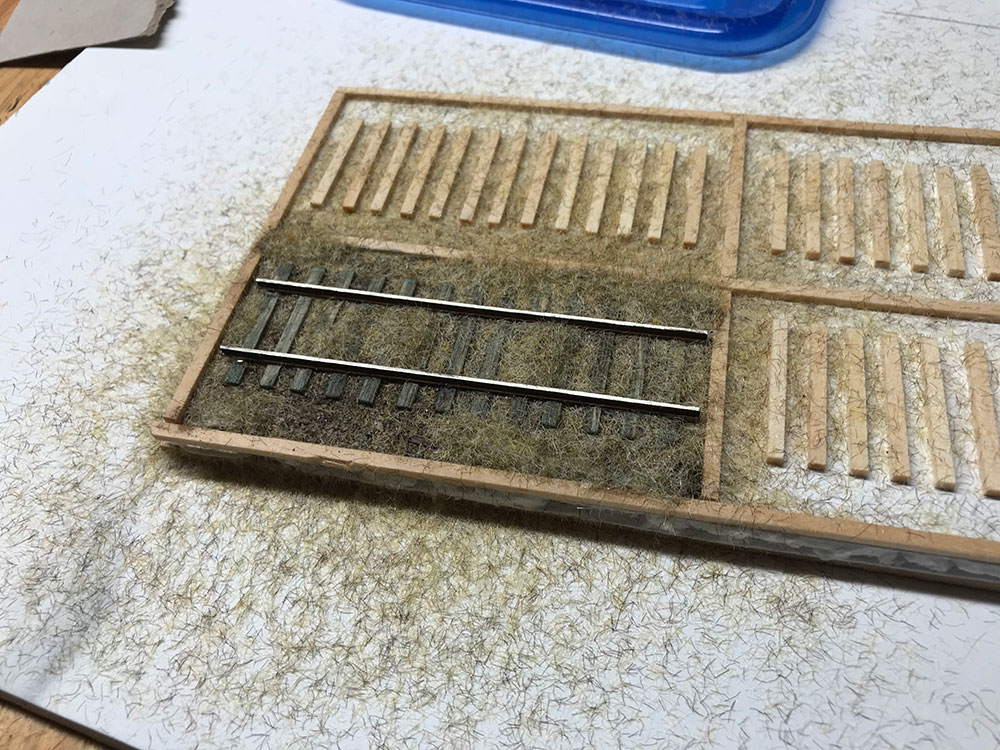
As the soil dried the ties began to lighten. Some soil got stuck on the rail. I decided to turn this into a rusty texture.
I cleaned the surface of the rail and prepared the final step of adding some vegetation.
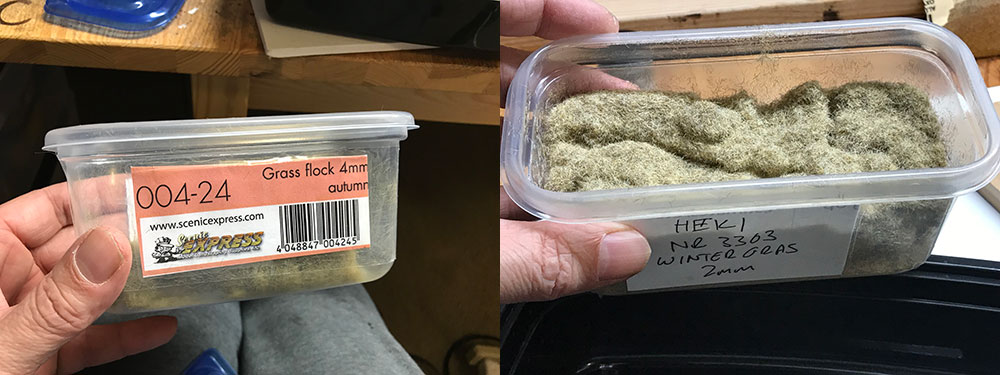
I really like the rough texture of the Heki grass but it needs to be mixed with something longer. I added some 4mm Autumn grass from Silflor.
The grass color matched and complimented the colors of the soil and ties.
Here are the final pictures. It was a lot easier to do than expected and was very fast method. I really like the fact that you can hardly see the rivets and of course all the ties are consistent in color and weathering.
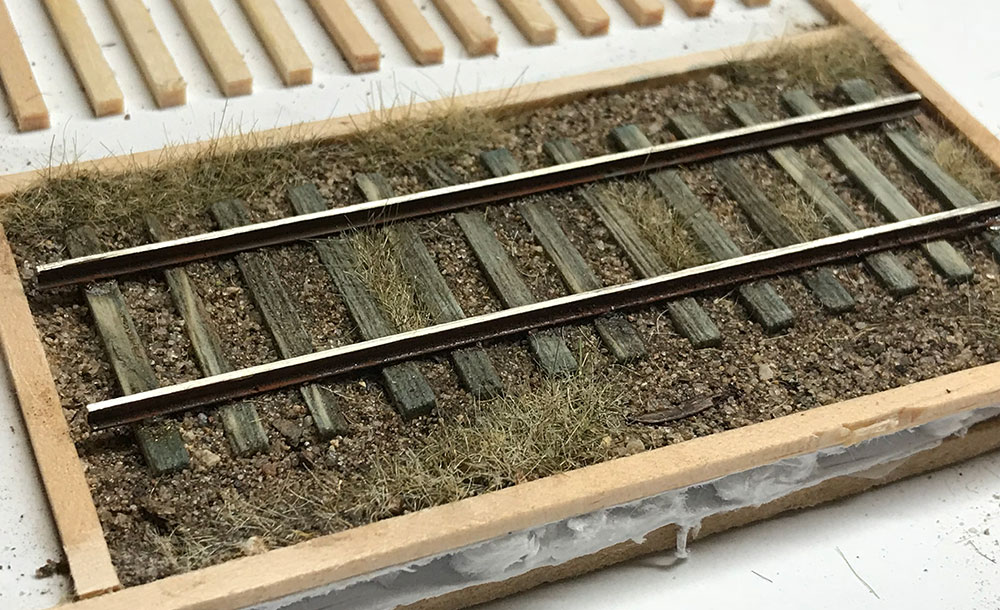
There is enough space between the rails and ties to add tie plates.
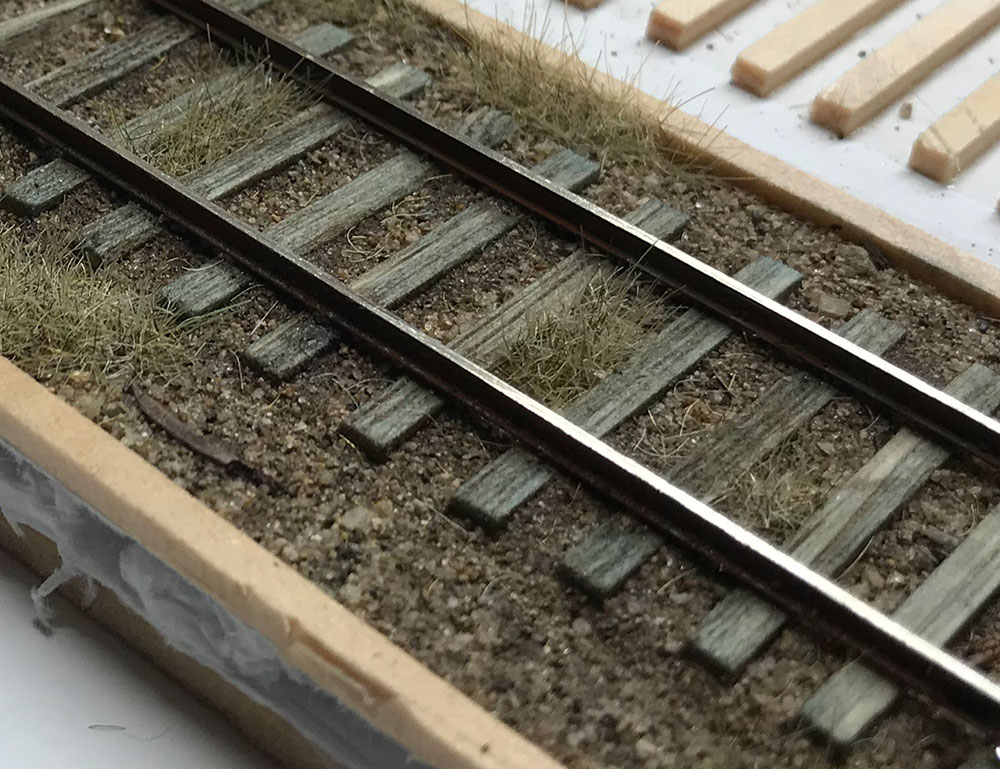
Other details that could be added are prototypical rail joiners.
This is just one of several landscaping profiles that I'm trying out. Track landscaping has infinite varieties and I want to try as many as possible with different soil colors, ballast types and vegetation.
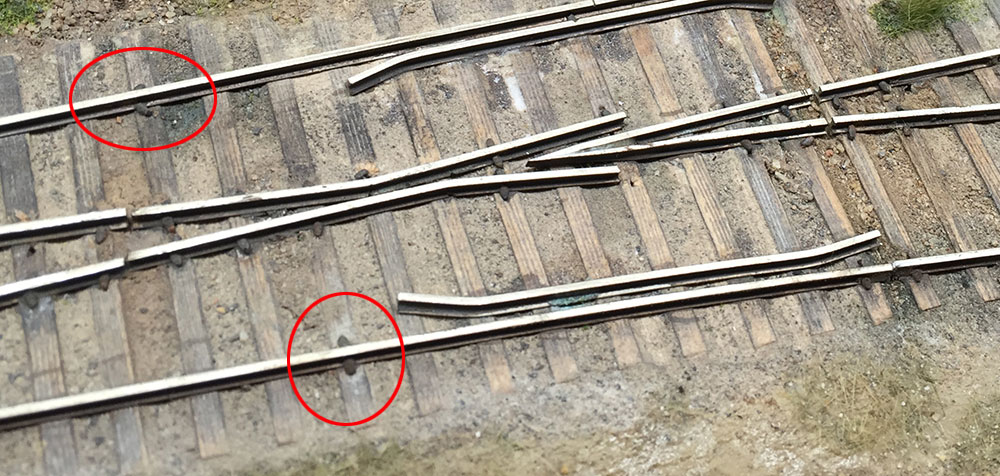
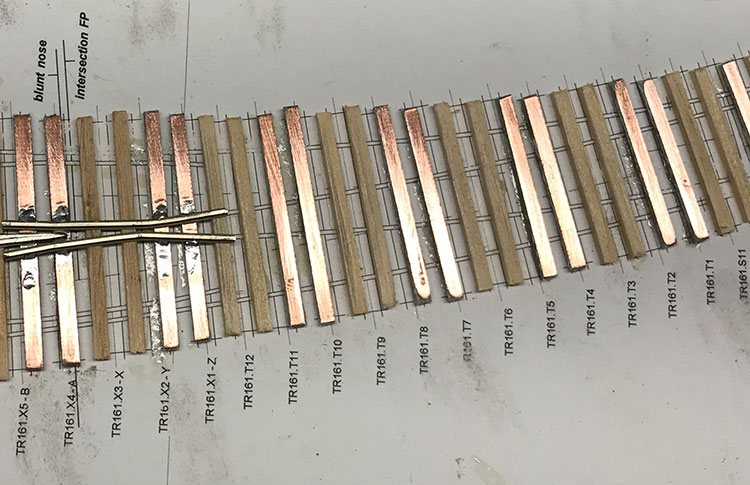
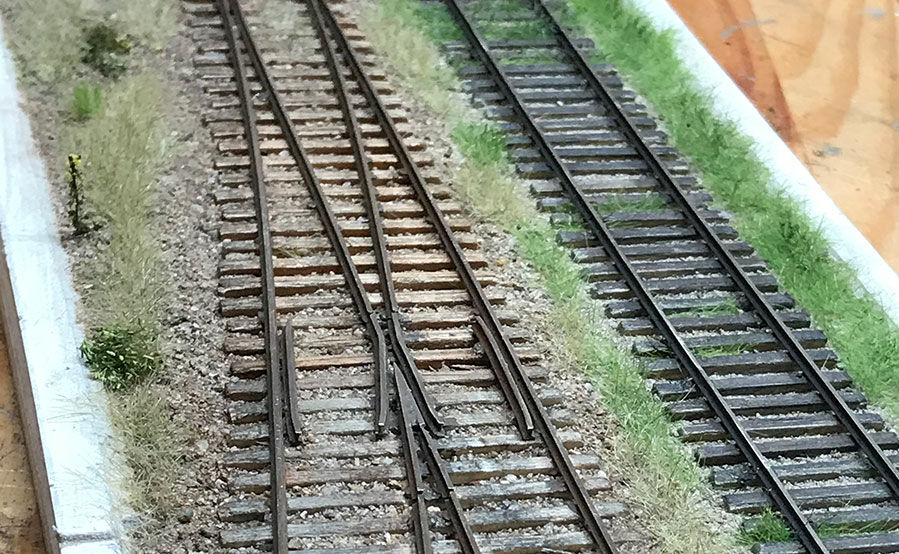
I built this turnout using the same technique. The stocks, frogs, closures, points and guards all sit upon their own rivets. I'll add the steps for a turnout in the next few months. Here are a few pictures. I made a few mistakes but hope to do a better job of it next time.
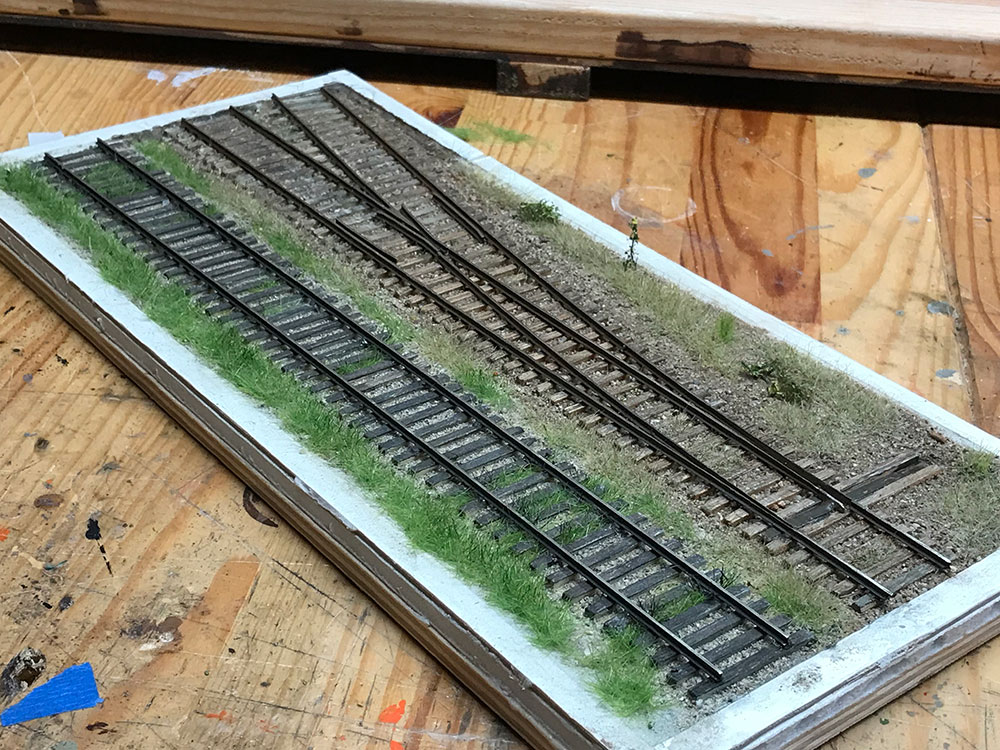
I built the turnout on top of a Fastracks number six right-hand turnout printout.

The next version of this turnout will also have prototypical tie bars, rivets, tie plates, and rail joiners.
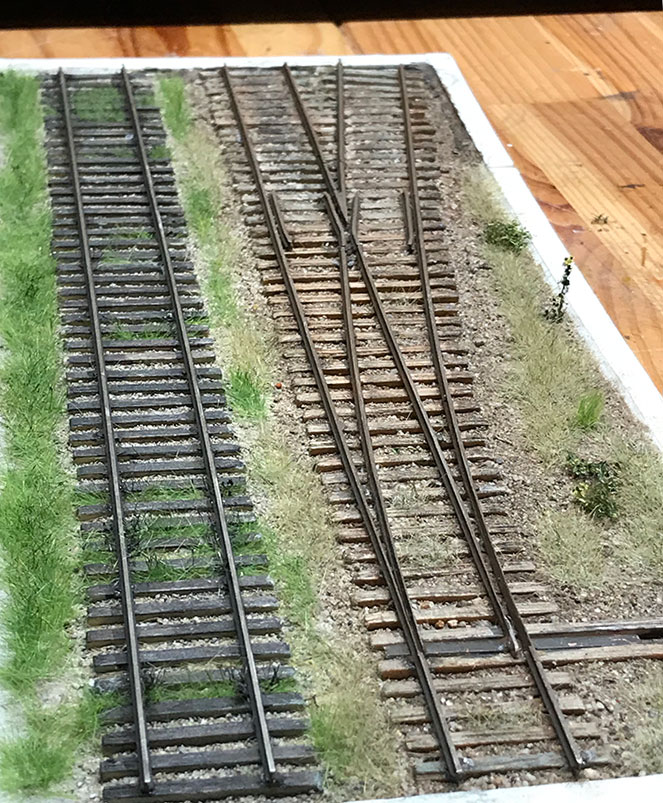
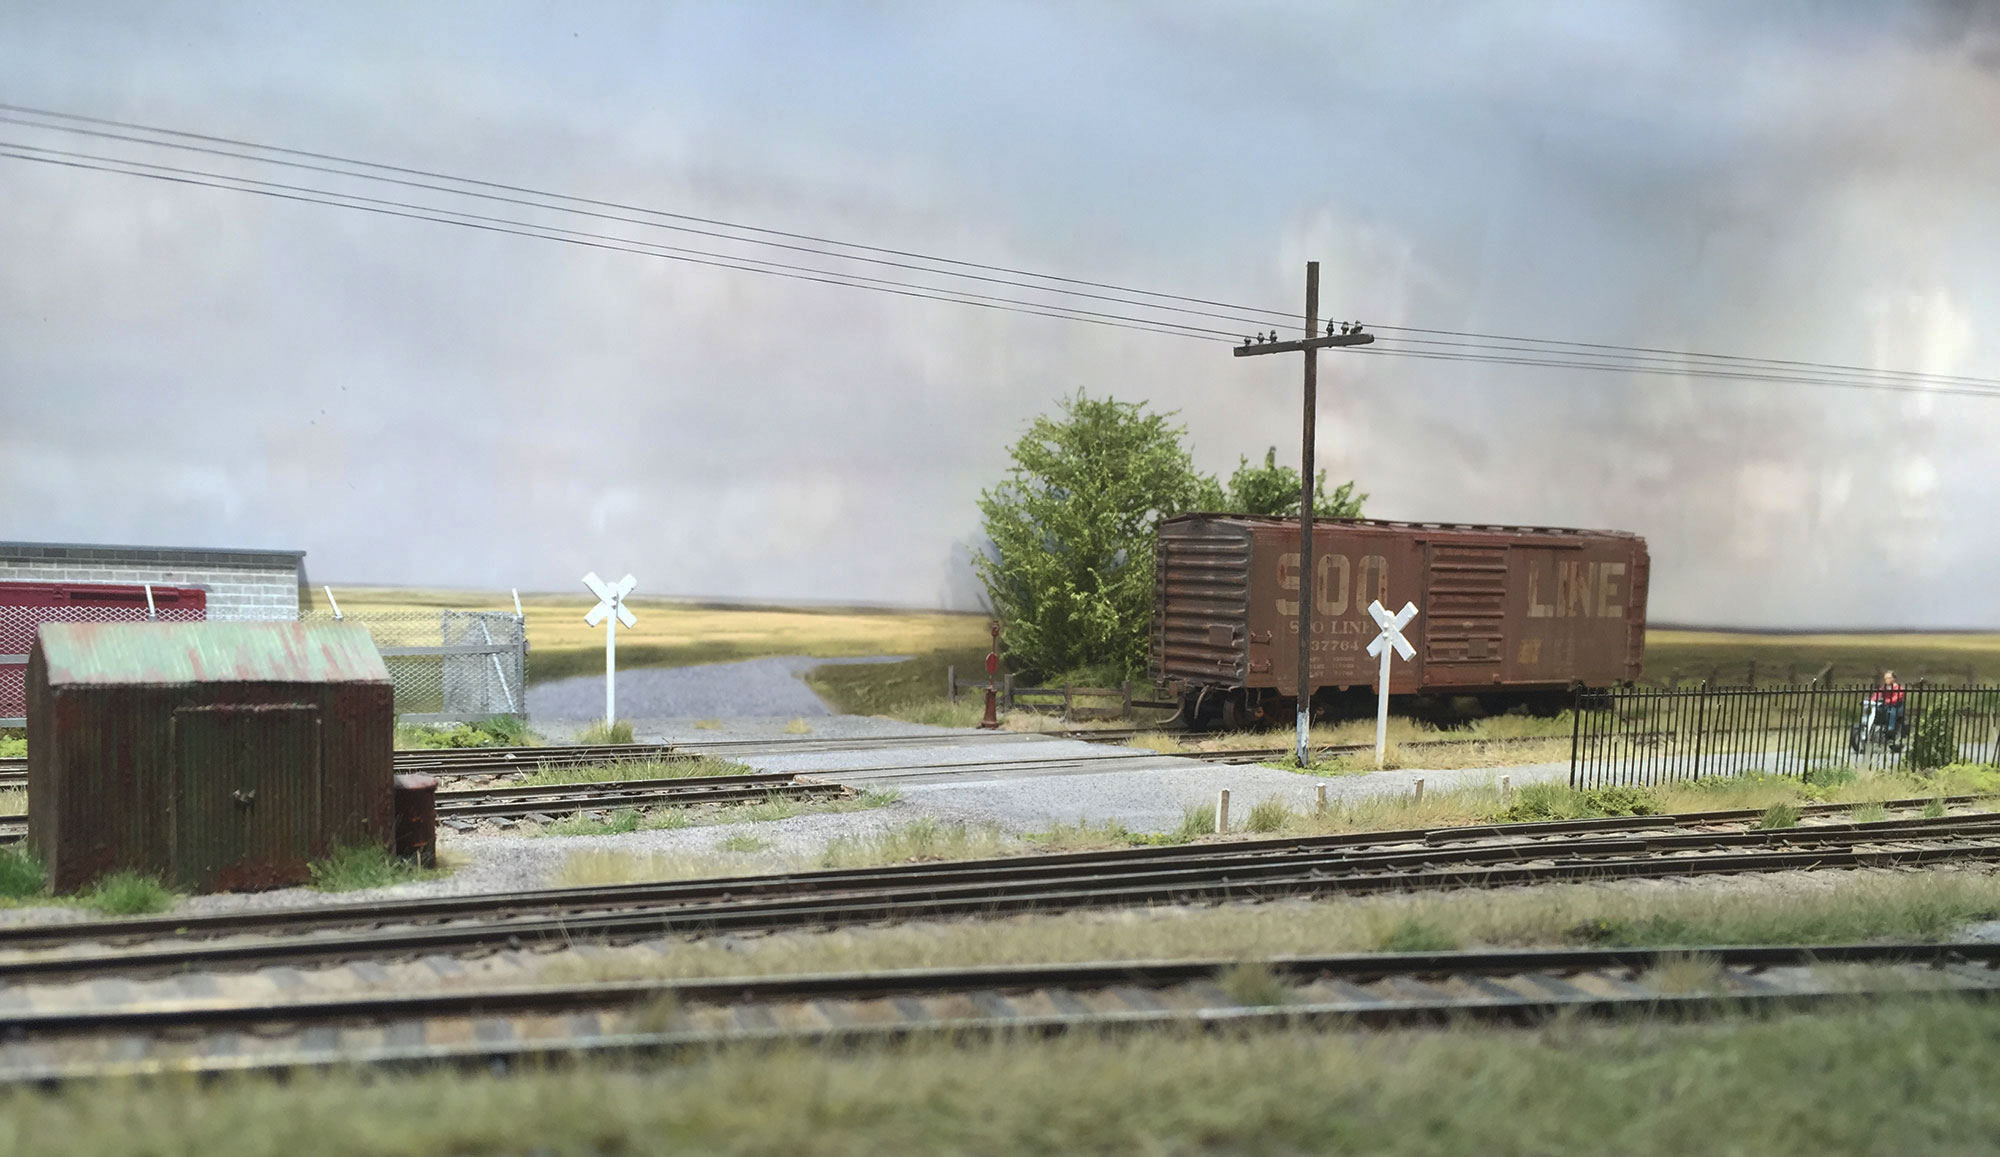
The look of the turnout is meant to be of a poorly maintained section of track on a shortline or backwoods railroad.
There can be quite a variety of profiles (height of ballast, mixture and texture of ballast, invasion of soil and vegetation onto the ballast, wear and tear, rust, dust etc) within a short distance on poorly maintained track. I was trying to capture a little of this effect here.
There are definitely more 'gotchas' with turnout construction that you need to be aware of but I'll run through this another time.