Vallejo Crackle Medium
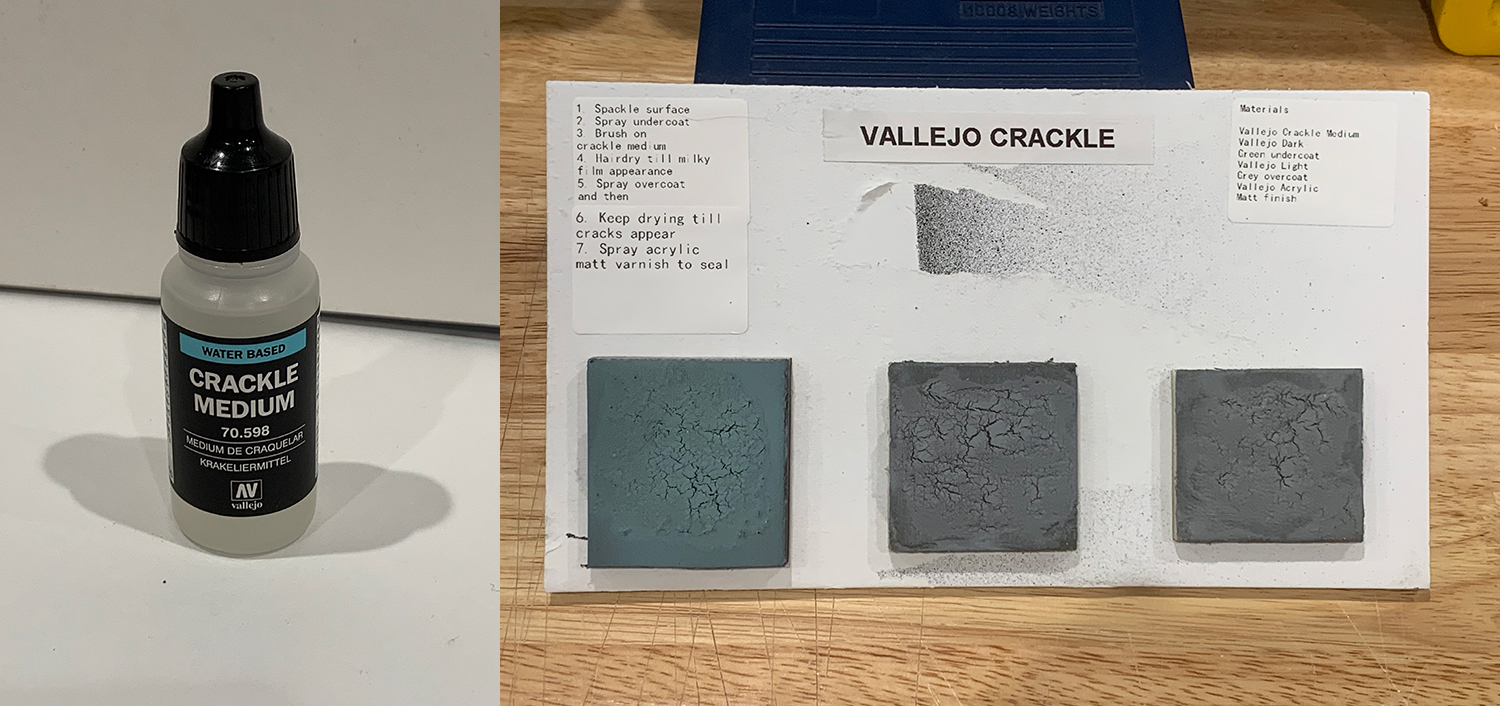 This is a product test. I’m testing Vallejo Crackle Medium. I have a couple of uses for it and I want to figure out if the medium will do the job. The first application of the medium is to create cracks in asphalt. I have a method of creating cracks but want to add the crackle medium effect to enhance the overall look of a worn asphalt road. The second application will be in a dry creek bed.
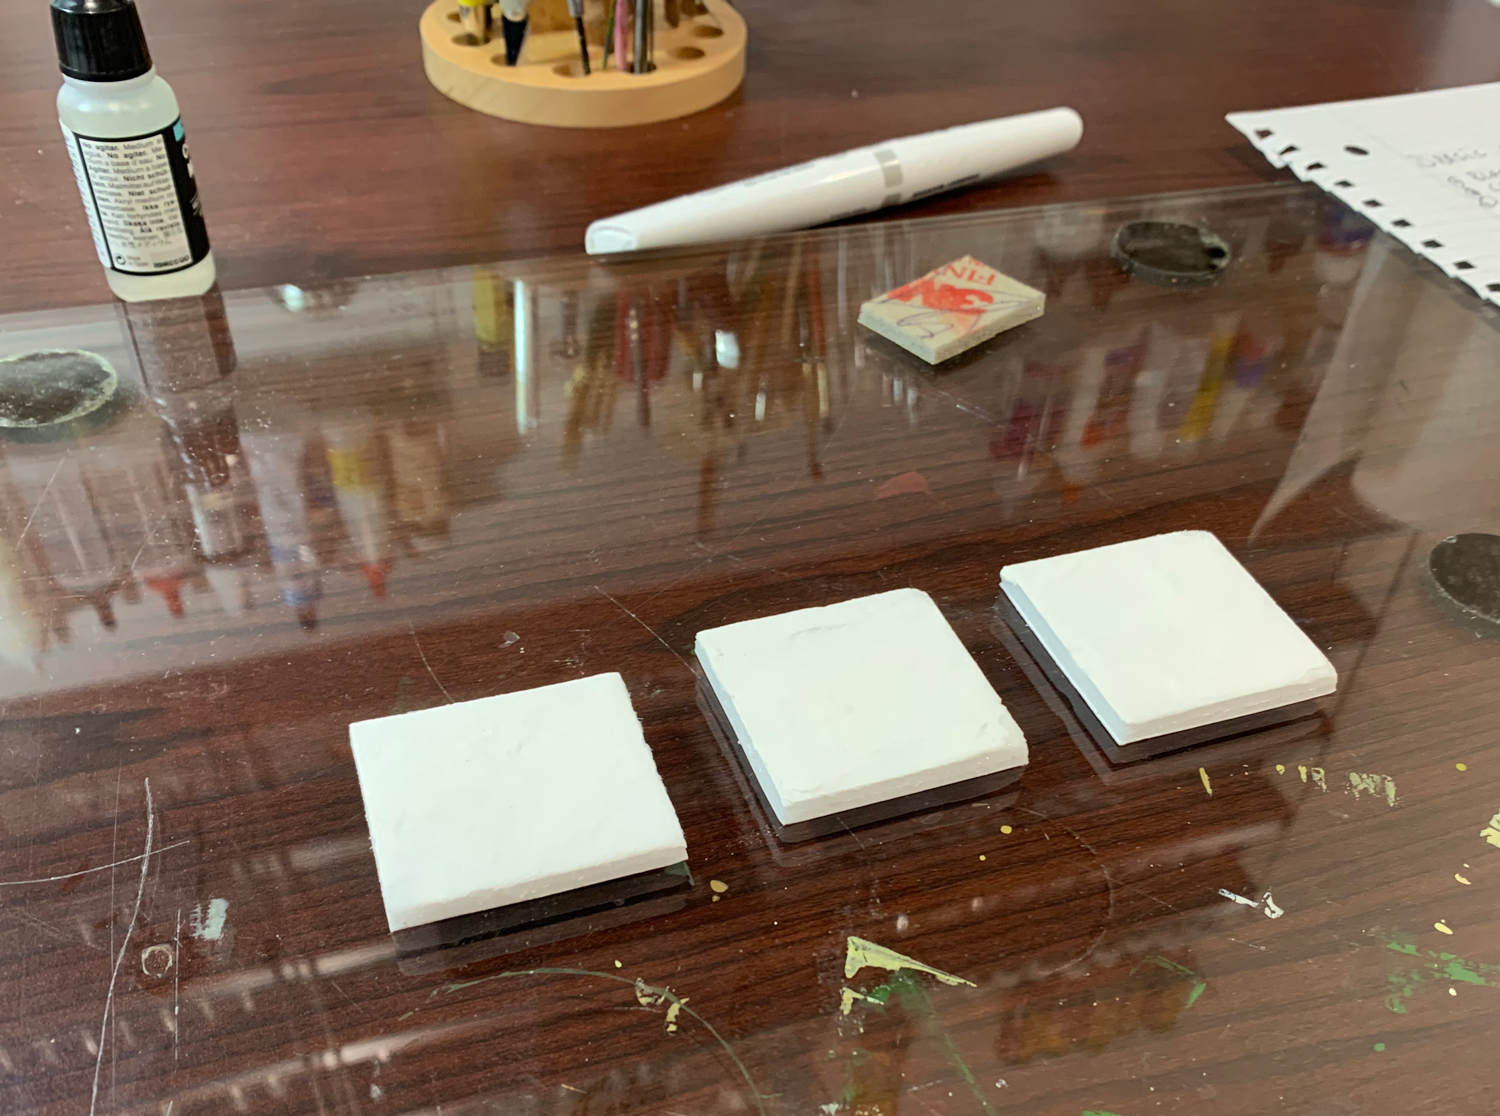
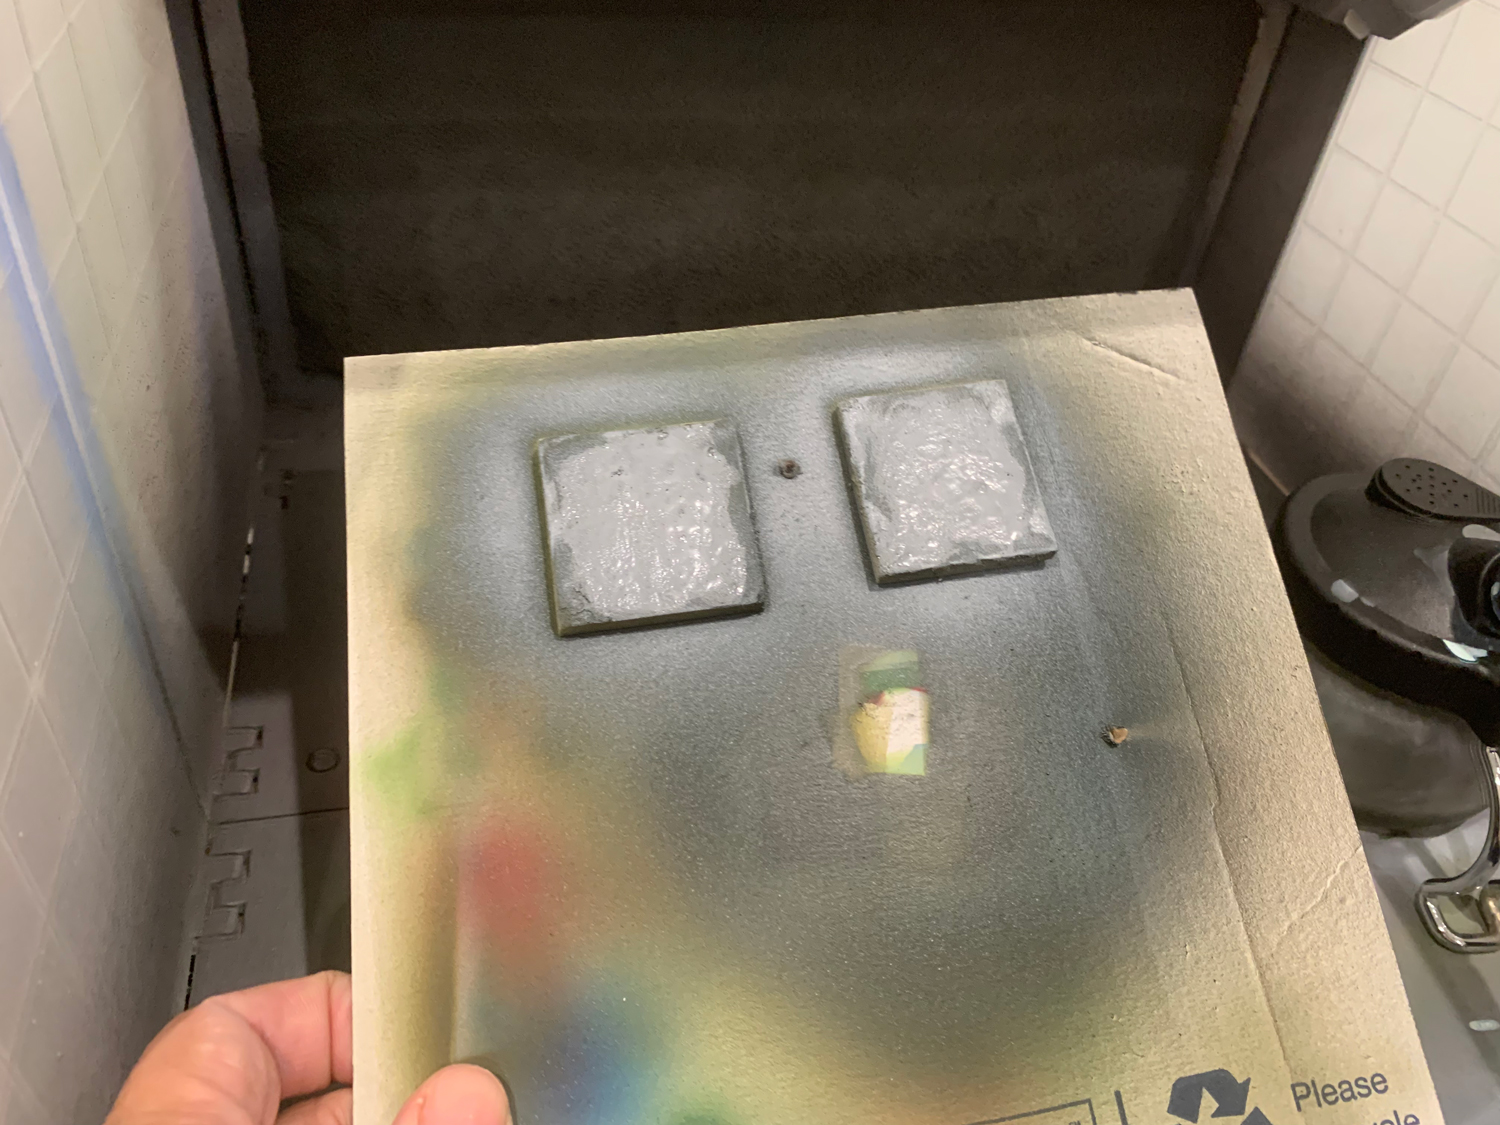
Apply spackle to test beds.
I don't want to do the test on a flat surface and instead want a somewhat rougher surface that replicates a worn asphalt road surface.
Spray undercoat
Select whatever color you want for the cracks to appear.

Use a brush to apply crackle medium
I'm still trying to figure out what amount creates what effect but for now I just spread it on in a medium amount. Later tests will test amount. Use a dryer to dry it out a little and get it to look slightly milky.
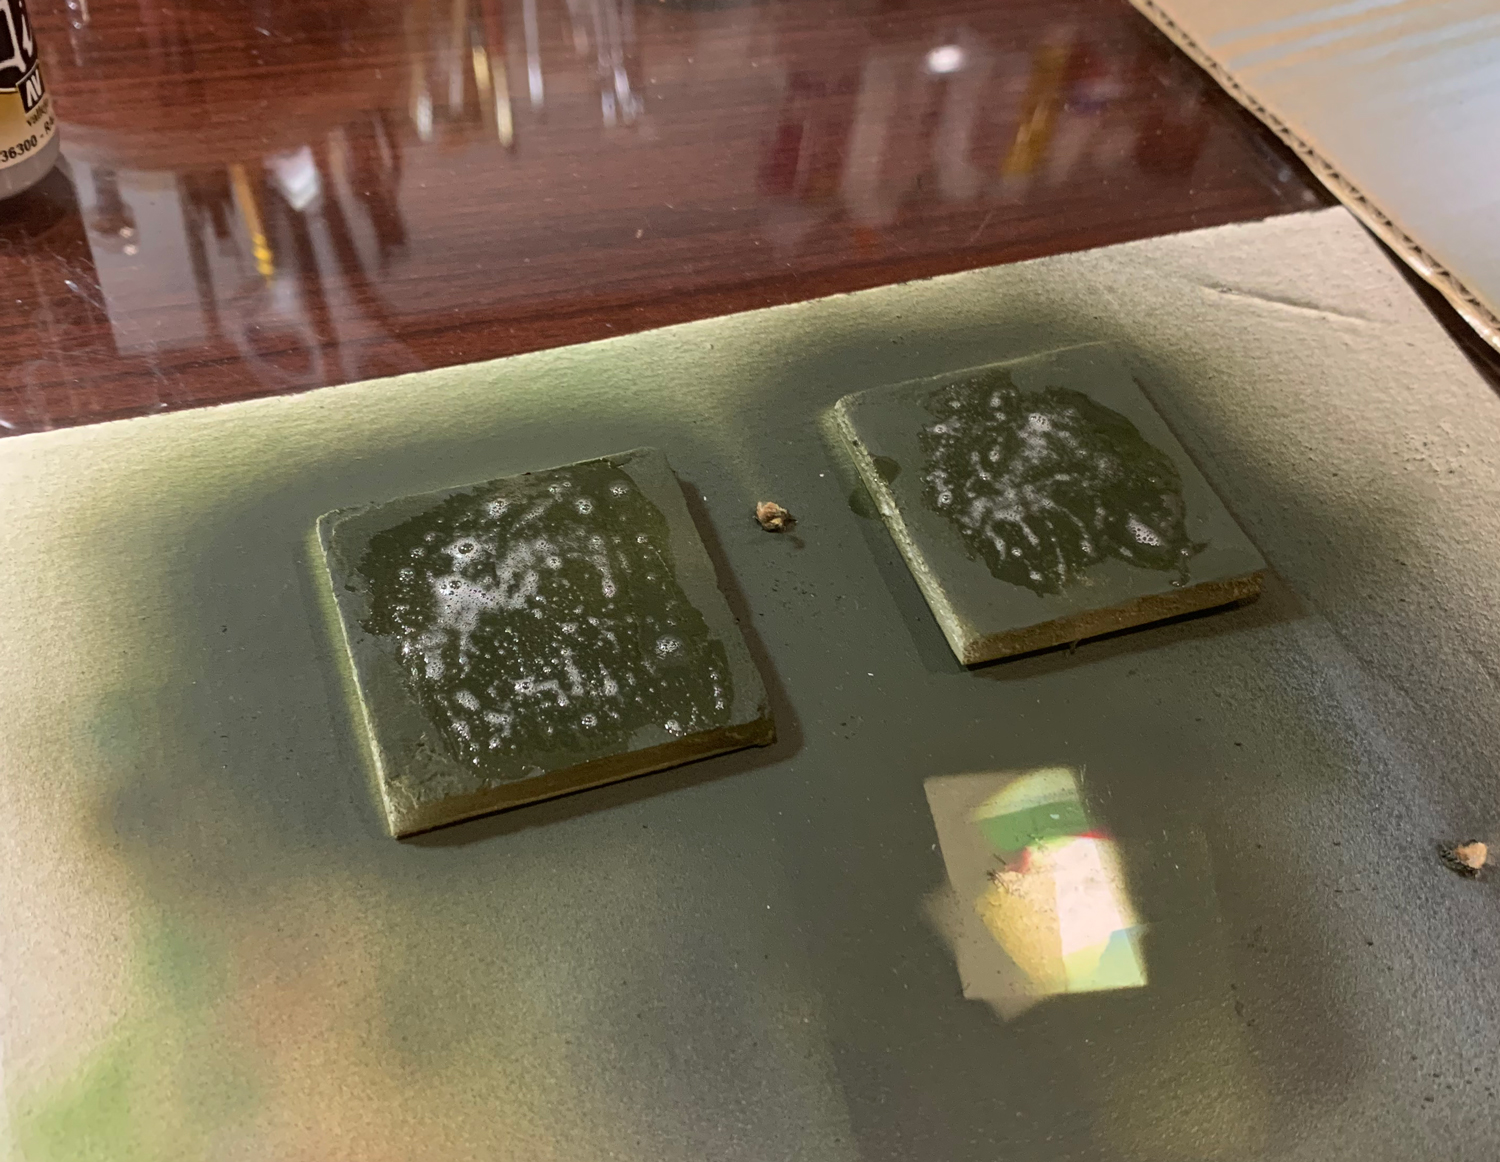
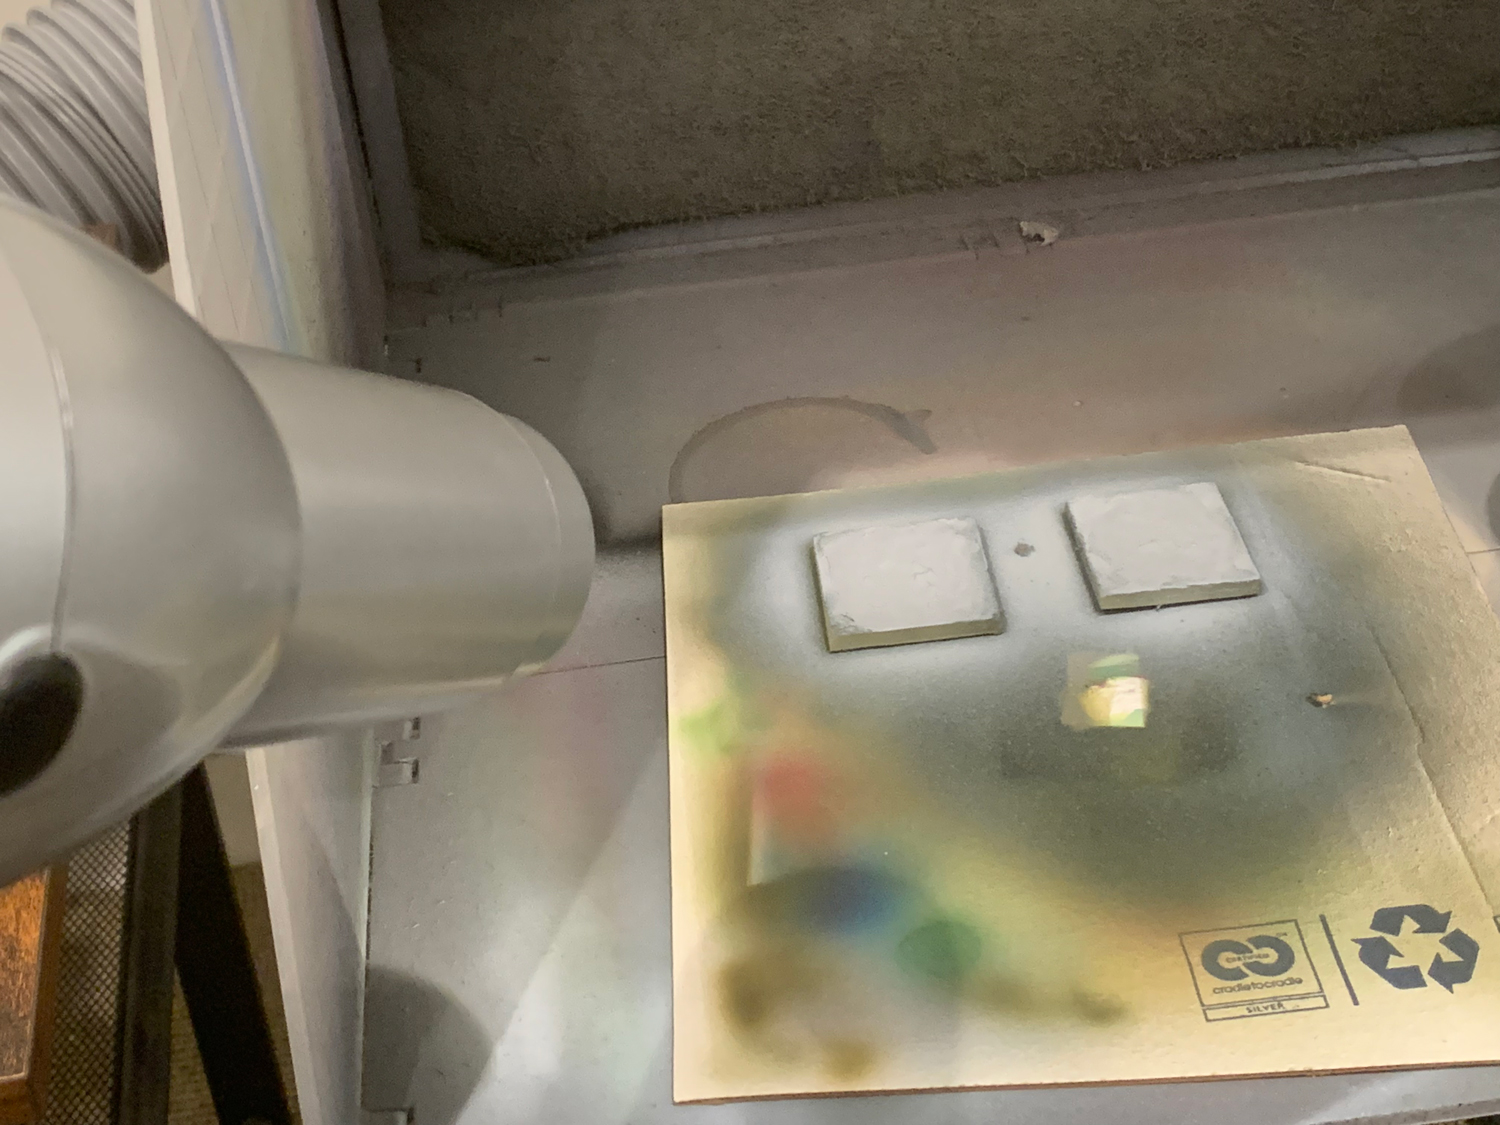
Add top coat
Select top coat color - I chose white but will over spray a little later.
Use hairdryer to start the cracking process
The hairdryer will bring out the cracks.
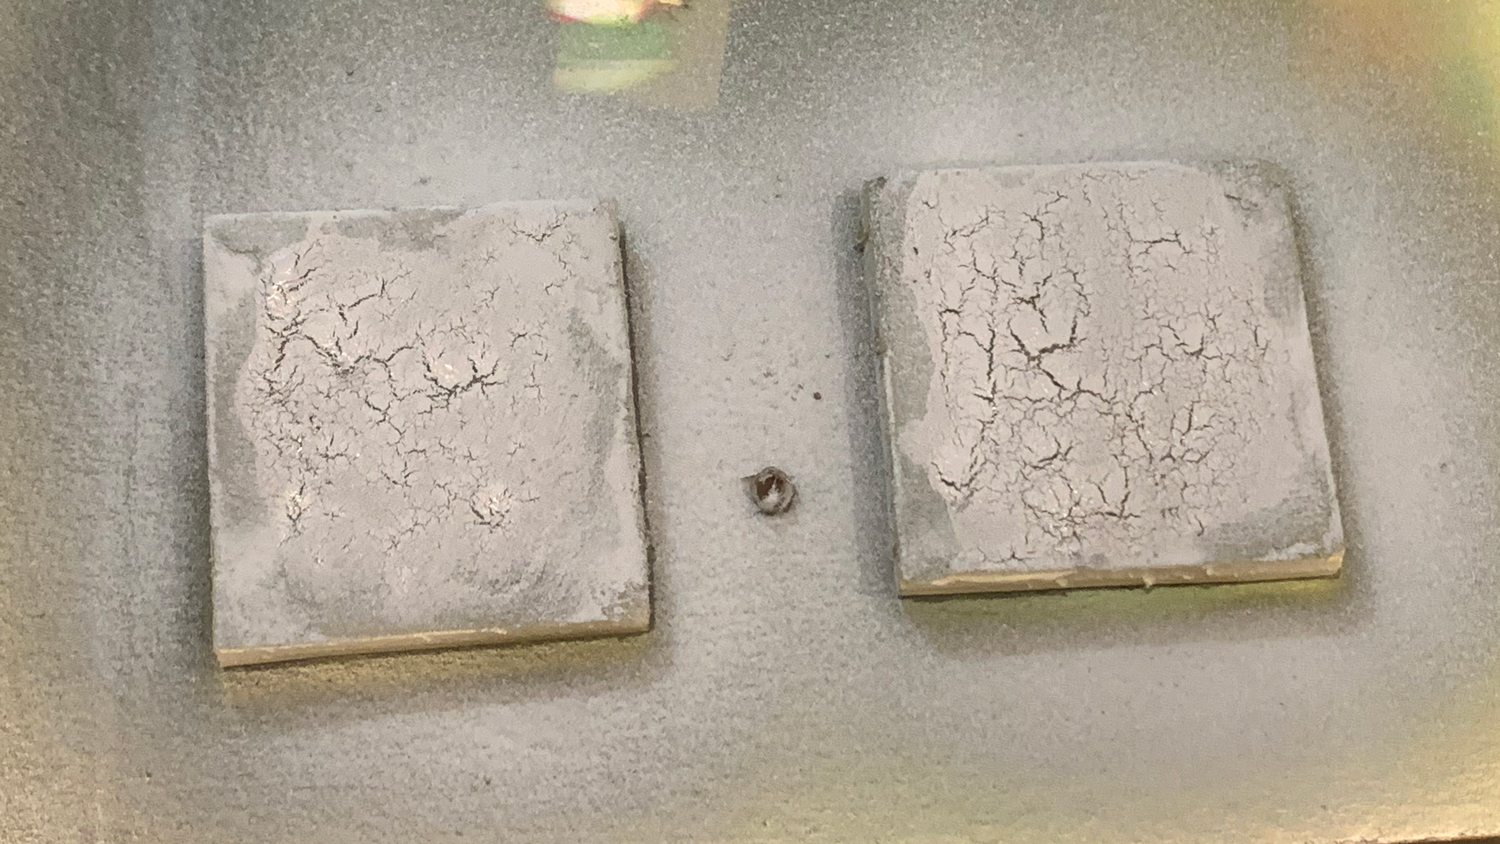
Added final color and varnish
As I wanted to test this in a roadway situation I painted the surface asphalt grey. I will do another test where I play with the cracks by wearing them down a bit and adding more ground texture.
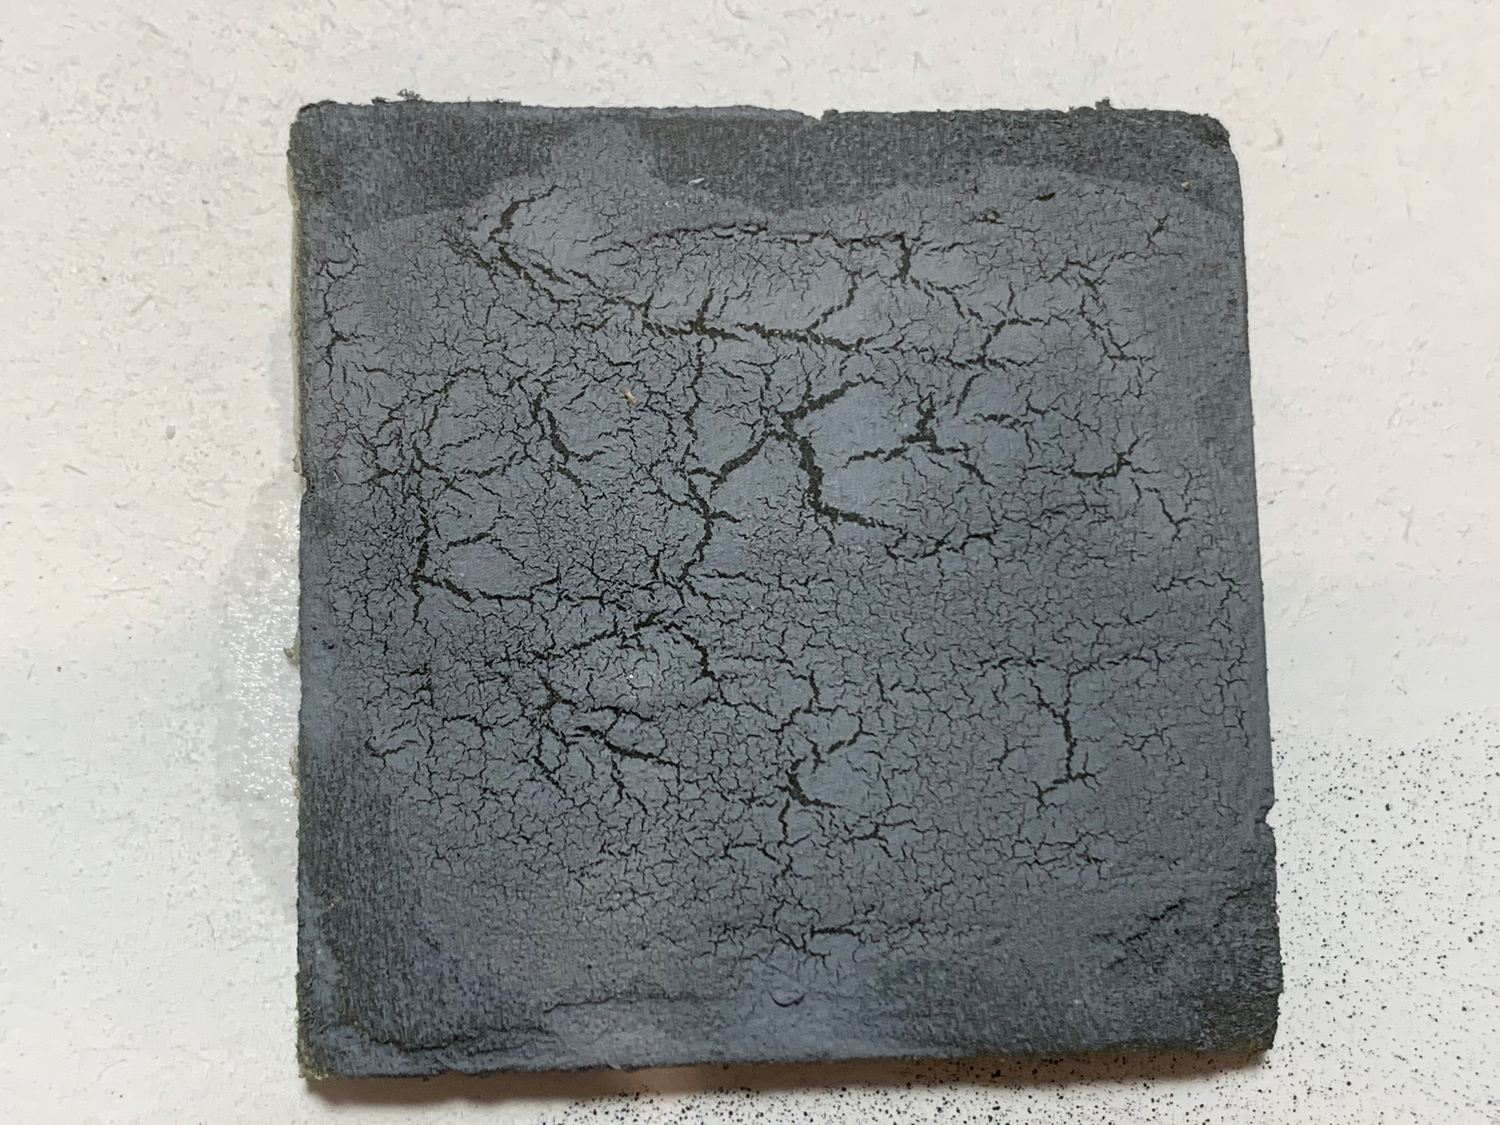
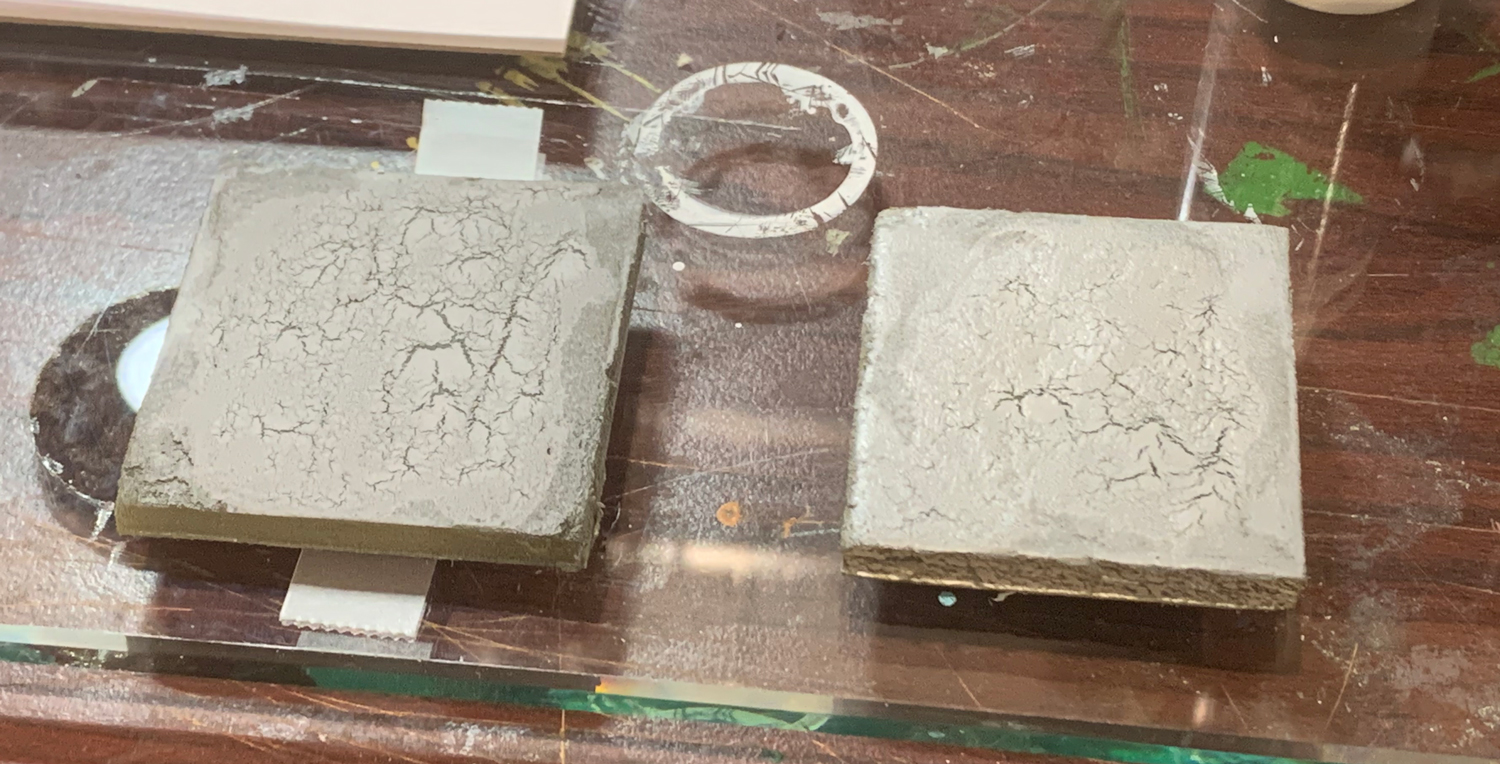
This test was finished with Vallejo Acrylic Matt Varnish and came out completely flat. I was very pleased.
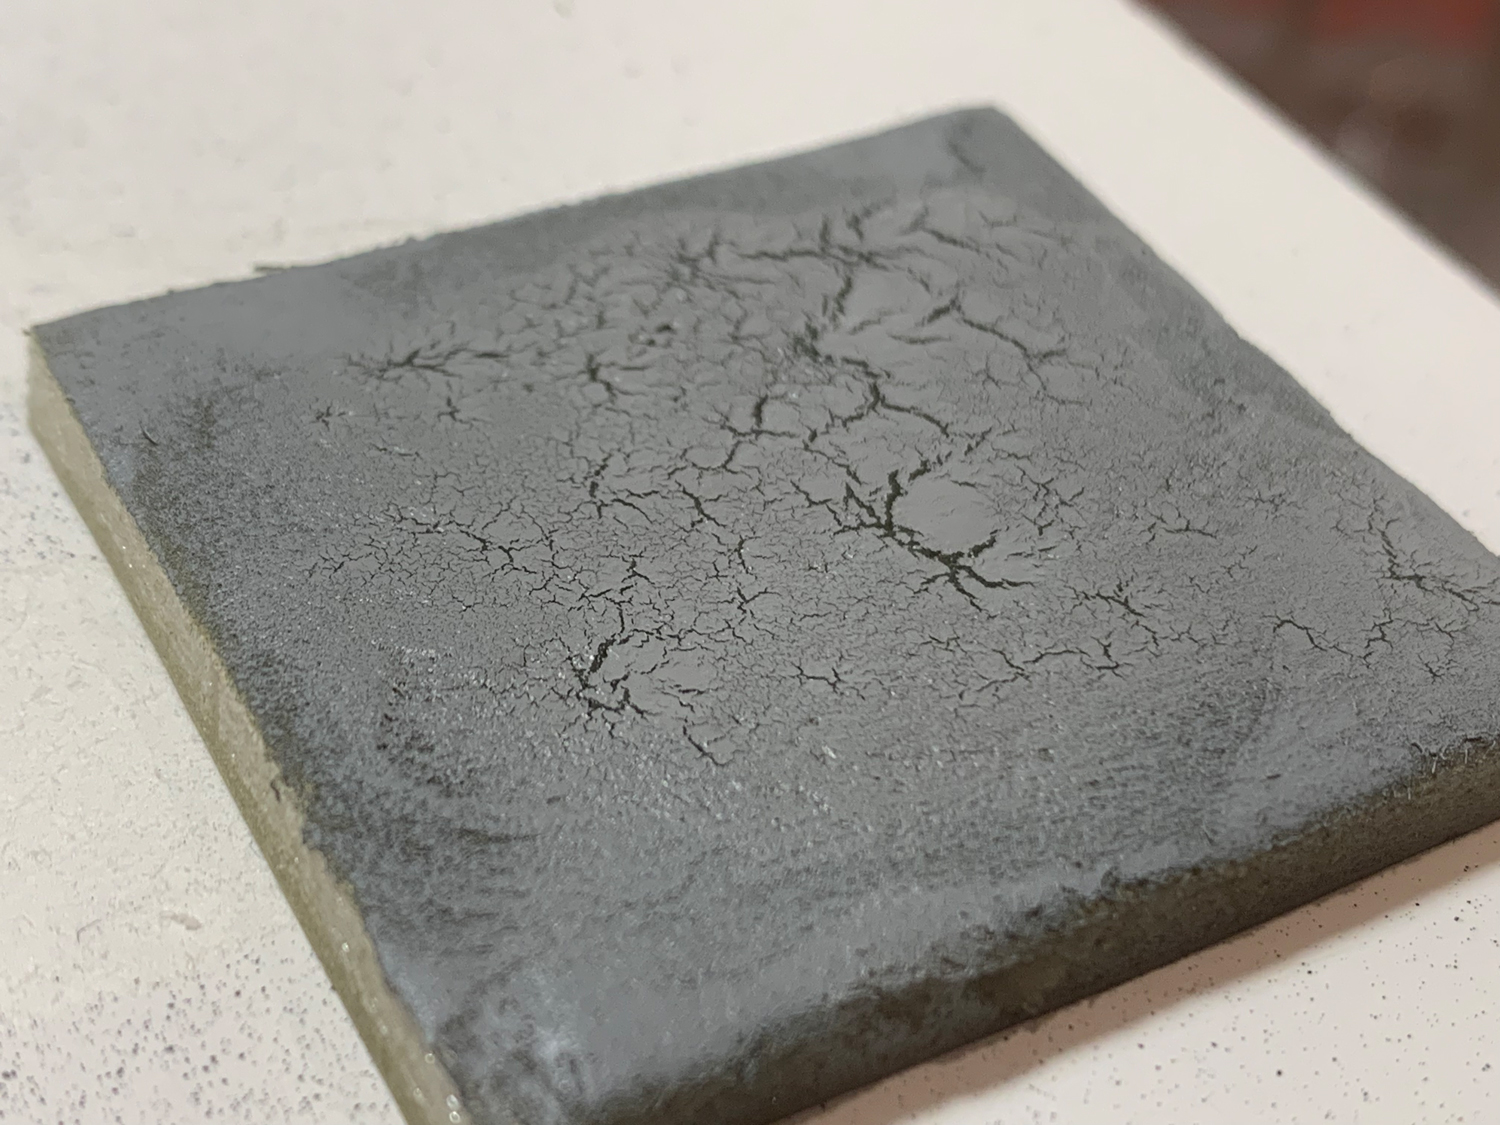
This test was finished with Krylon (Enamel?) Matt Varnish and came out having a slight sheen. It was not the finish I was looking for but will definitely find a place in my modeling at some point.
Usability
Not all cracks are useful. It is important that the cracks look random and not look too decorative. If that is the case they may need working on with a weathering tool to transform them to something more realistic - a truly miniature version of the real thing.
Nevertheless I think Vallejo crackle medium would make a fine addition to the elements that make up the road surface and I will be using it as part of my roadway tests.
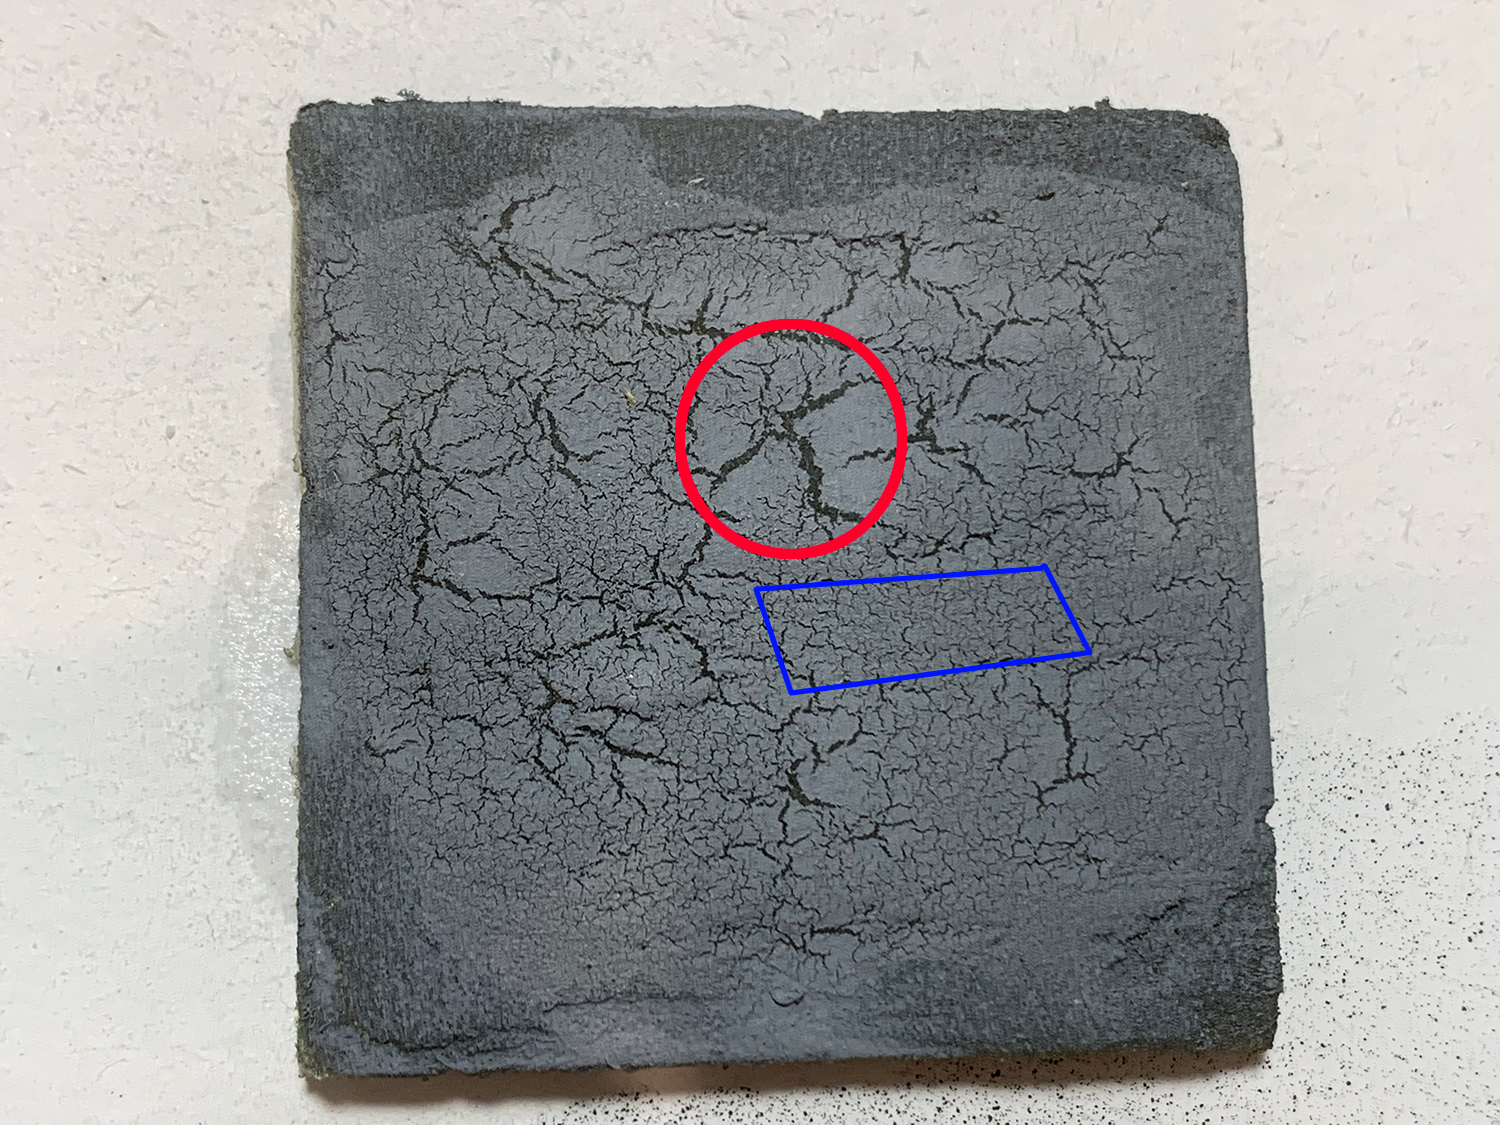
The area in red feels too decorative and not realistic. Those edges need working on with a knife or some other weathering tool.
The area marked in blue would work really well on a road surface and I may end up cutting out pieces like this to create patches on the road.
Create test board
I created a test board with notes for future reference. I will be doing variations on these tests and will create more test boards to store the results.

Looks like I will need to use a regular printer to print out steps and materials. The label printer is too awkward to use in this situation. Nevertheless I have a nice board to refer to say in six months time when I will have forgotten much of what was done today.