While working on the diorama I cast my mind back to modeling a few years ago and tried to remember some of the mistakes I made.
I remember building and coloring and weathering on the main layout without having any idea of what I was doing. Success was not guaranteed and the main takeaway was that if I did not like the result then it became a huge job to rewind and start over. Unlike my current job where to erase and start again is a couple of clicks on the keyboard, starting over on the layout was a very involved and time consuming step. As such I decided this time round to work to some basic rules. These will evolve over time but they are currently along the lines of:
- Never experiment on the main layout.
- Have a method worked out, written up and practiced before attempting to apply it to the layout itself – know the result in advance.
- Try to build, color, weather etc away from the layout and deliver the results to the layout for final placement and gluing once satisfied.
- Do as much testing as possible, keep a note of steps, keep samples with notes, create variations with notes.
- Let the model /layout be the result of studying and copying the prototype and not a result of the method employed.
- Plan, go away, think, come back, move elements around, read, take pictures, go away again, come back again and so on.
- Never start until all the elements on the layout have been planned out.
I imagine any experienced modeler has long been following a variation of these steps but I needed to write them out, print them out and set them up as a set of rules that I need to stick to. I’m sure there are other rules and I’m sure these current ones will need amending but they will do for now.
So with that said I decided to start over on the diorama.
At this early stage it was easy enough to remove all the elements and get a clean stage to work on
Decided to plan things out again starting with a piece of paper onto which I could draw elements. I also decided to create elements such as roads, the parking area etc in card so that I could move them around. I also decided to create mockups of buildings if needed – just the depot building really (although I already have it built so probably not needed).
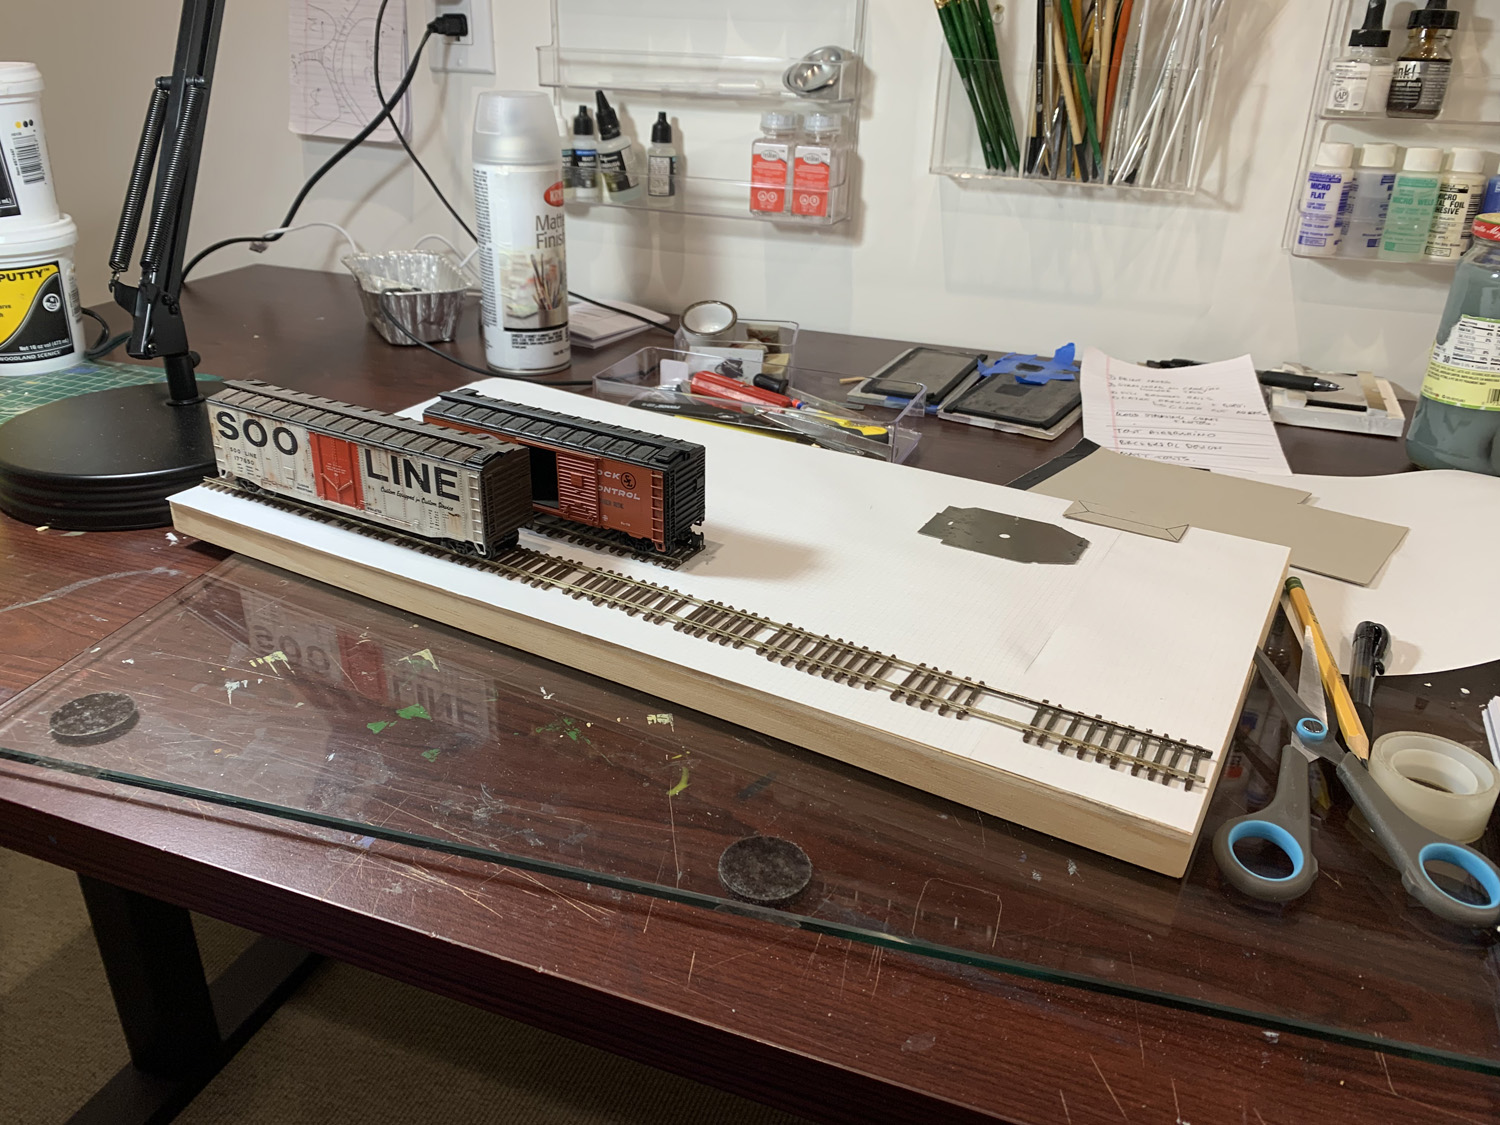
I used the NRMA track clearances gauge to measure spaces etc but really at this stage I could have just eyeballed it using a couple of freight cars.
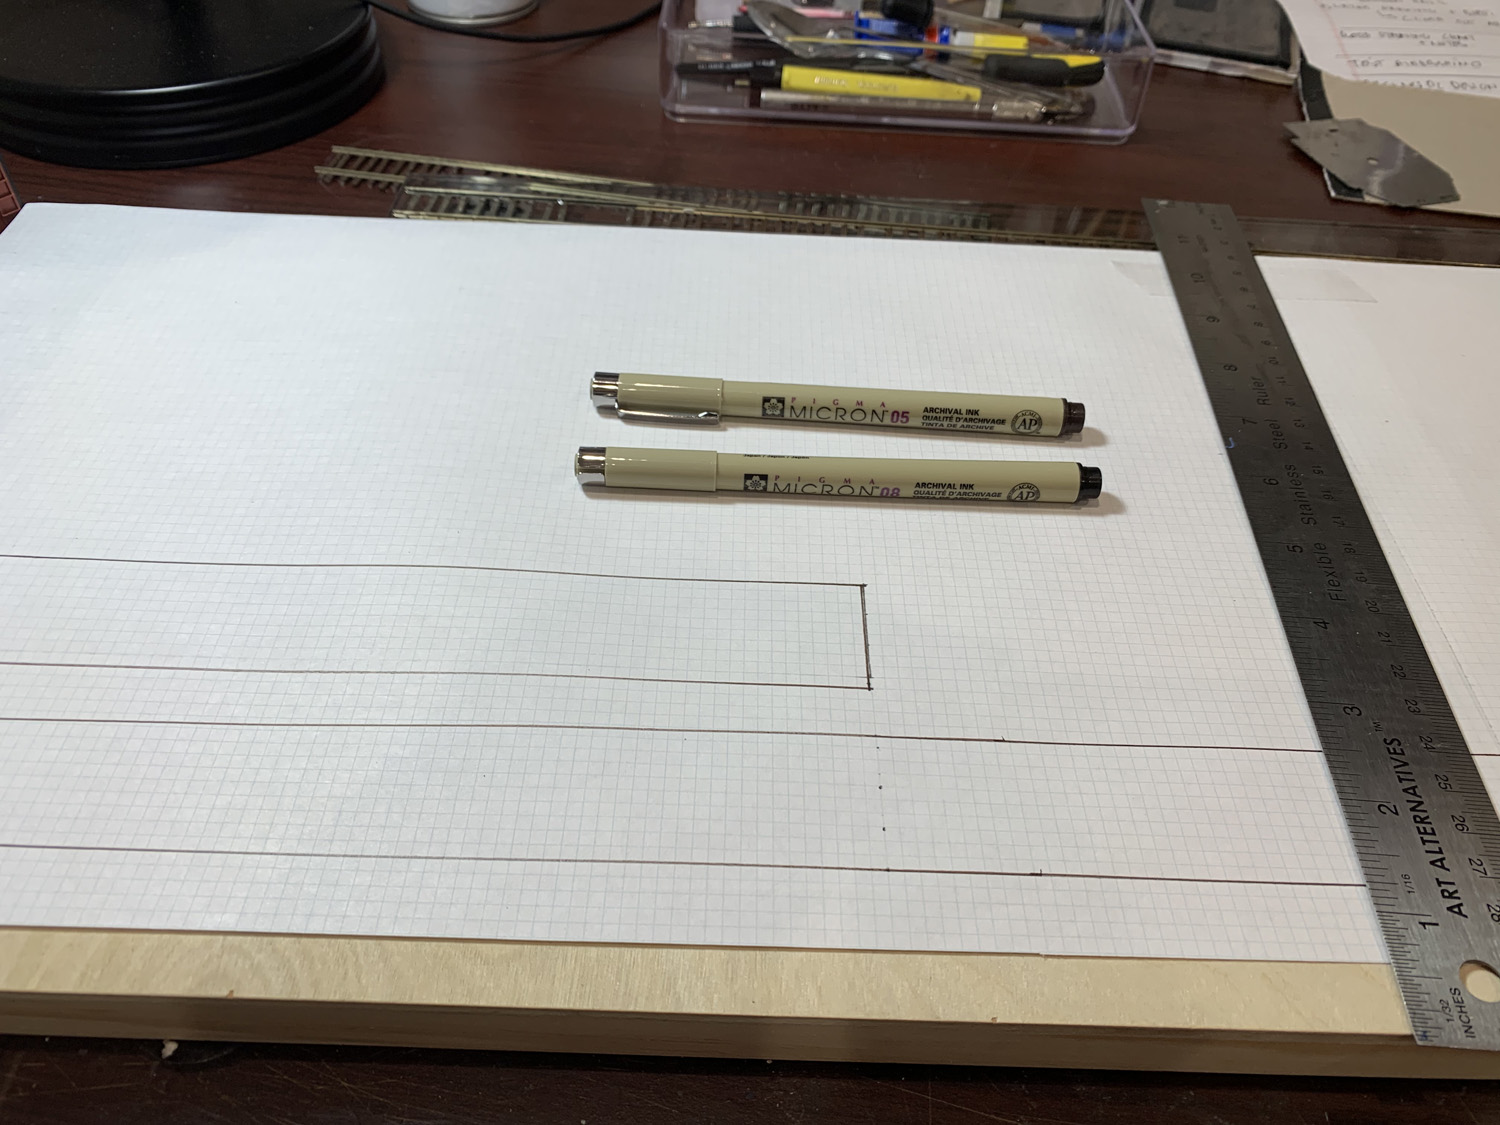
Once the pencil lines were fixed I inked over them. Even this is probably unwise as those lines are permanent and I still may have to move the track around. In fact now thinking about it I should just cut a couple of pieces of card for the track as I did for the road so that I can continue to fiddle with the layout.
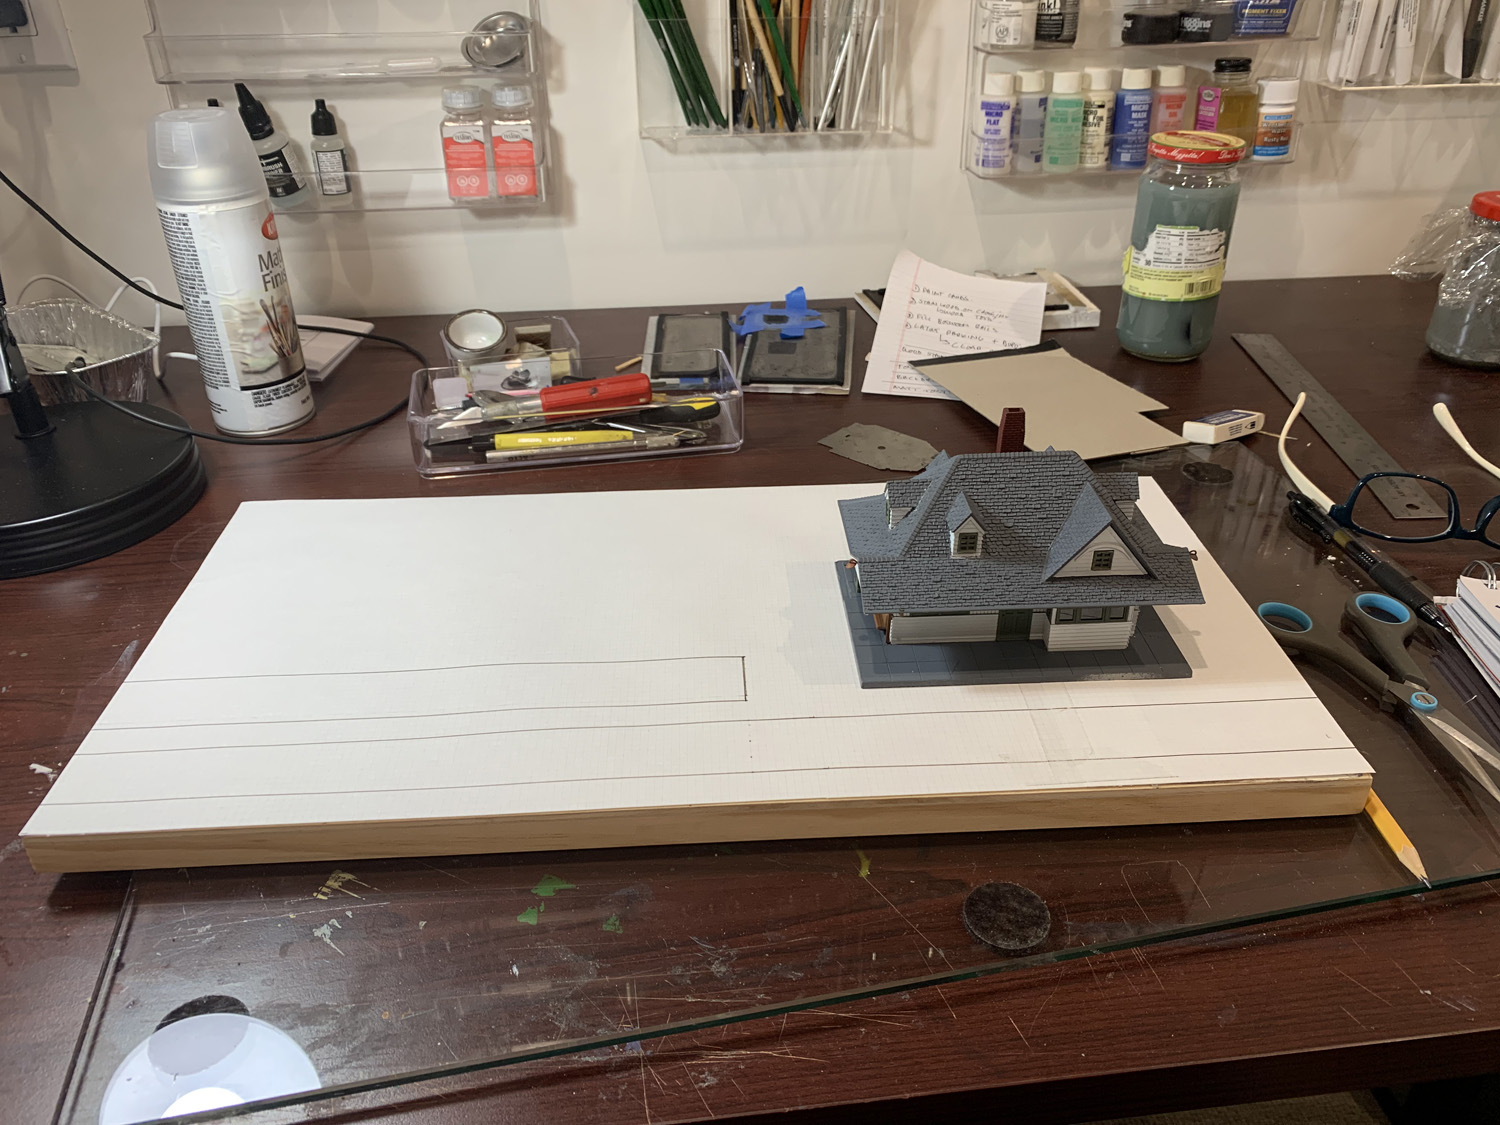
Starting with the depot building I began to figure out where the elements were to placed, the spacing between them, ground levels and other details.
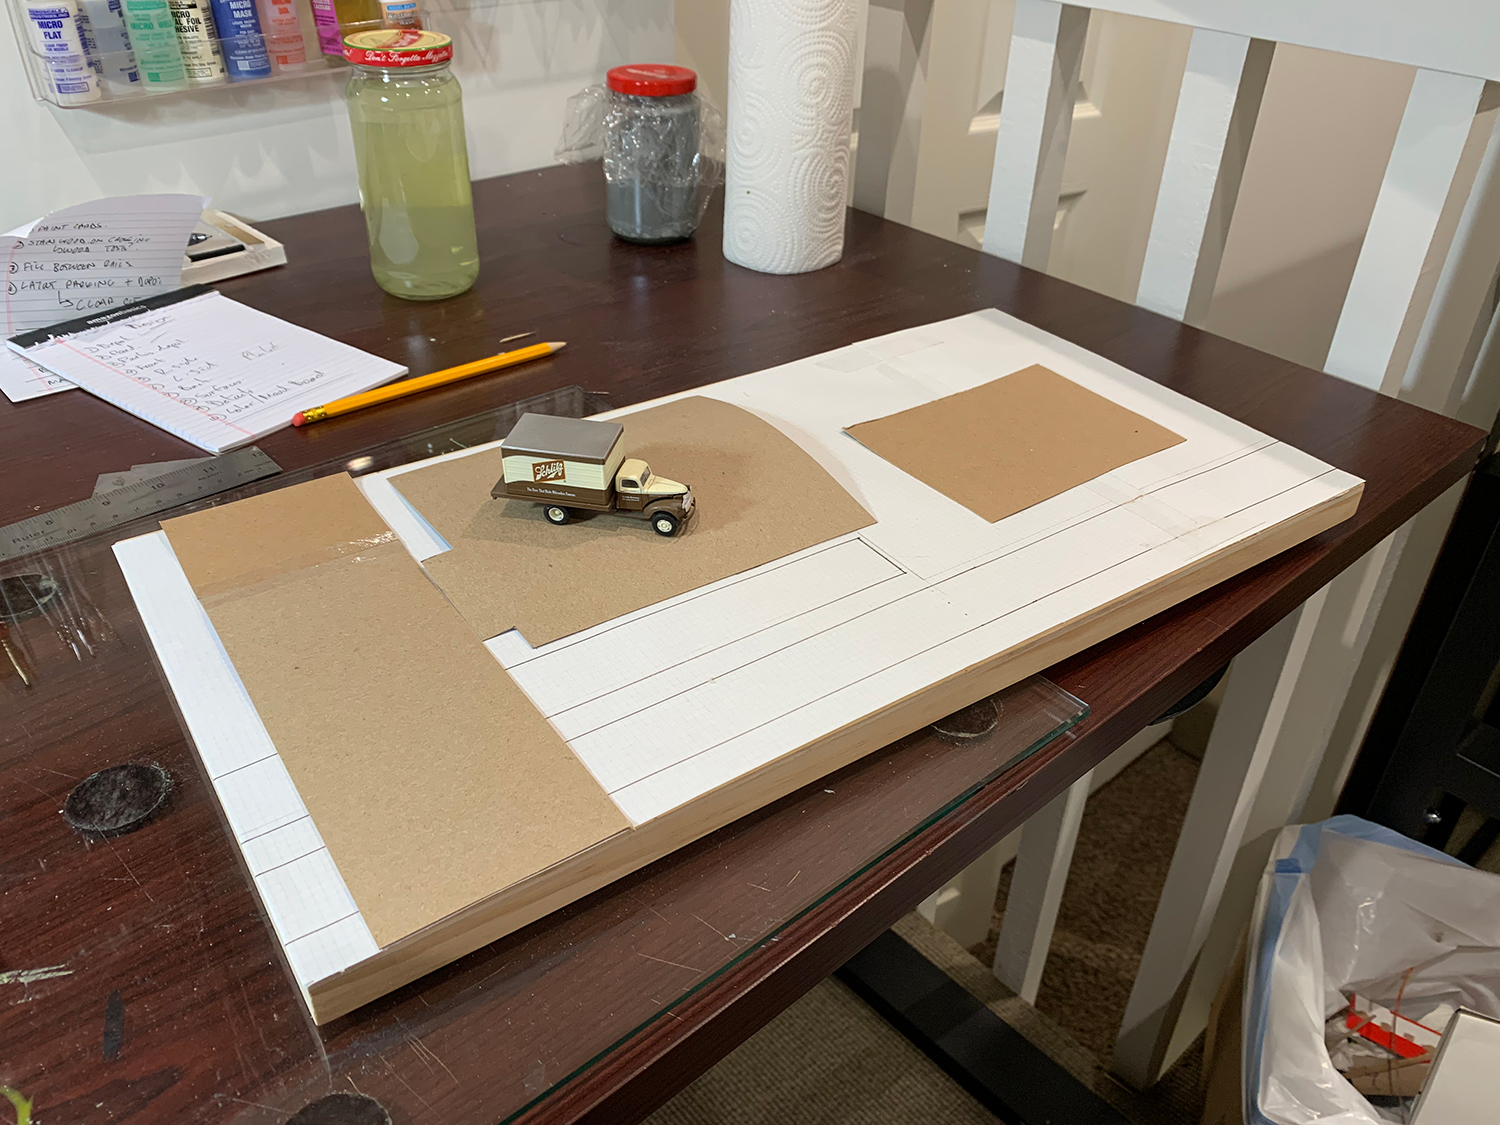
I cut some old card to create the road and parking area. This allowed me to get the horizontal spacing between elements just right i.e. not too much space and not too little. This week I’ll be working on the vertical spacing.
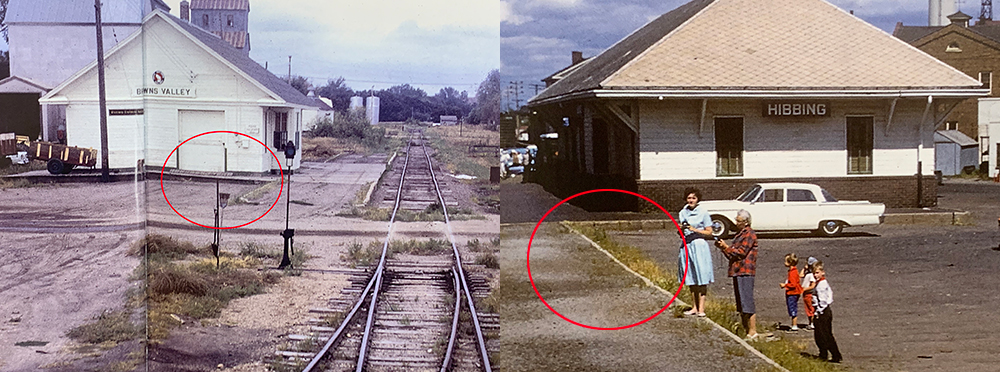
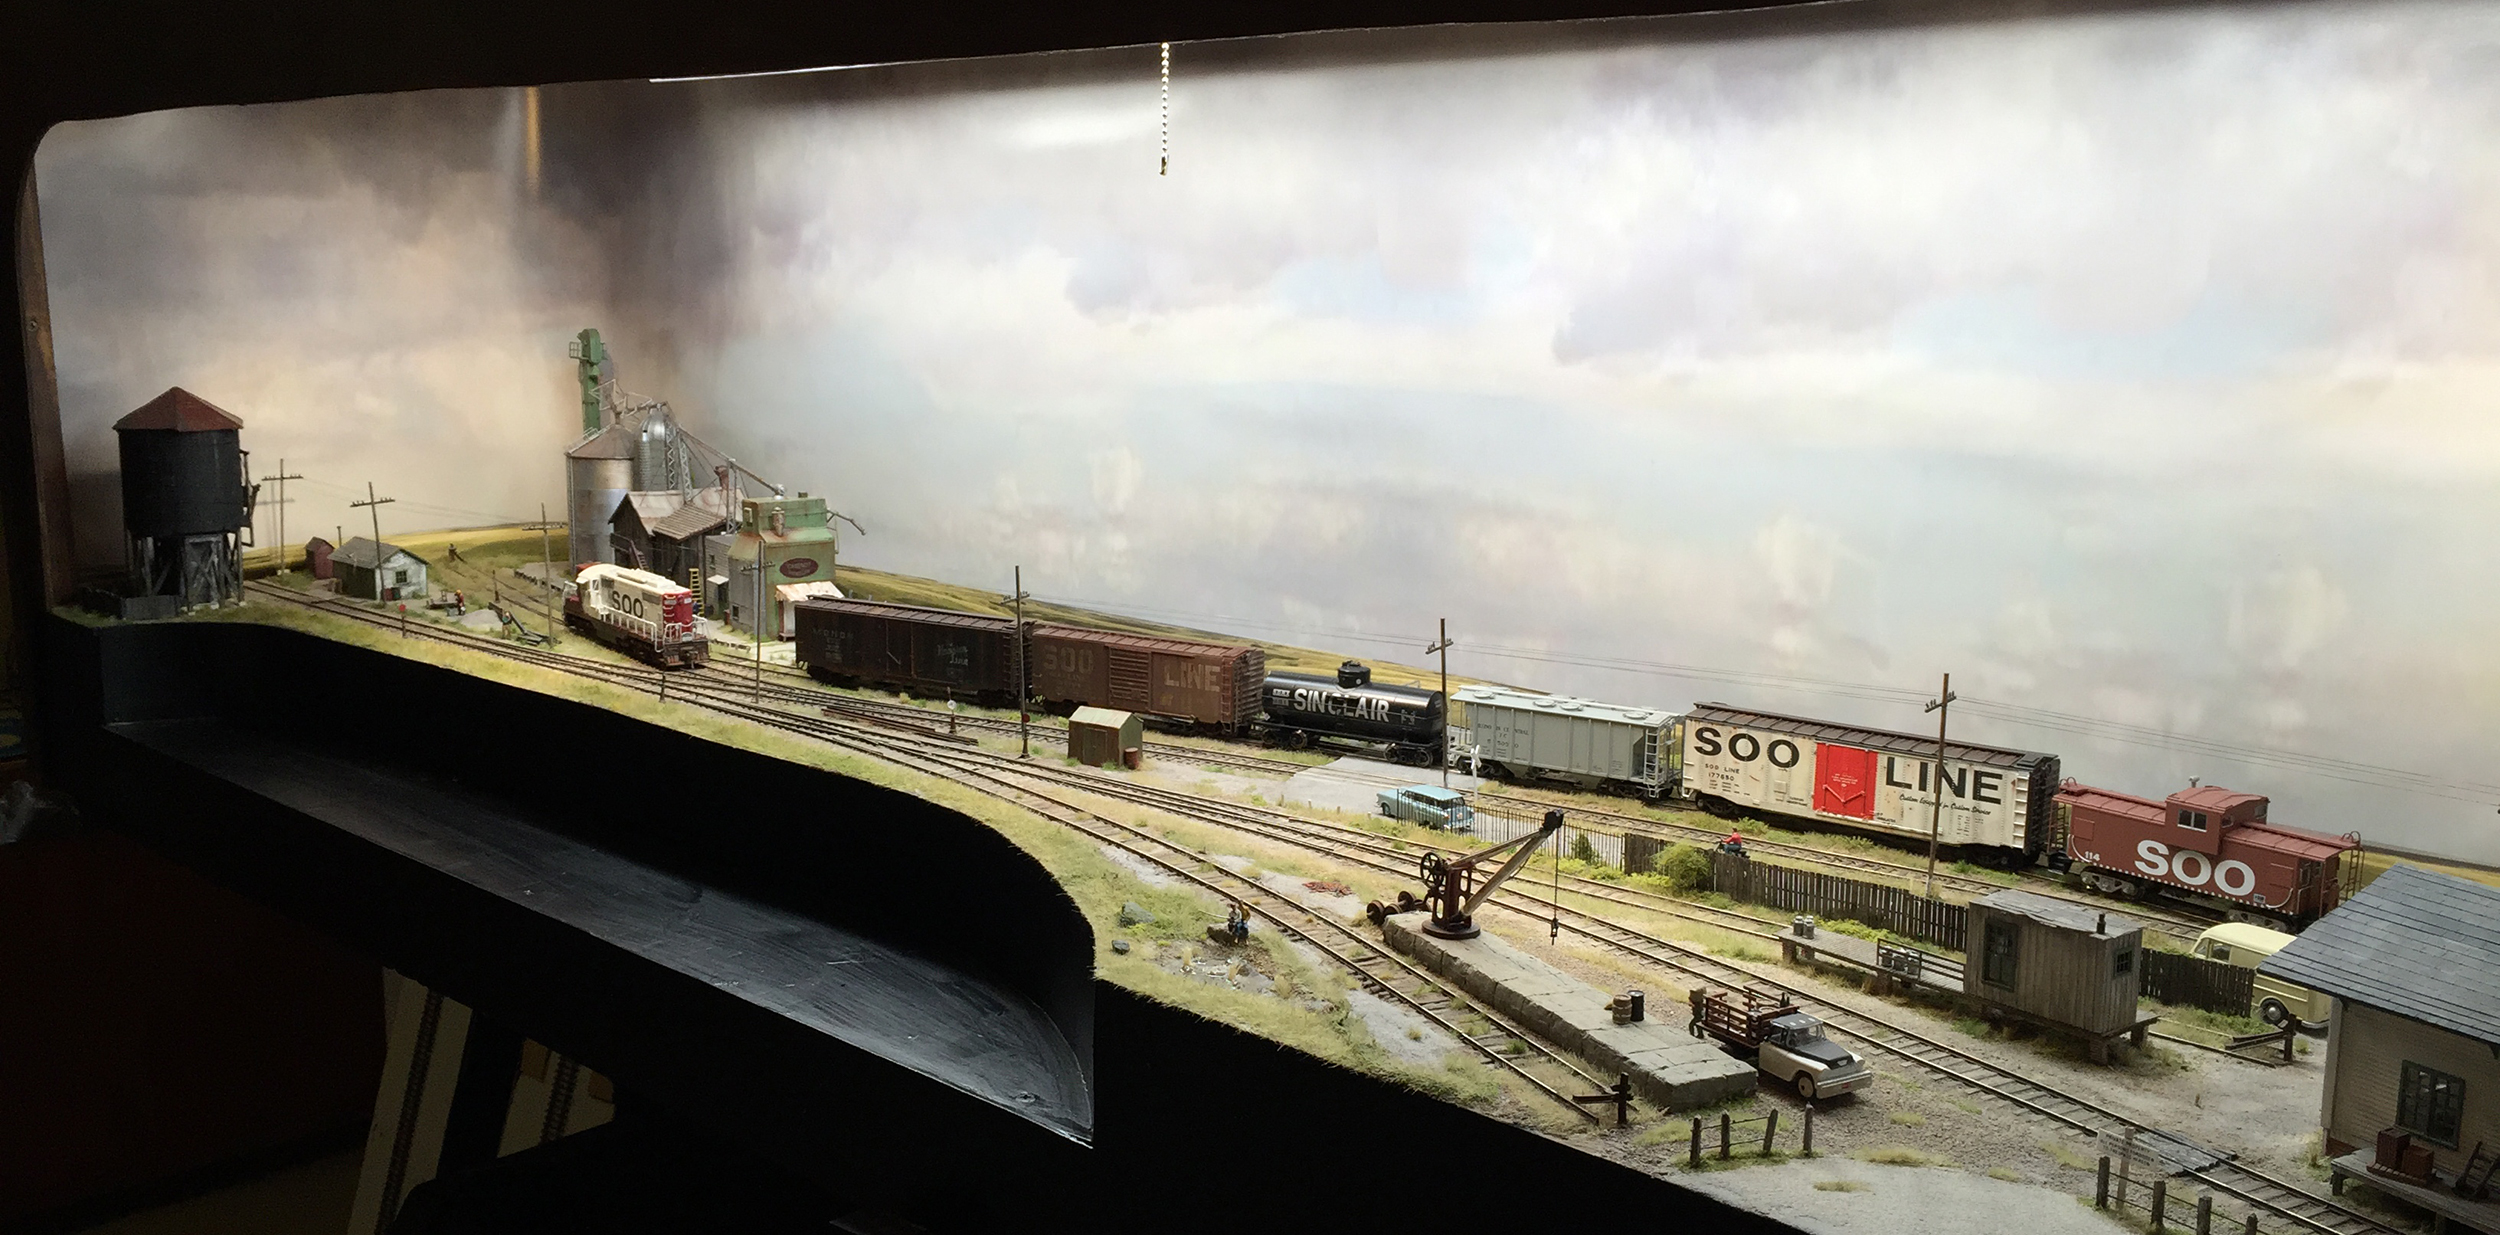
One scenic element I found in my reference books is the raised platform for the depot as seen in these pictures – that is definitely a feature I want to model
THE BACKDROP
An important feature that needs early planning is the backdrop. As mentioned previously the backdrop plays a crucial role in filling in the story of the depot – where it is located, the surrounding countryside, the season etc.
I wanted to spend some time planning the backdrop so that it fit the diorama perfectly. As my painting skills are rudimentary at best I decided to create a collage of elements taken from photos. I will then put them together in Photoshop to create a long photo poster that will be stuck to a cardboard backdrop similar to how I made the Trestle backdrop.
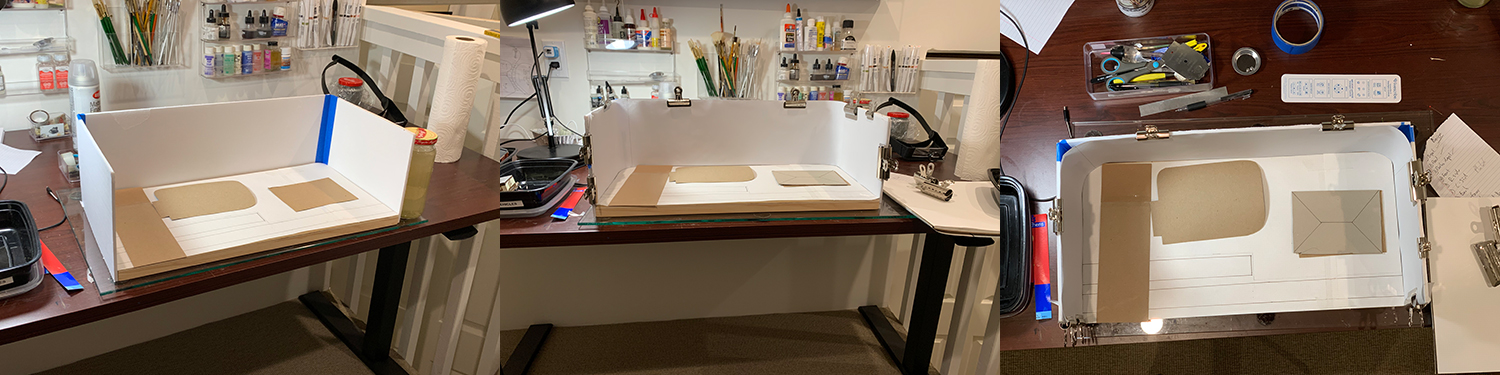
Before making anything on the backdrop I needed to mock up the surrounding structure and add a paper front which replicates the eventual card that will replace it. I will be adding moveable elements to it to help me create the overall scene and help me position elements such as trees, countryside and buildings behind the model foreground.

Using scrap card I built basic mockups of trees and buildings. These will be replaced by photos and then will be added to an overall scene in Photoshop. This is just a start and may go through several iterations before I settle on a scene I am happy with.
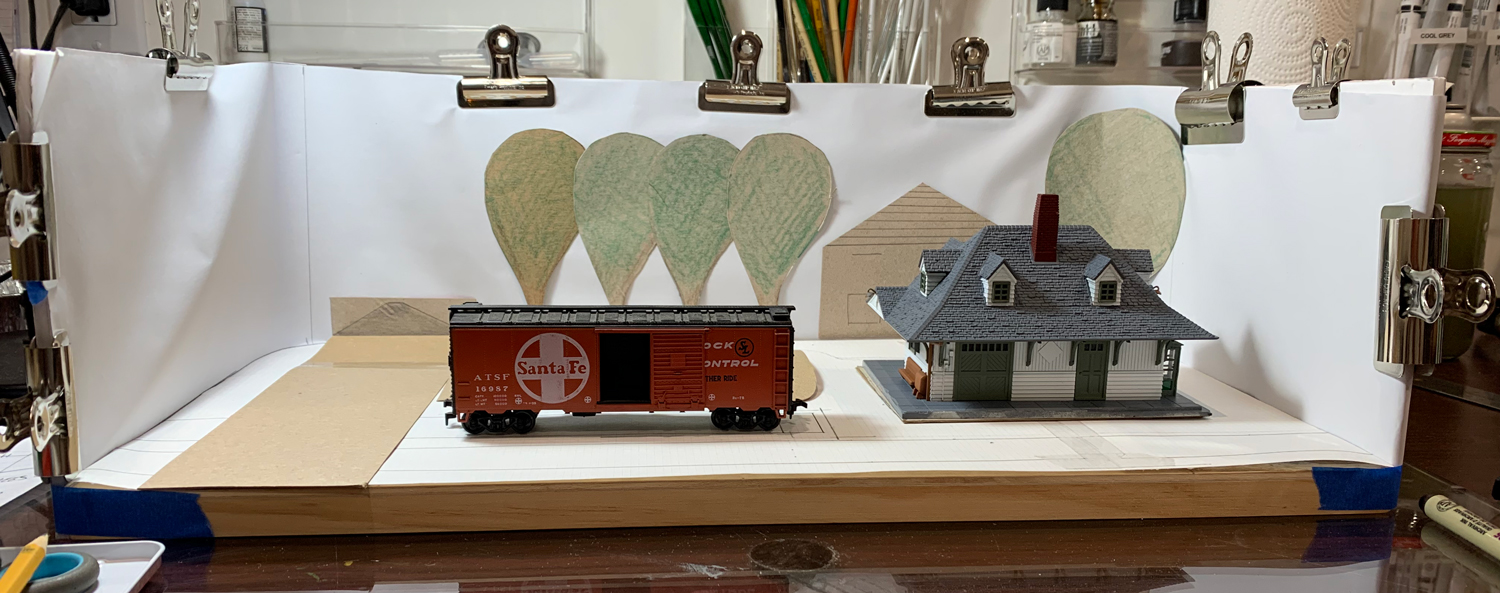
I continued to cross-check the background with the foreground elements. I’m happy with the result so far. Still have to do the sides and the faraway horizon.
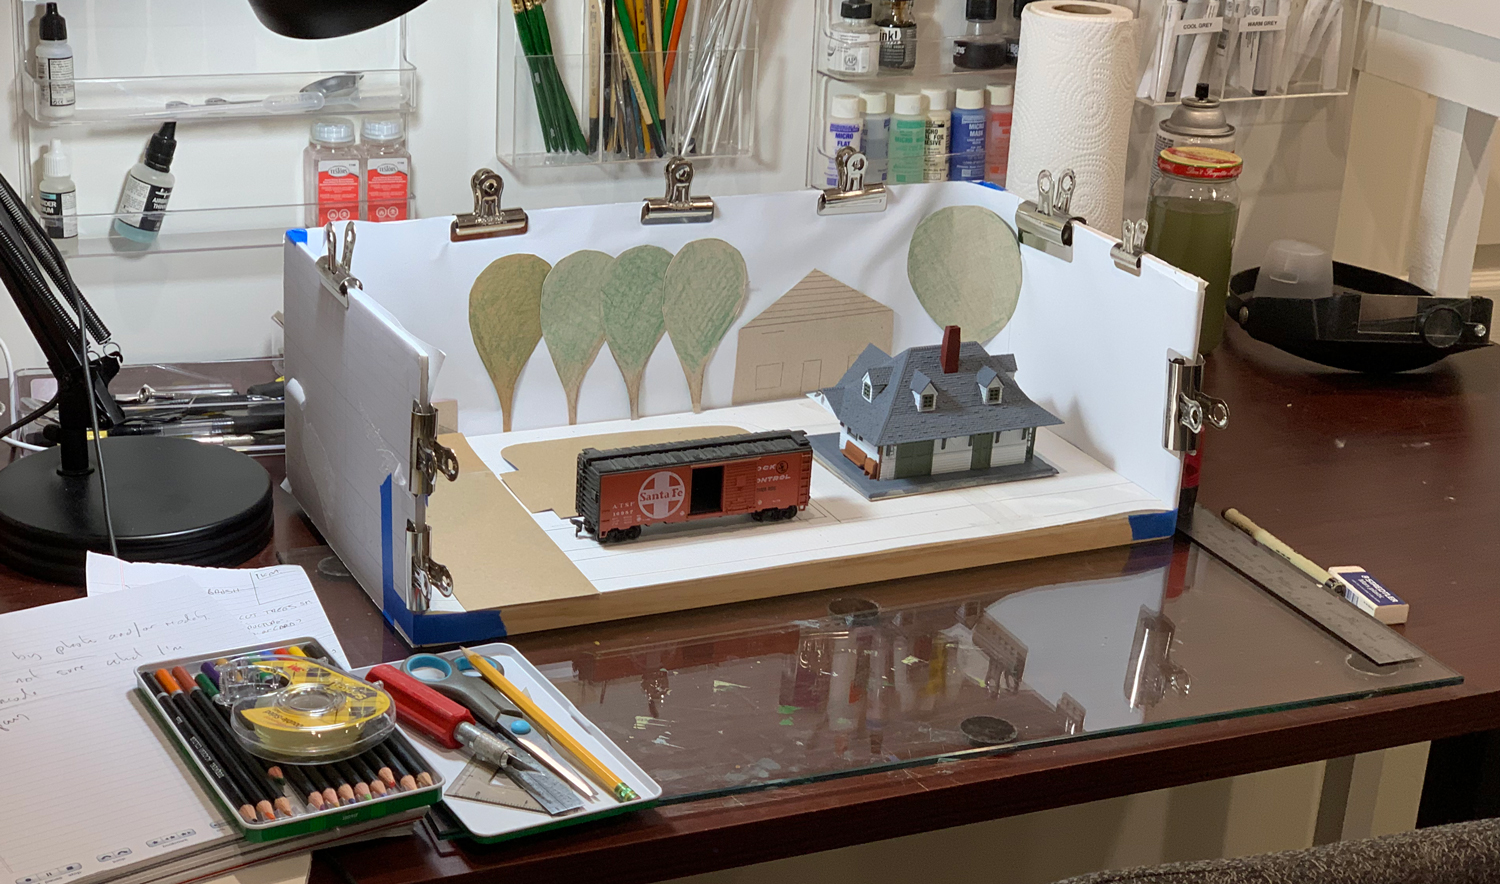
That’s where I’m at so for and look forward to this week’s work. I’ll continue developing the backdrop while working on the vertical planning such as the platform.
TESTS
50% of my modeling time is spent testing. I’m currently testing crackle medium from Vallejo and Winsor & Newton and Copic markers. I’ll post on these another time.
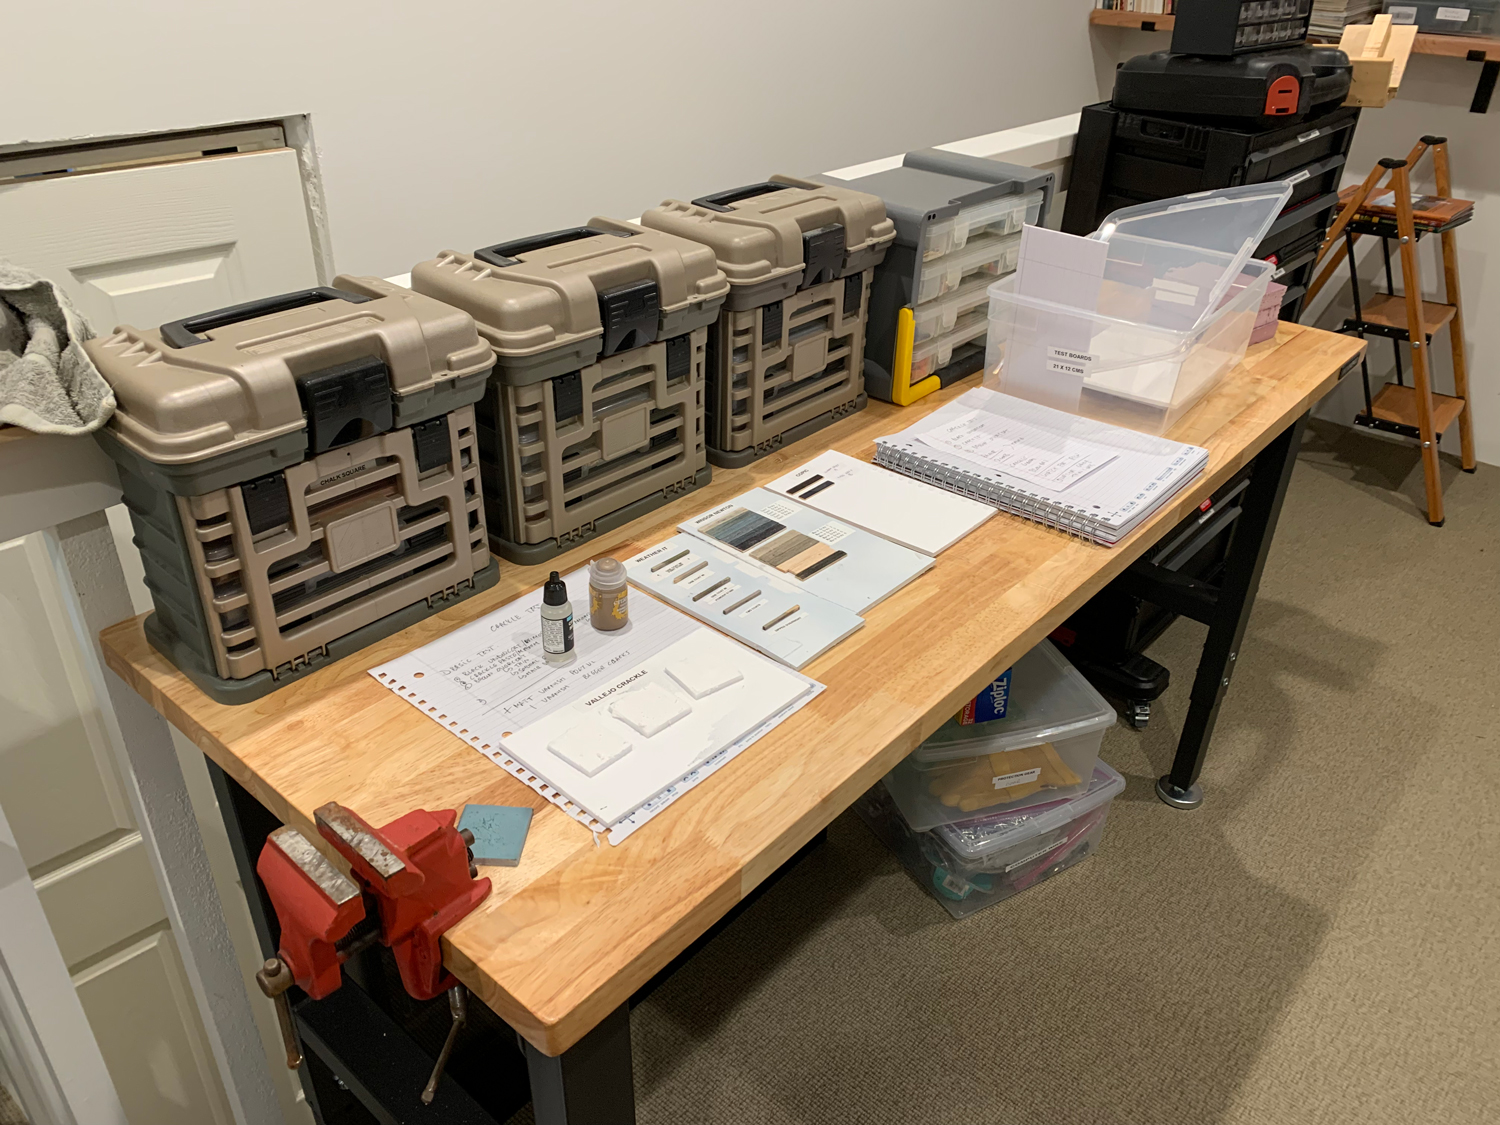
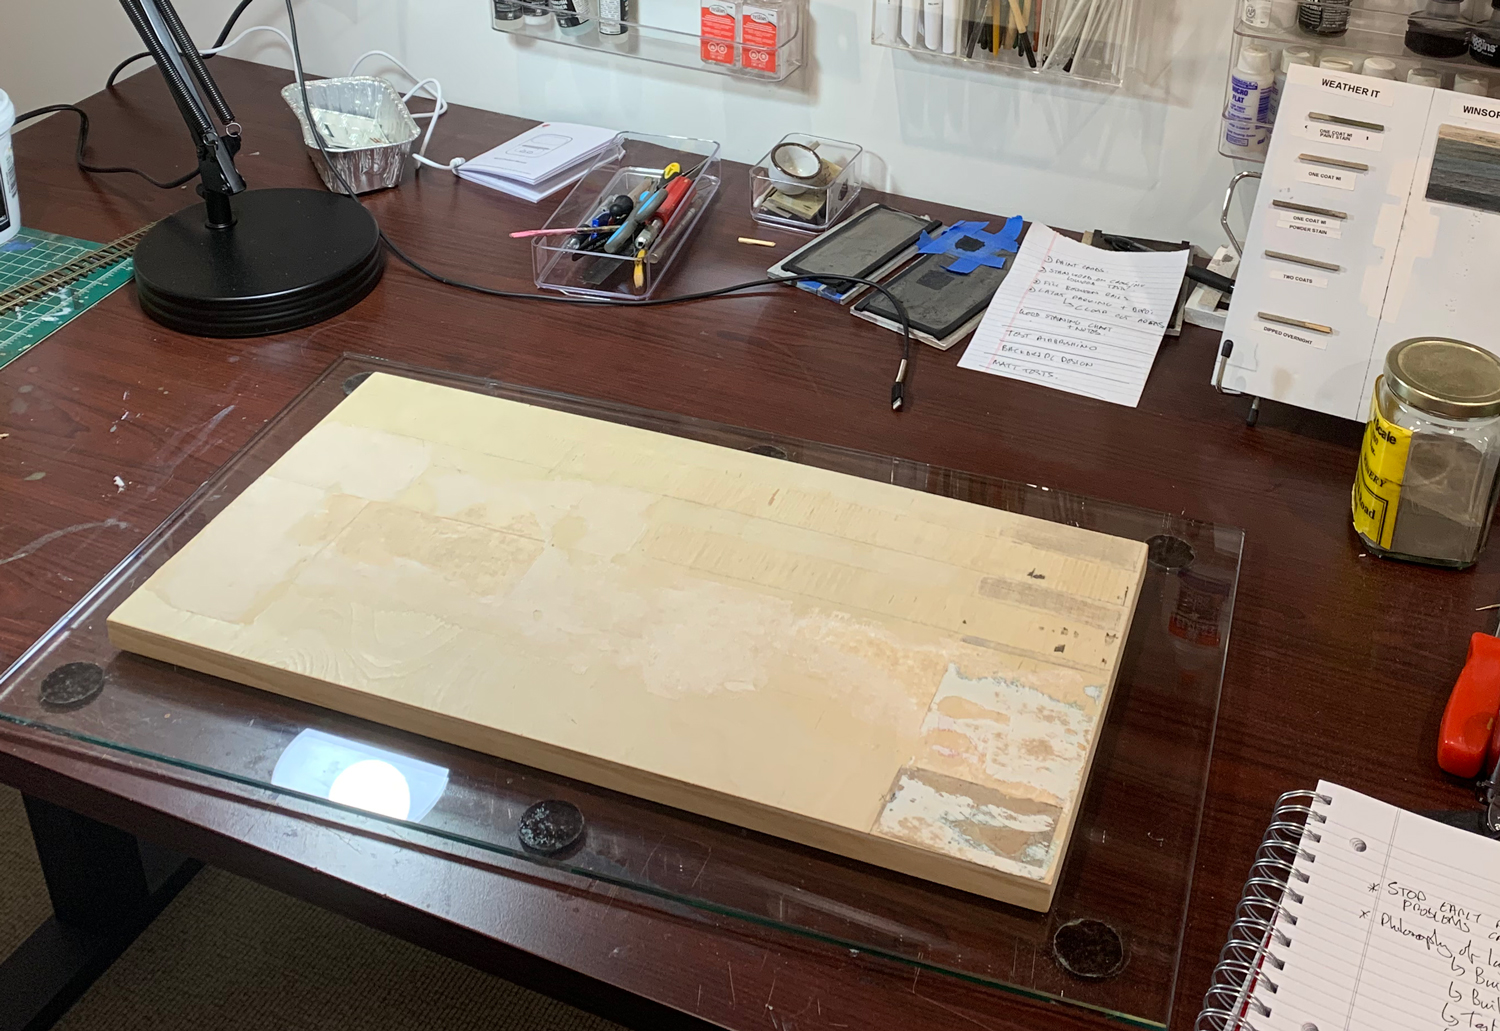
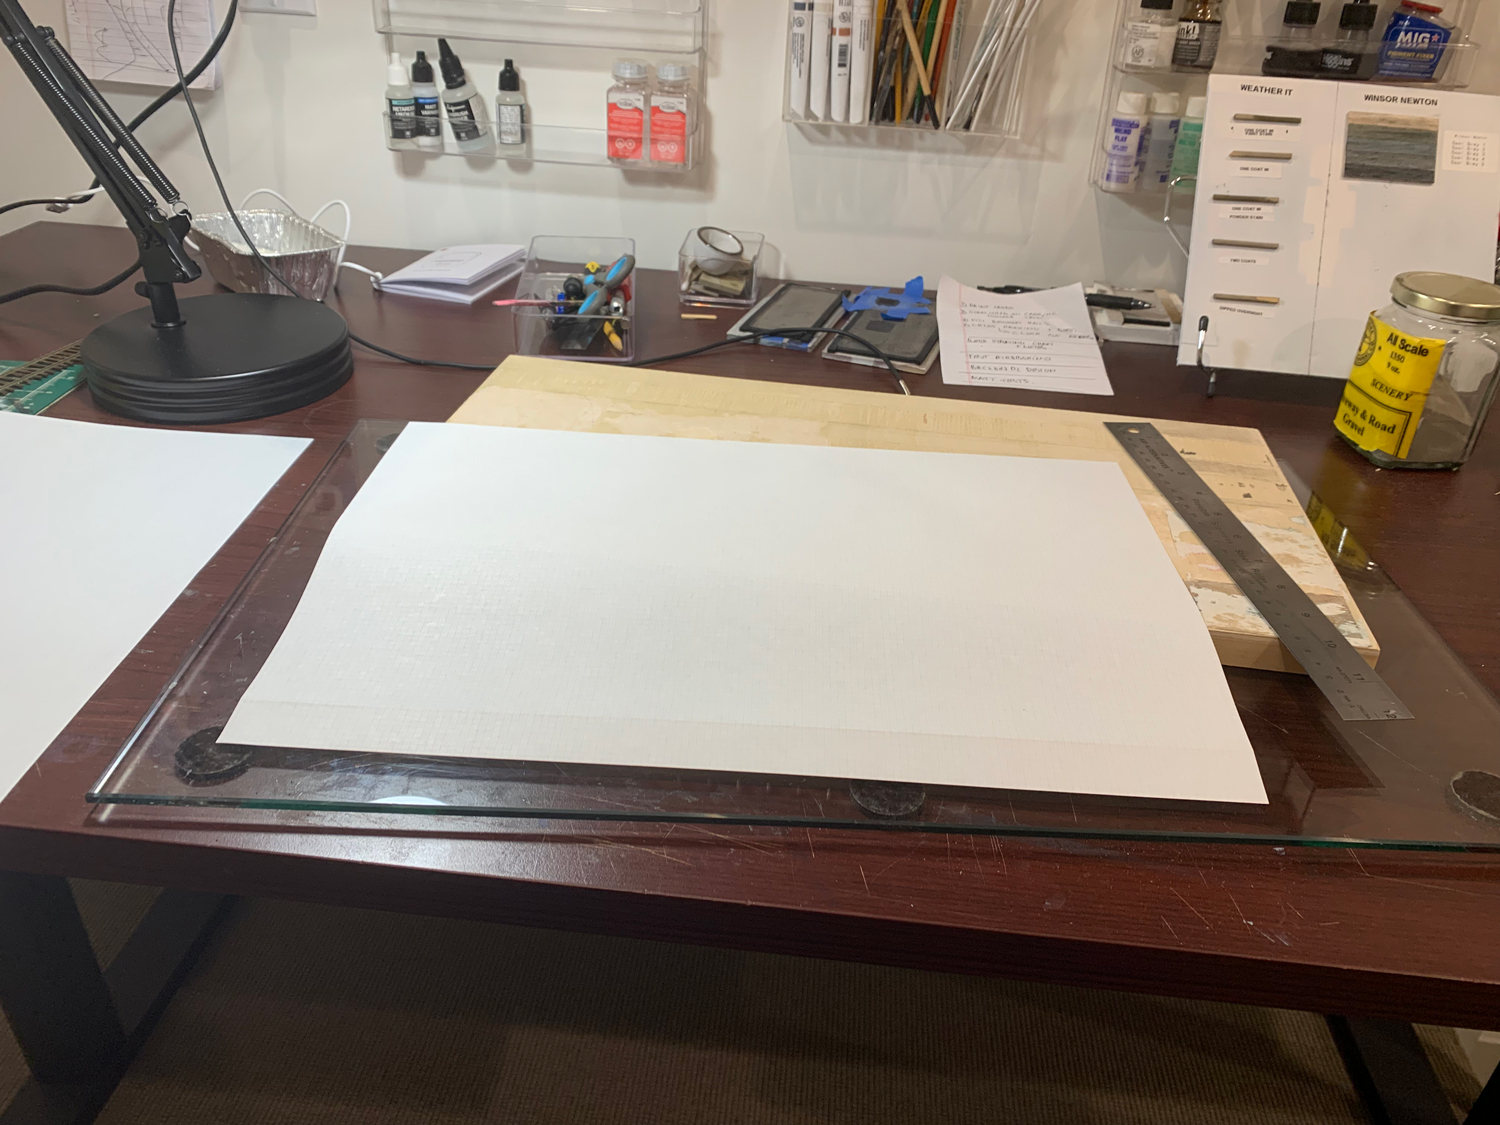
One of the nice things about the new modeling space is the various surfaces I have to leave stuff on. In this case the workbench is hosting various tests.
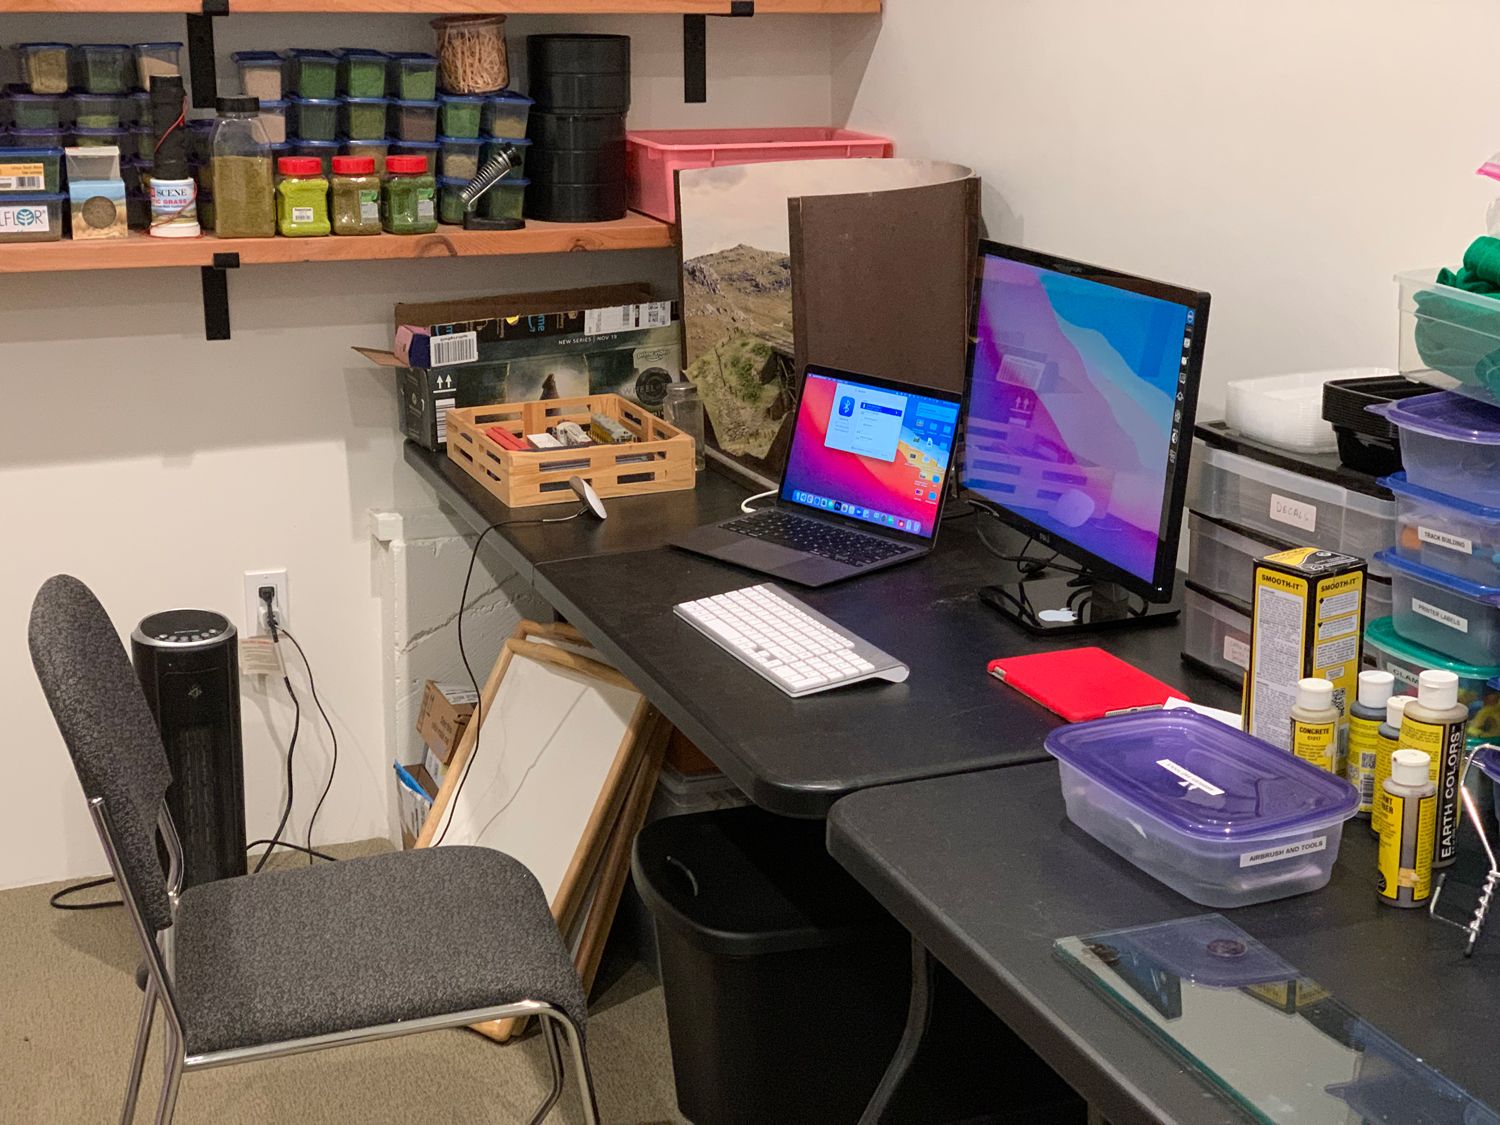
I finally got a computer station set up in my modeling space. I can do all my modeling computer work from here now. My next major purchase (next year) will be a 3D printer which will be run from here. I’ll be moving the computer station to behind my main modeling spot. This is just temporary.
Thanks all. More next week.