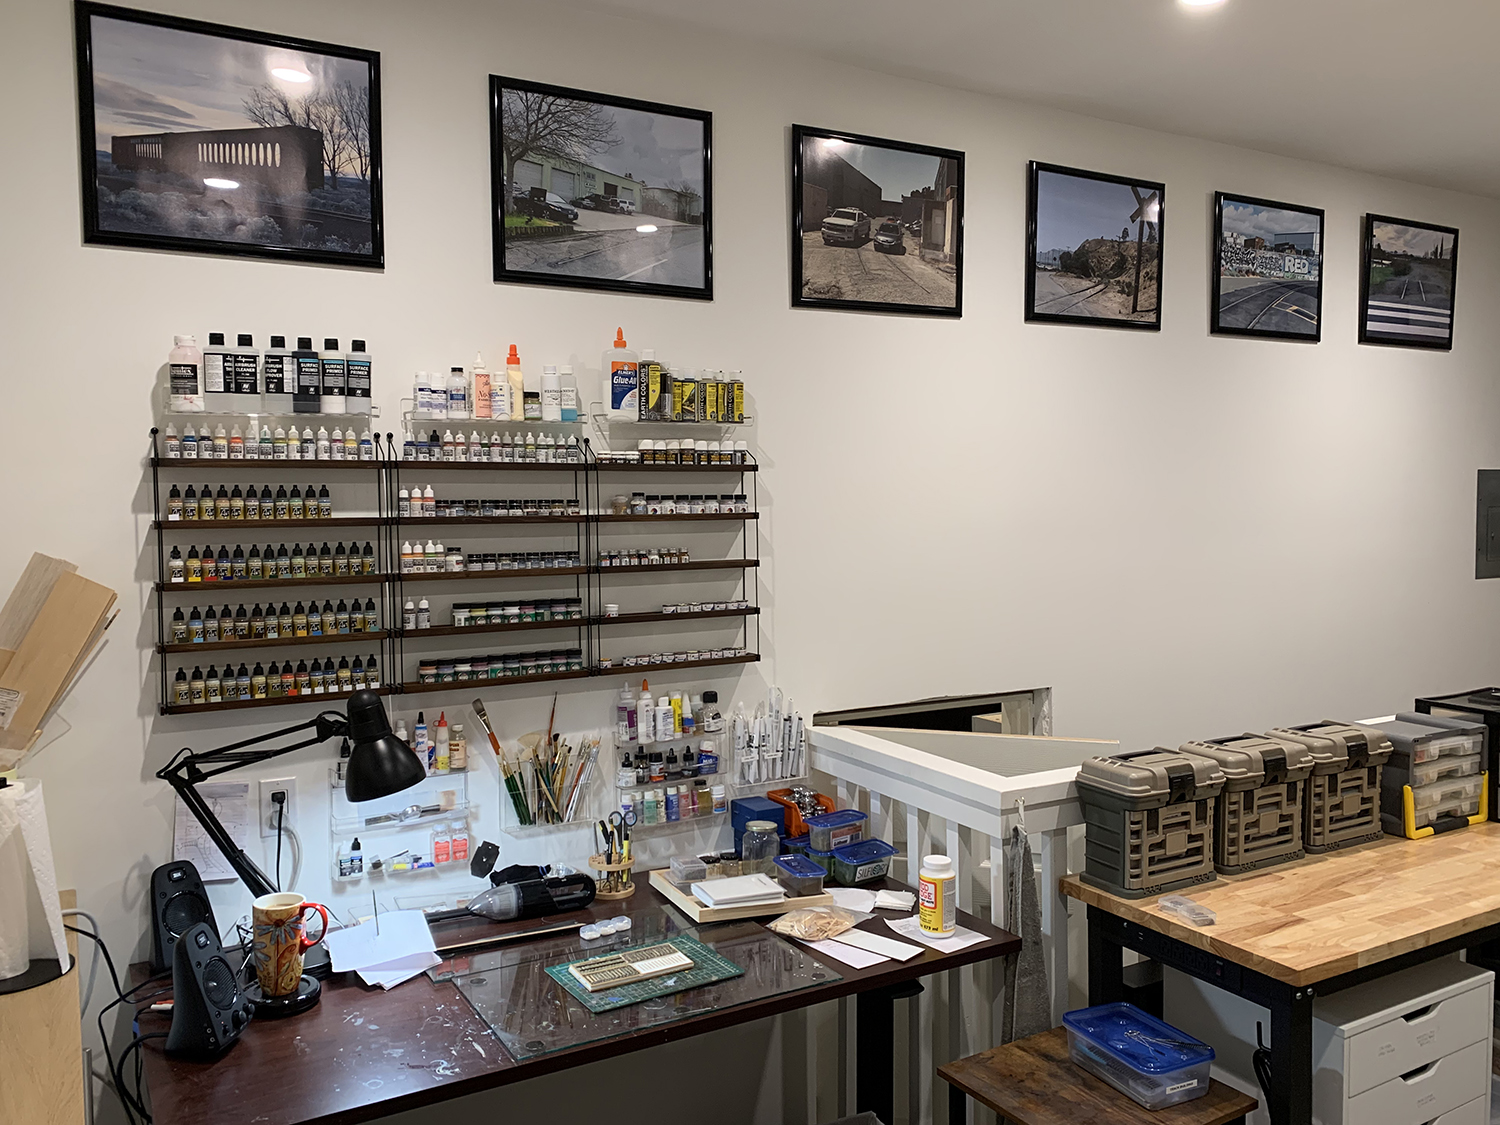
My work folks finally finished installing the kitchen units in the modeling room. I now have plenty of storage for my mini-tools, a work surface for my spray booth, hot and cold water plus a sink. I’m happy to see the whole room finally come together especially as year ago this room was just a dusty shell. I still have to add some more pictures and more paint storage racks and I will get to that in the next couple of months.
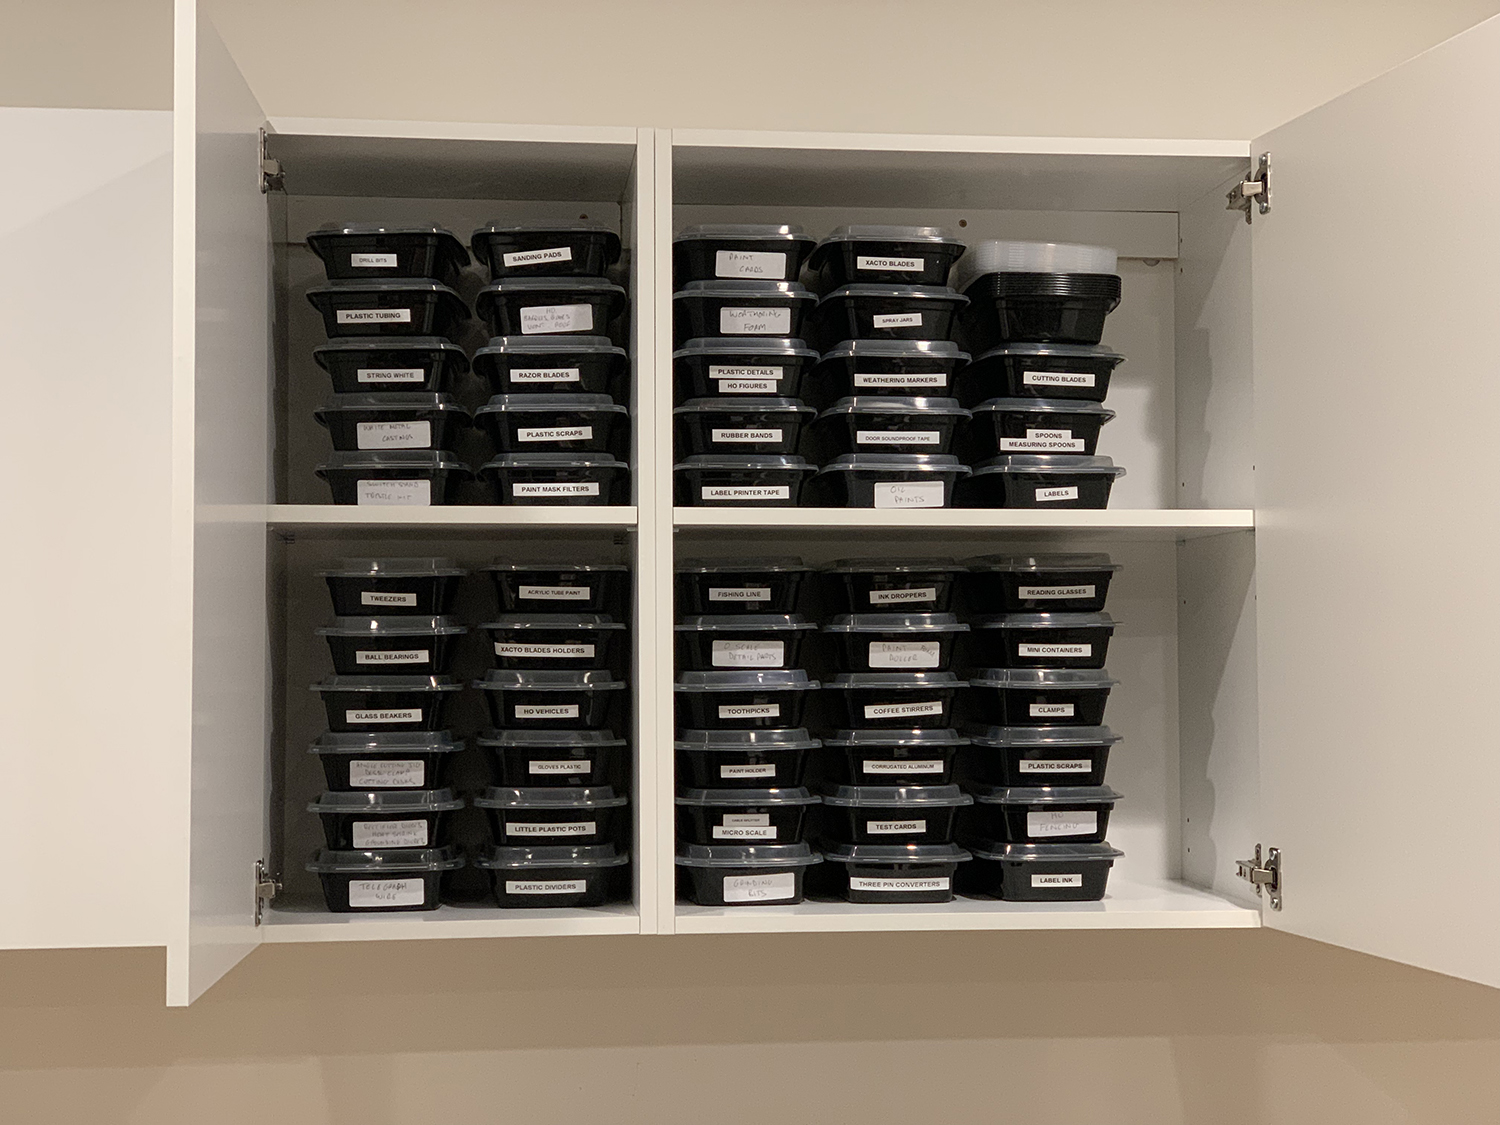
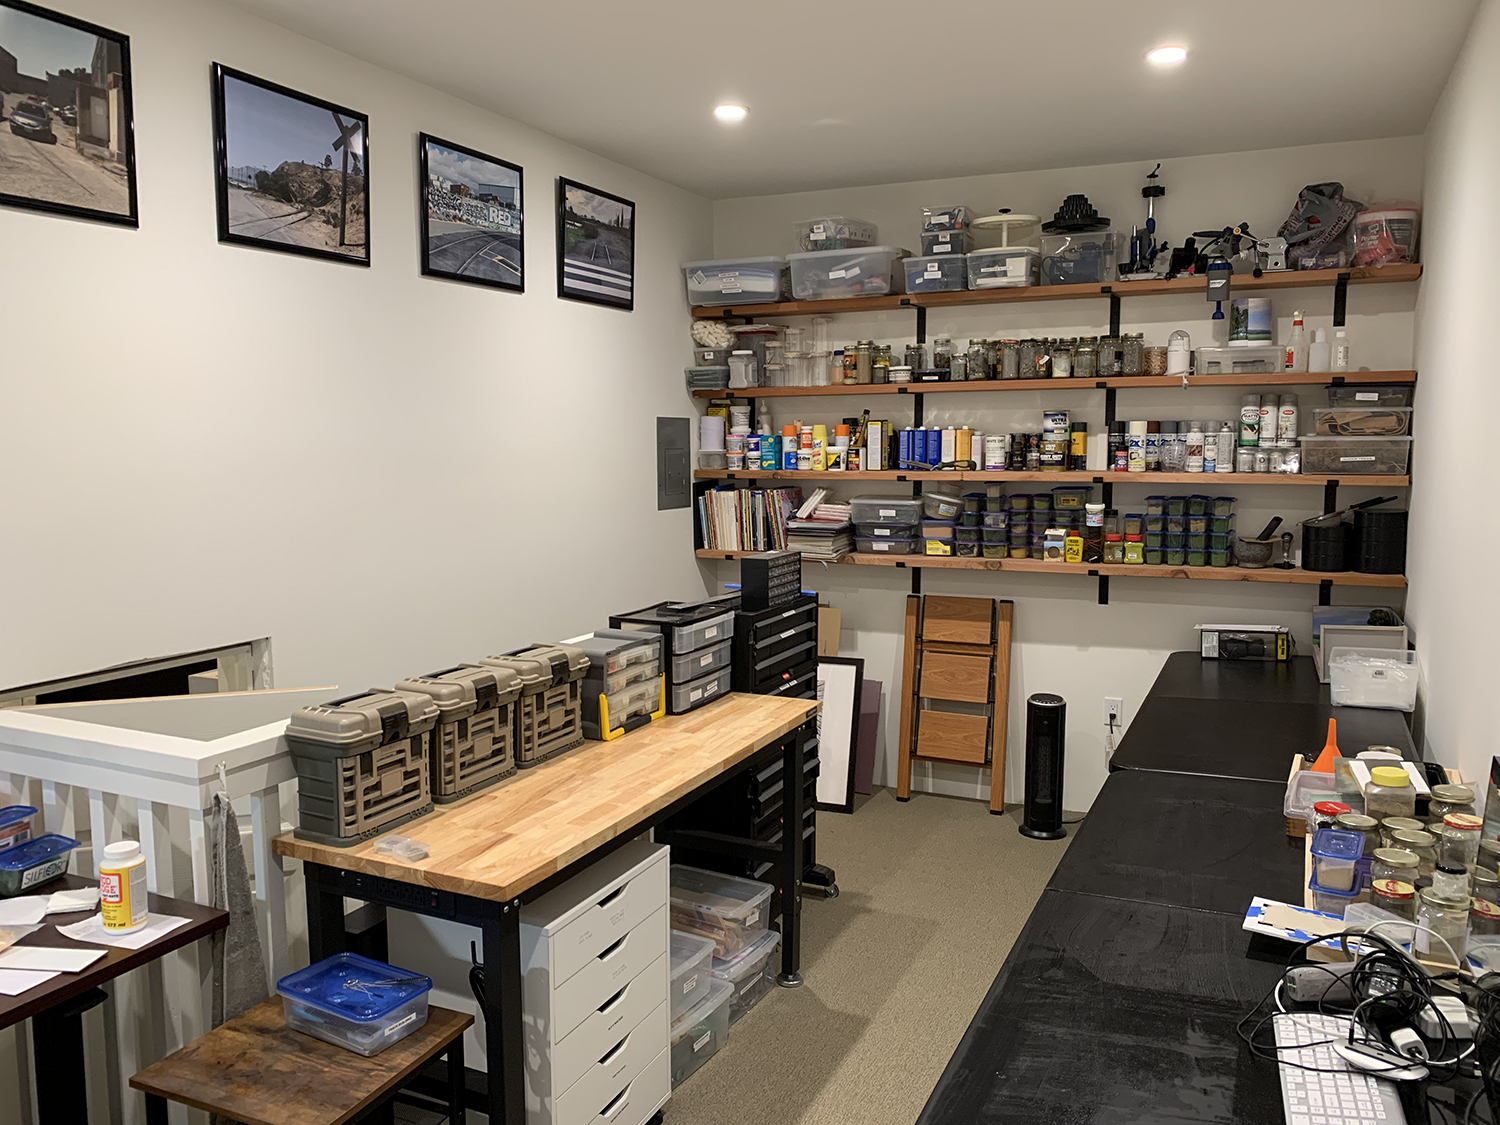
The kitchen units came from Ikea. They were cheap but are still pretty good quality – good enough for a ‘making’ space such as this. I had a pal install the units while a plumber connected up the water and installed a water heater – I no longer have to clean up in the main house.I have numerous mini tools, materials, and odd bits and pieces that need storing. I bought these takeout containers to store these items and use the kitchen units to store the containers.The room is starting to come together. It’s been a real grind over the last few months trying to get everything organized but I now feel I am at the end of this stage and will now be able to concentrate on modeling.The ‘pull’ shelves contain all my materials such as ballast, static grass, flock and natural materials (branches, rocks, leaves. They also hold paint, glue and liquids such as alcohol and white spirits. The top shelf holds larger and occasionally used tools. I’m in the process of getting things better organized as it’s easy to keep buying things and lose track of them over time. Labelling and organizing in a logical and consistent manner saves me time and energy (looking for stuff) in the long run.
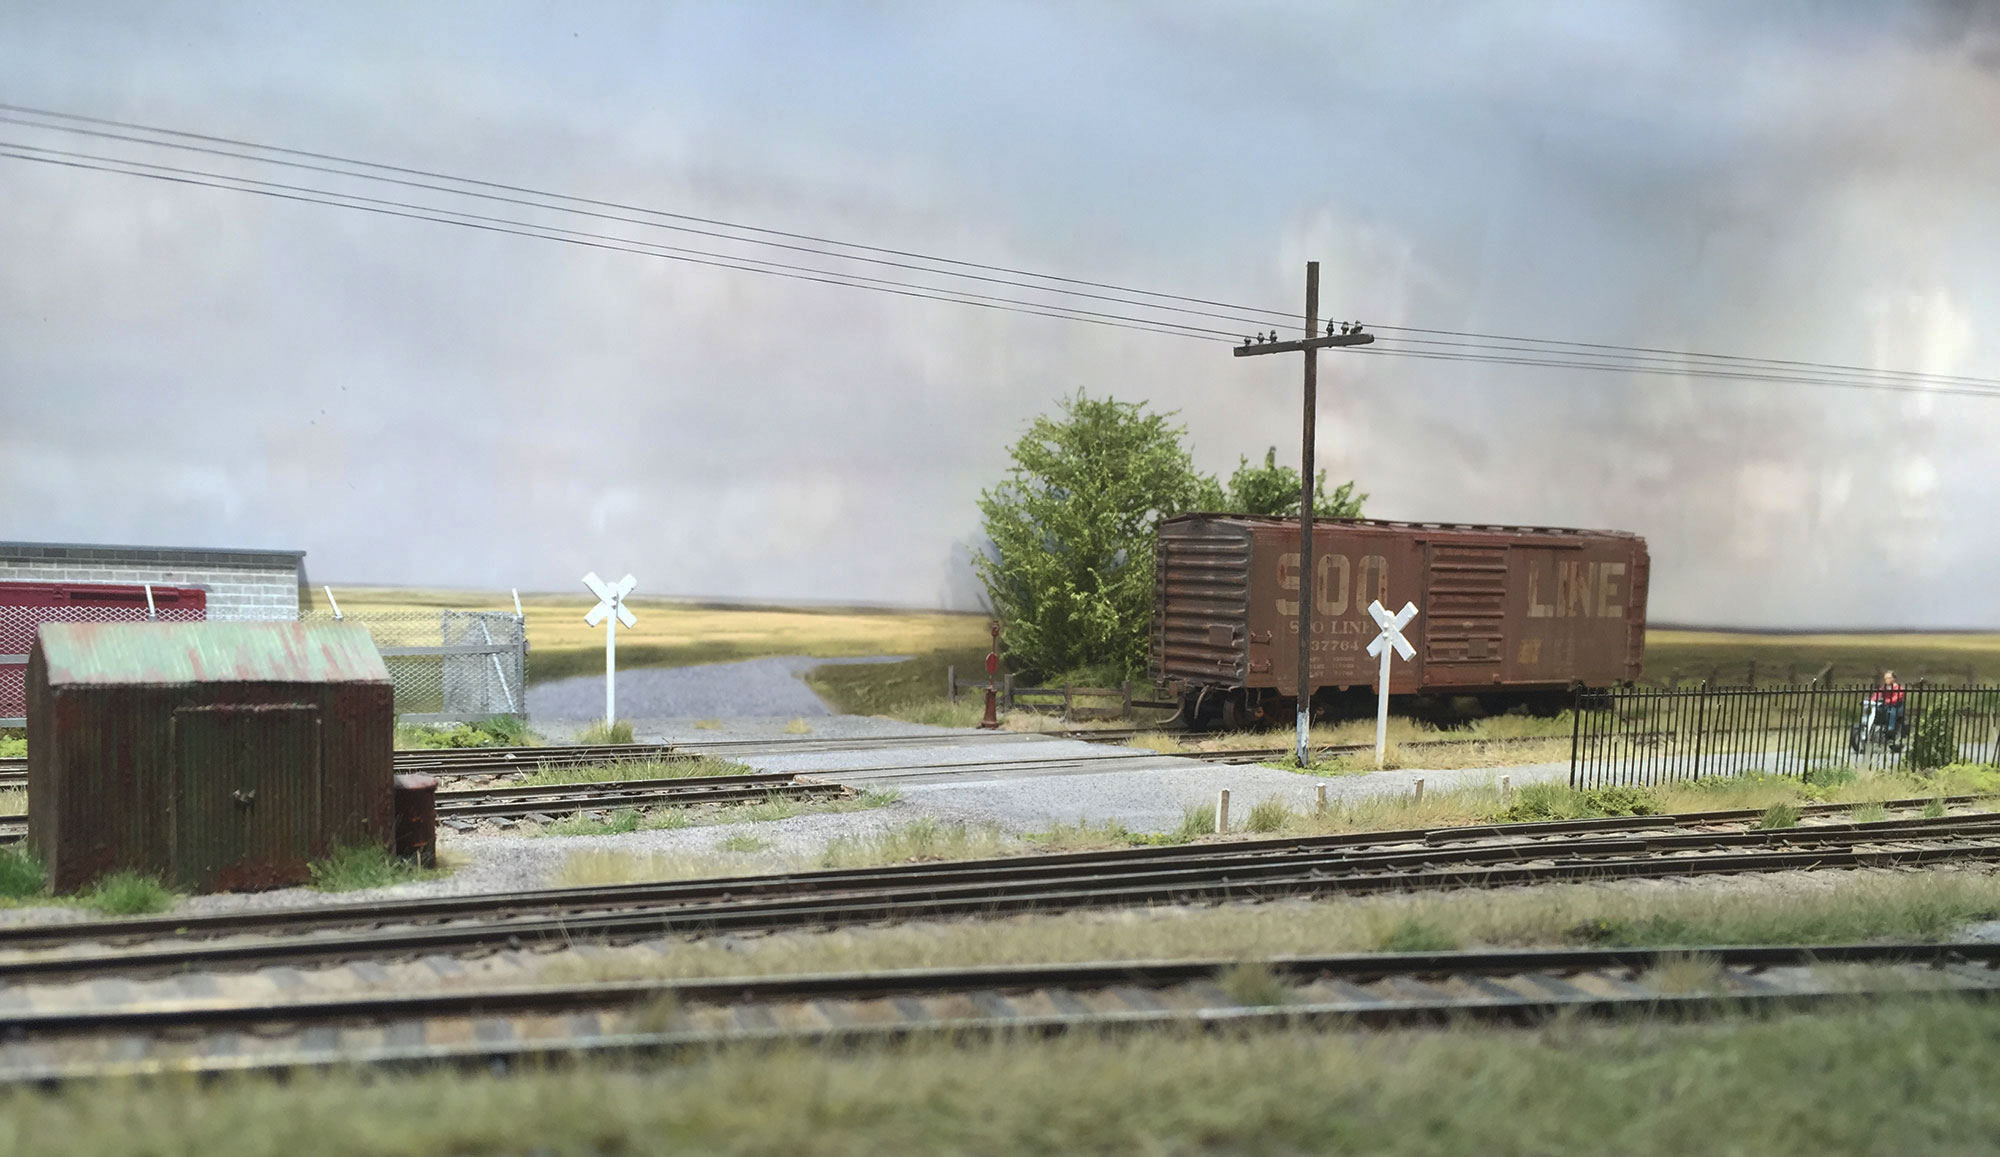
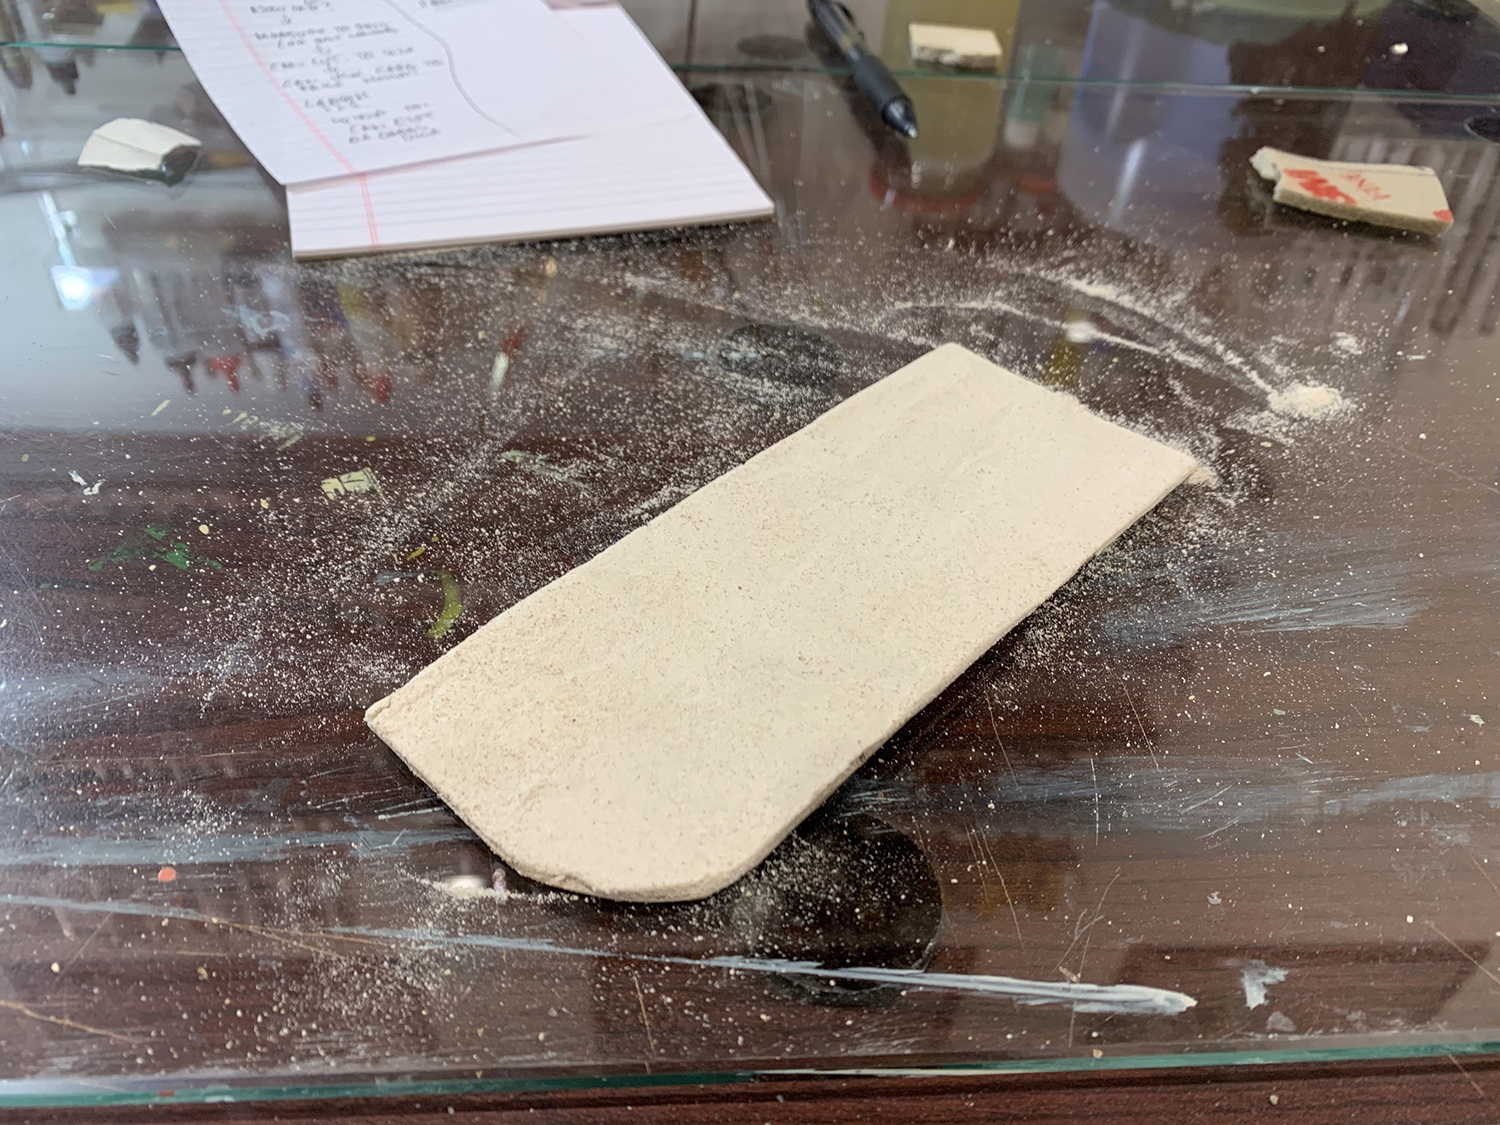
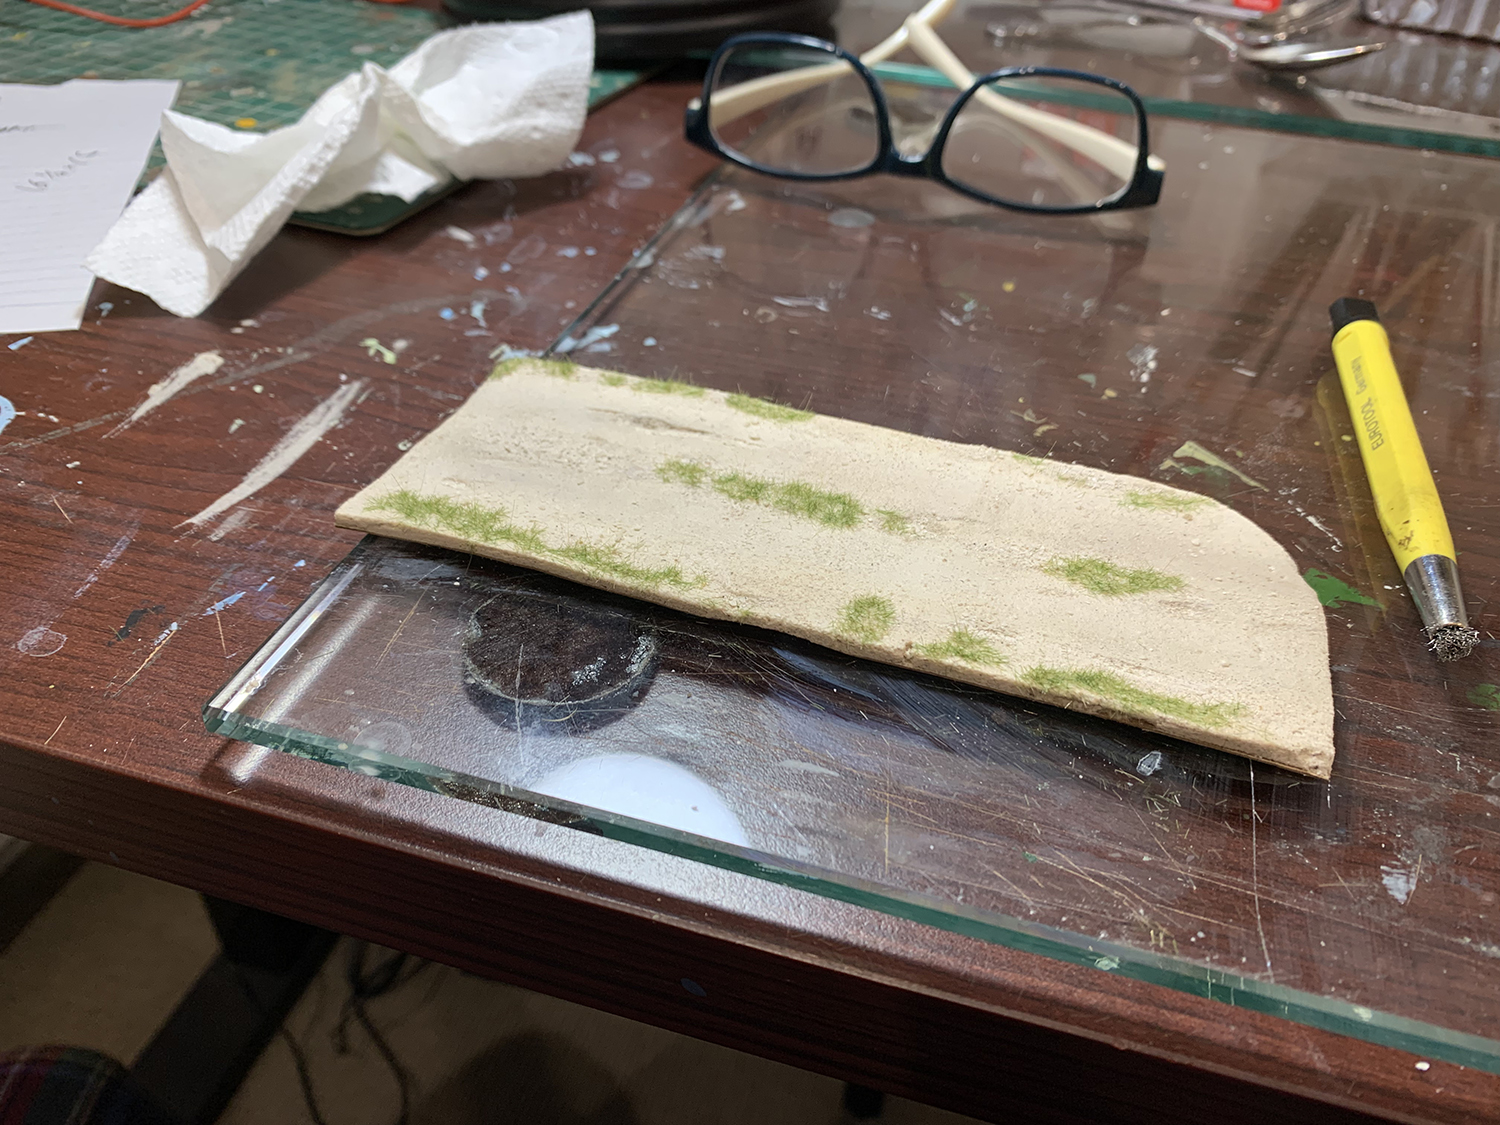
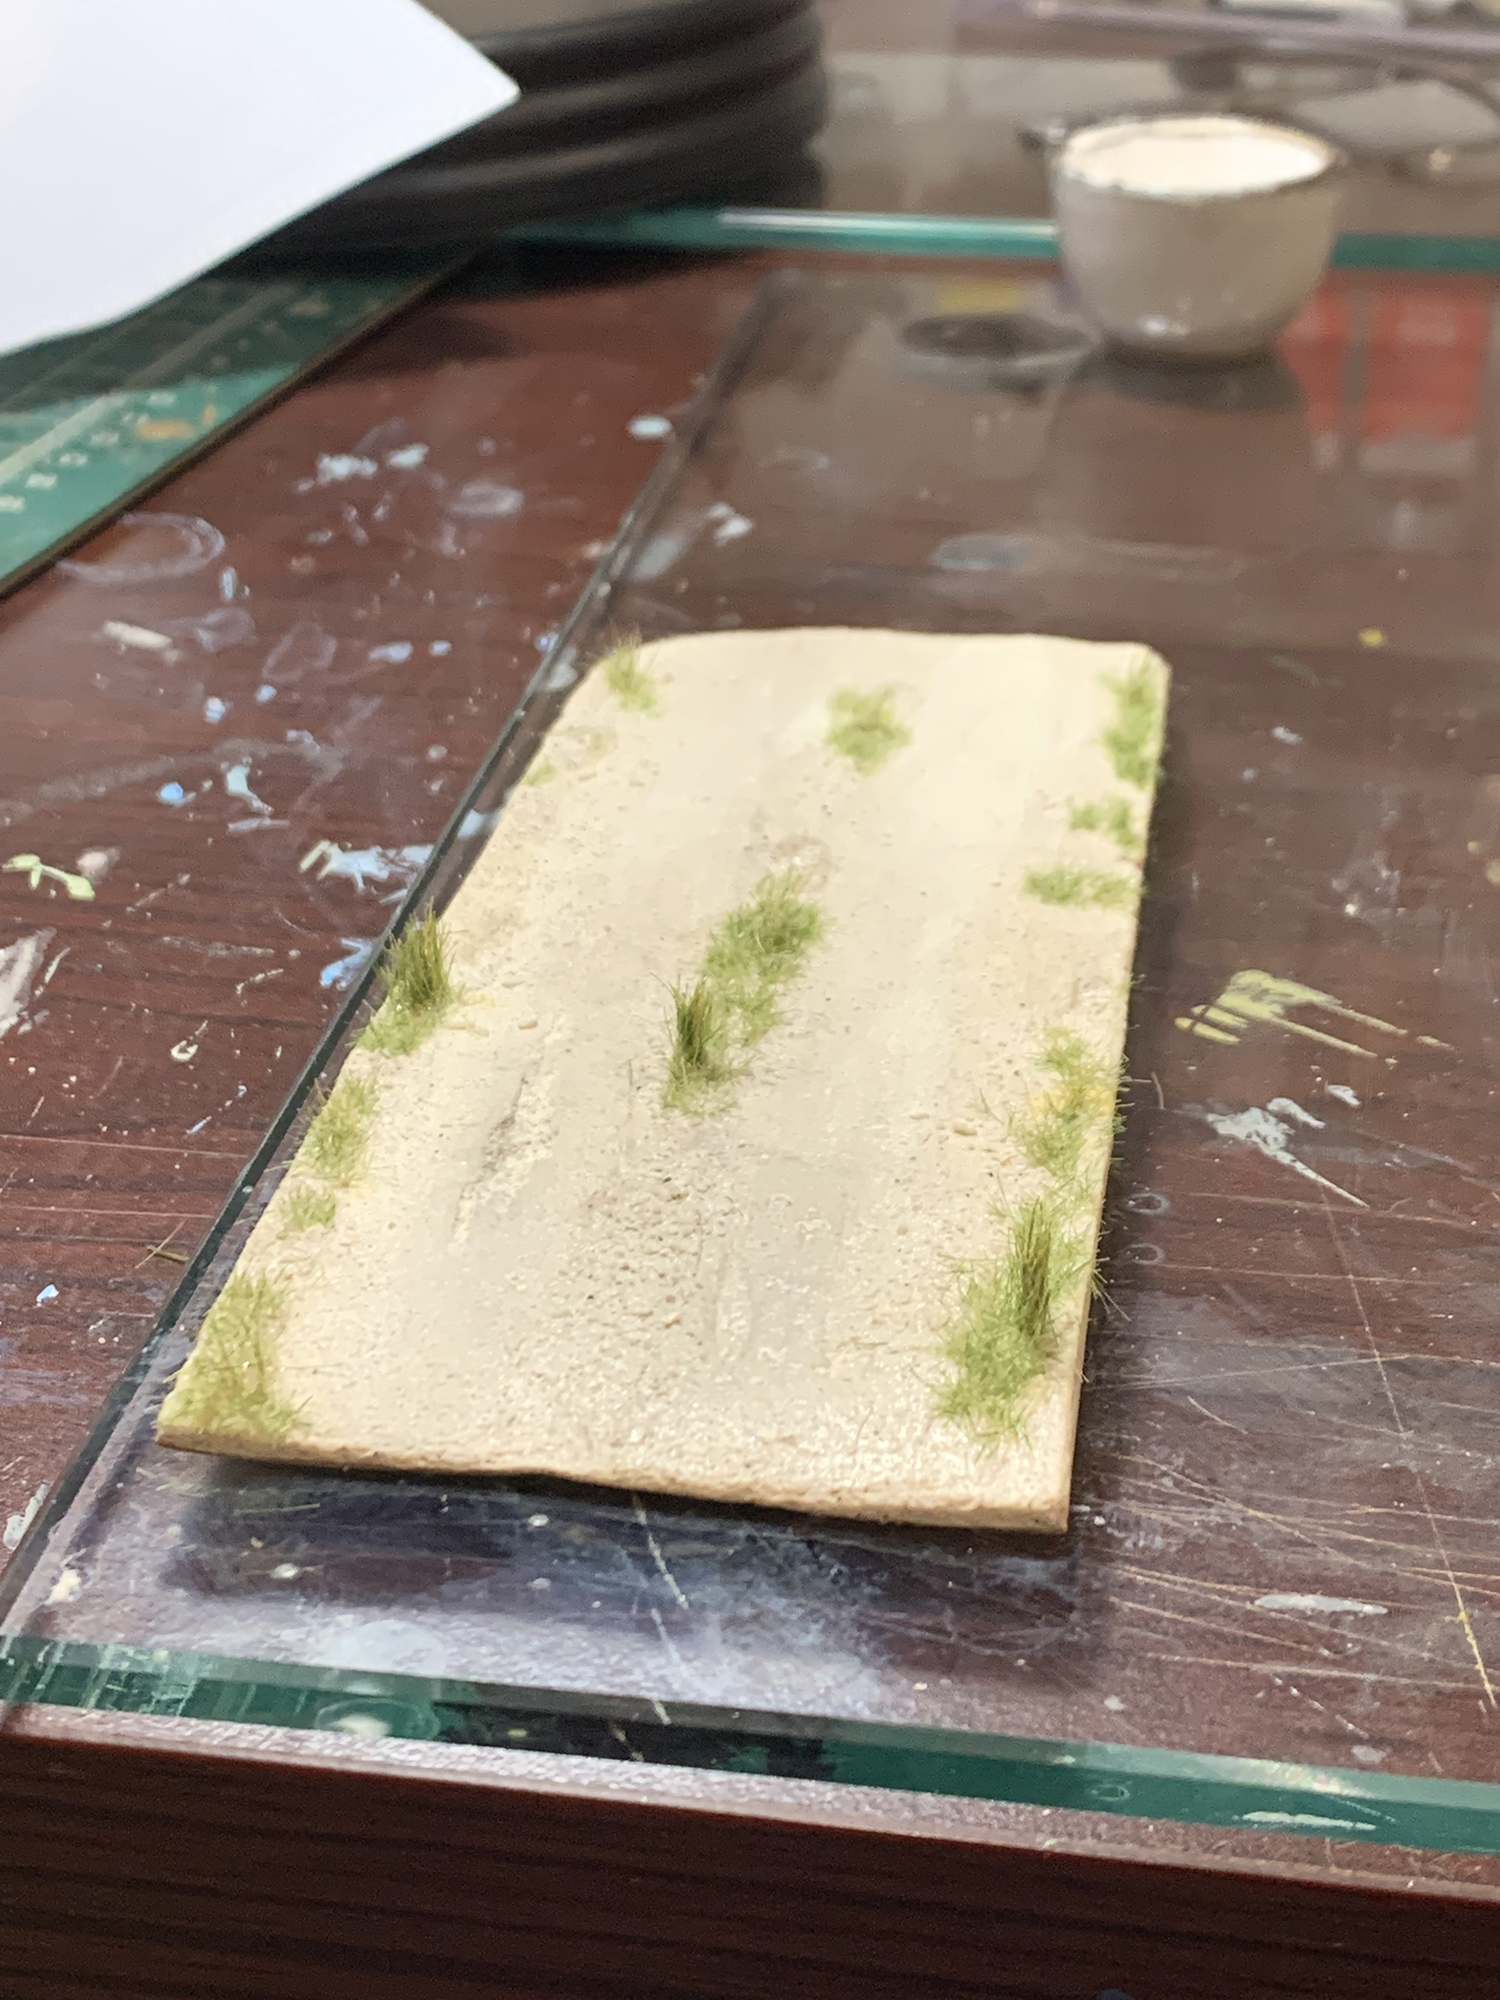
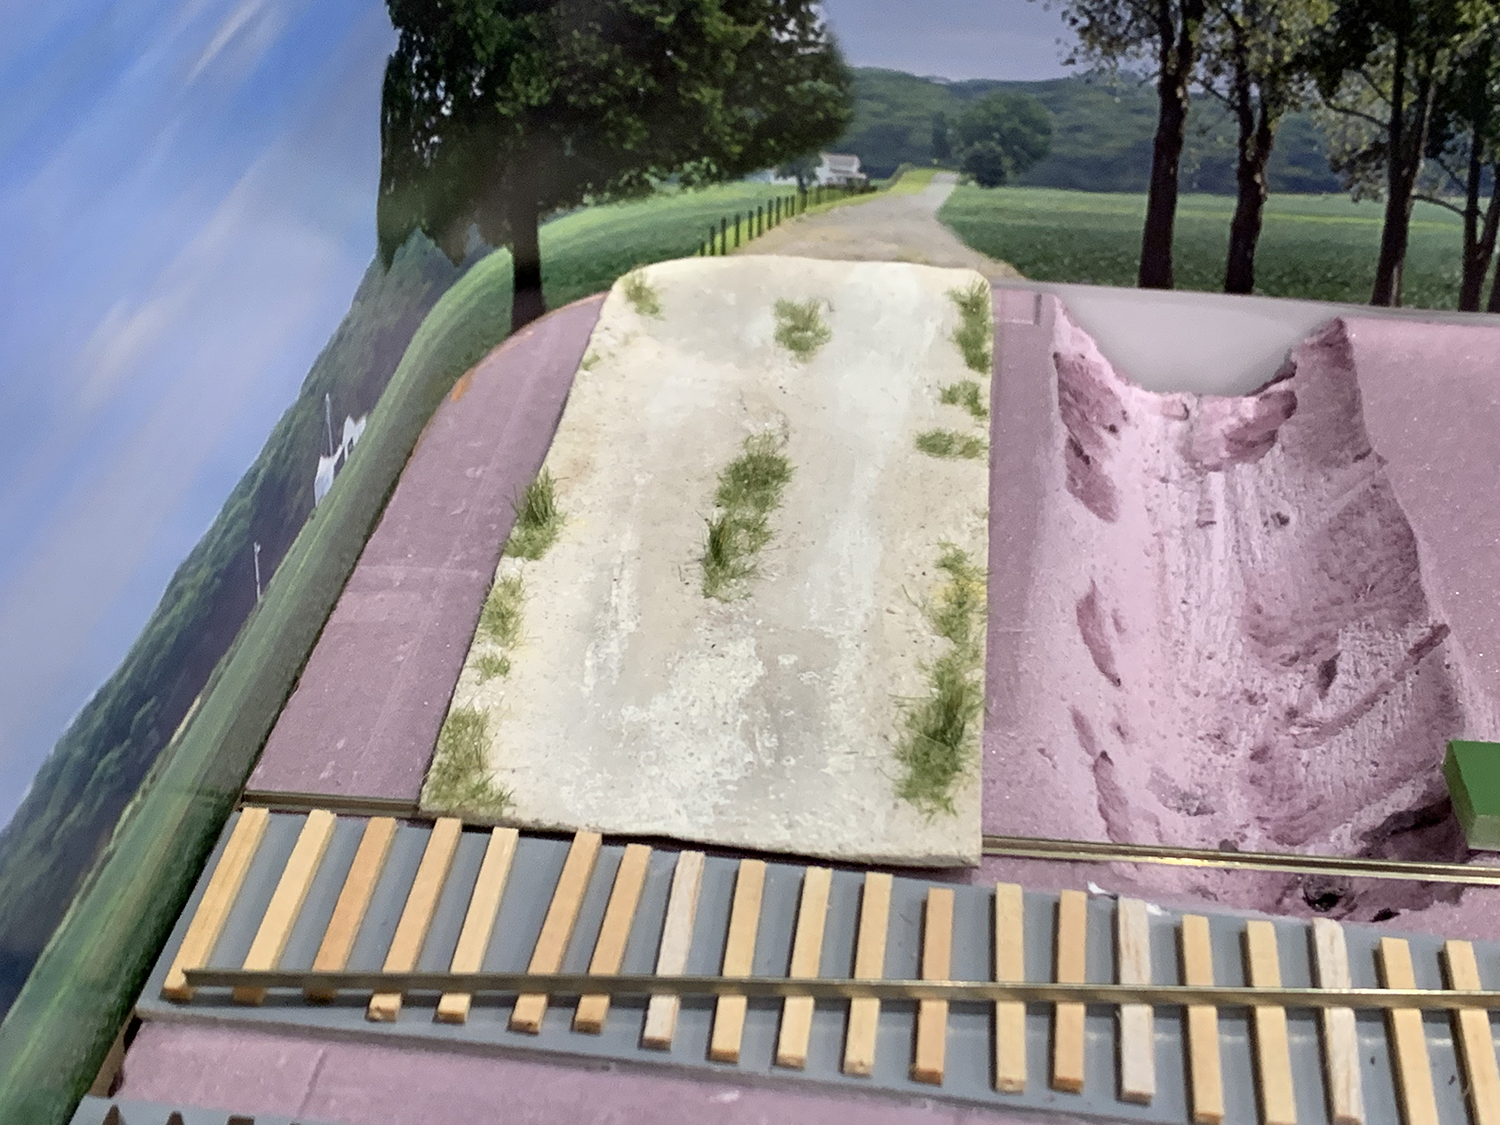
Sandy gravel road
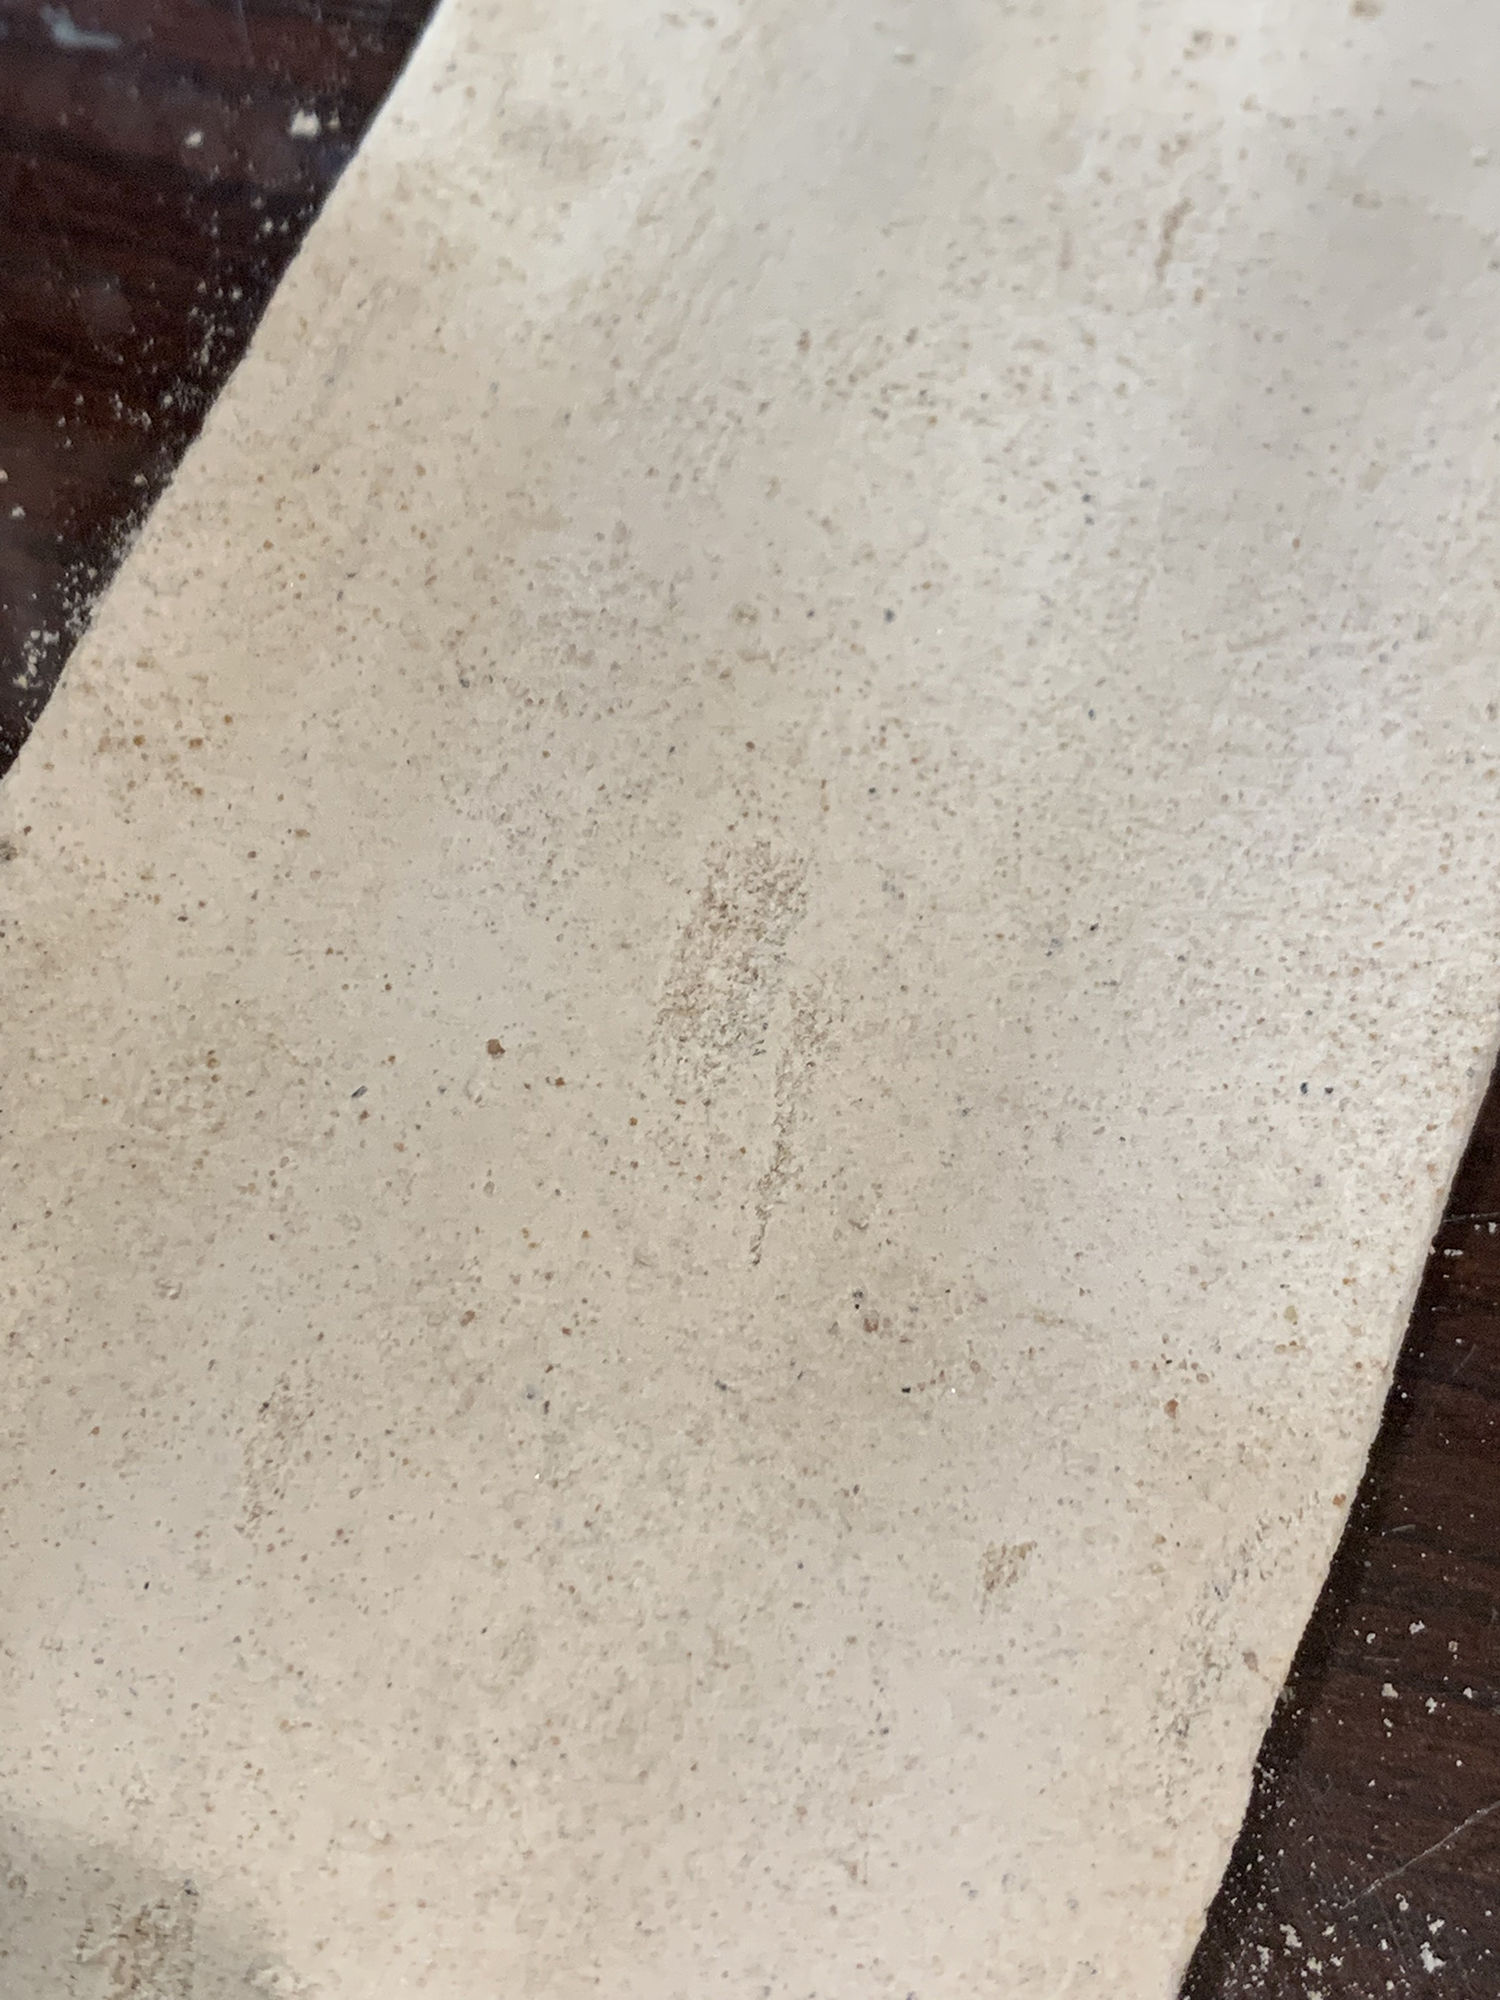
I continued working on the gravel road. The thinking behind the work is that I wanted to try to keep things as clean as possible with not too much weathering or contrast or change of color. I wanted to add different textures of a consistent color and just use different shades of that color: eg use a base color and have it be a little darker at time or a little lighter at times but never using a new color. The base texture is the original foam putty mixed with sand as described earlier – now it was time to add stones, rocks, sand etc.
I stuck to my rule of practicing and searching for materials, methods, and techniques before committing the final build to the model and as such these next pictures describe a test – not the final. The lessons taken I from this test will be put to another attempt (already begun) next week.
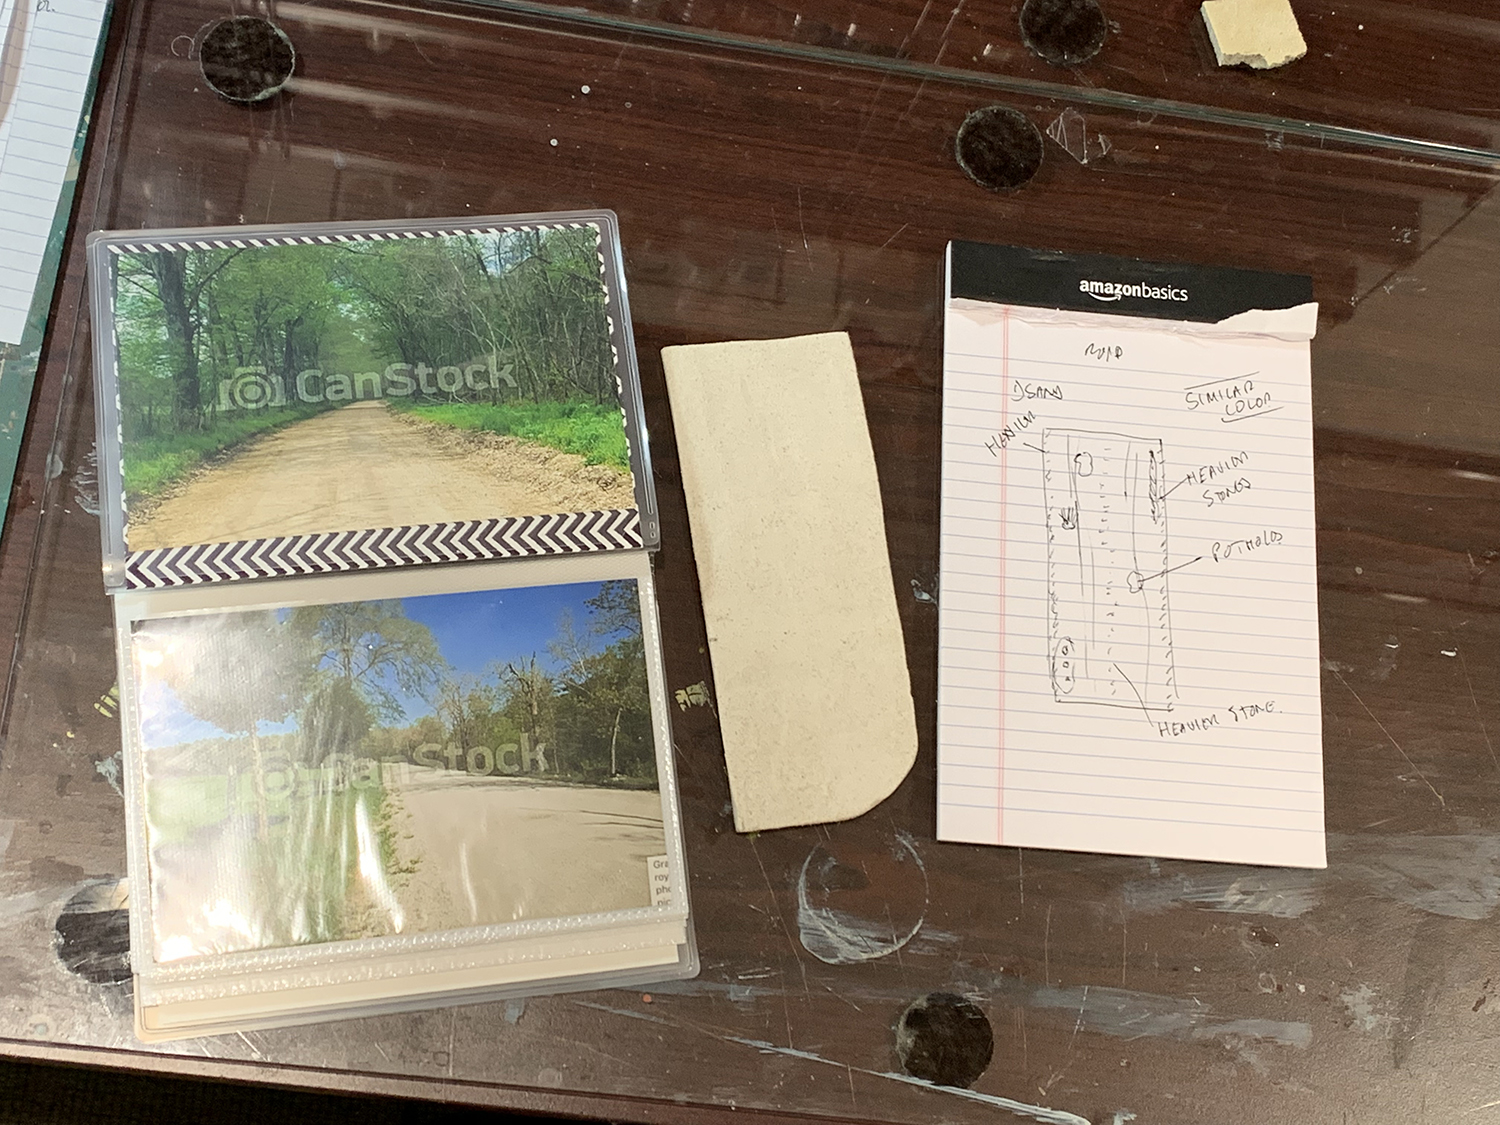
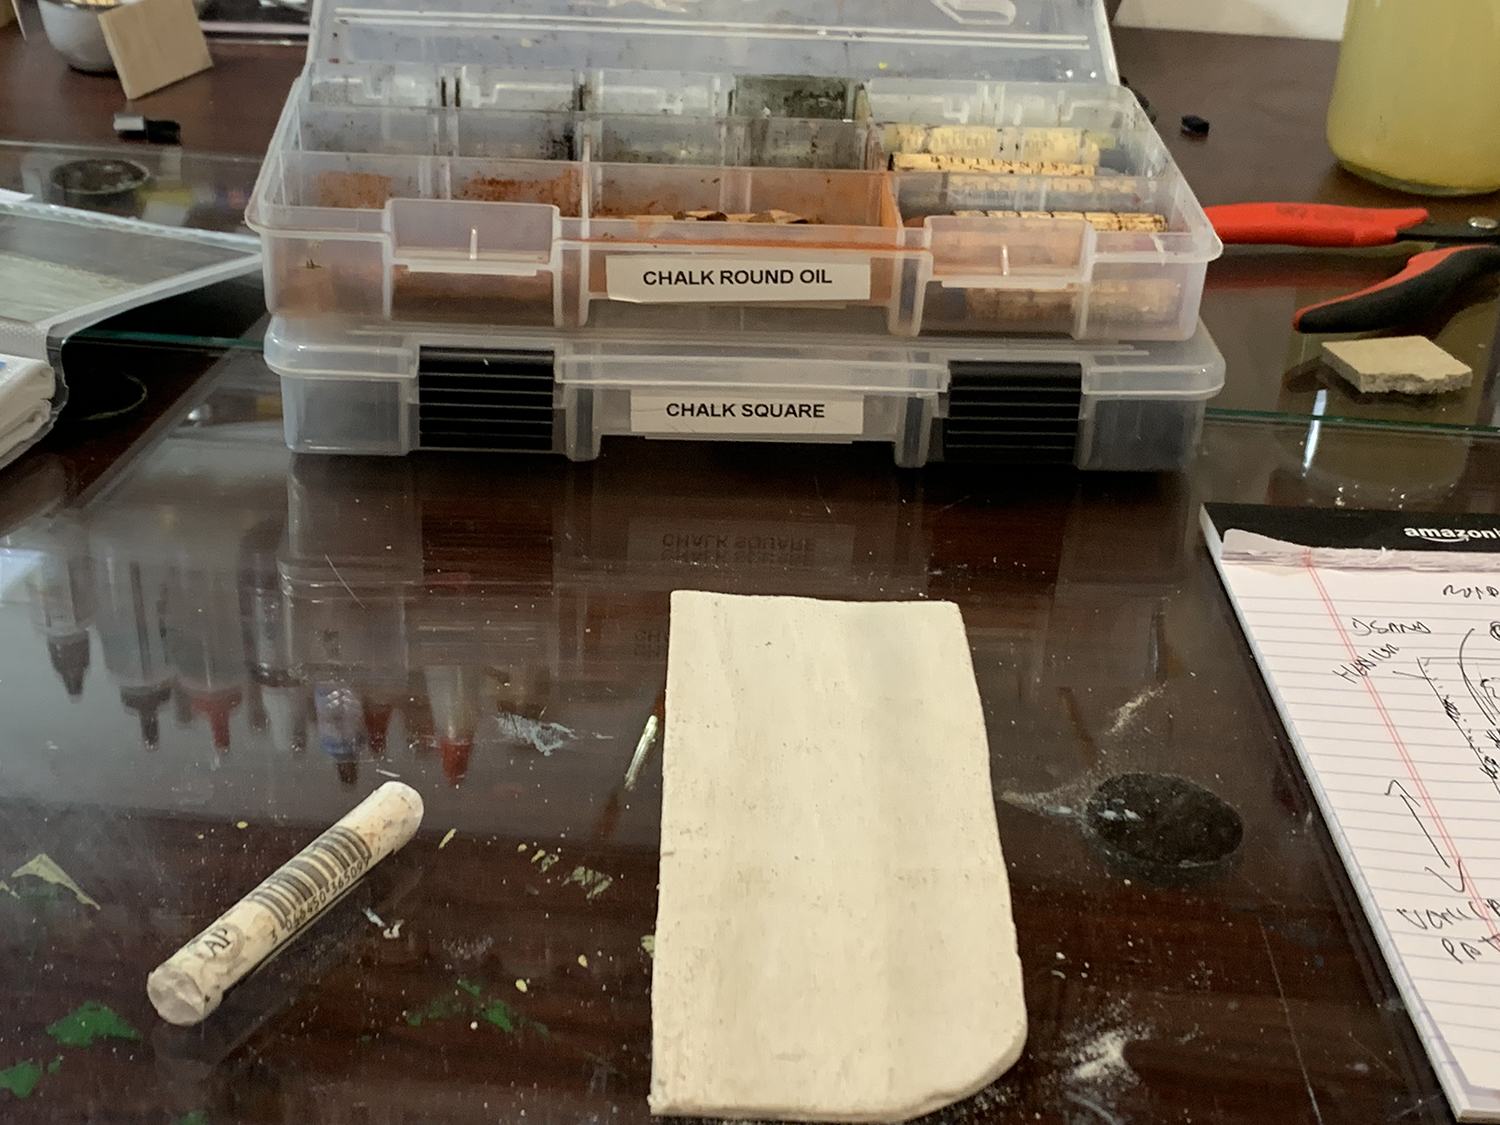
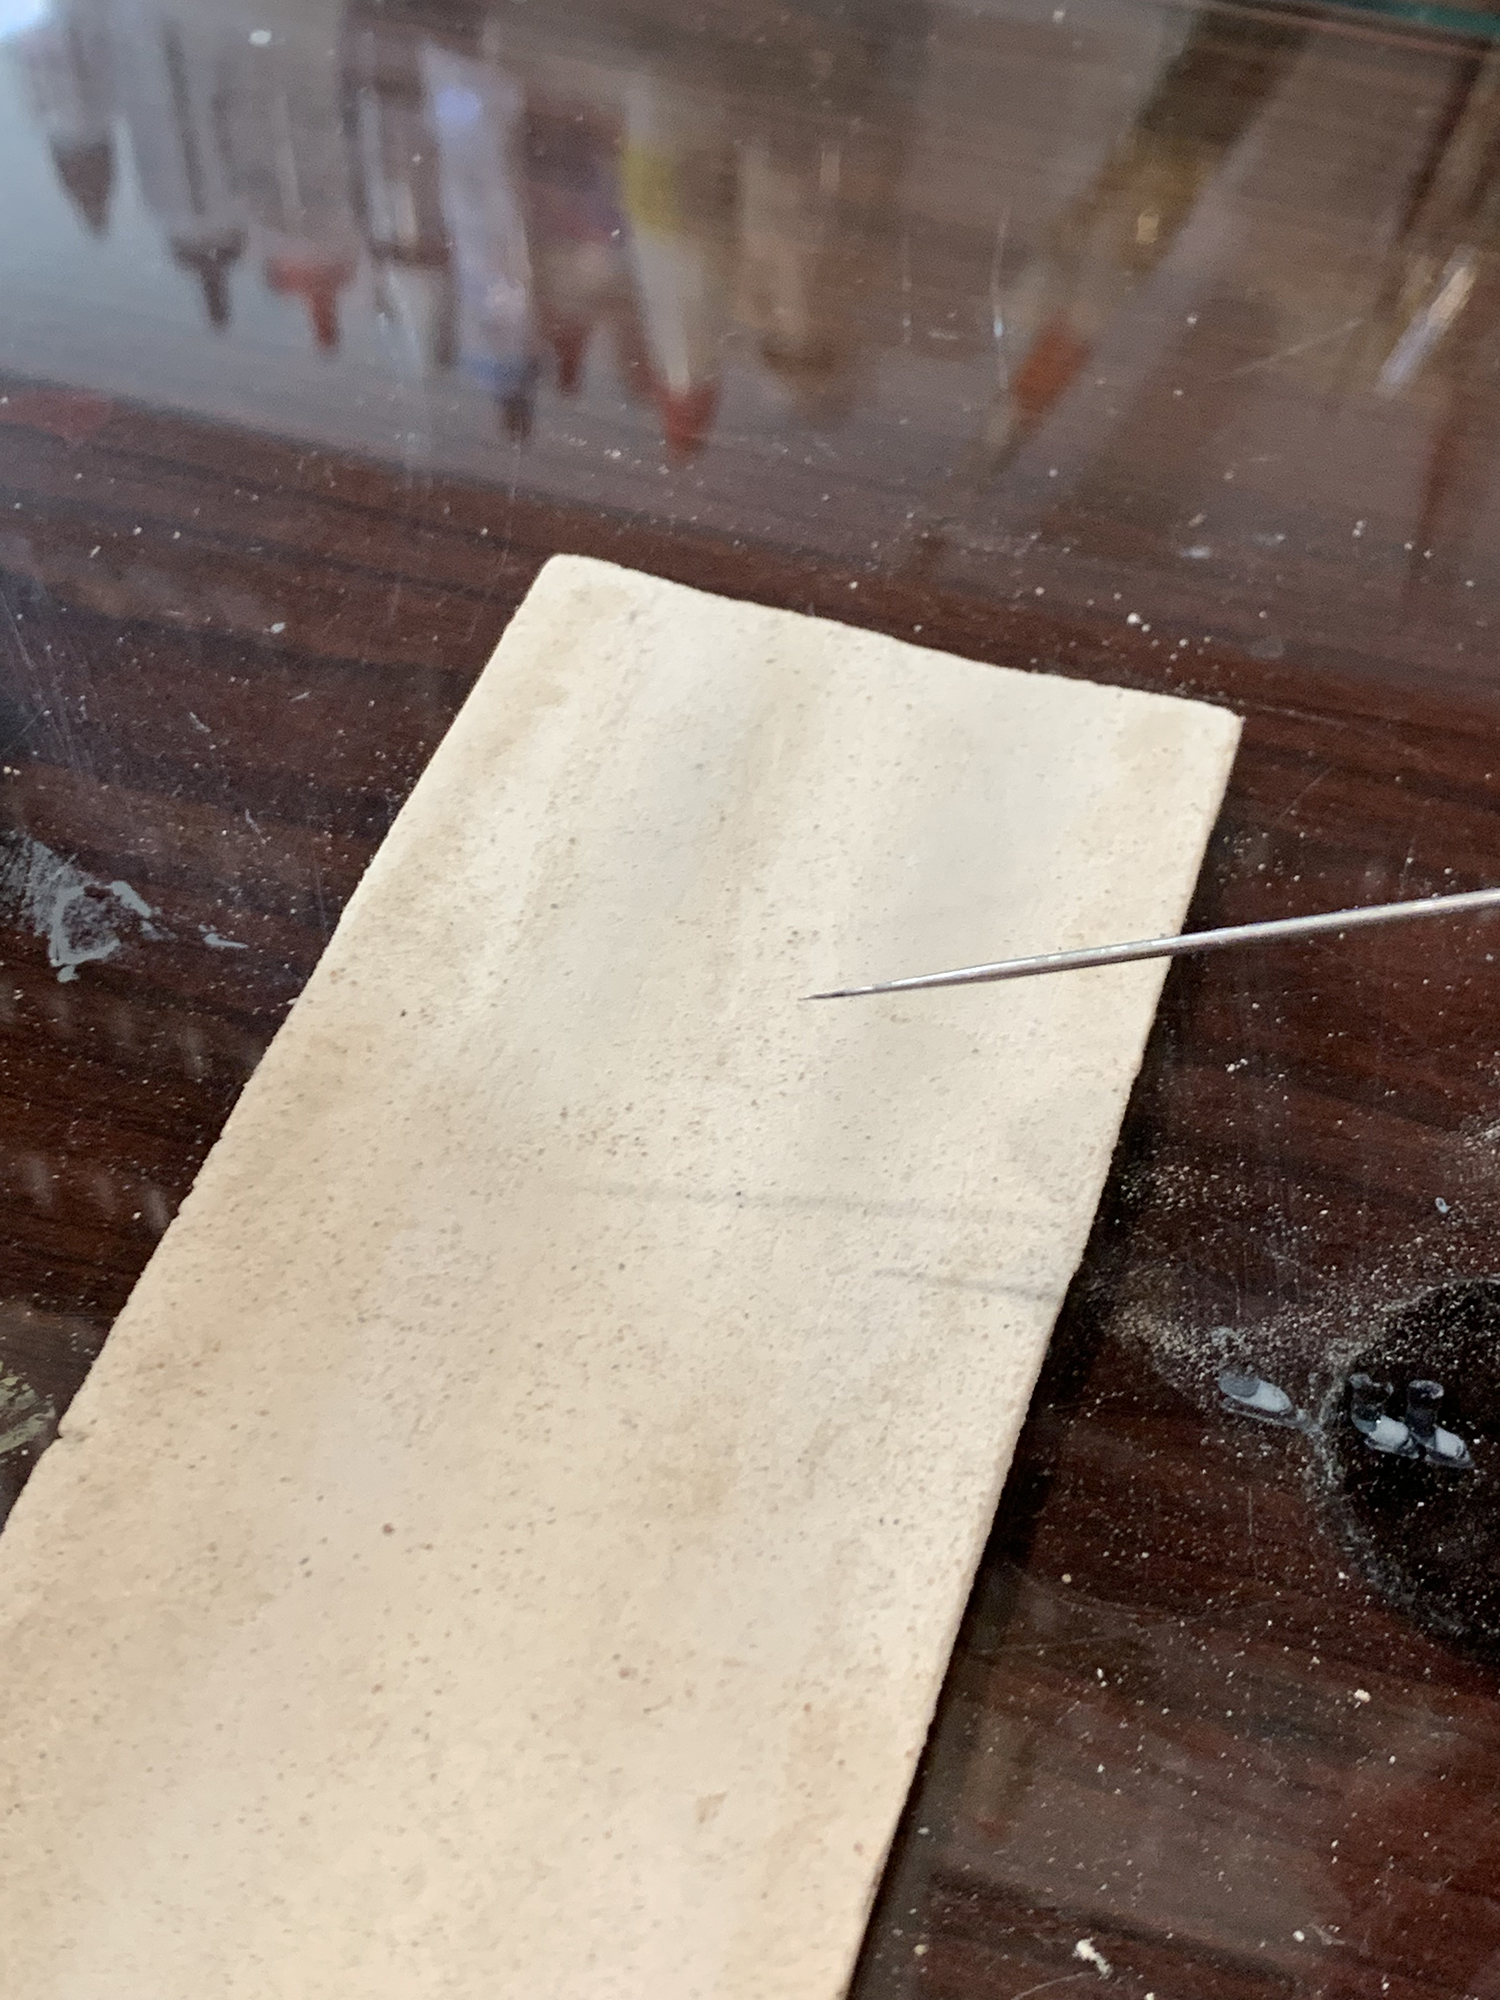
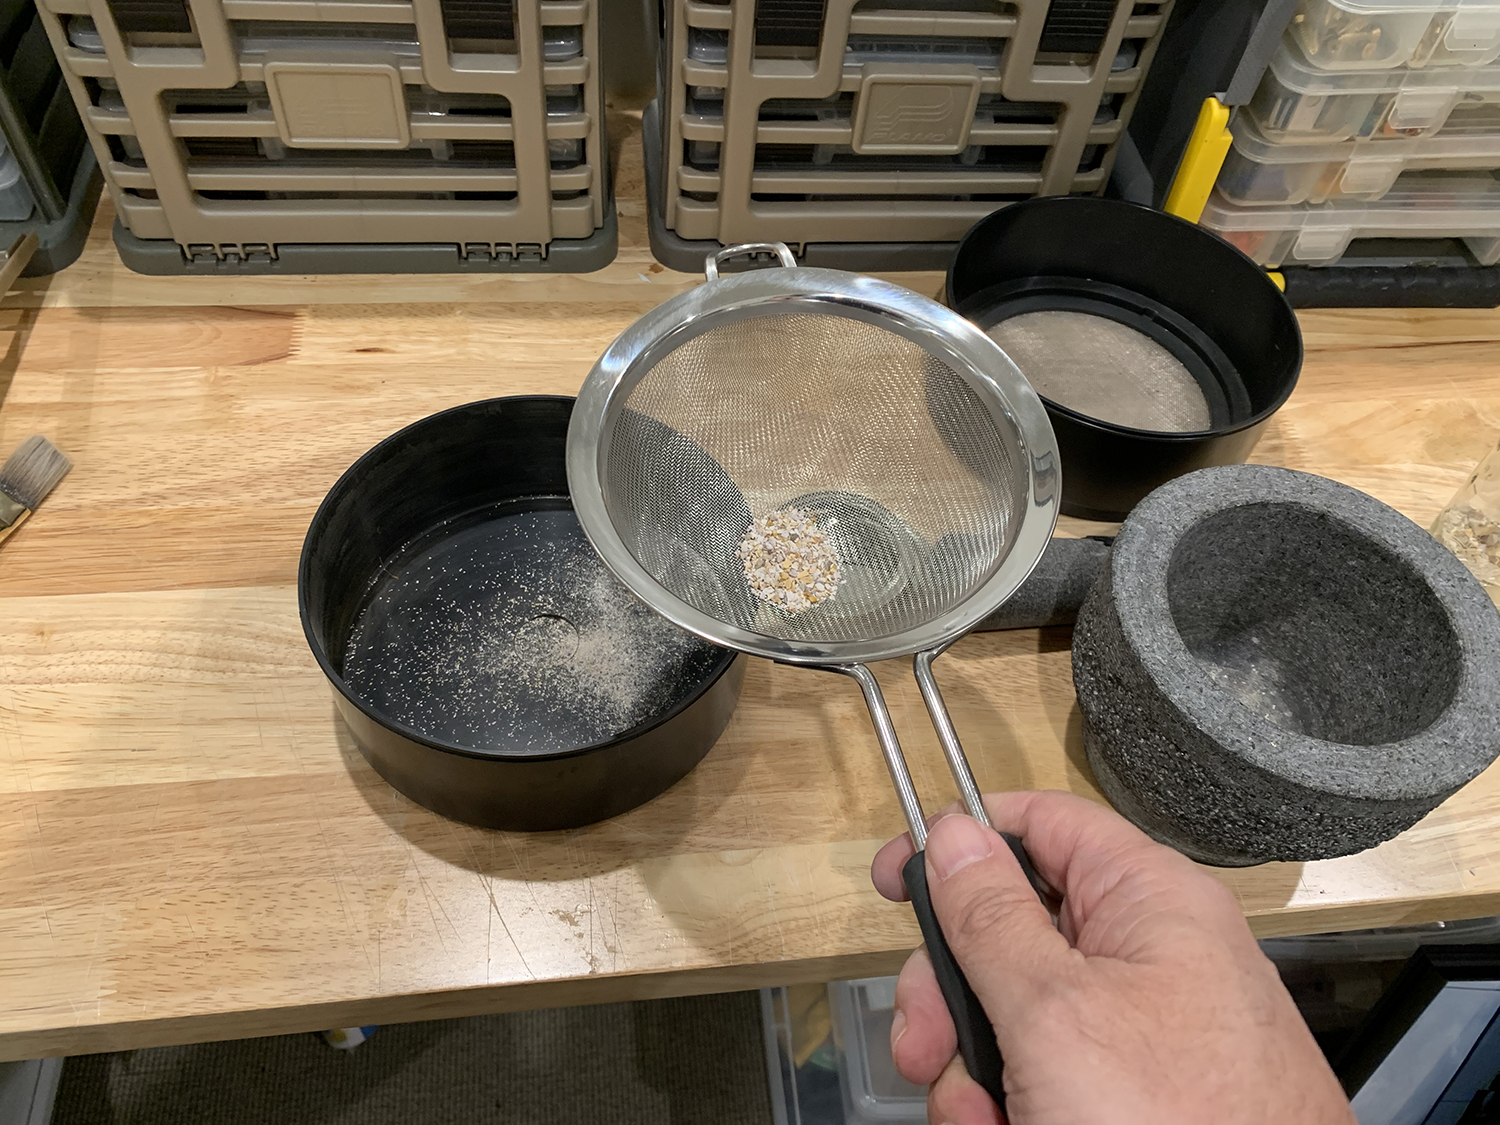
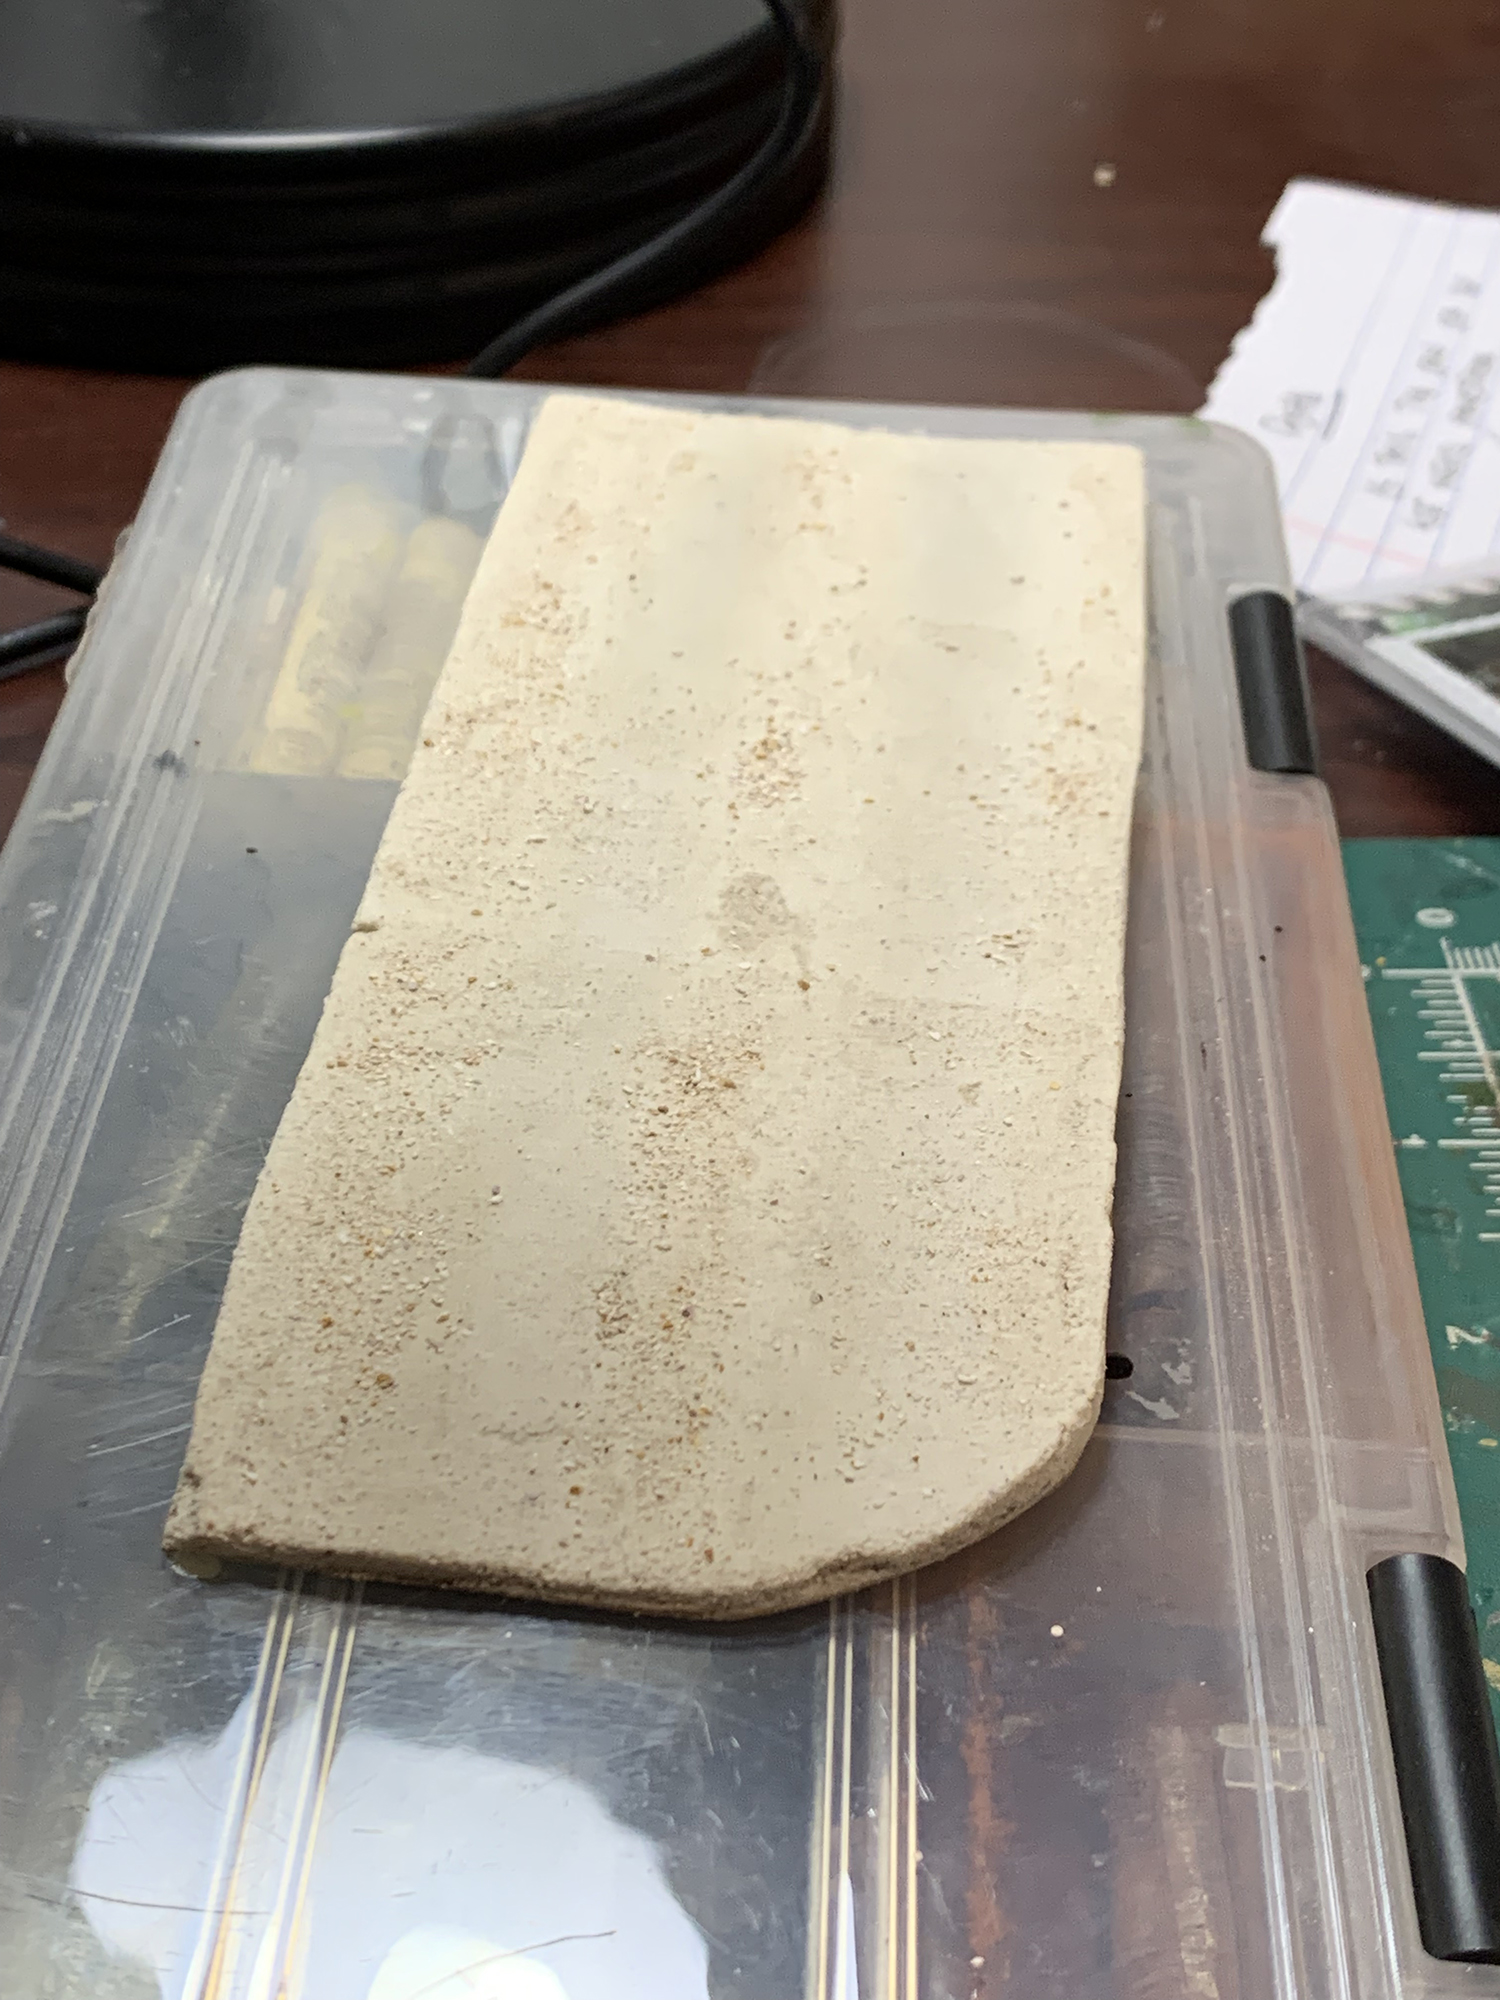
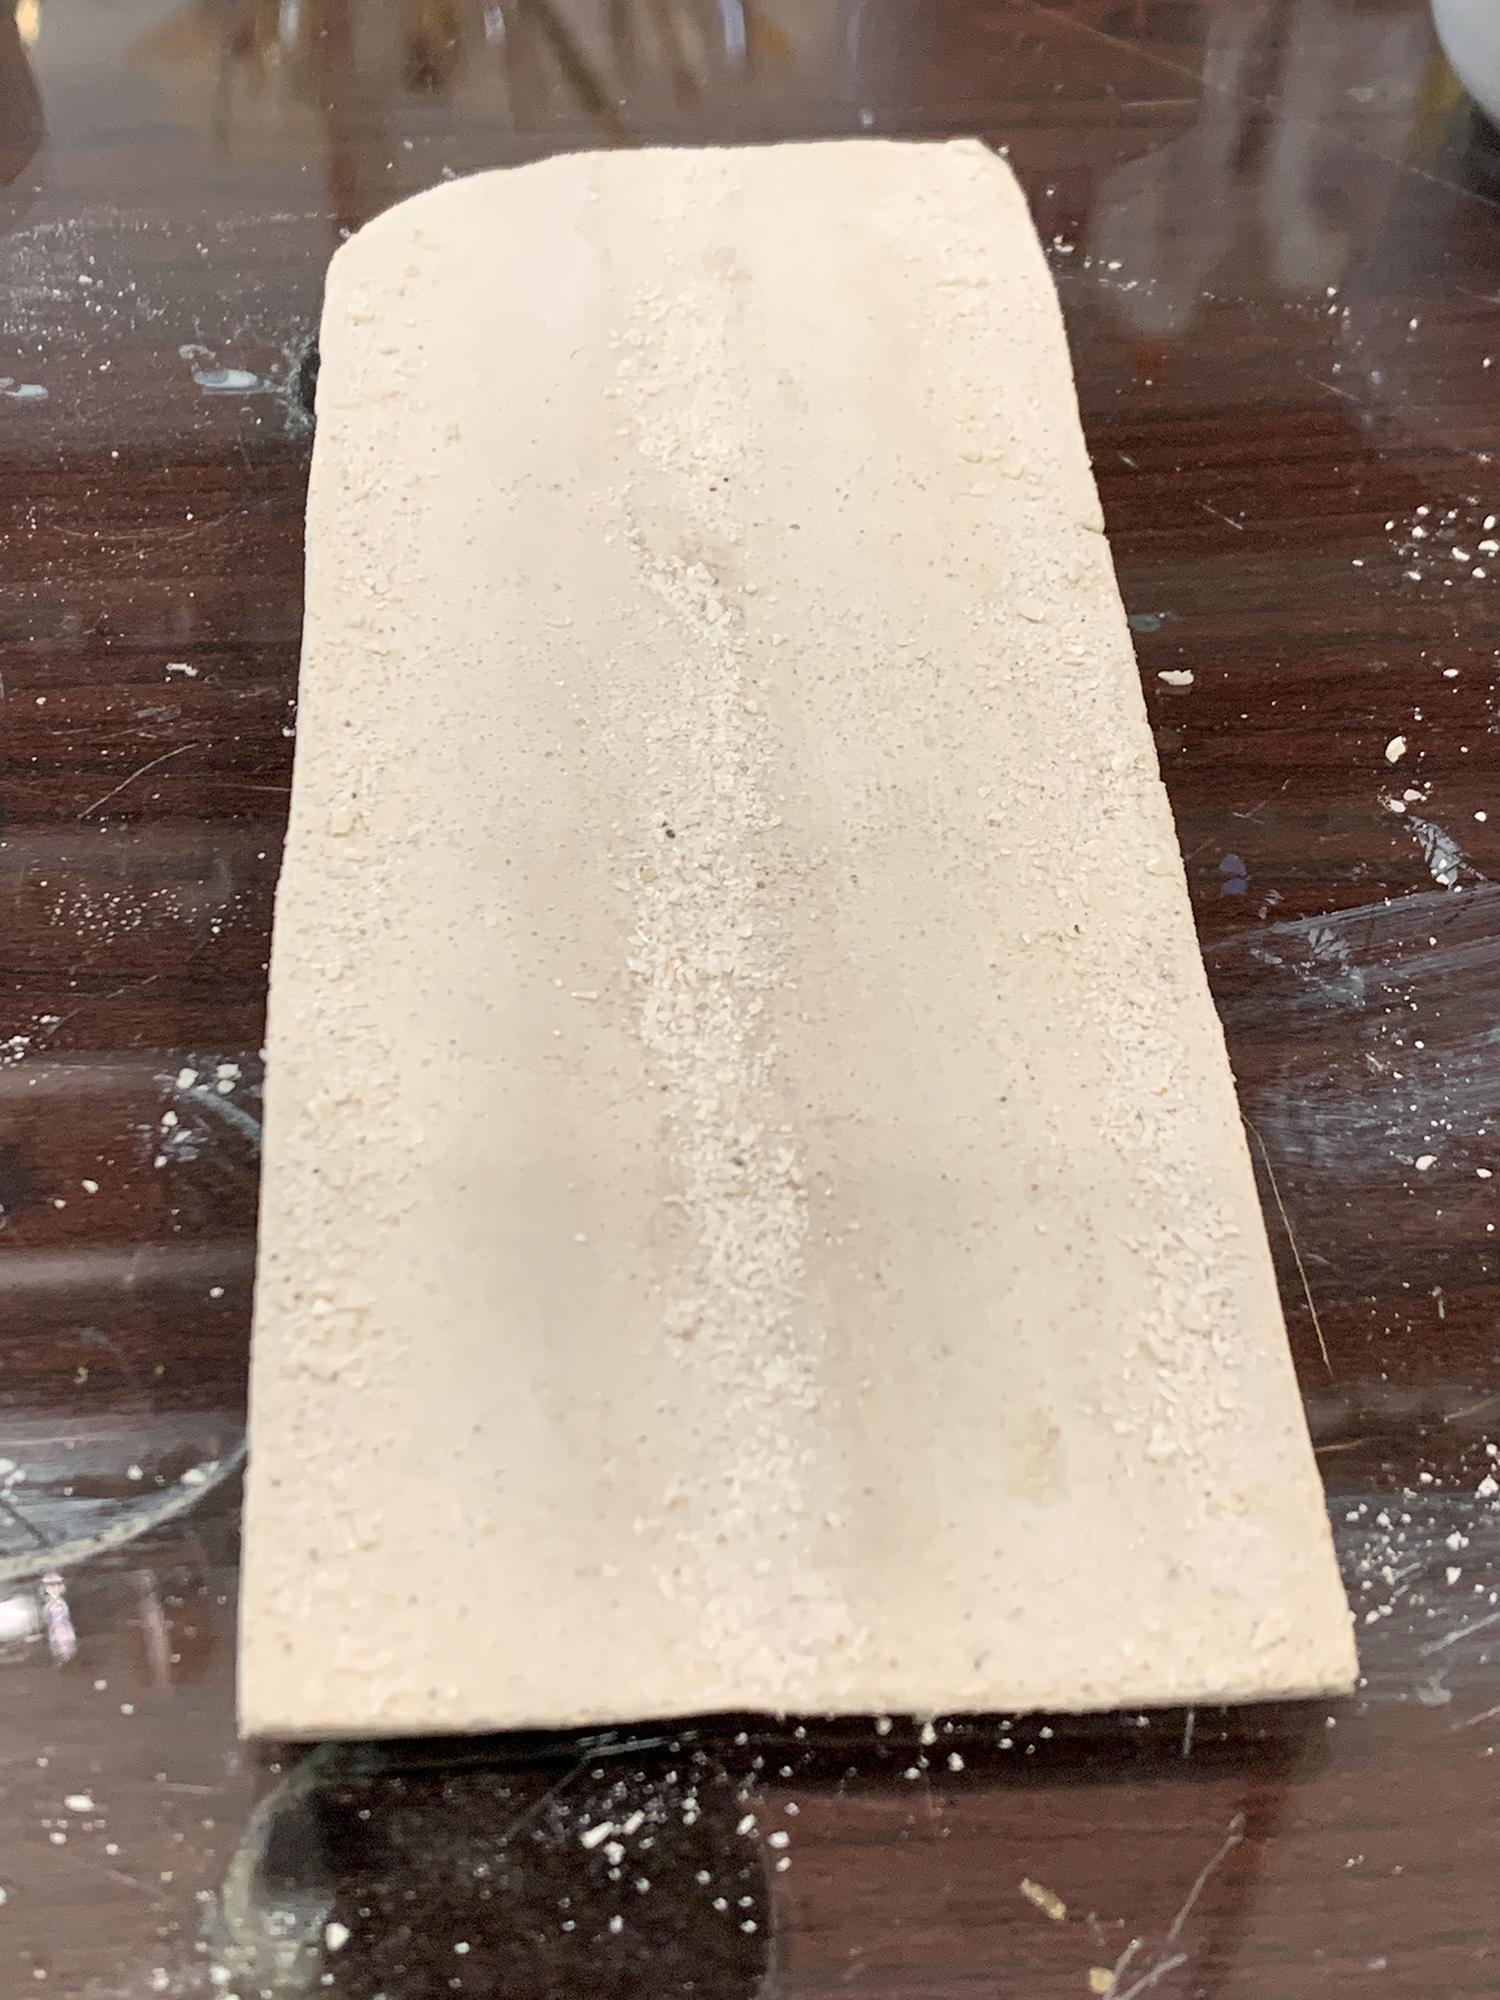
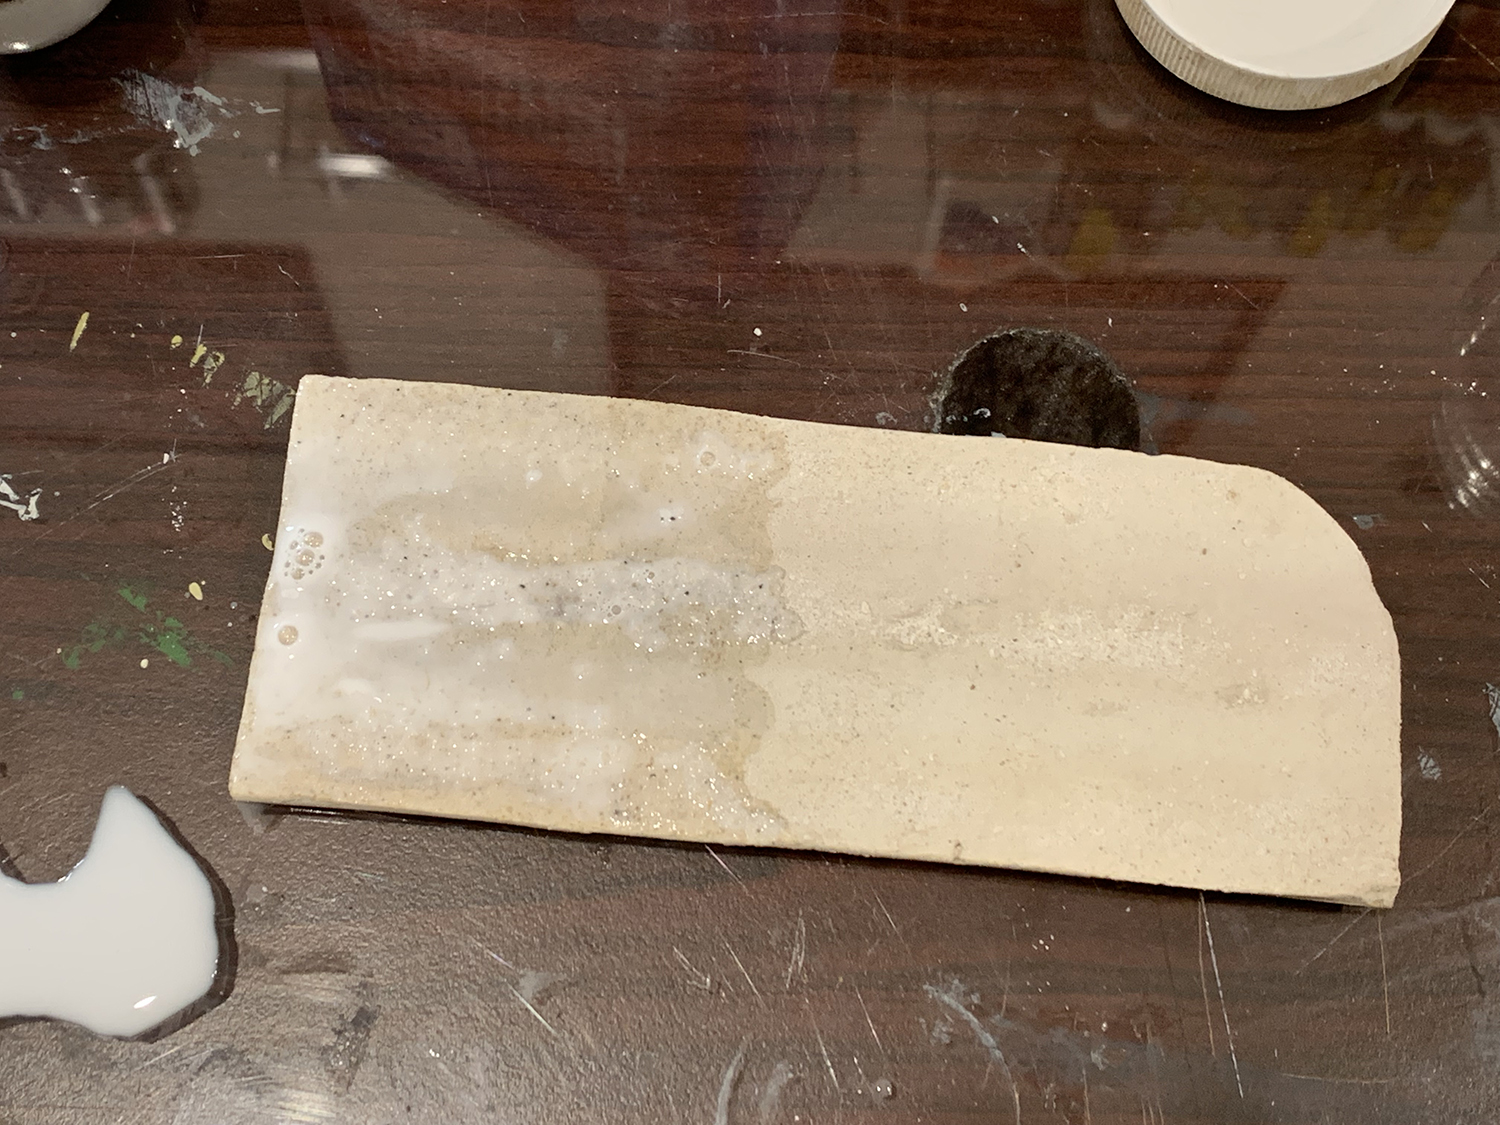
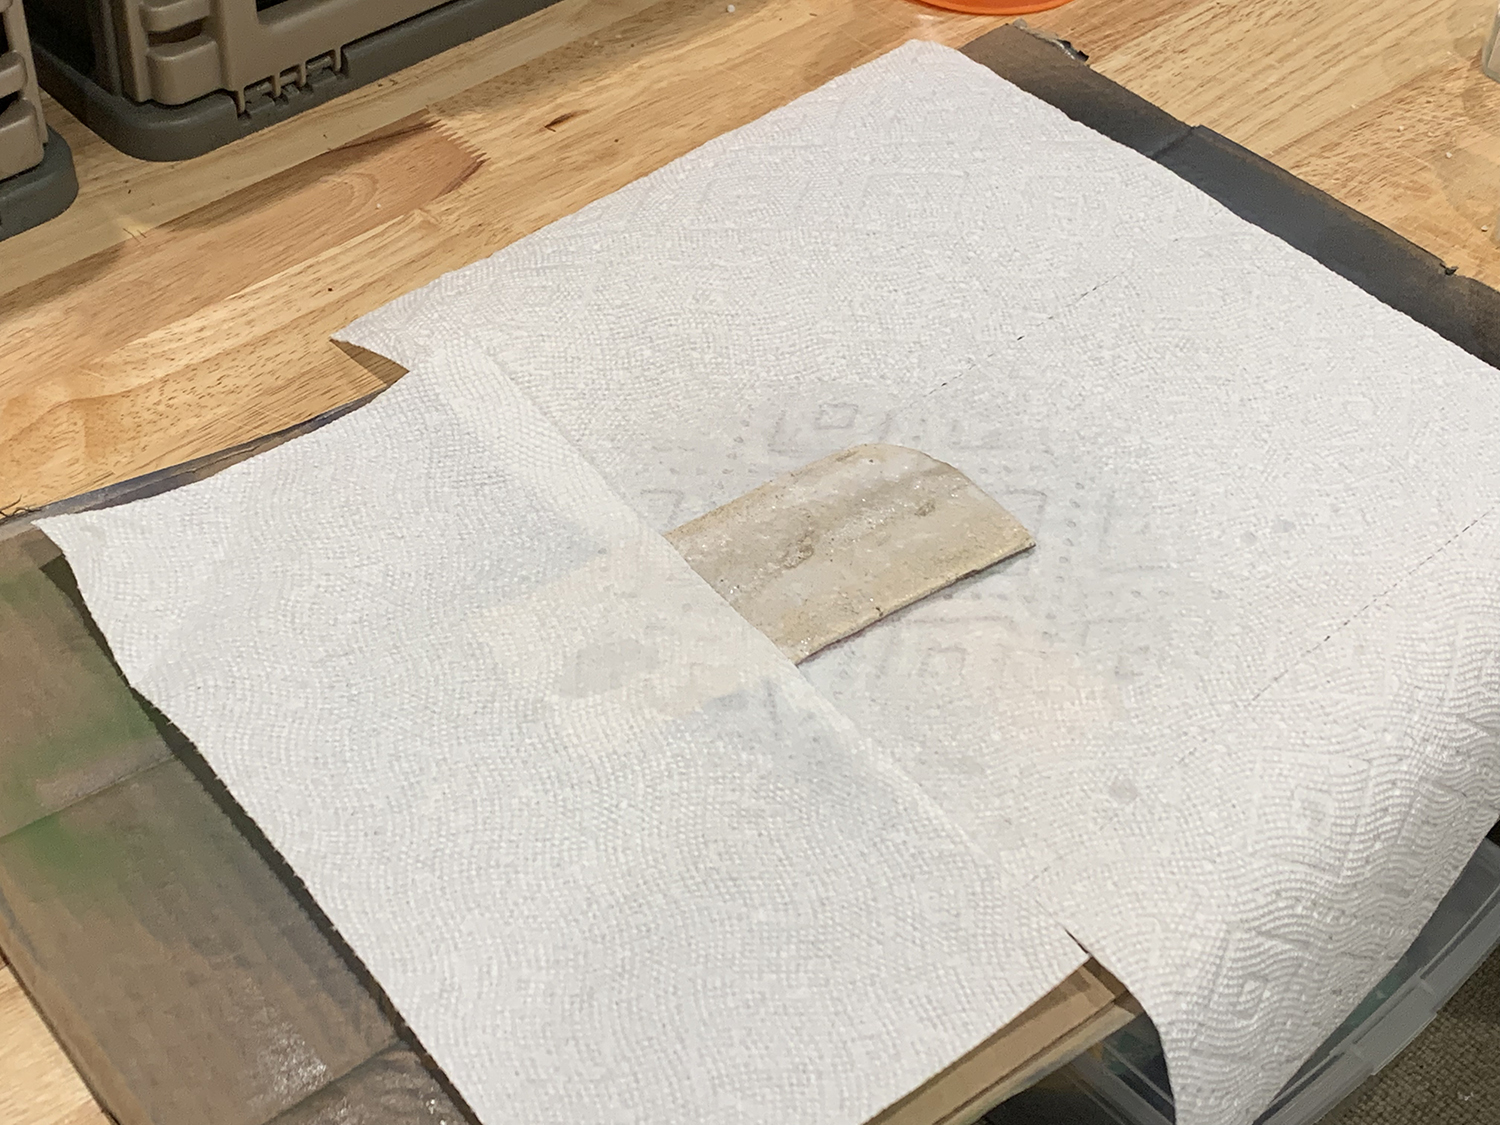
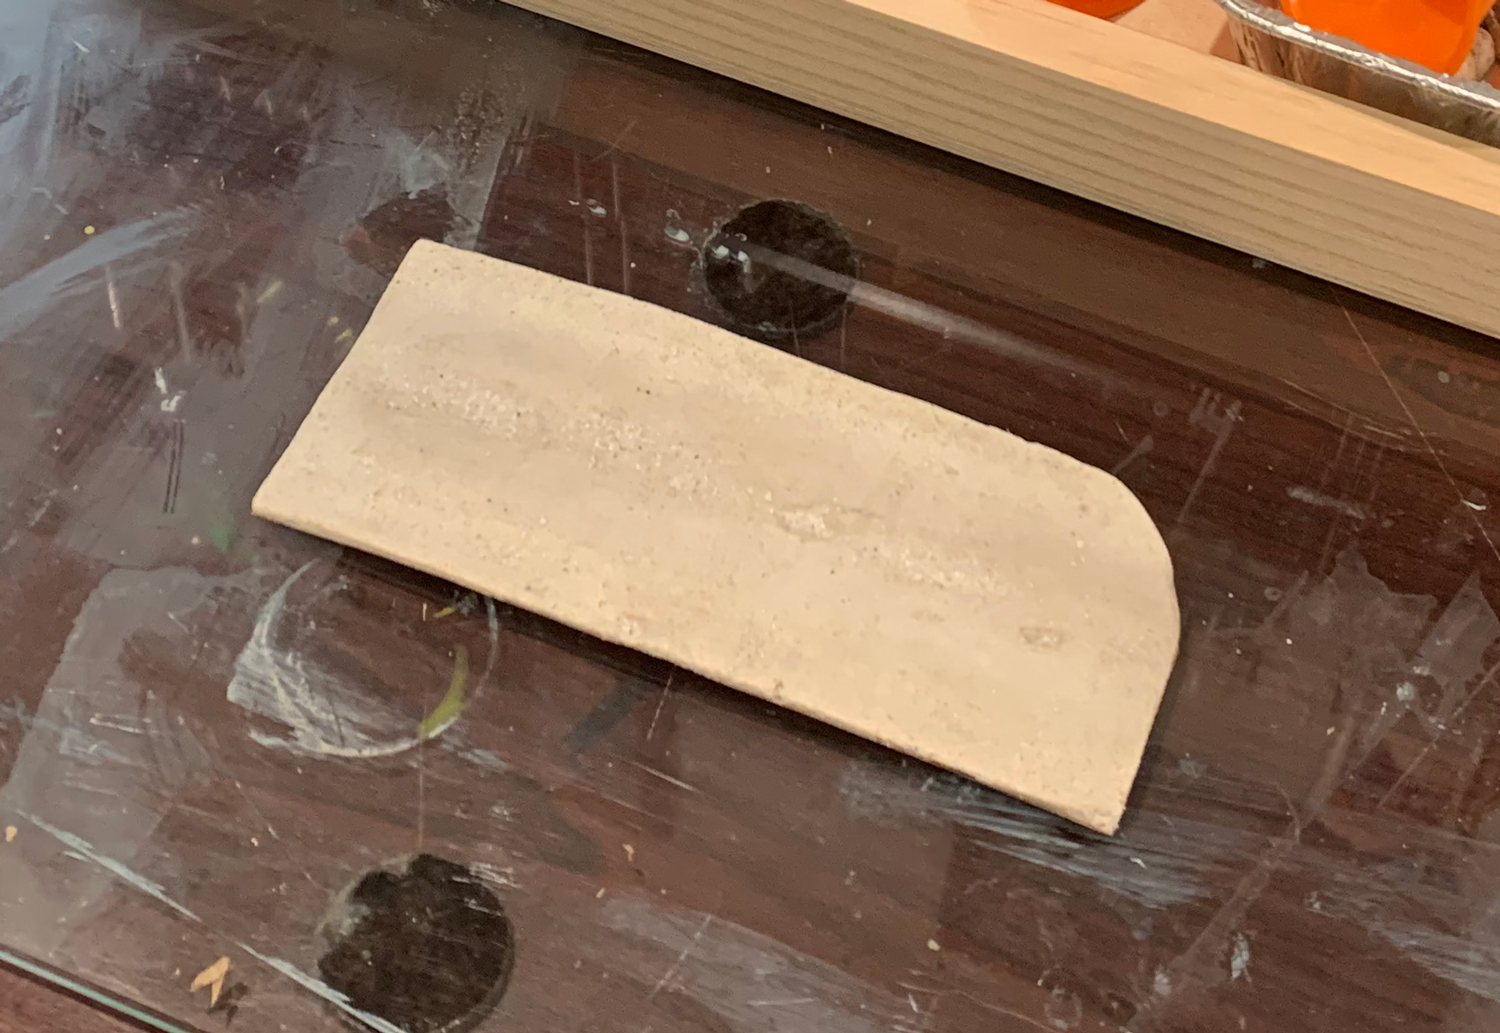
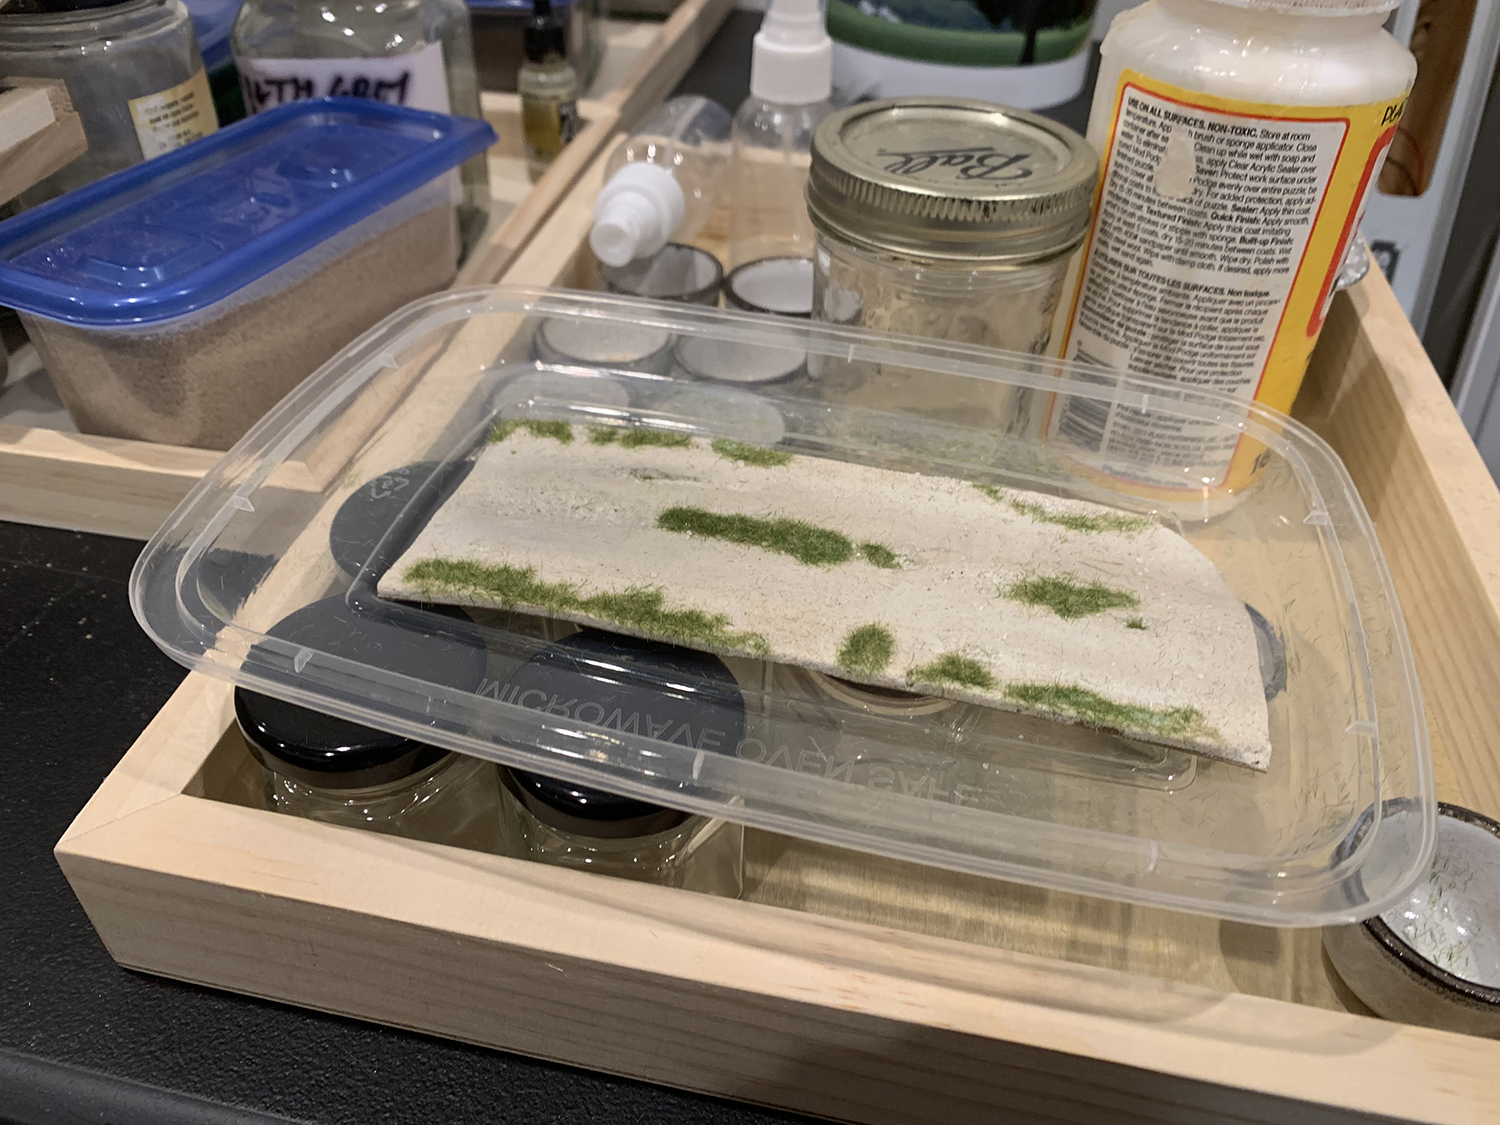
I carved out the corner to match the curve in the backdrop. I’m really pleased with the way this road surface has turned out so far. It looks and feels like a great starting point for the weathering that I am about to start: the color matches the backdrop pretty well and I’m going to try to just add sand, rocks and stones of a similar color to enhance the texture. These will be added in layers.I like to model to a plan – even if those plans go astray at some point – and so I drew out a quick drawing illustrating features of sandy roads that I observed in collection of real world photographs.I experimented with some dark chalk to bring out the texture and give the impression of a worn and recently used road. Even though I went easy on the weathering I still felt that I overdid it. On the final build I will probably not use this effect.I have a variety of tools to help with the weathering. This tool is actually an airbrush needle. I wanted to create some very fine potholes and this tools was perfect to create very small indentations – barely visible from a distance but all too visible by a camera placed close by. Lines, holes, paint effects have to look as if they were ‘made by nature’ and not look like they were made by the hand of ‘mod’. Tools like this help but plenty of time has to be spent crouched over the surface while gently digging away.After gently scratching away I created this little pothole. It’s not visible from a distance but very visible if you put your phone camera on the layout/diorama.I’ve discovered the art of creating my own modeling and landscaping materials. Previously I would search far and wide for gravel or sand that was the right size for whatever I was working on. What I only just found out was that stones are really easy to grind down. All one does is grind them down using a pestle and mortar and then filter the result using a variety of tools including kitchen sieves and sifting pans. I get four grades of grains that are perfect for my purposes. I needed a very white colored grains for the road. The grains in the were my first experiment but unfortunately they have too much color in them. I spent the next couple of days searching the local area for white gravel.I used some of the grains on the road surface. I’m definitely heading in the right direction but this still does not look right: too much color in the sand. The grain color needs to match the road surface a bit more closely and possibly could be a little brighter.I was able to find some white stones around my house. I grabbed a few and brought them home to grind up and place on the road surface. The effect is better but in this case the contrast between the road surface and the stones is a little too strong. On my next attempt I can either lighten the road surface to match the white stones, use the white stone powder in the road mix, or just darken the stones a little using chalk or spray the surface with a diluted paint mix. I’ll play around with this till I get it the way I want it.I next wanted to figure out how to tie everything down with glue and also observe how glue effects the model. I used two methods, both using Modpodge and water, one using an ink dropper and the other using a spray bottle. The above picture used an ink dropper. I tried to stop the liquid from moving the miniature stones and sand around but to some extent you lose control over the result.The second method used a spray bottle. In this case the liquid did not move anything around and proved to be the better method overall.This is the best picture of the result that I could find but unfortunately does not really show the final effect that well. In both cases the Modpodge left a very slight milky sheen on the surface. The weathering and other effects were nicely tied down but lost some of their ‘edge’ and natural matte finish. It may require me to run some dust over the surface to bring back more a natural look. Of the two methods the spray method did a better job overall and I will use this method on the final version.I decided to experiment with static grass. This was my first attempt. There were a couple of problems: one the contrast of the green and sandy color was too great – I will mix in much more dried grass color next time – and secondly the grass was too thick and lacked any blend at the edges. I actually don’t want much grass on the road and want the road surface to to be fairly clean but at least I could see how not to do it from this test.I clean up the grass, I thinned it and tried to blend some of the edges. It is looking better but still not great. Nevertheless it was good practice.I added a few grass tufts. I like to use SuperGlue for tufts as I find using static grass on white glue tends to splay the tufts in different directions. If I use SuperGlue I can just hold the tufts in my fingers and stick them into the glue. Once dry I thin them a little. I think the effect is much more realistic.So anyhow this was just a test to work out some methods for building a sandy road. It has been really helpful and I learned alot and will continue to play around with it. I have another road surface already built – hopefully the final version – and will start weathering it in a few days.