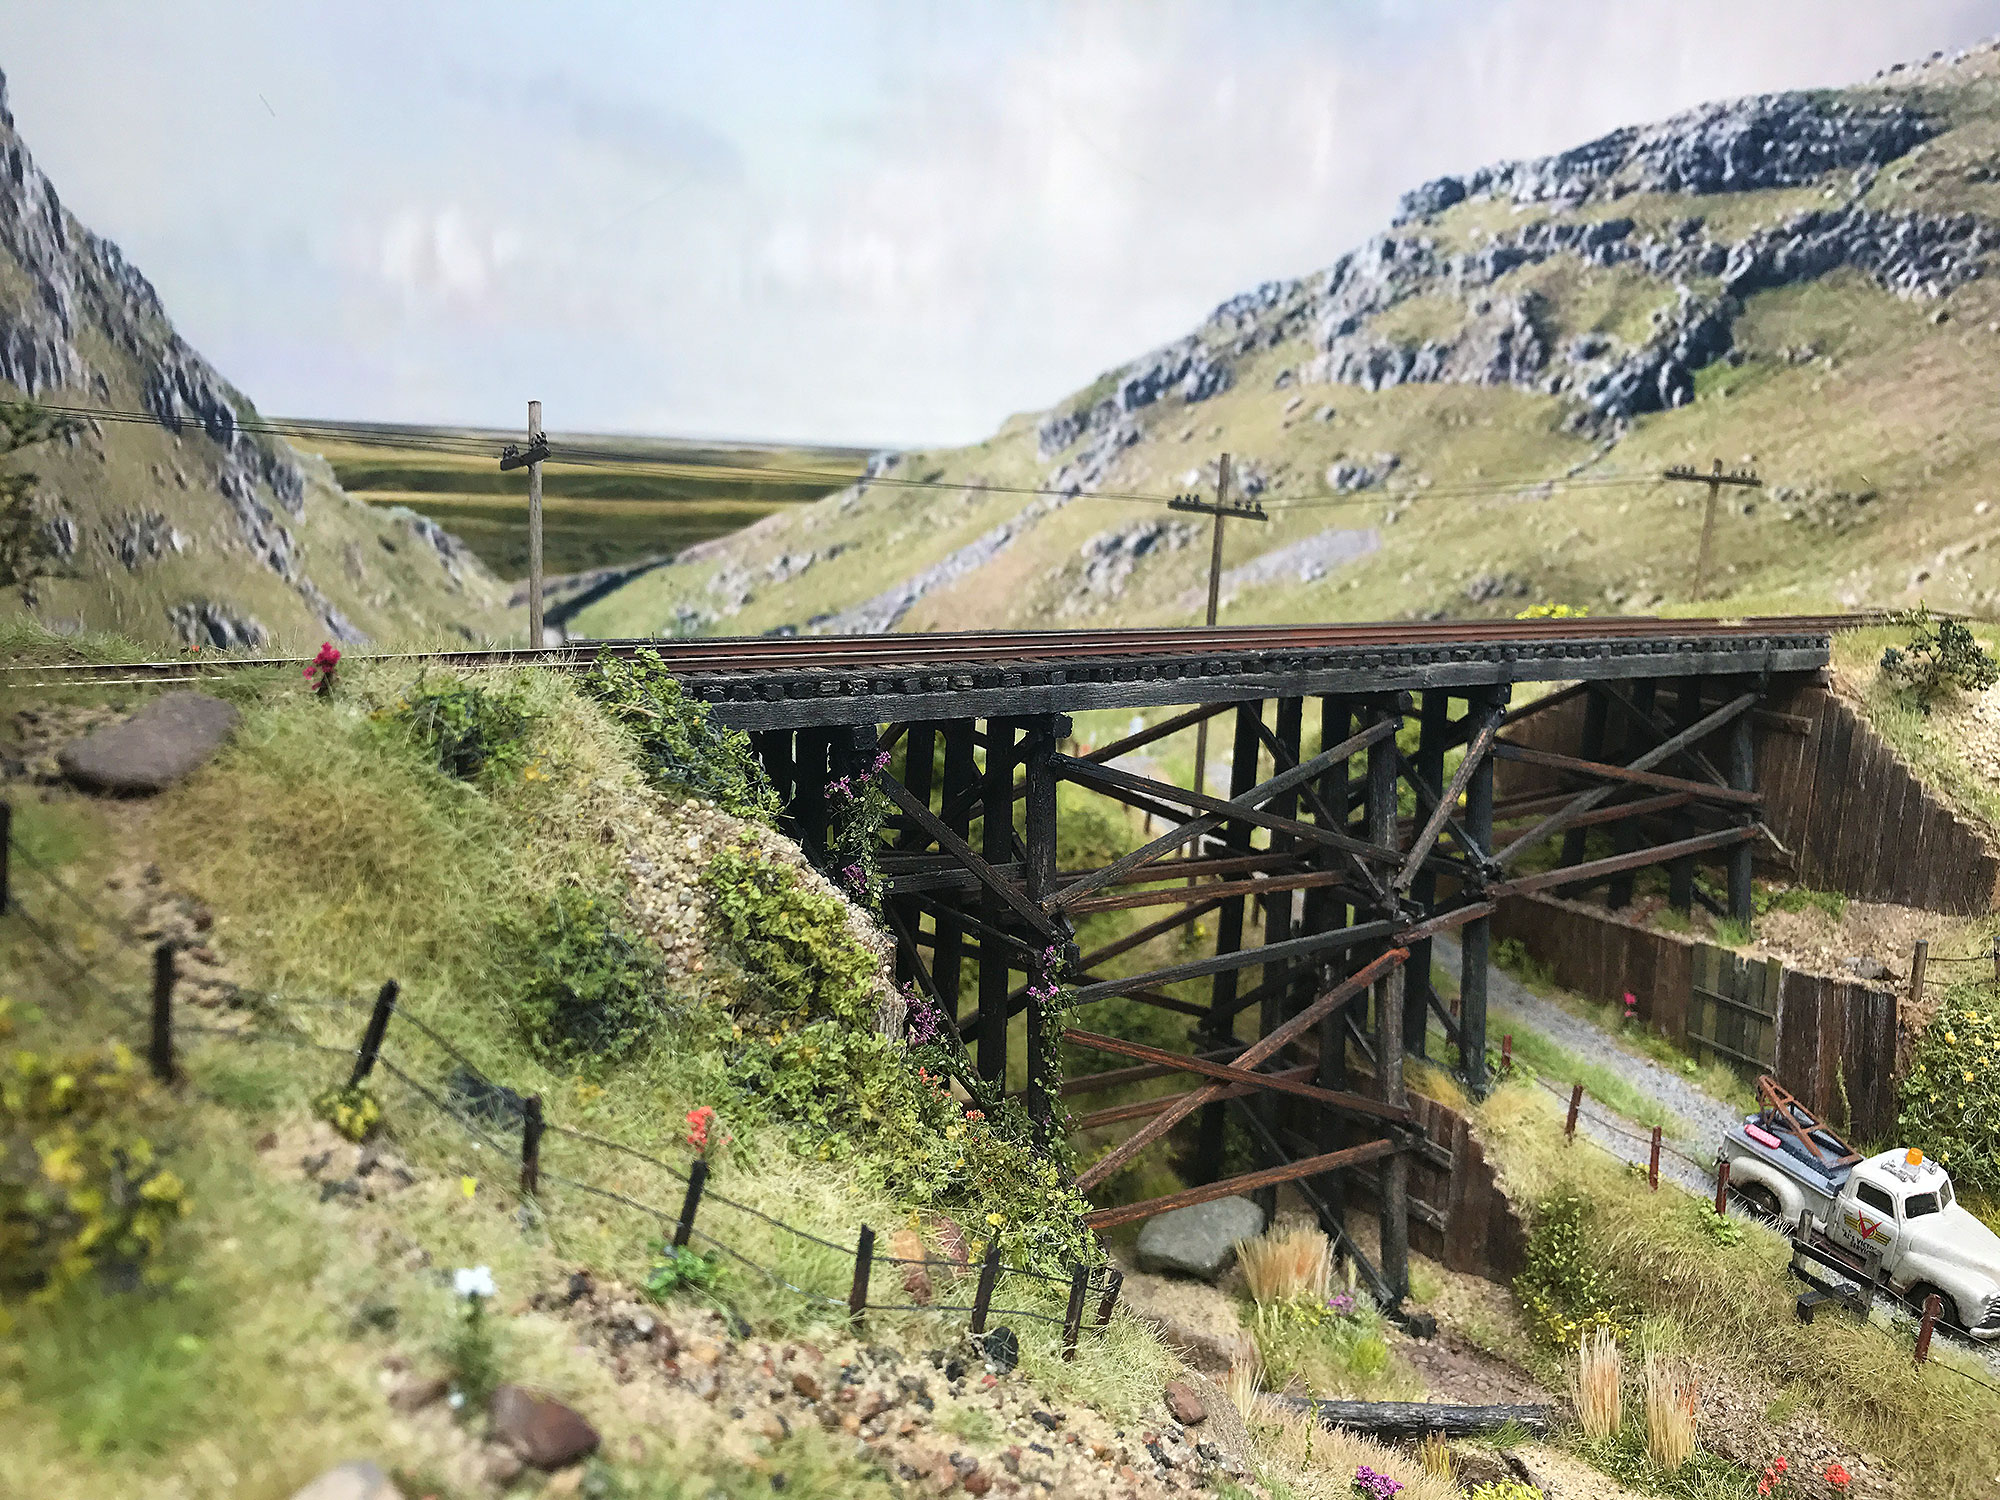
Apologies for the delay in the next installment. When looking through the set of photos for this part of the series I realized that I was missing some crucial images. I decided to start over and build a new track study while writing this post. Here are the results:
————————————————————————————-
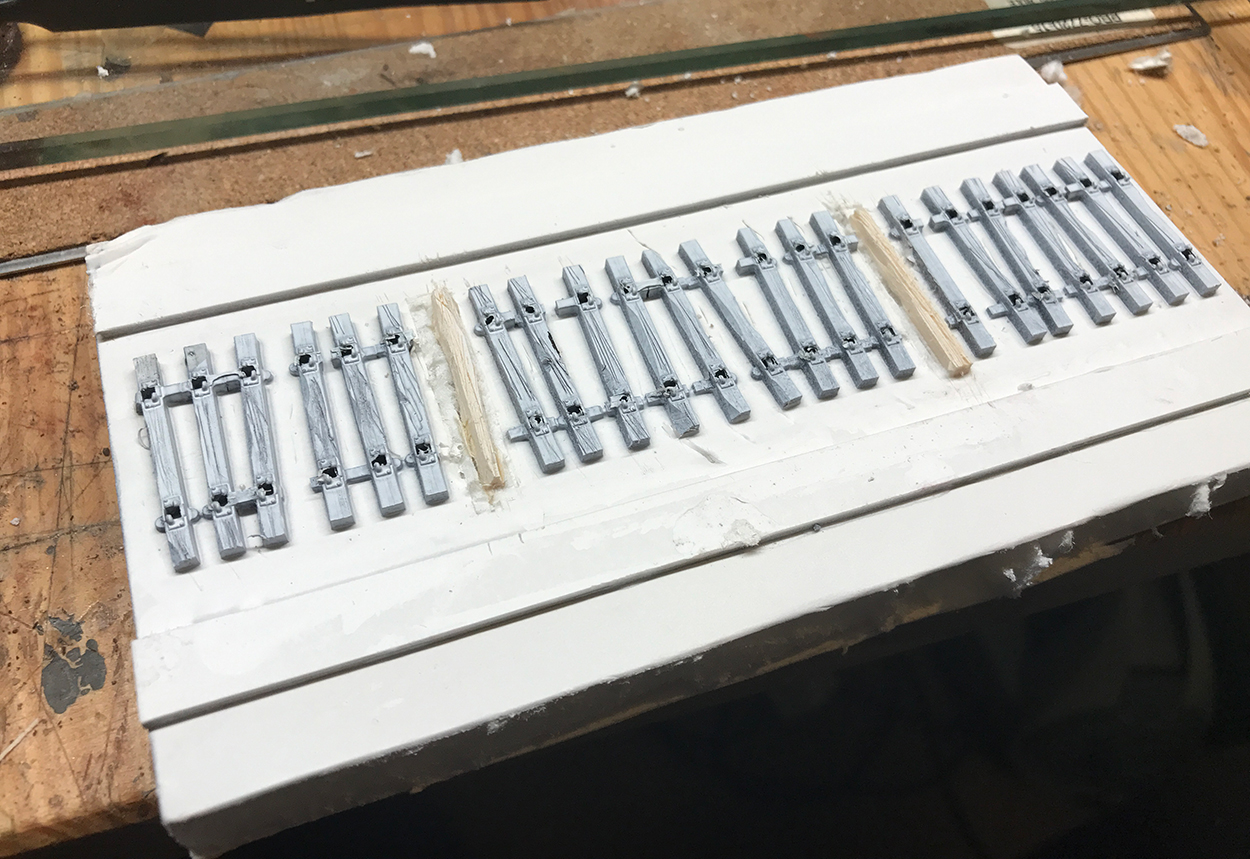
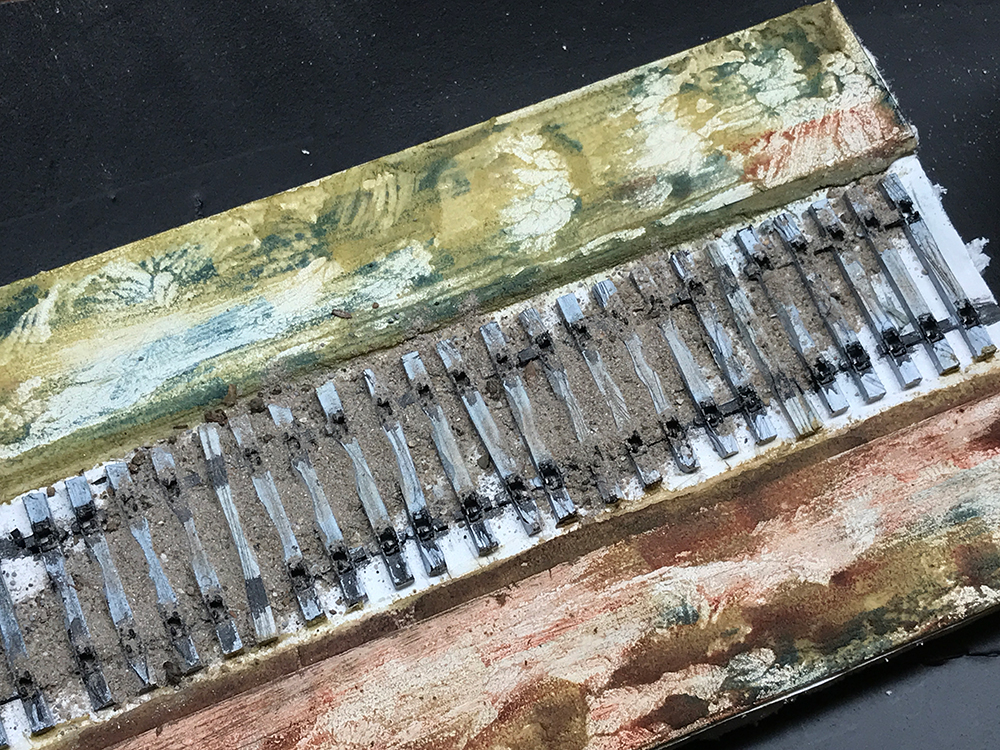
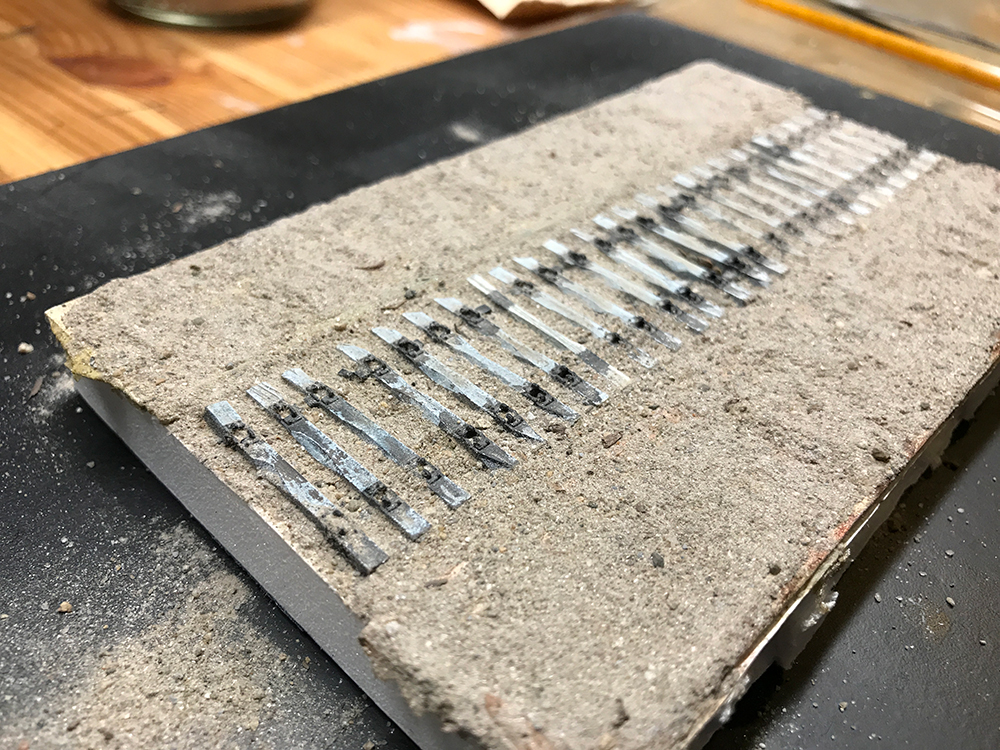
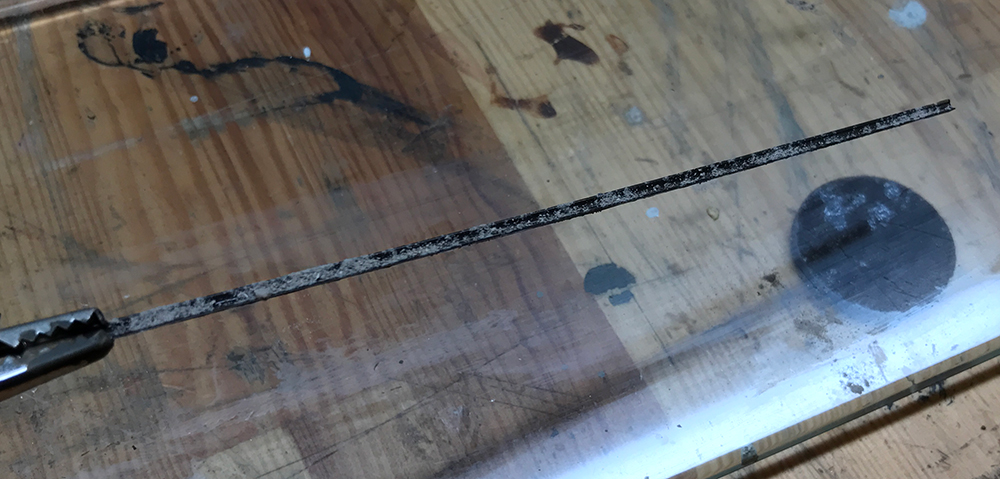
Once dry the ties were ready for coloring. The white primer equalizes the color of the plastic and wooden ties so that they are able to be weathered and colored leaving no discernible difference between them.
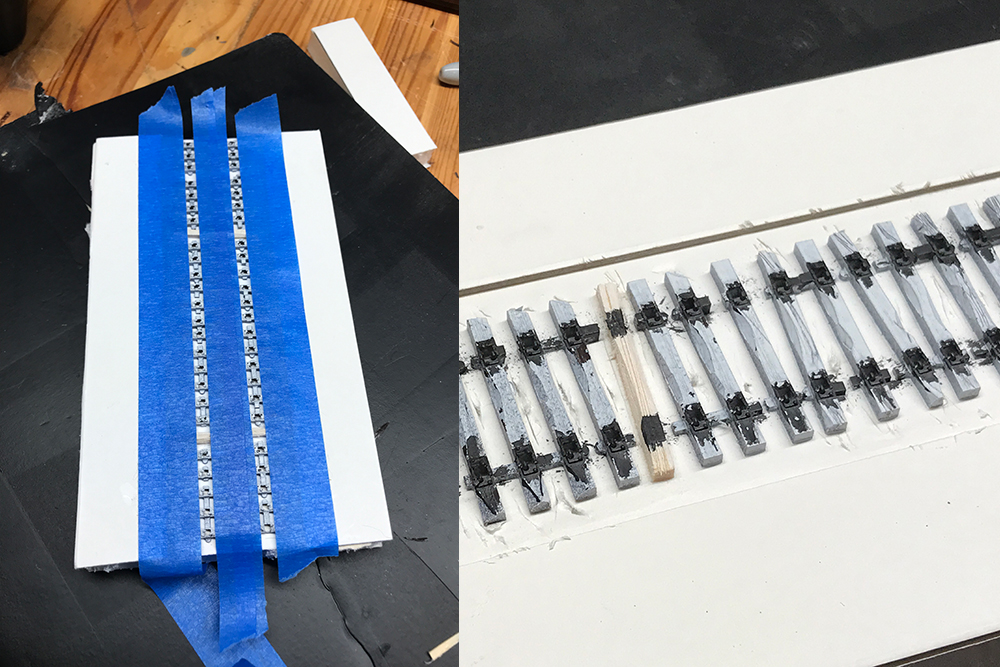
The first layer of colors came from my Winsor Newton pigment markers. These markers have been a ‘game changer’ in my modeling. I was very dissatisfied with the Indian ink and alcohol method of wood staining as the colors ended up being very one dimensional – light grey – medium grey – dark grey – boring! These pigment markers lifted me out of monochrome hell and allowed me to enter a world of color and most importantly control – control over the effect – to make it as close to real weathering as possible. To be honest I’m still learning about staining effectively – I’ve seen amazing examples of wood weathering around the internet and I realize that I’m not even close to being able to do a great job. But it’s a start.
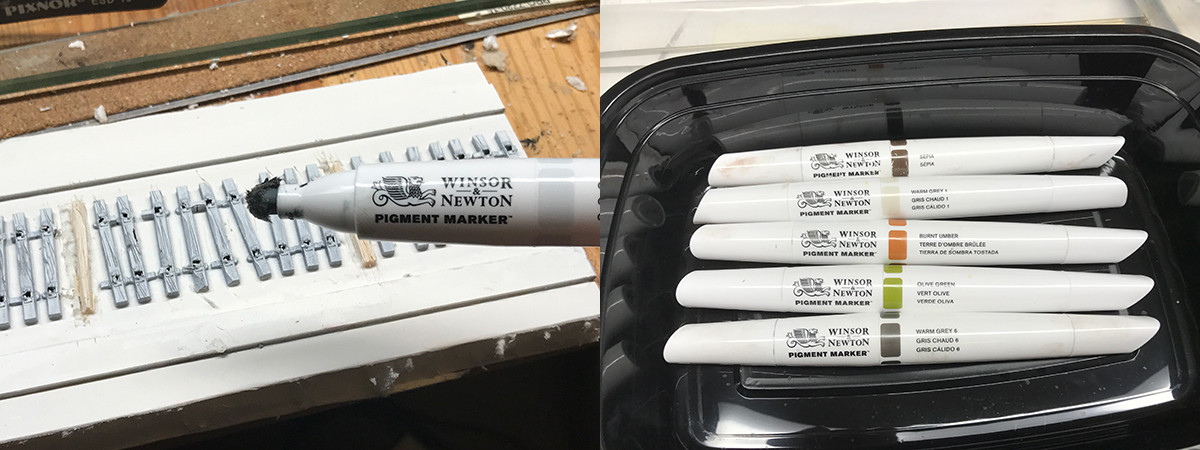
I started with the lightest grey possible and what I noticed was that the ties made from different materials (wood and plastic) started to blend together – making it harder to spot the differences between them. I went very carefully with color. You really don’t need to do too much to begin with as later layers of chalk, paint and dirt from the ballast will add more and more colors to the ties.

Dirt – Ballast?
I really don’t like ballast – both on real track and model trackwork and I have tried to avoid using too much of it on my own trackwork. If I have to use it then I avoid the commercial model ballast sold by the likes of Woodland Scenics. That ballast color is much too brightly colored and plastic-looking for my tastes. I have created my own ballast from a variety of natural sources which I feel is more to scale and has a nice variety of color and is not too bright. Of course one can always spray-paint commercial ballast but then you just have a single color effect – a long sweep of sprayed ballast. I wanted to avoid ballast if I could and just use dirt.
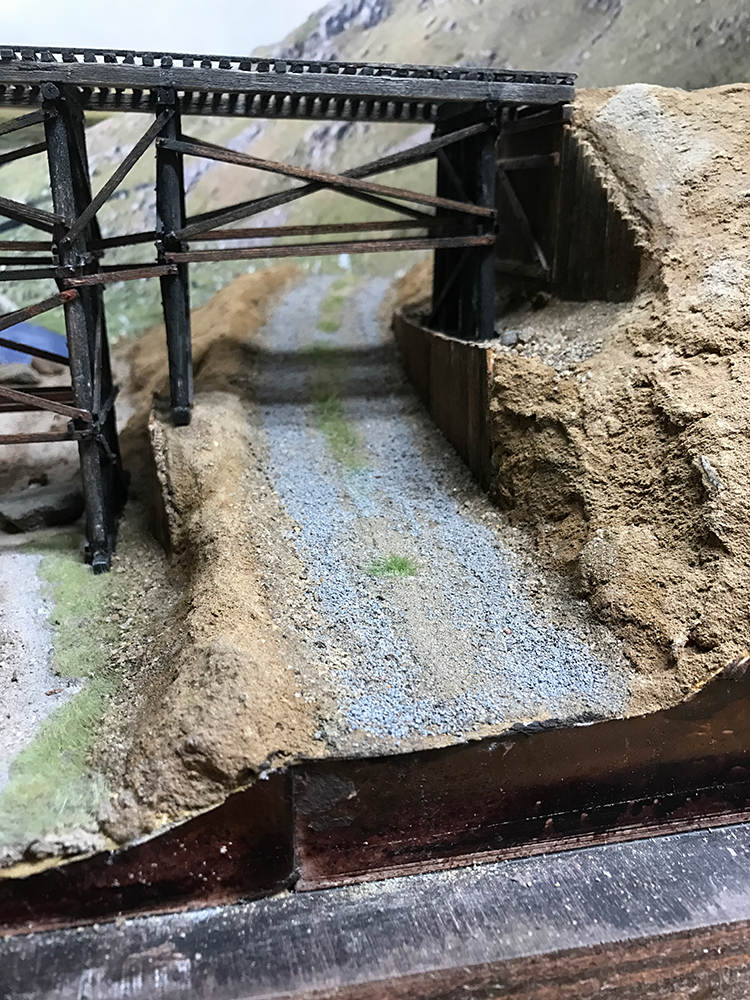
The key to using dirt is scale. It is so important that the material look right in it’s miniature version. If too large, they make the scene suspect. I made a mistake on The Trestle by using commercial track ballast (too uniform in color) for road gravel (much too large for that) and in my opinion ruined the effect. Overall the scene was saved by me doing a better job on the rest of the diorama yet that road still irks me.
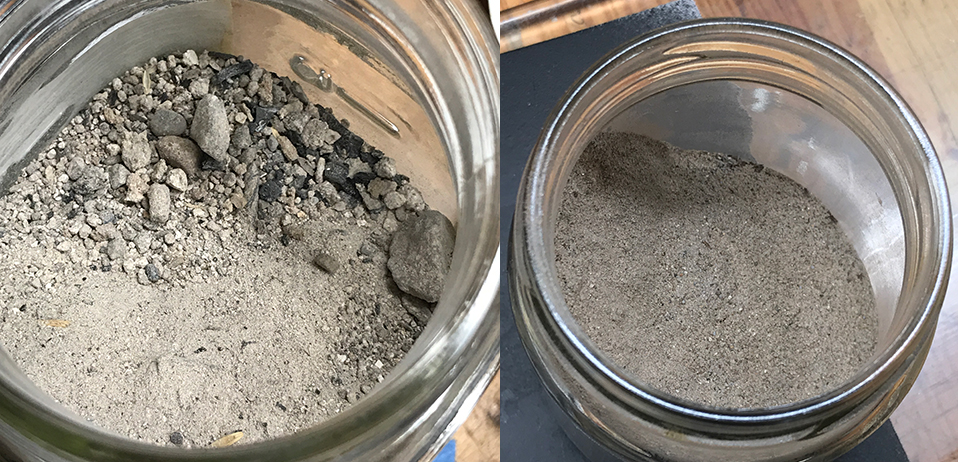
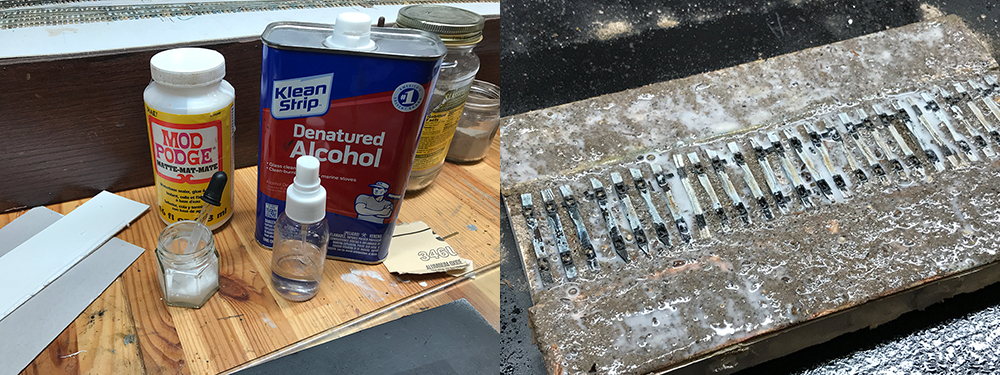
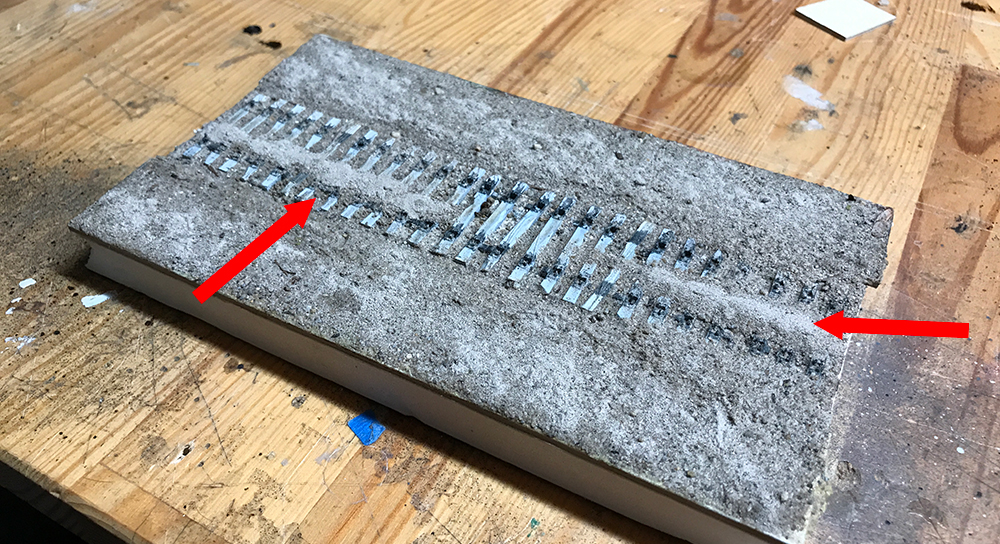
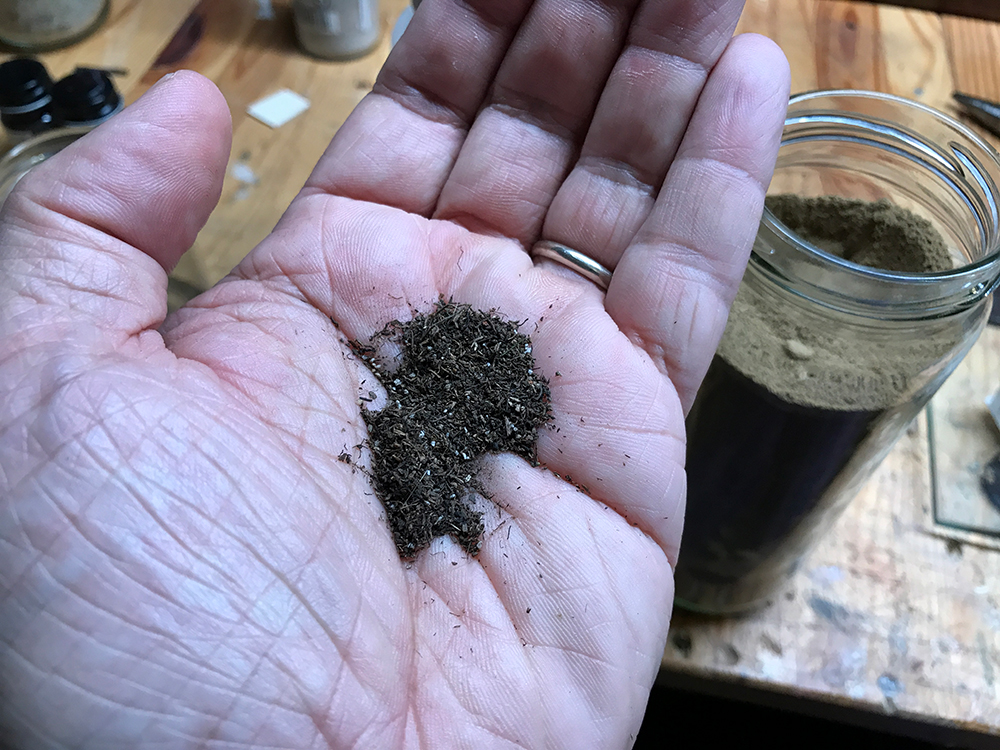
I had collected some fire-pit ash and I didn’t know what I was going to use it for before I soon realized that it substitutes for a sand-like substance when used in a model. In other words it is so fine a material that it really looks like scale dirt and sand. I had a jar of it and made note of its source so that I could go and get more if needed.
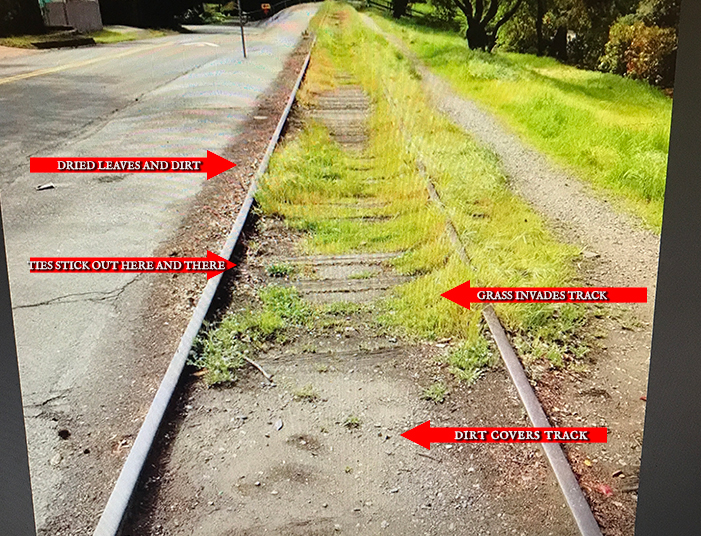
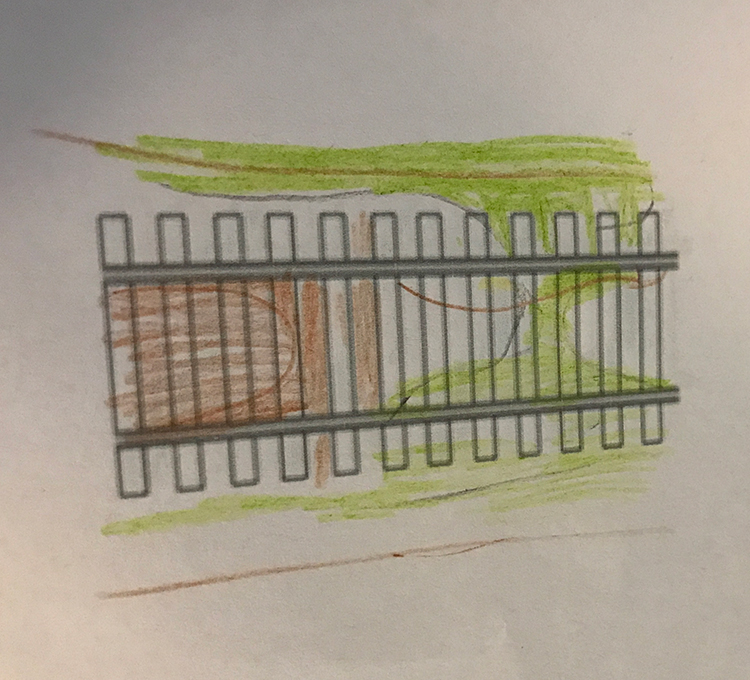
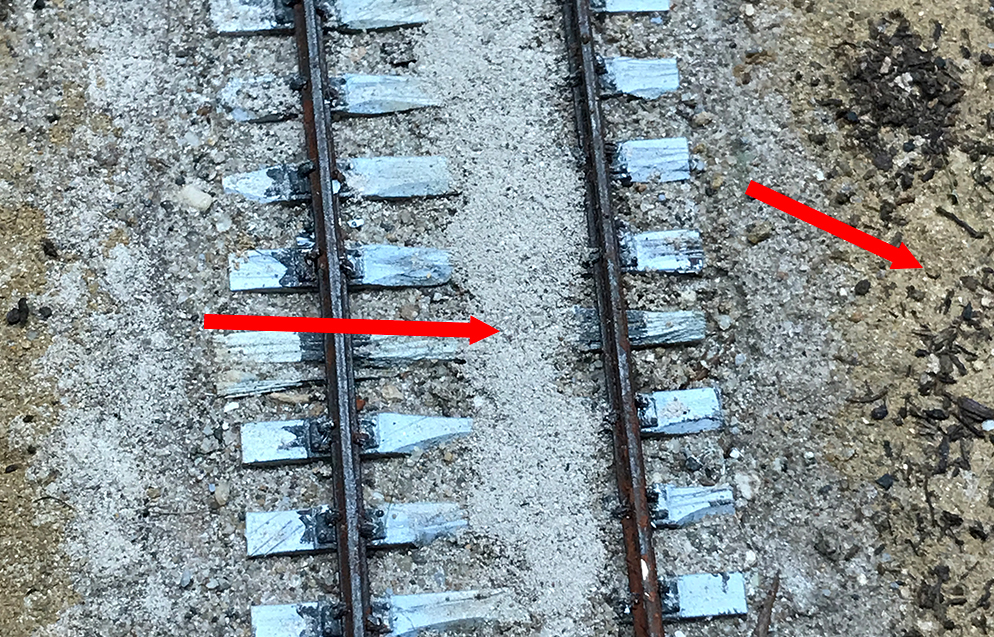
One important step before I dumped the dirt on the track was to draw out a plan of how the dirt and grass should be laid out. I used another photo as a rough guide for what I was looking to do.
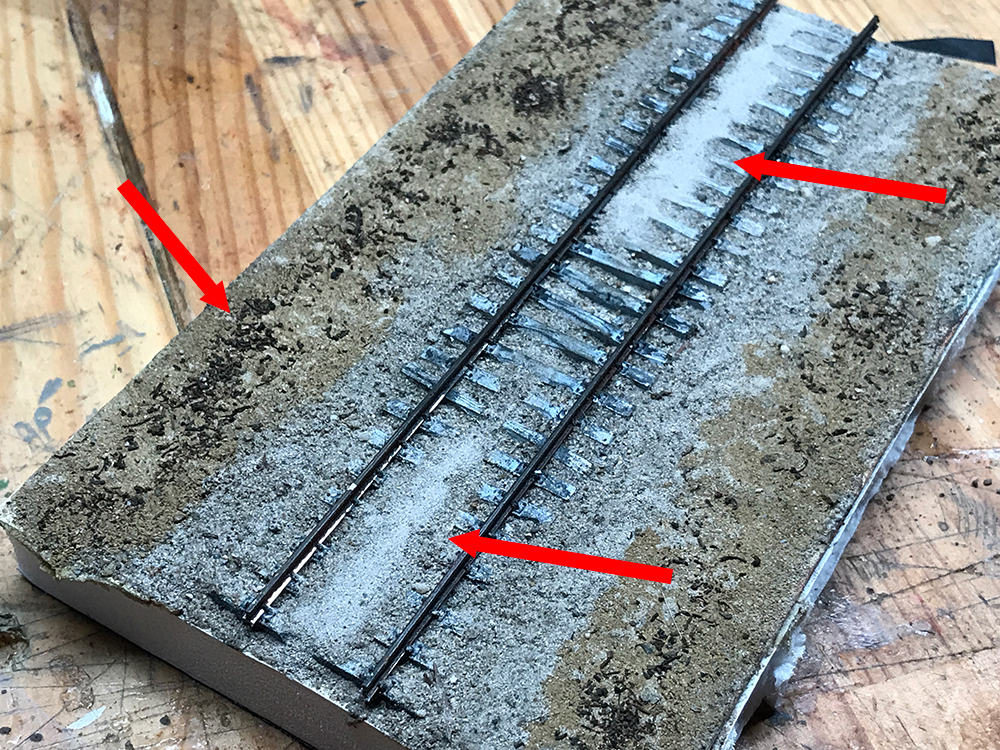
So with that done it was time to add some dirt. I wanted to start with the finest grain dirt possible. Dirt at the wrong scale can ruin an effect so for this project I made sure I started with the finest dirt available. This dirt came from my jar of fire-pit ash.
Tomorrow greenery.