Hi all.
I’ve been working on the backdrop over the last few weeks. It’s not something I enjoy because I don’t like being on the computer once the work day is over. Nevertheless once I started I found I enjoyed the process more than expected. Though not perfect – there are a few errors here and there – the result was good enough to tick it off my list and move on.
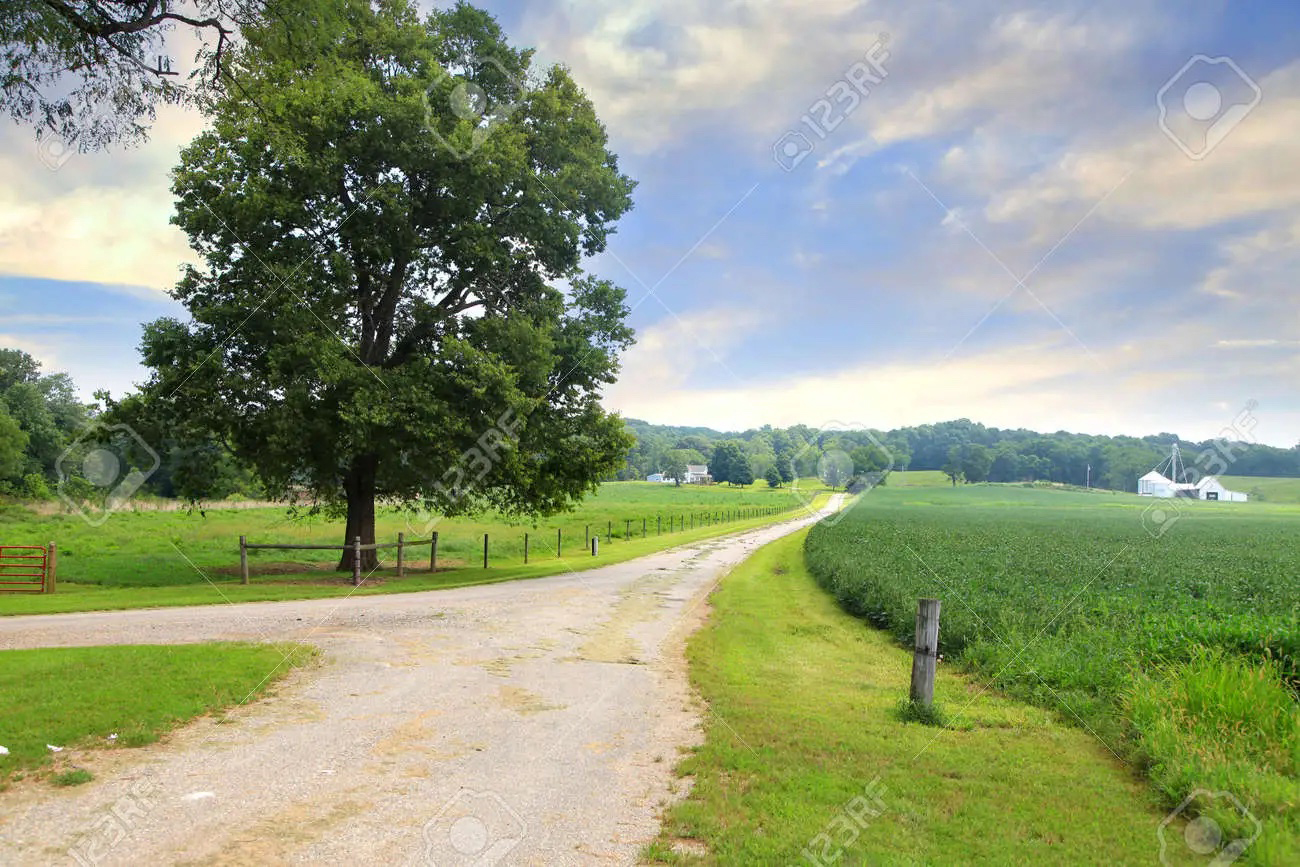
I used Photoshop to extract all the elements I wanted and then used the various tools: clone, stretch, transform to create a scene that would stretch around the diorama.
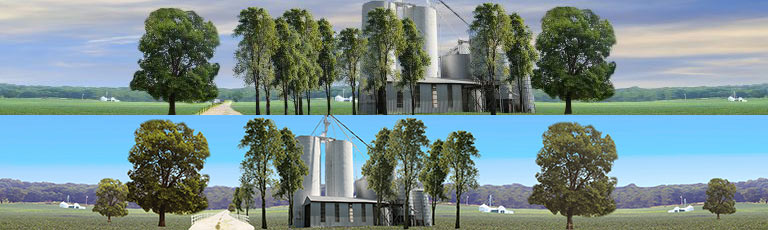
I made several changes to the latest version:
- The color of the grass on the diorama did not match the color of the grass on the backdrop. I used Photoshop’s color balance tools to get them to match. I took a photo of the grass on the diorama, turned it into a layer and laid it on top of the grass in the photo. I then adjusted the green color by fading it and adding more yellow till the line separating the two colors faded away.
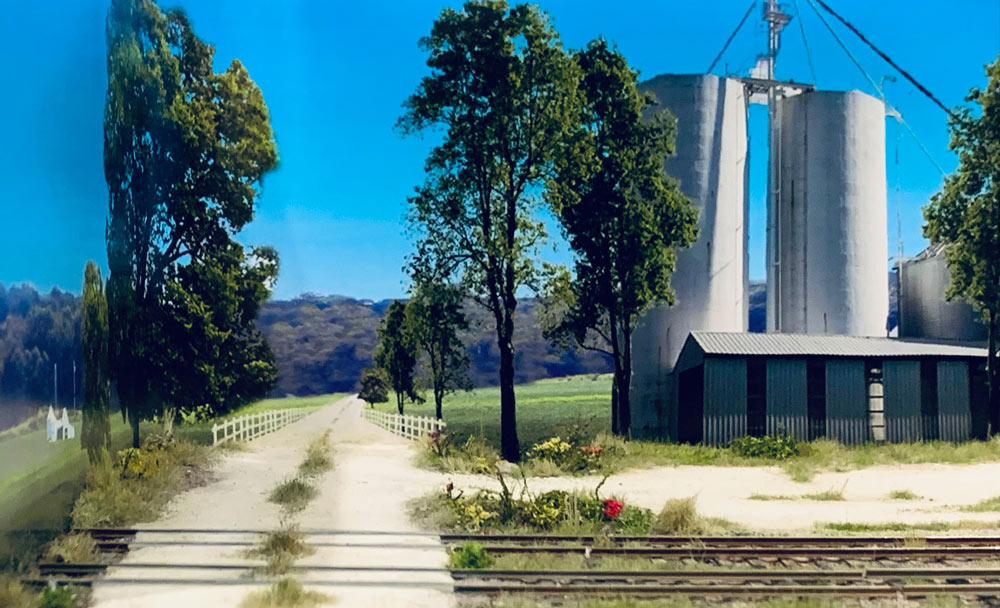
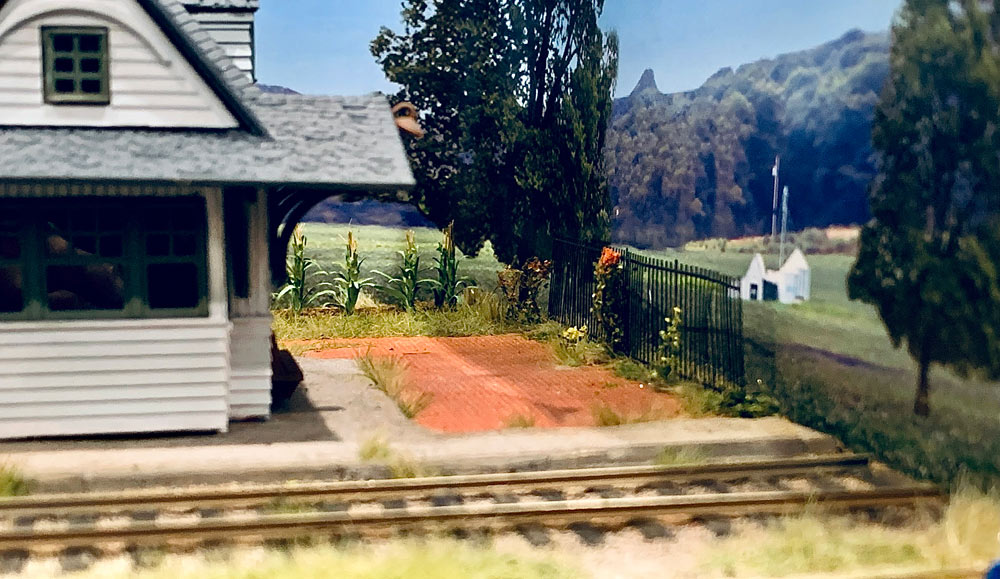
- I also moved the mill so that it was no longer hidden behind the depot building.
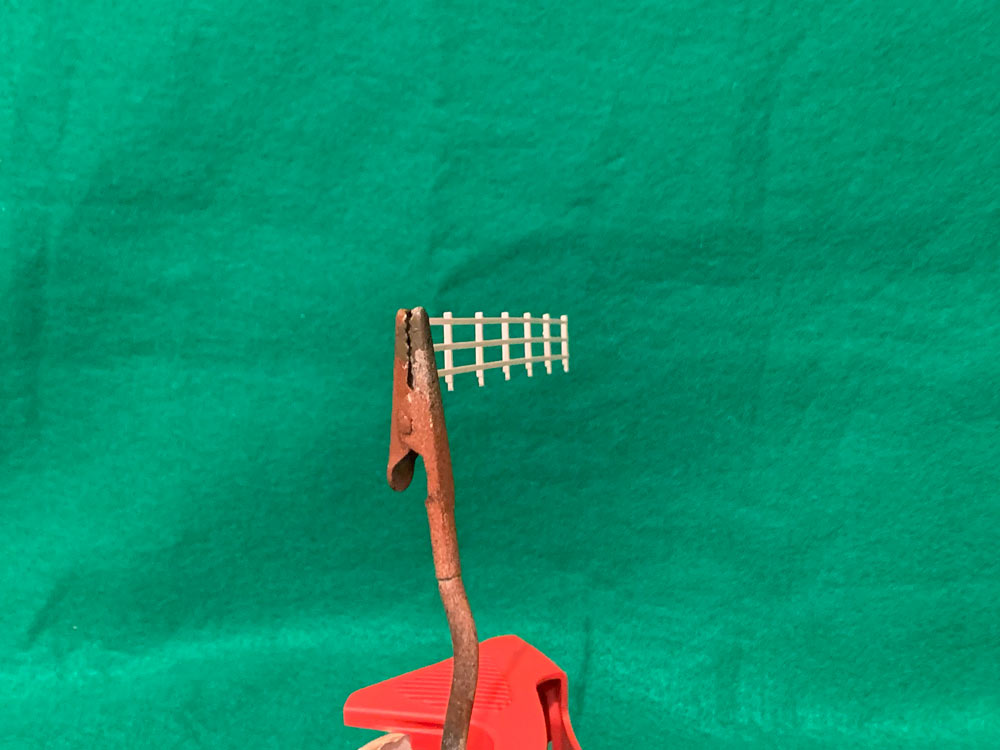
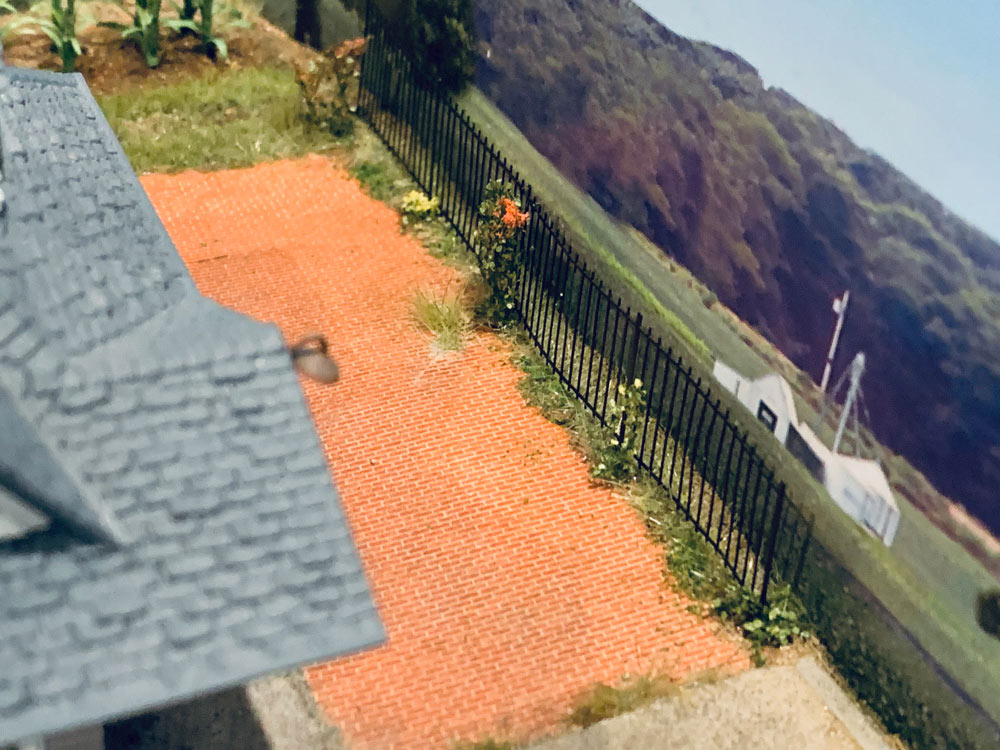
- I raised the road and added a fence fading into the distance that matches the HO scale estate fence that is going to be installed.
- I added a clear blue sky.
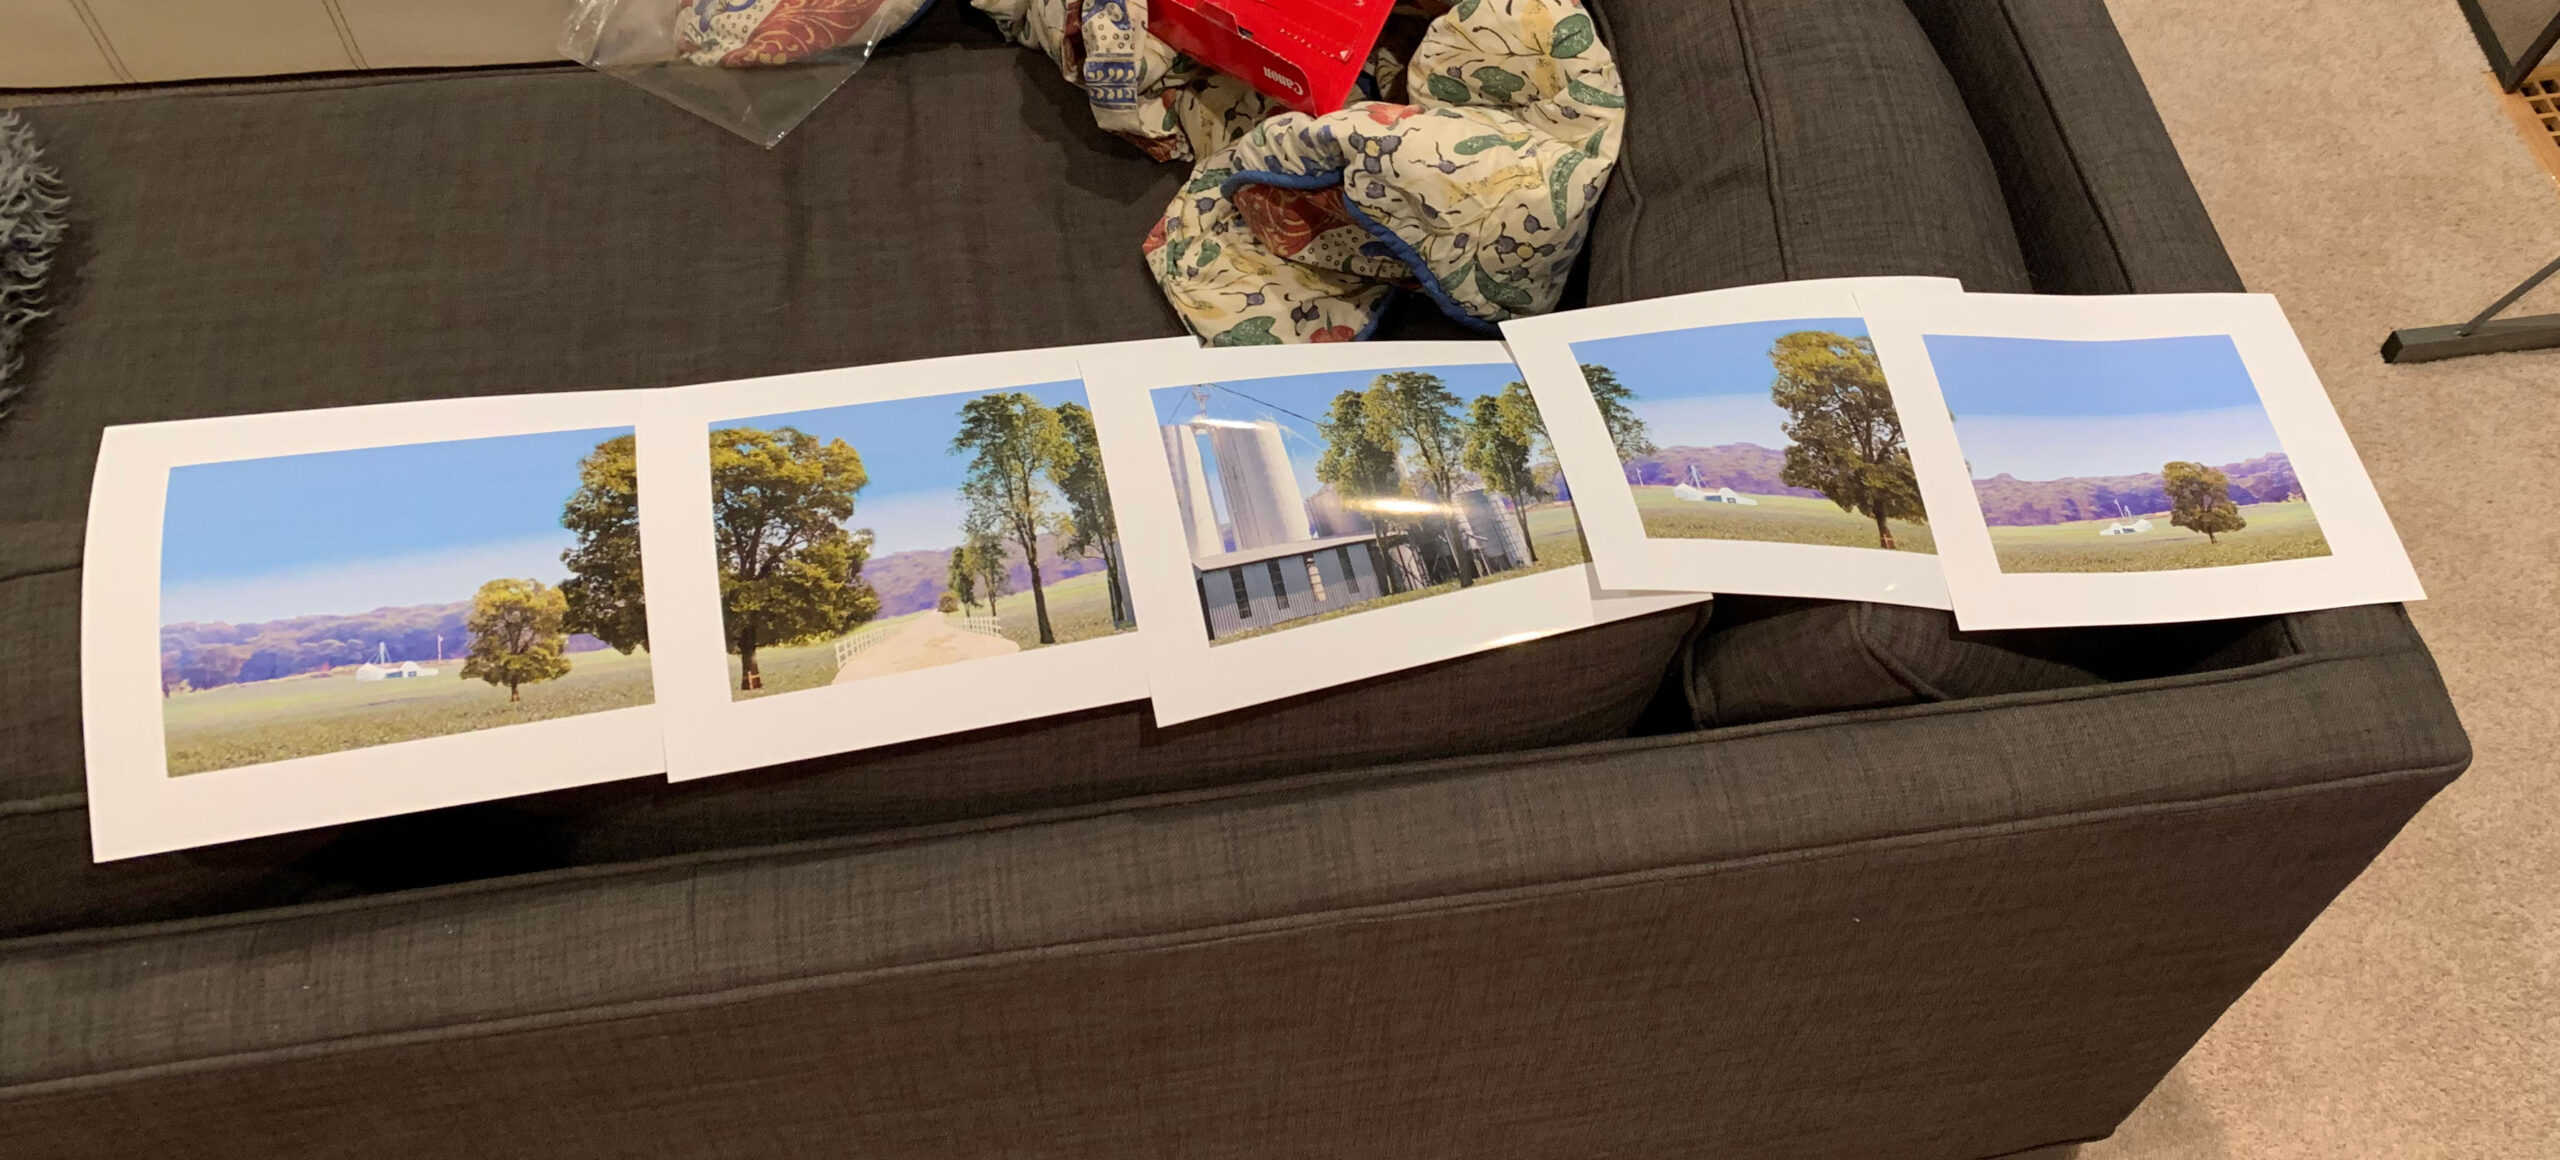
Here is the before and after picture:
Before sending this to the printer I printed out a black and white version on my home printer to make sure that things were lining up.

It took a few attempts to get the road lined up properly but I only needed to print a section with the road in different positions it was finally in the correct place (or so I thought, see below).
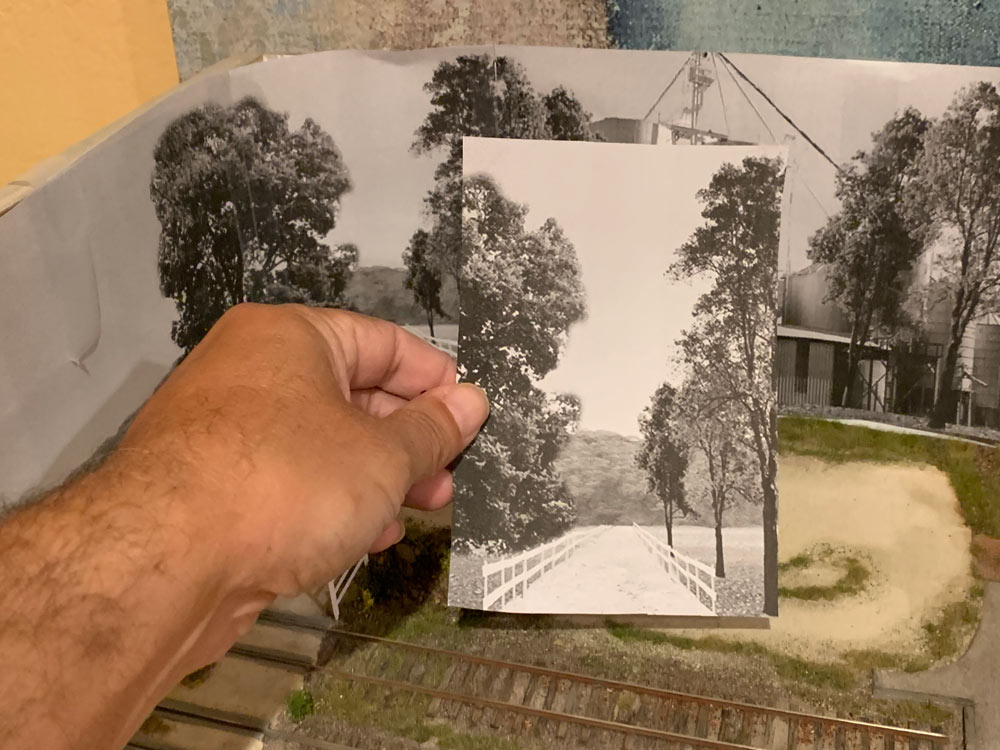
To create the fence that fades into the background I green screened the HO version of the fence and then extracted it placed it on the image.
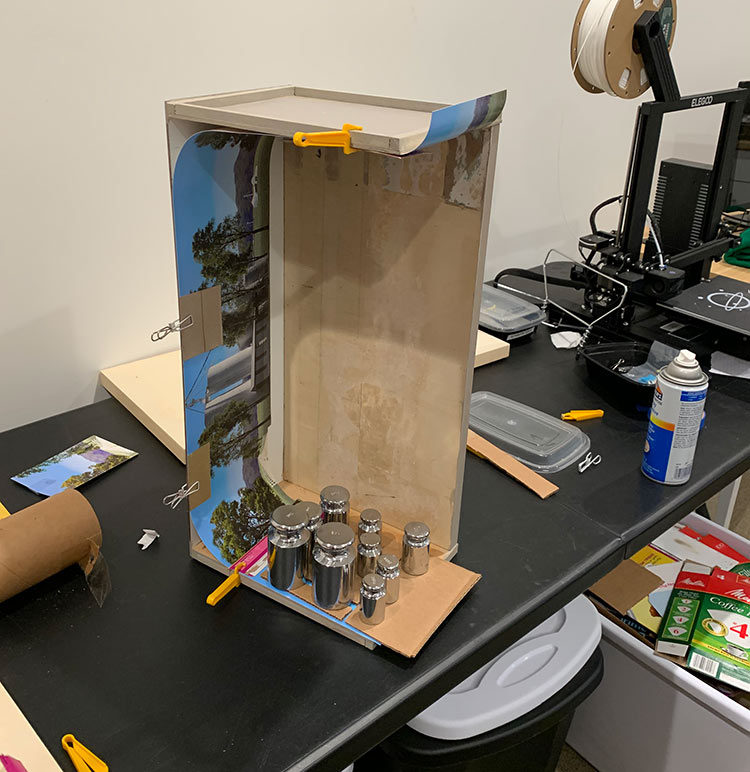
I then printed out a color version on my printer, stuck the sections together and placed it the diorama to see how things were looking. The colors are not accurate because of the limitations of my printer and the final printed version ended up looking a lot better.
Anyhow at some point I was satisfied so I sent the final image to the printers and a week later a couple of prints arrived.
I used spray glue to fix it to the back and sides of the diorama and made sure to line up the roadway correctly.
I then glued the diorama base and the backdrop together and filled in the edges around the sides.
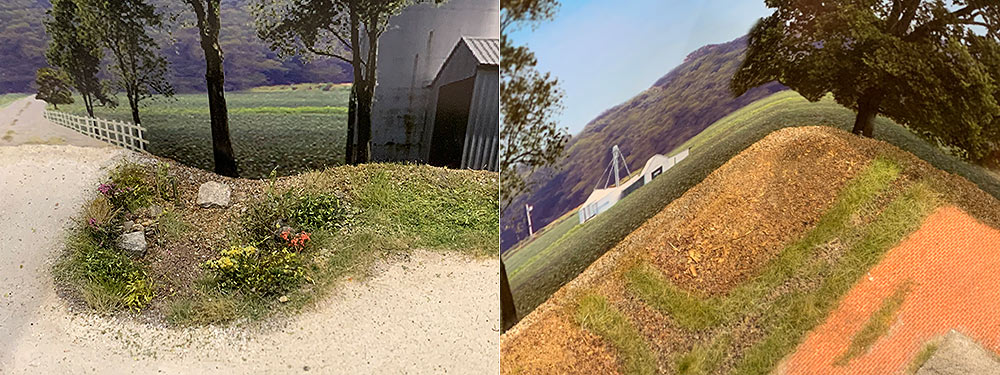
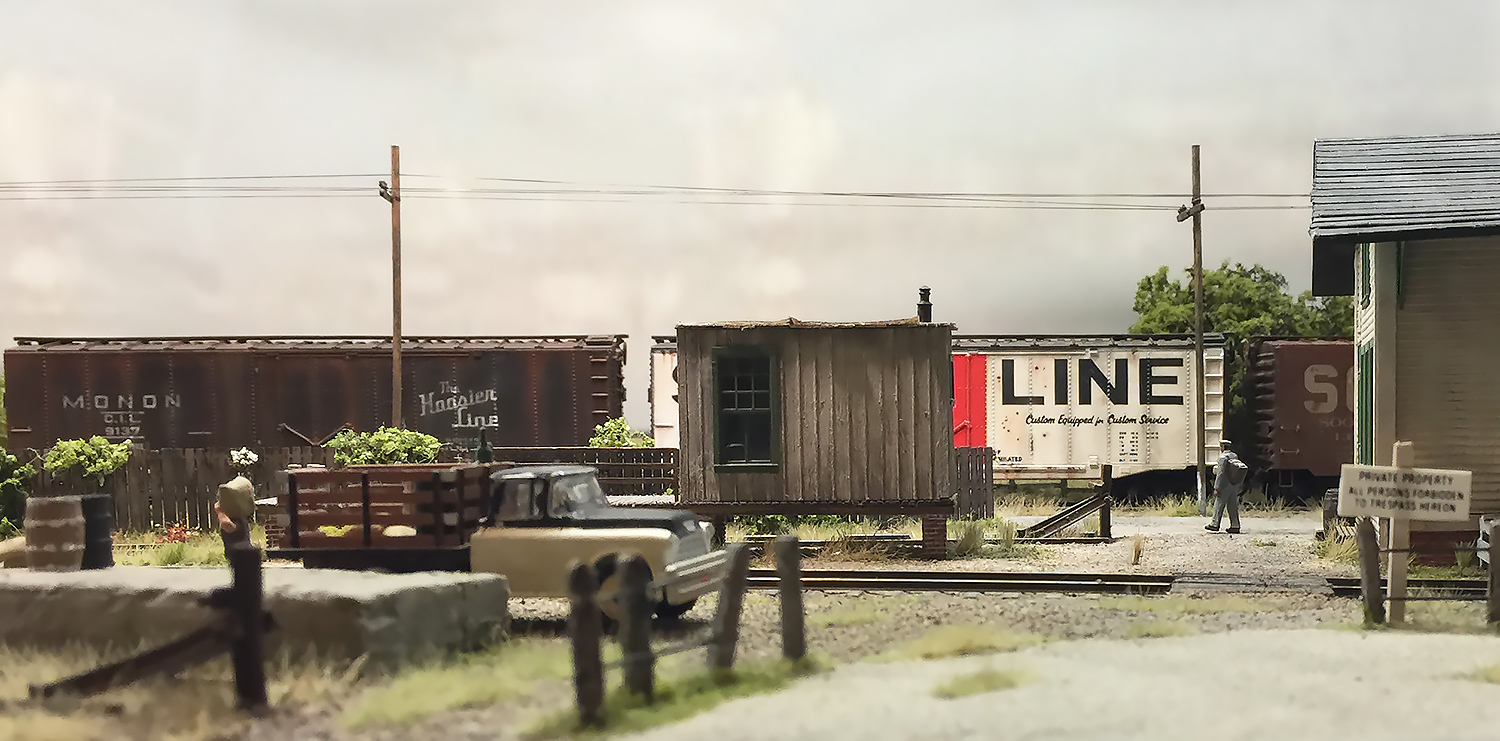
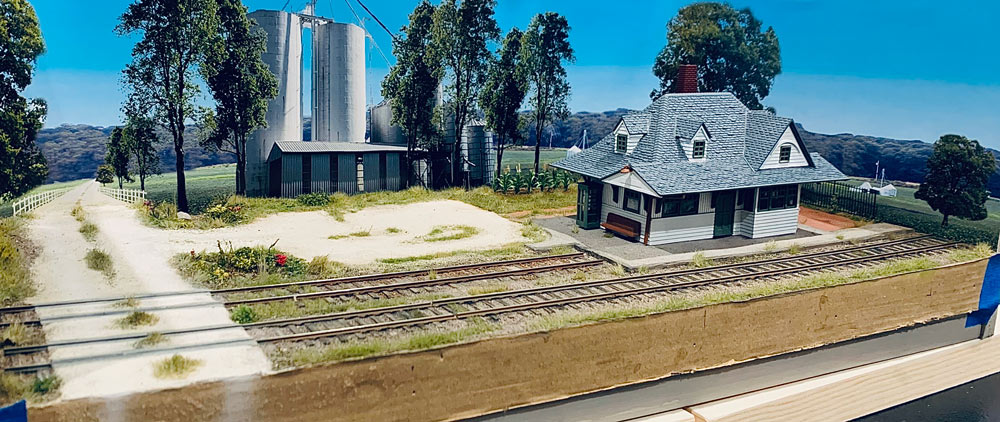
The final result:
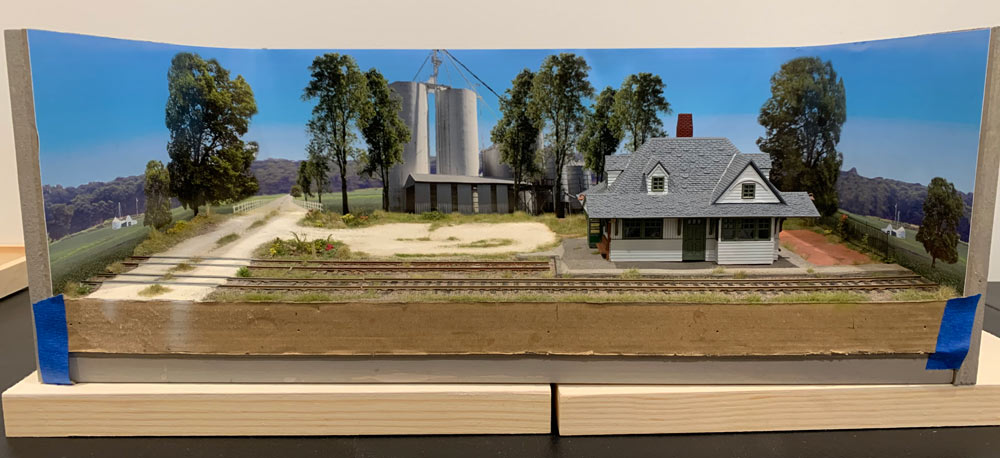
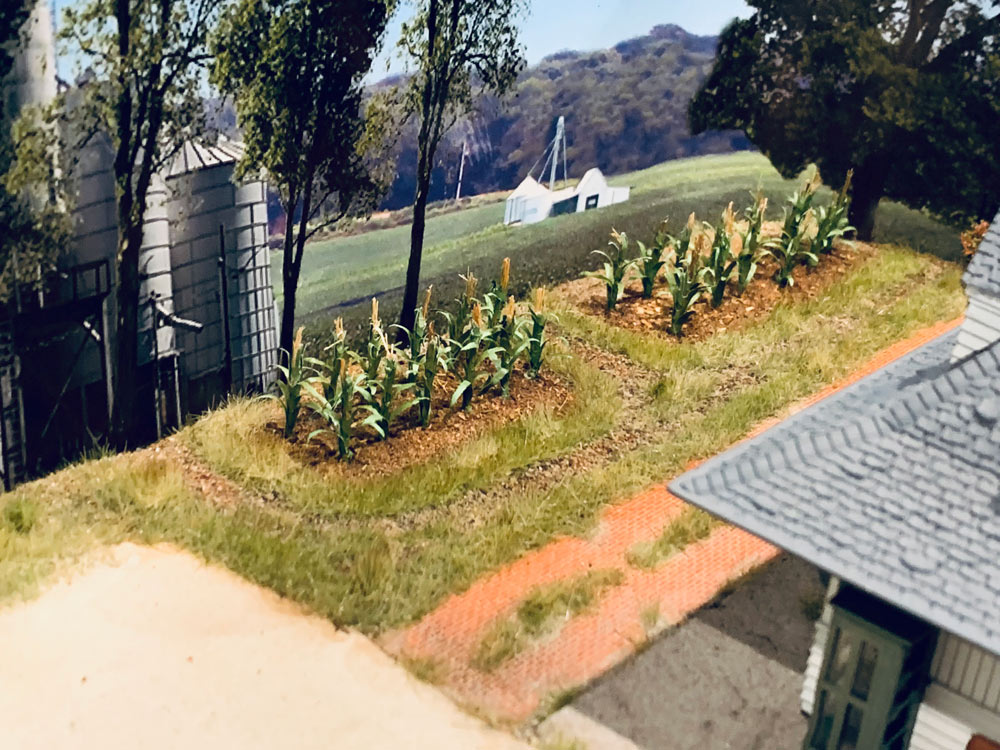
Some close ups:
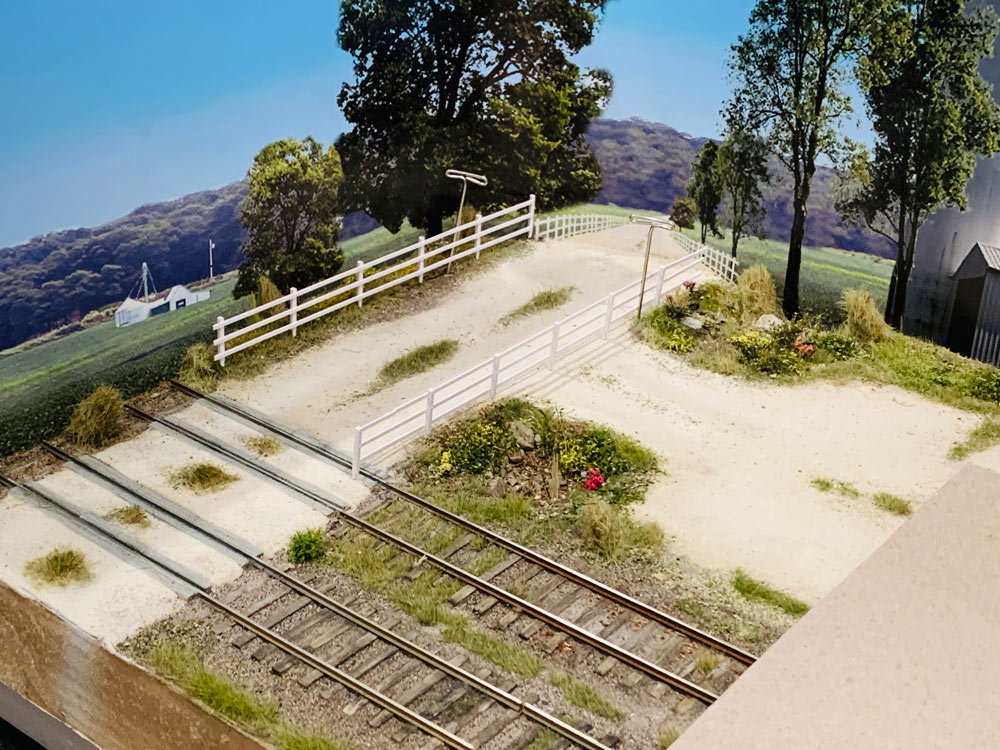
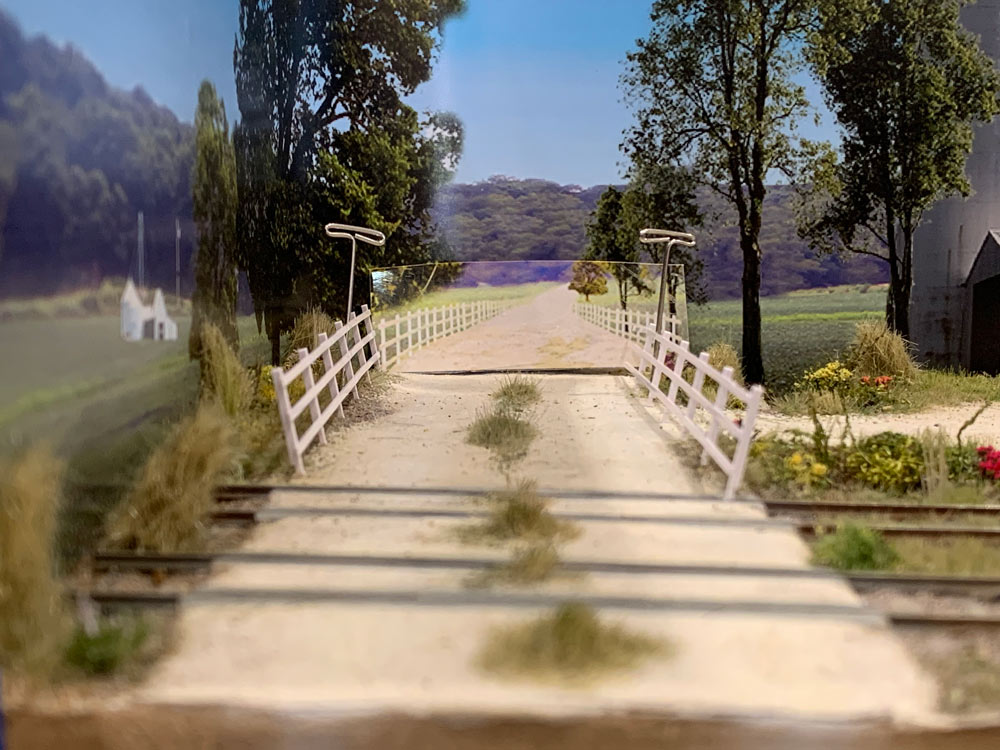
Other details.
I’ve started adding small details here and there.
And finally the point at which I am at:
So still lots to do:
- New depot building
- Fencing
- Cross bucks
- Vehicles
- People
- Team track platform – I’m scratch-building this.
- Telegraph poles and wires
- Whatever else I can think of to bring the scene to life