It’s been a while since I last posted as I was away visiting Eastern California. I went with a pal of mine to explore the southern end of the Carson and Colorado Railroad that shut back in 1960. We visited Keeler, Lone Pine, and Laws. It’s nice to see that so much remains to be seen especially at Keeler which retains the original depot building, the talc plant and some of the track layout near the original locomotive service area.
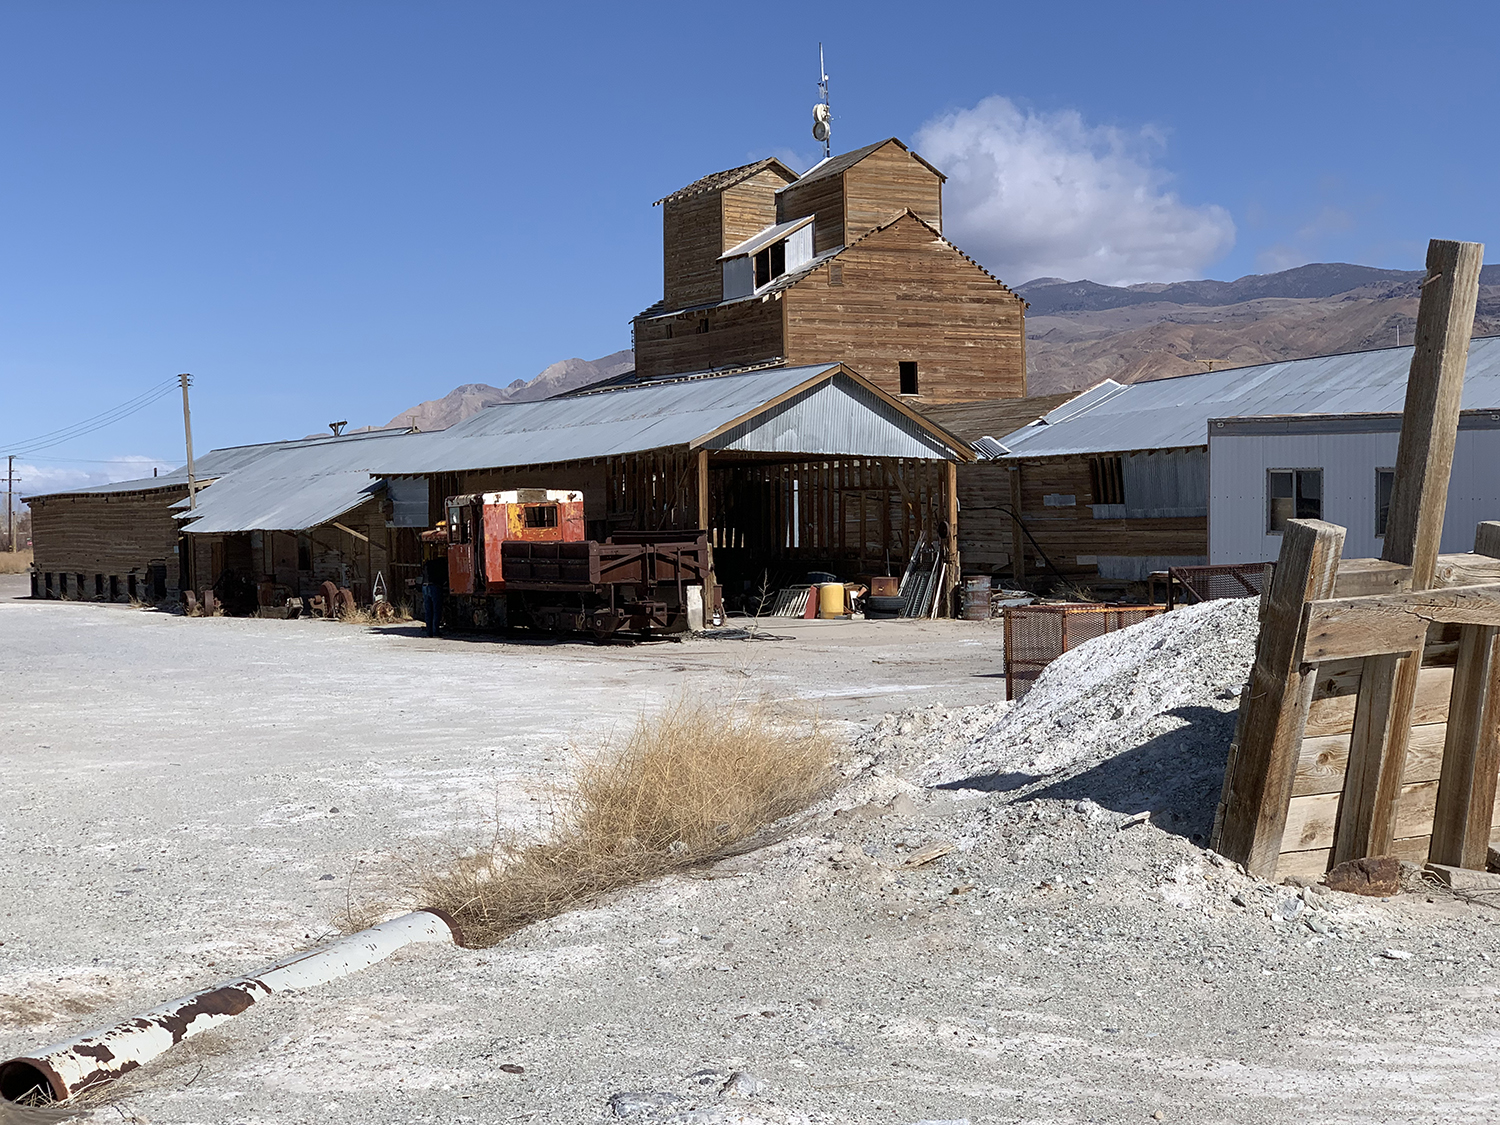
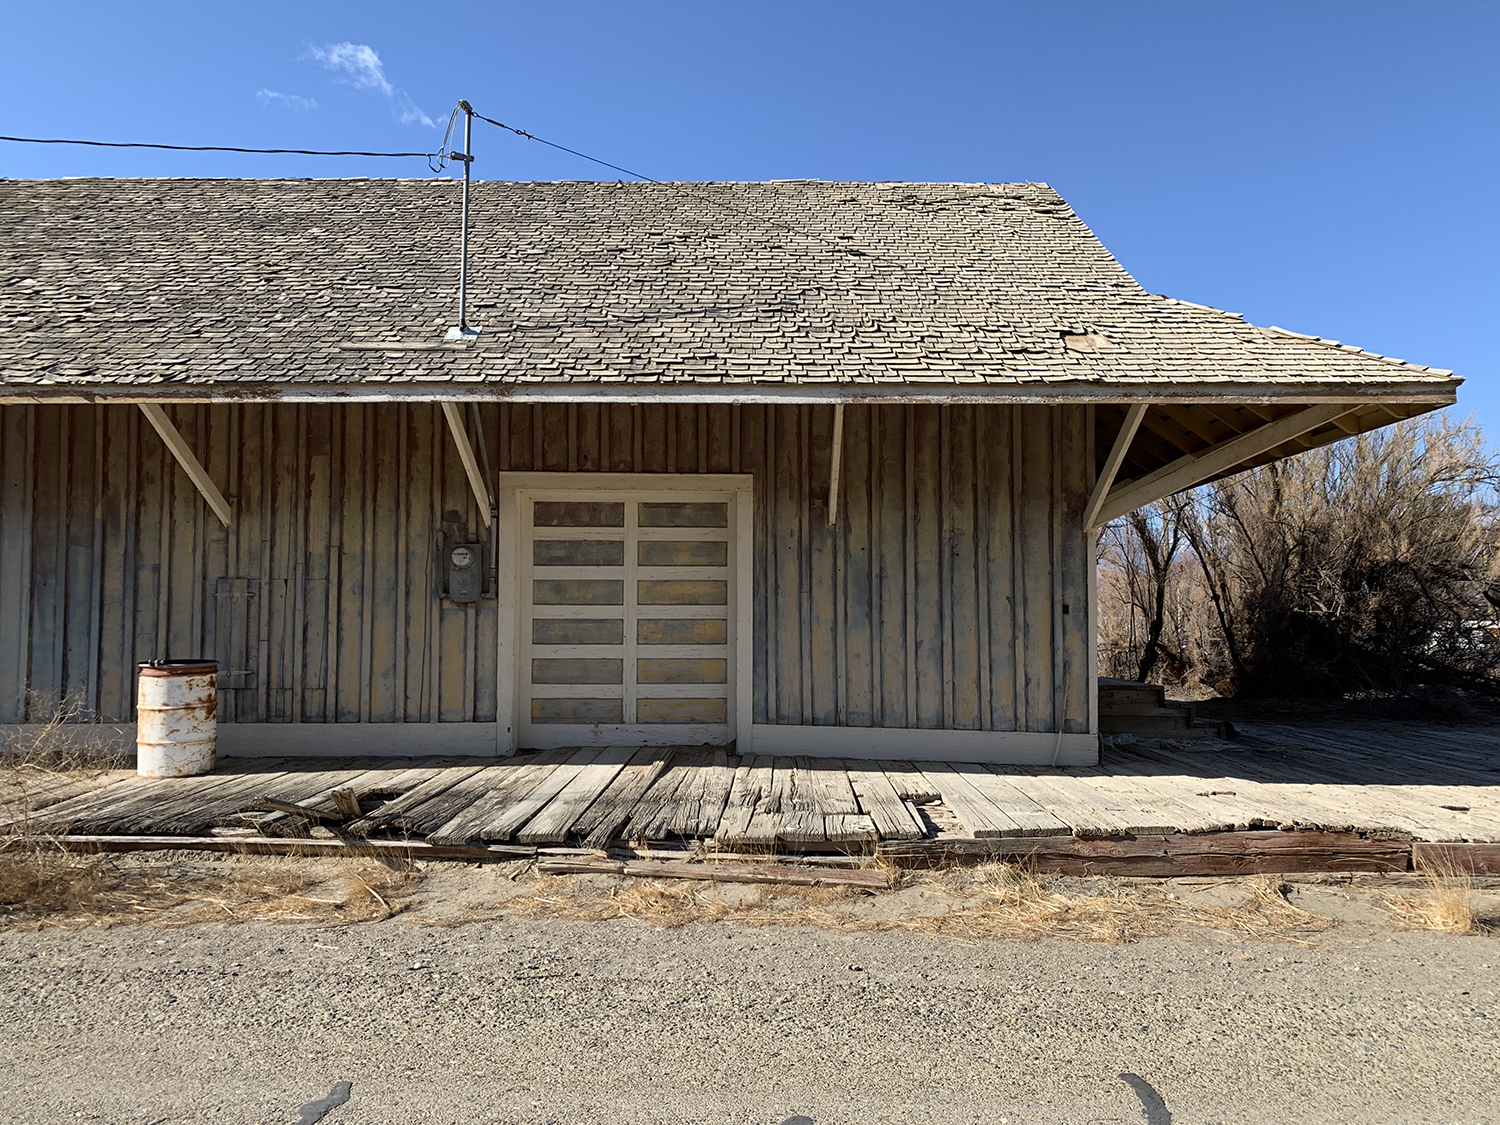
The talc plant. It is in pretty good condition considering it shut many years ago. There was a narrow gauge locomotive being stored there which I believe is being slated for restoration.I have many pictures of the depot which is well know among fans of the Carson and Colorado. We are lucky to still be able to see it and it is a real shame no one has made any effort to restore it beyond what you see here. I’ve seen a few models based on this depot and it is definitely a great modeling subject.
3D Printing
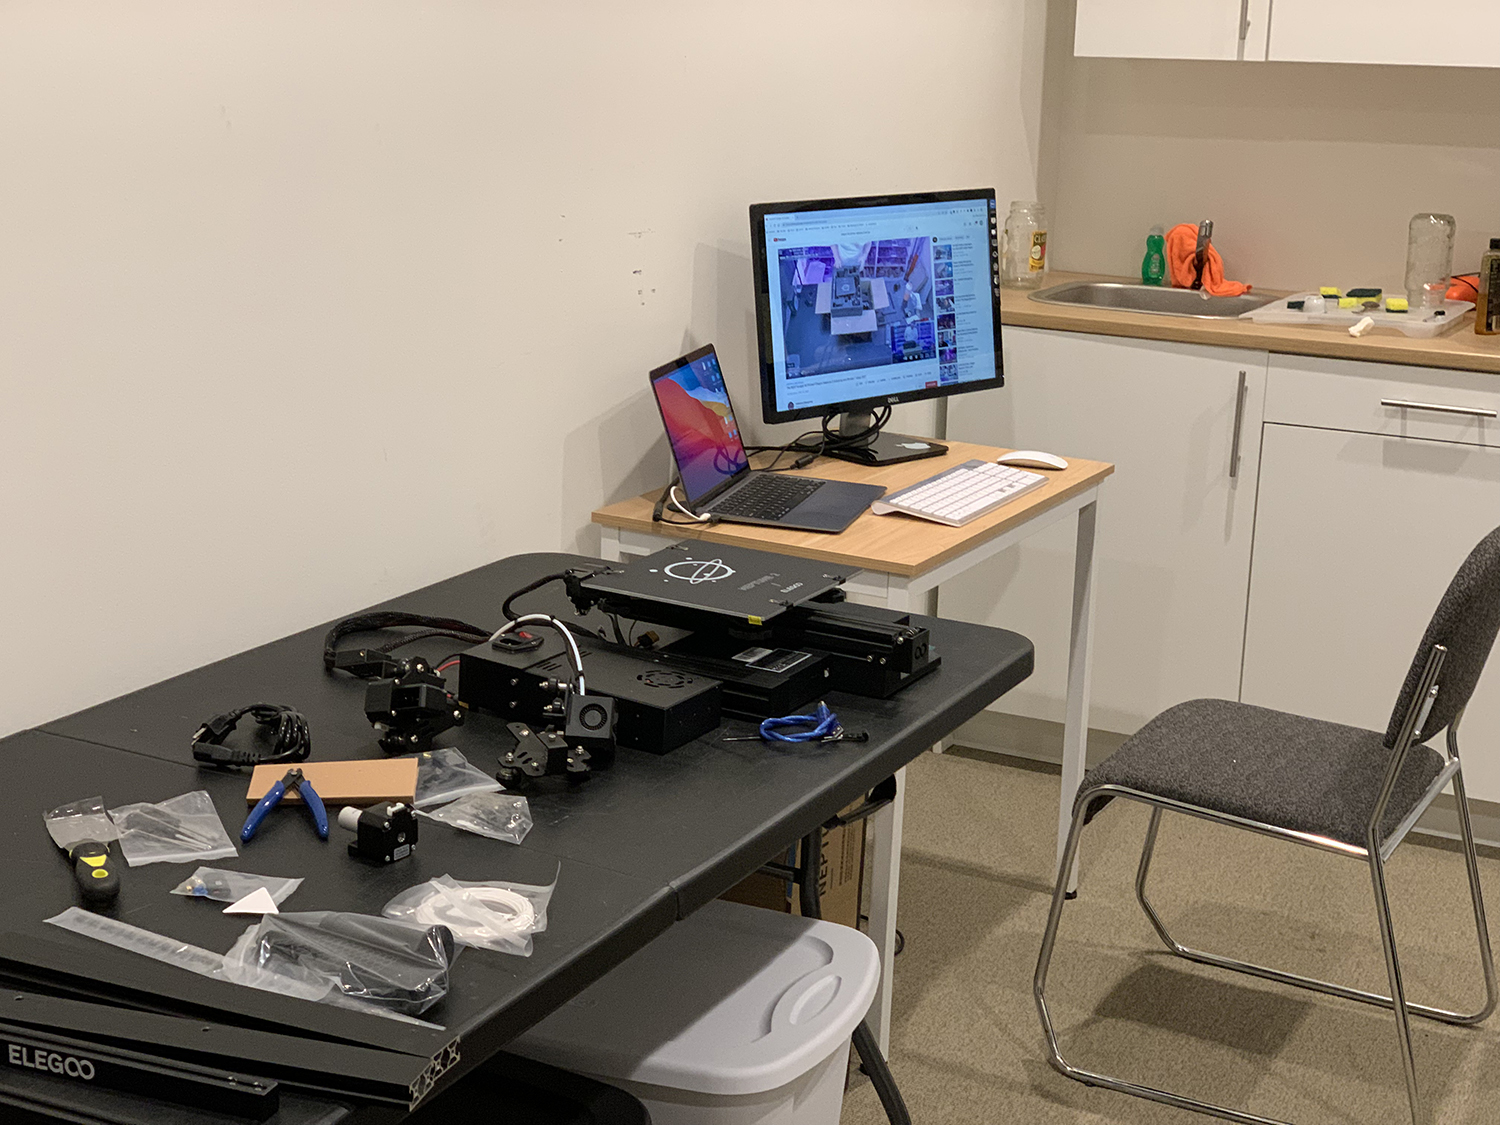
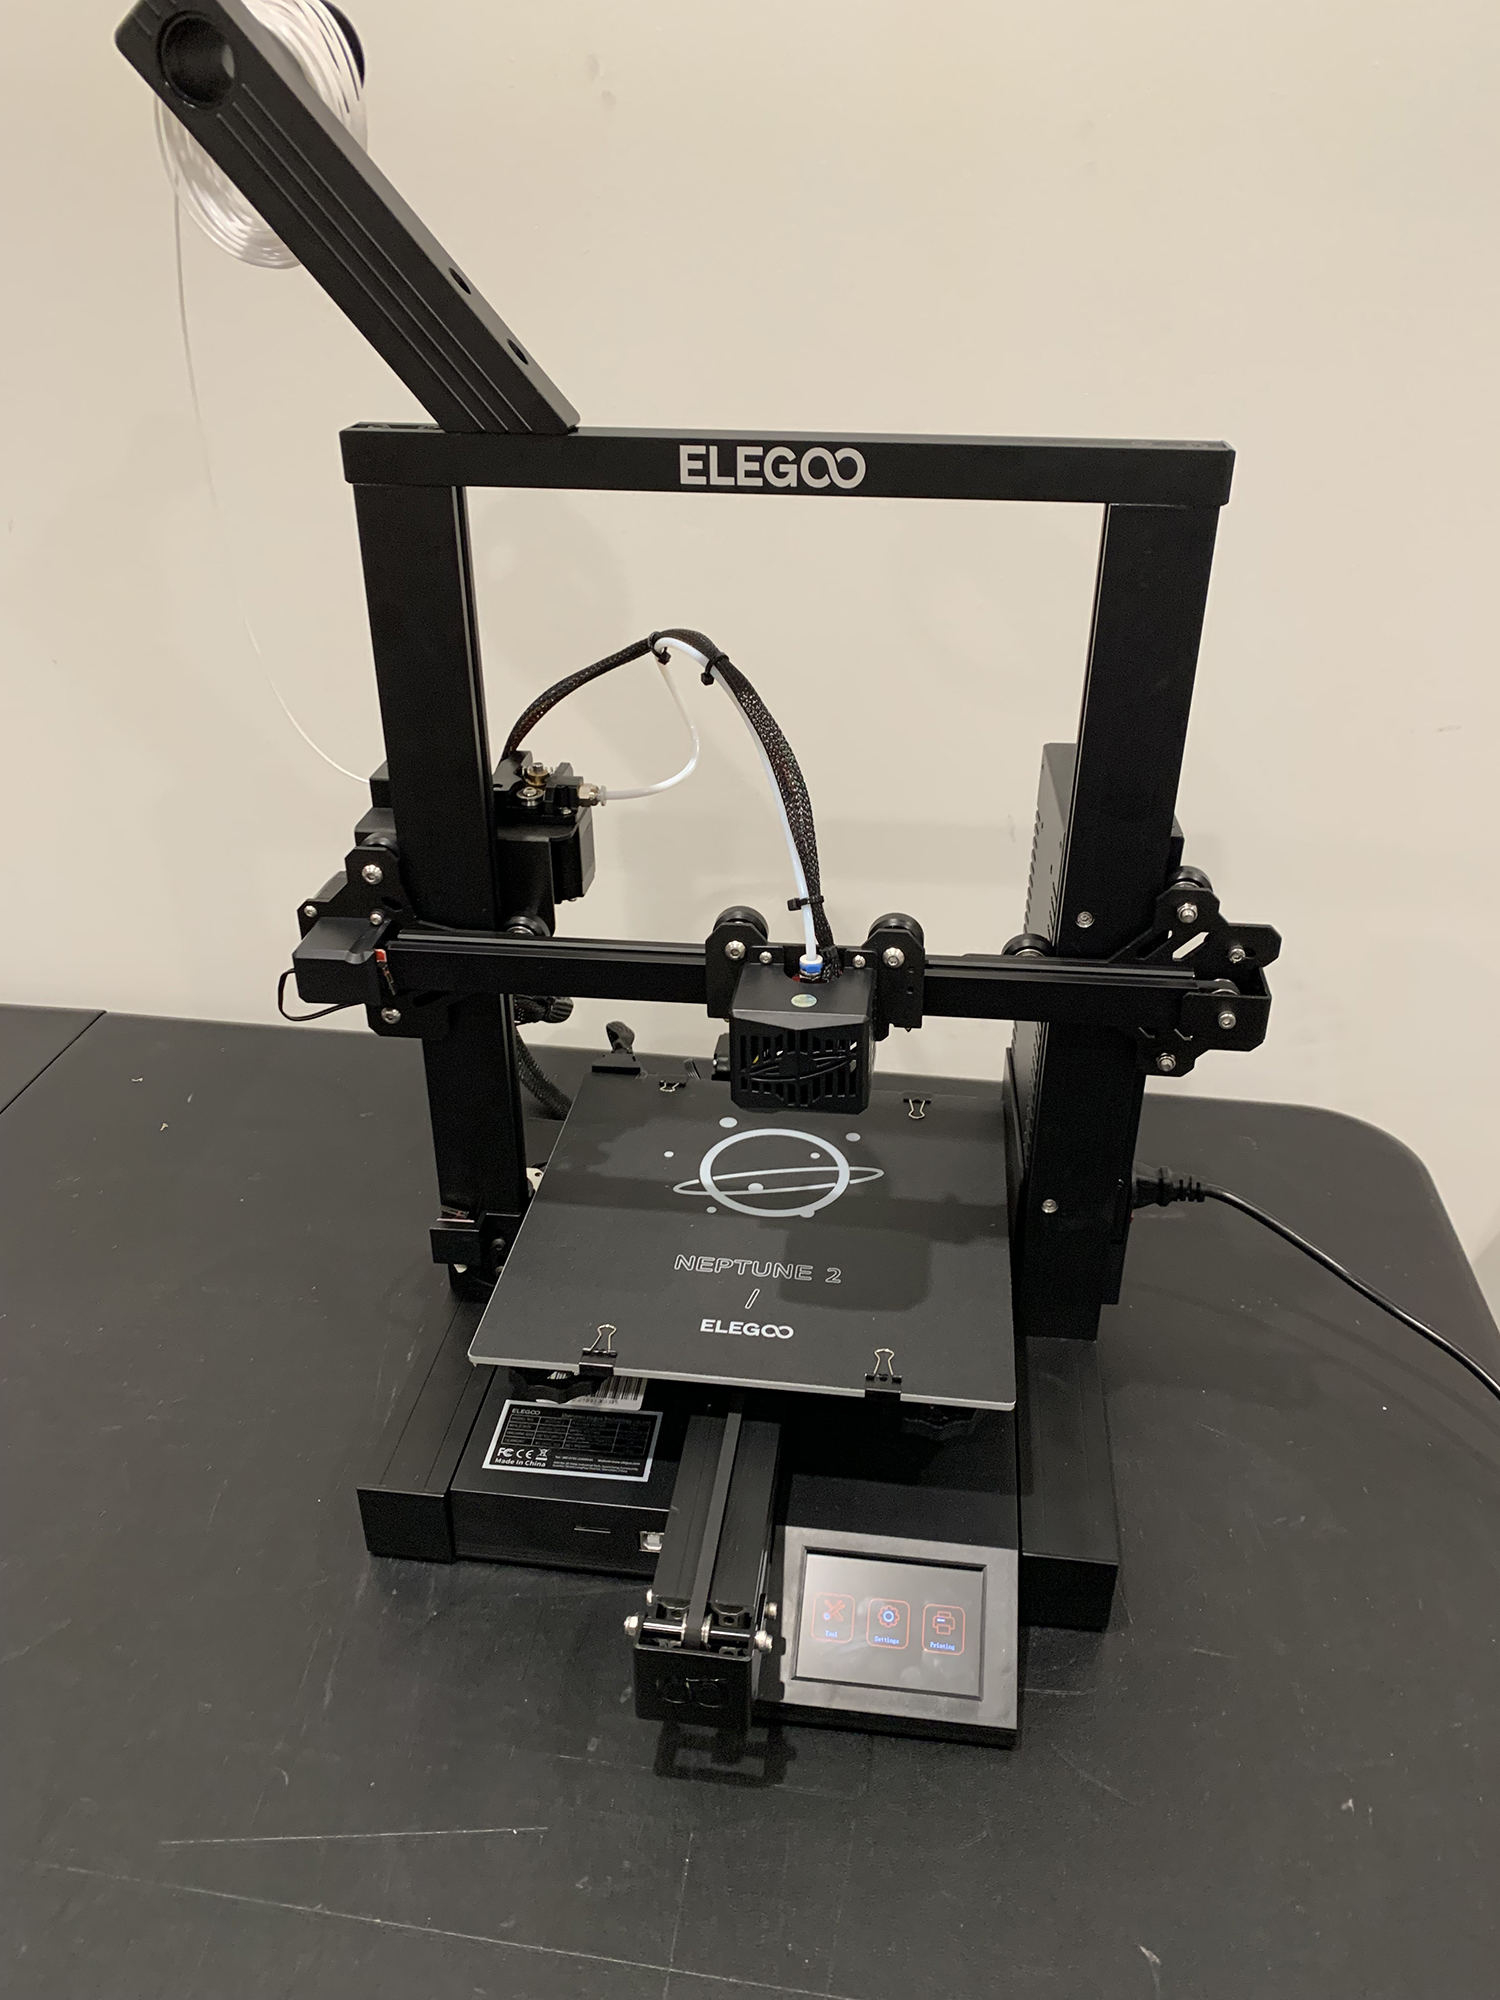
I first got into 3D printing a few years ago. At that time I used Sketchup to design railroad features that I wanted to add to my last layout. However instead of printing at home I sent the designs away to Shapeways who printed up the design and sent me back the result a couple of weeks later. Since then printers have dropped in price and are now able to produce very high quality work for a very reasonable initial outlay/cost. It seems to have become a huge part of the hobby in the last few years and the time seemed right to finally invest in one myself. I watched a few YouTube videos on how to choose a printer and which printer would best suit my needs and then settled on the Elegoo Neptune 2. It cost around $200 from Amazon and arrived disassembled a few days later.
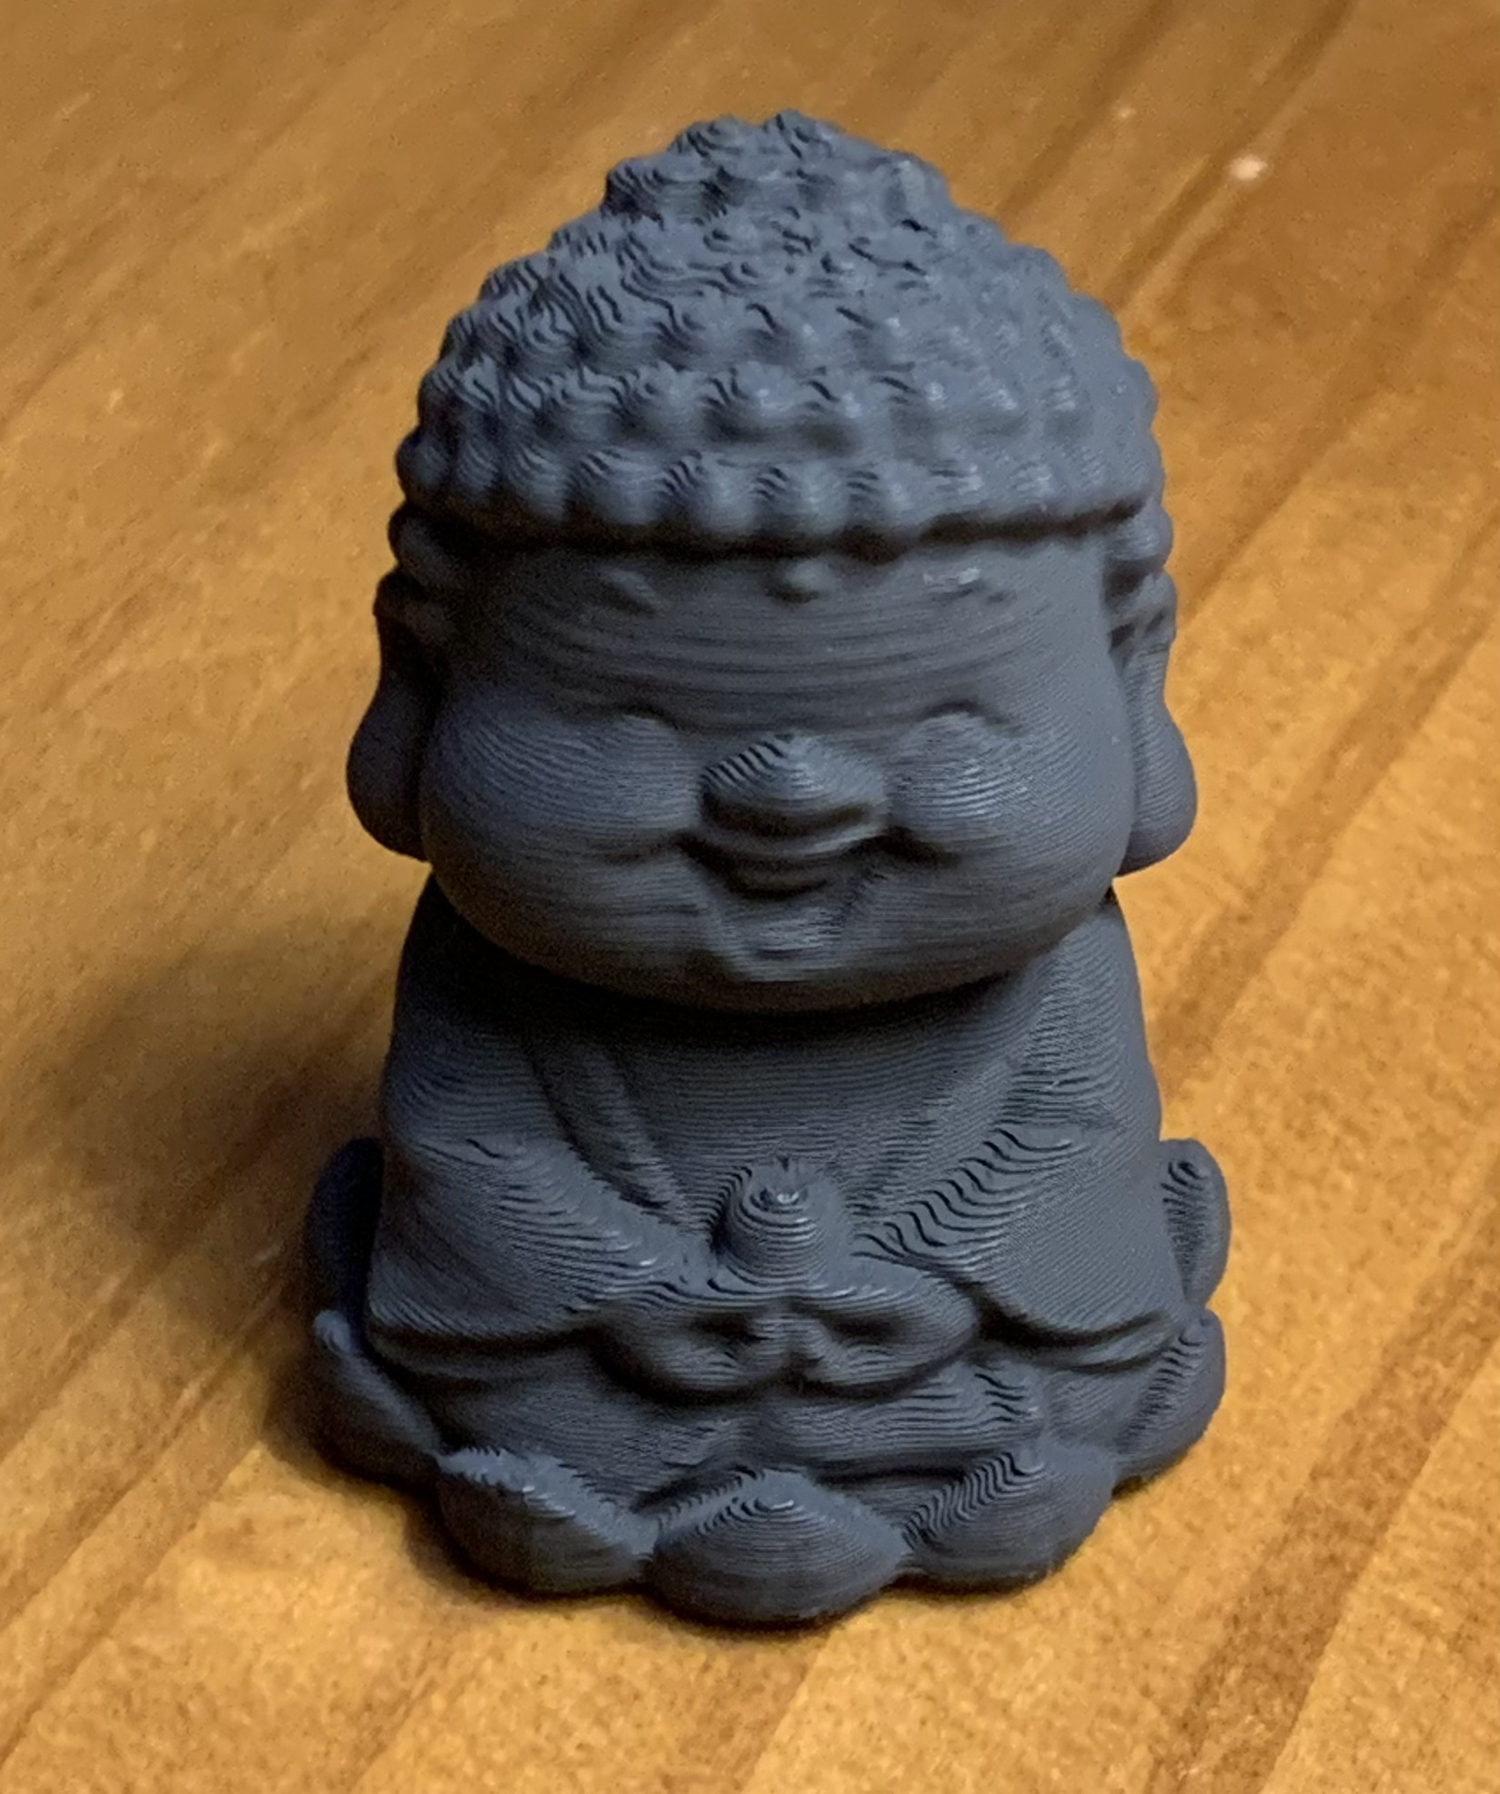
I had to assemble the printer before I could use it. I watched an assemble video, followed the instructions, and after a couple of hours I had a working 3D printer.There is a small learning curve involved in getting things working correctly – leveling the bed, understanding filaments and printer settings – but once done I was able to create my first print.A pretty good result I thought. As I get to know the process better I should be able to improve the quality of the print. I spray-painted this figure and gave it to my wife as a small gift.
I’ve been busy with the diorama so I have not had a chance to use the 3D printer for a few weeks but as I start adding details to the diorama I am hoping to start making them by printing them: details such as crossing bucks, telegraph poles, fences, benches etc. I have decided to use Fusion 360 as my design tool and still have to get up to speed with the software. Also, there are various websites online that allow you to download drawings and plans by other modelers – sometimes free and sometimes for a price – which is a huge timesaver if you need something quickly.
Diorama
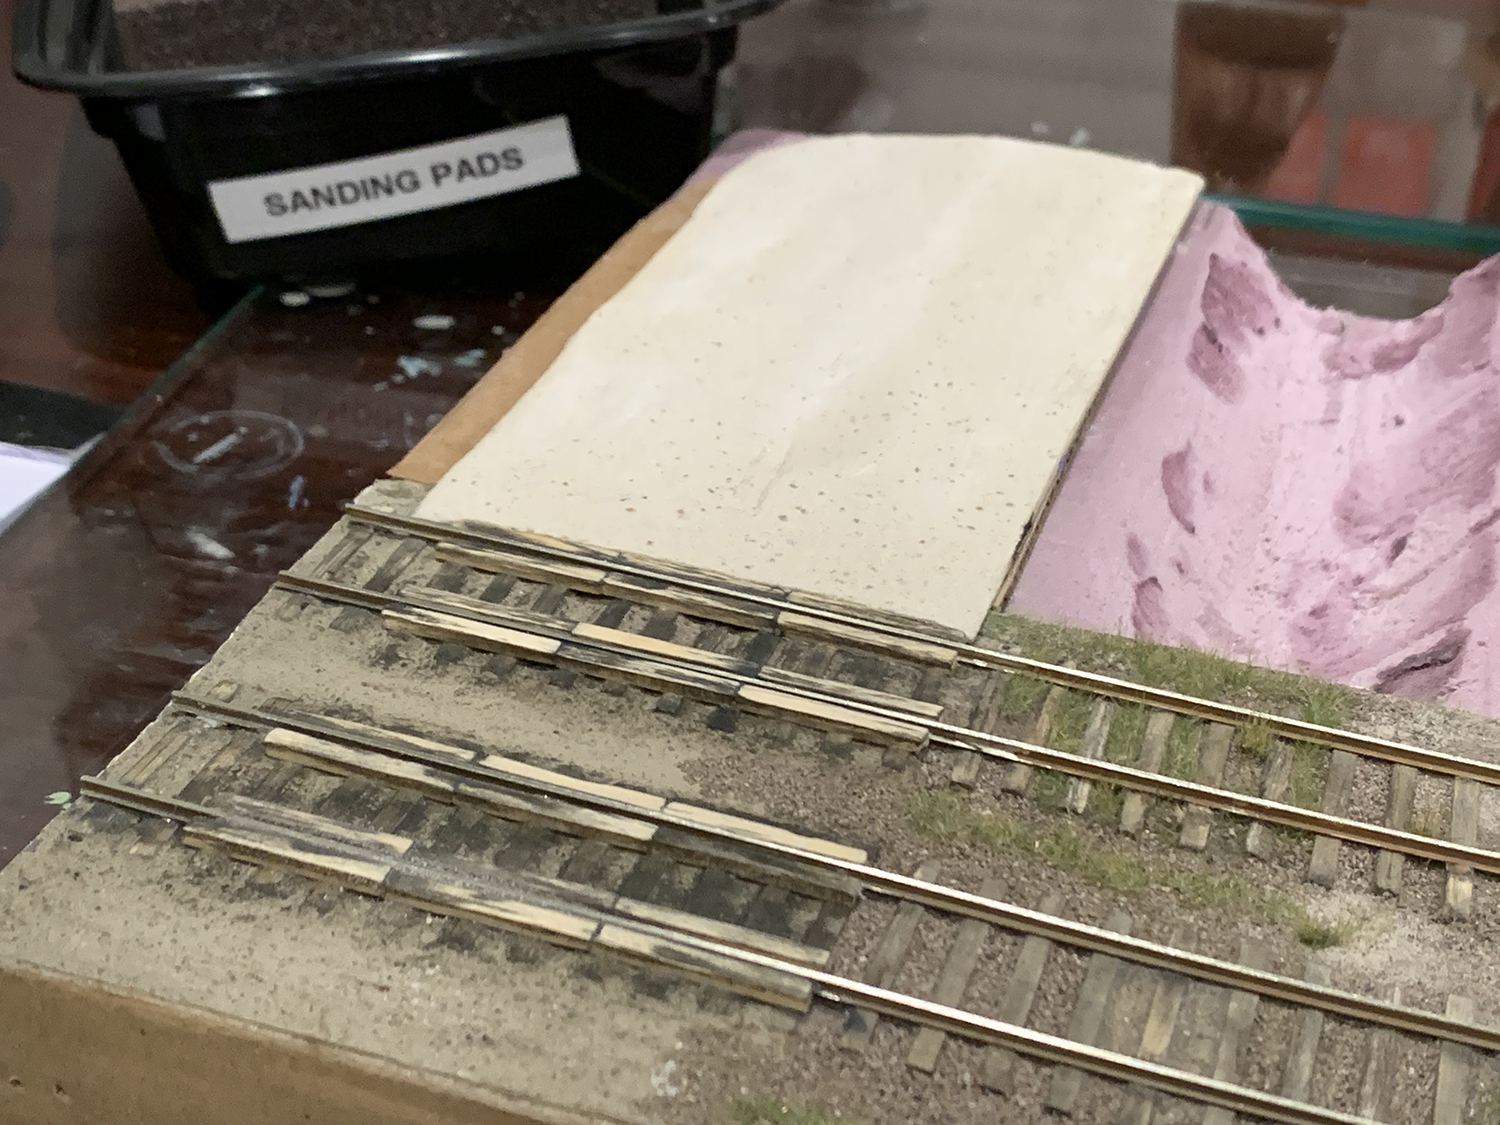
1. Grade Crossing
I used some ties to protect the flangeway gap. I sanded down the ties to match the rail height and lost some of the stain. I will recolor the ties at a later date.I used my test roadway that I had completed a while back to fill the gaps. I still need to finish the ends and smooth them down. The difference in width between the roadway and the crossing will be dealt with at some point. I’m doing a lot of rough modeling at the moment but will start fine tuning features and colors once all the main features such as driveway and platform are completed.I added some sandy mix to the edges of the crossing and then smoothed it down a little. It is looking a little rough at the moment but will look much better when I go over the area again and improve the ballast and general coloring.
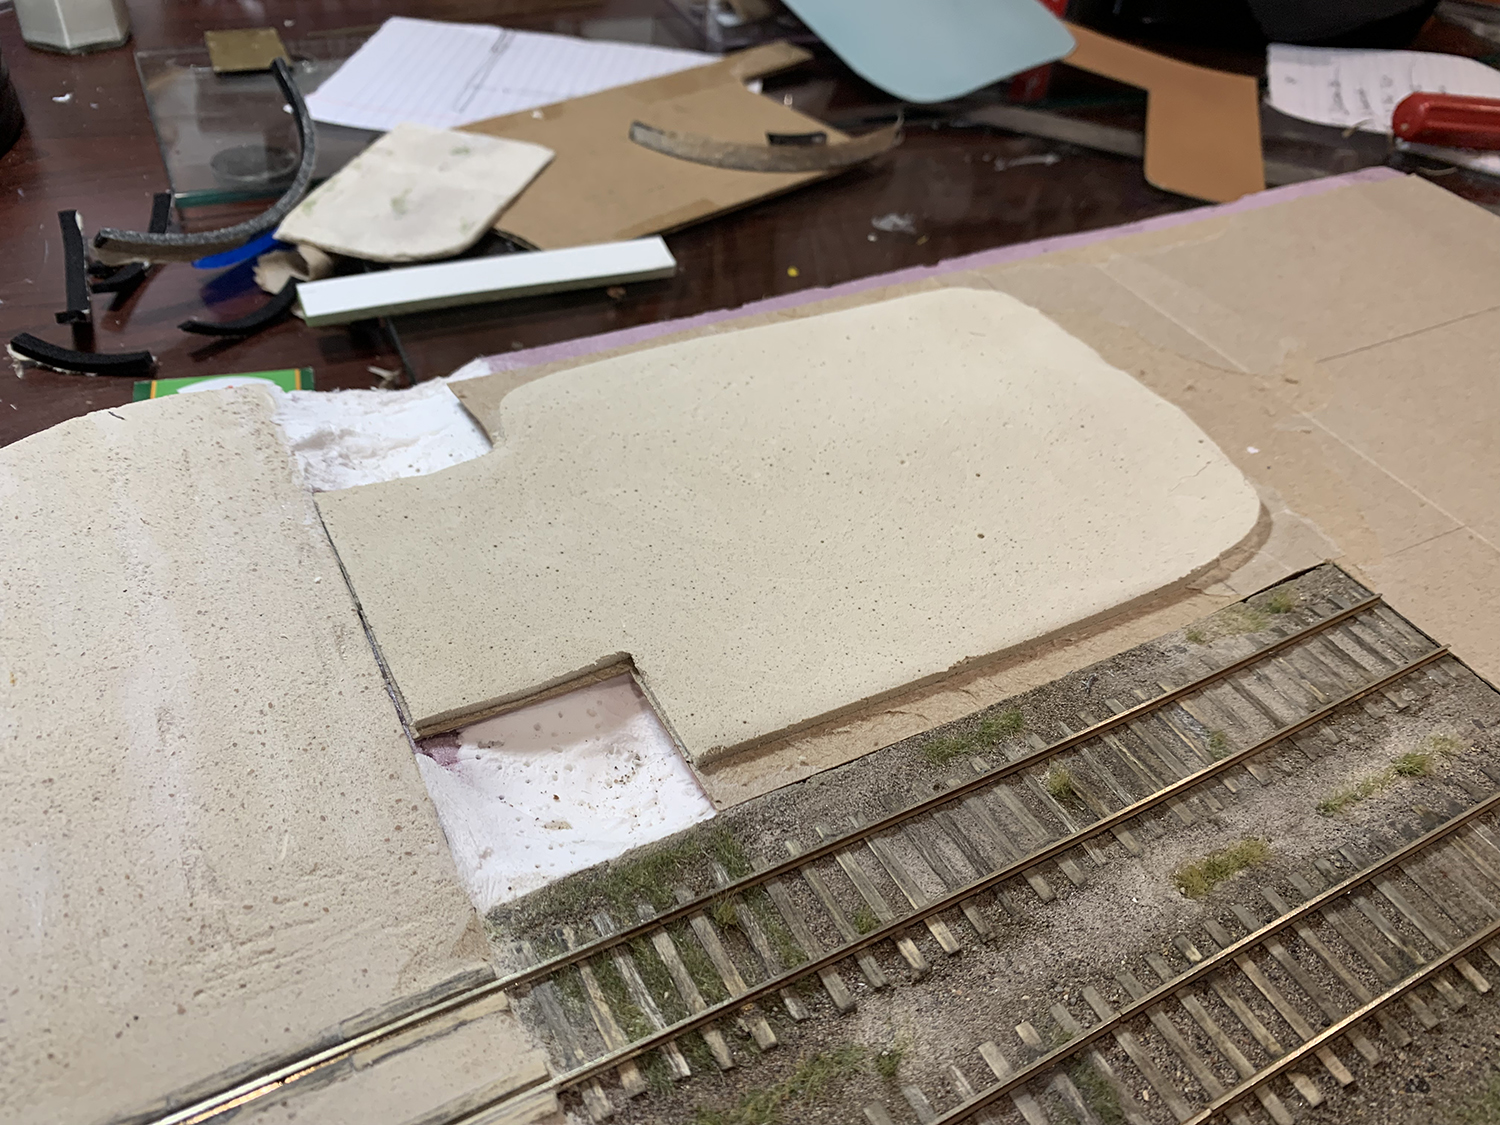
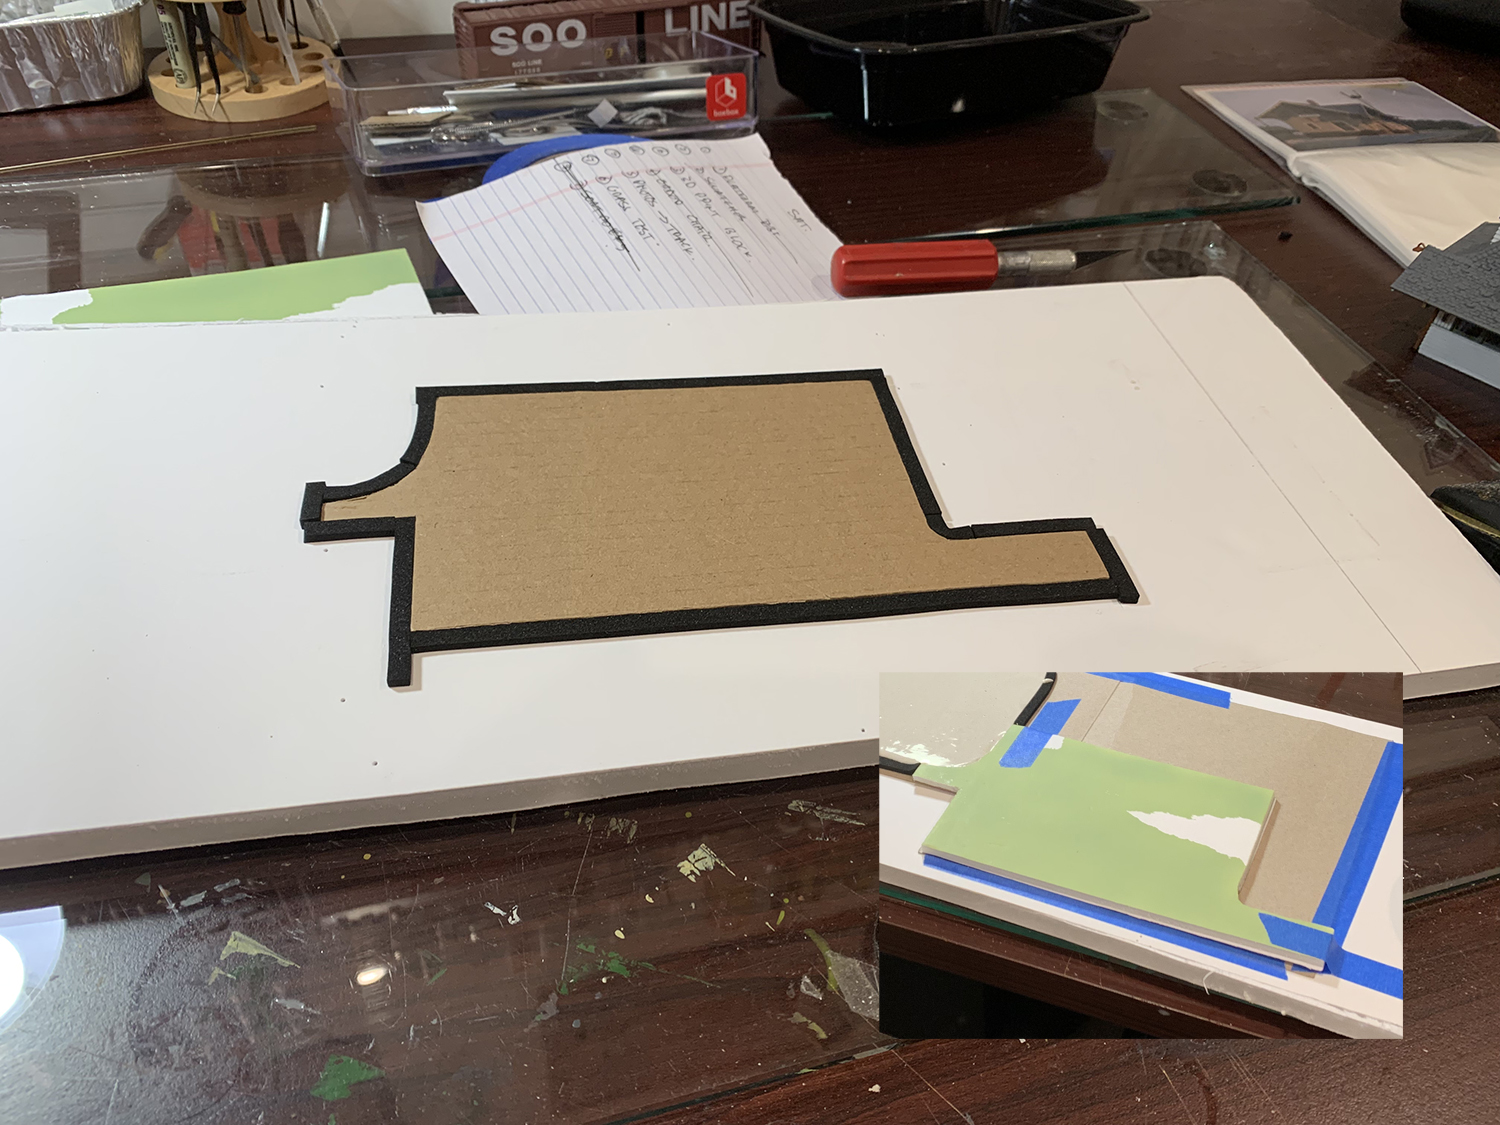
2. Drive and parking area
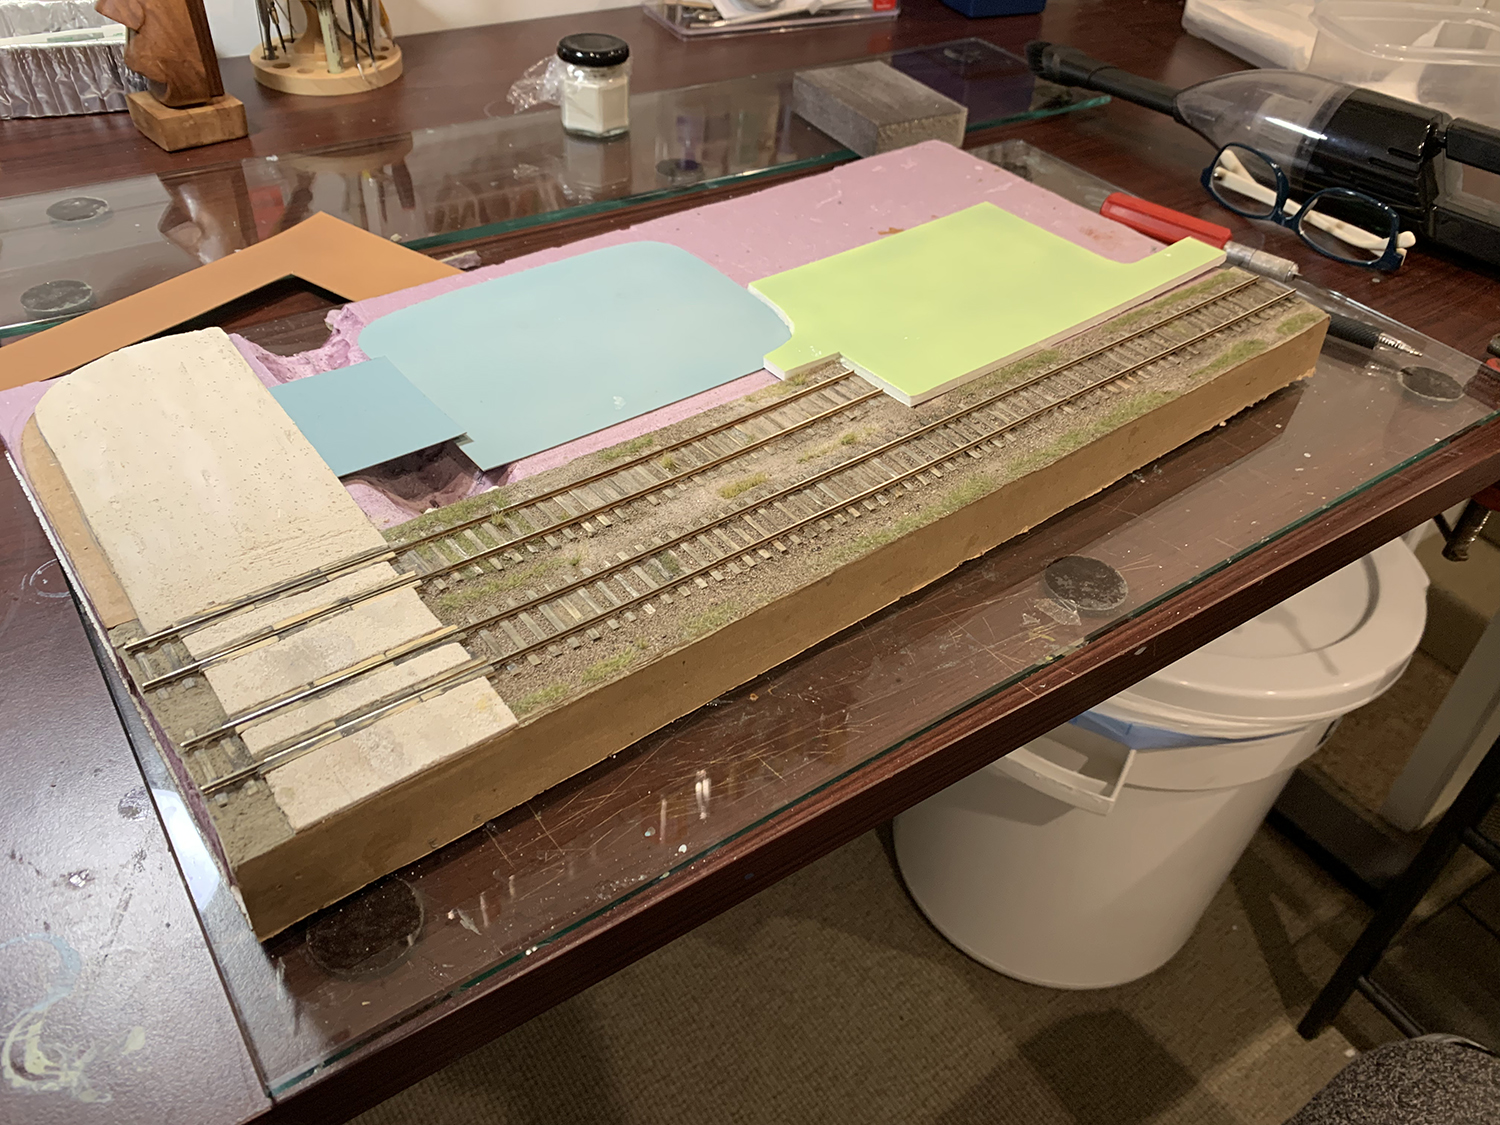
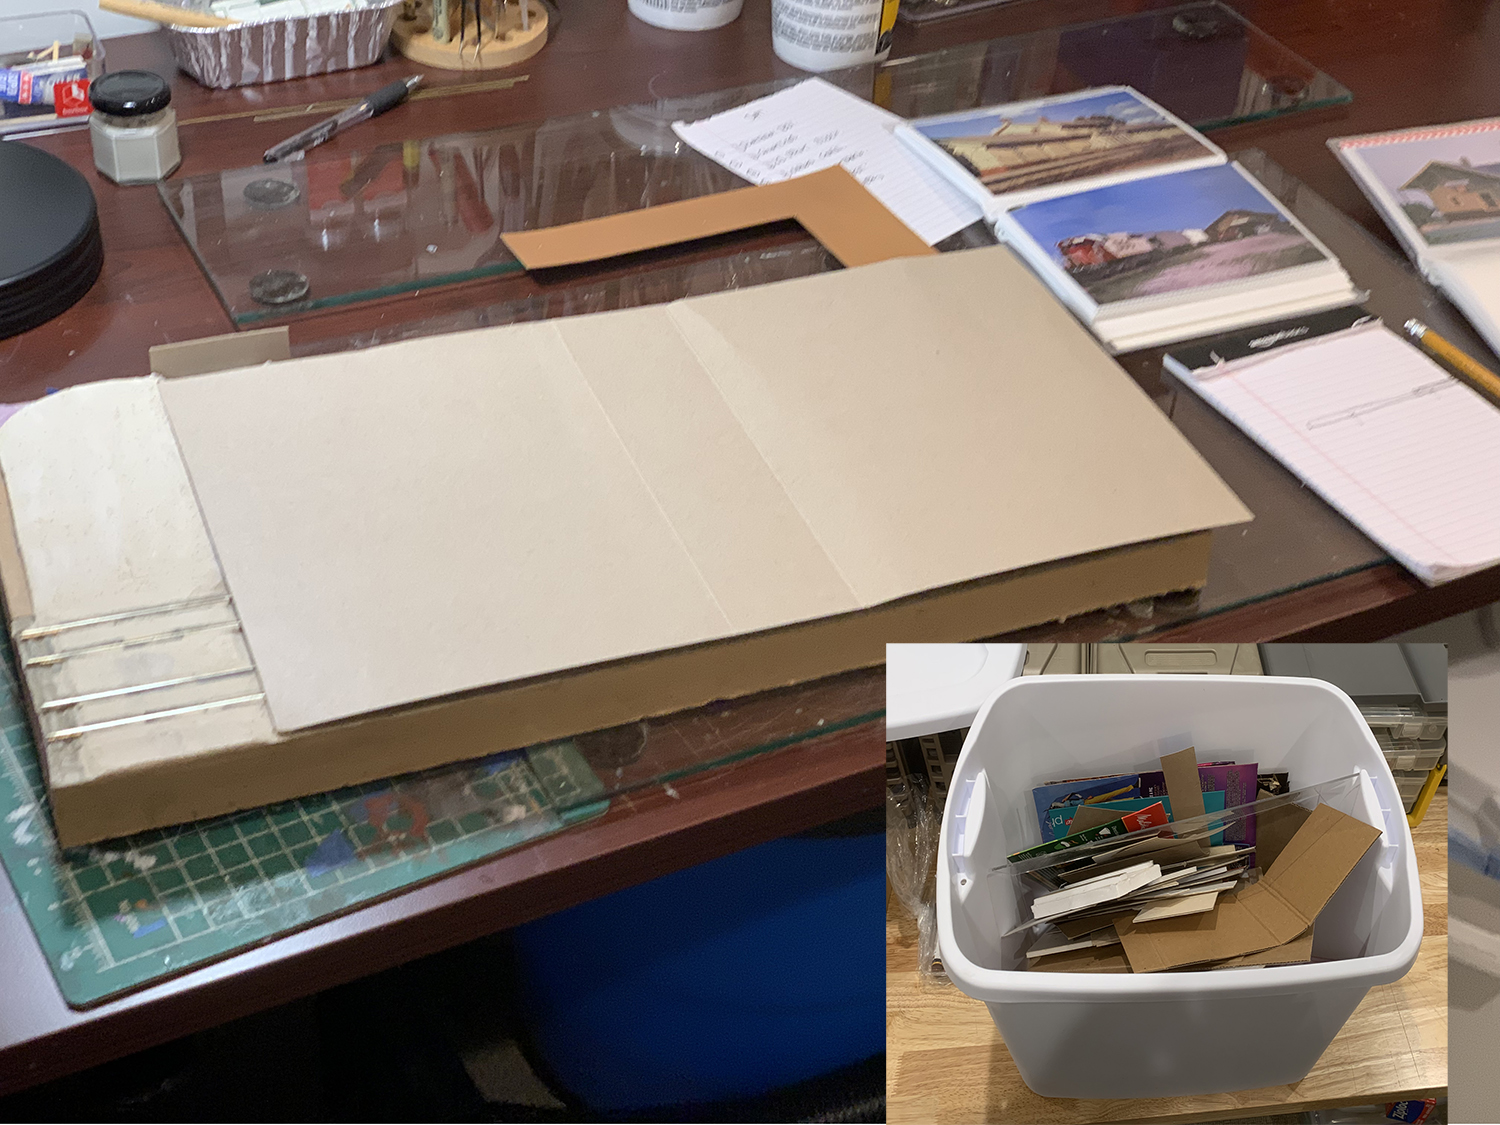
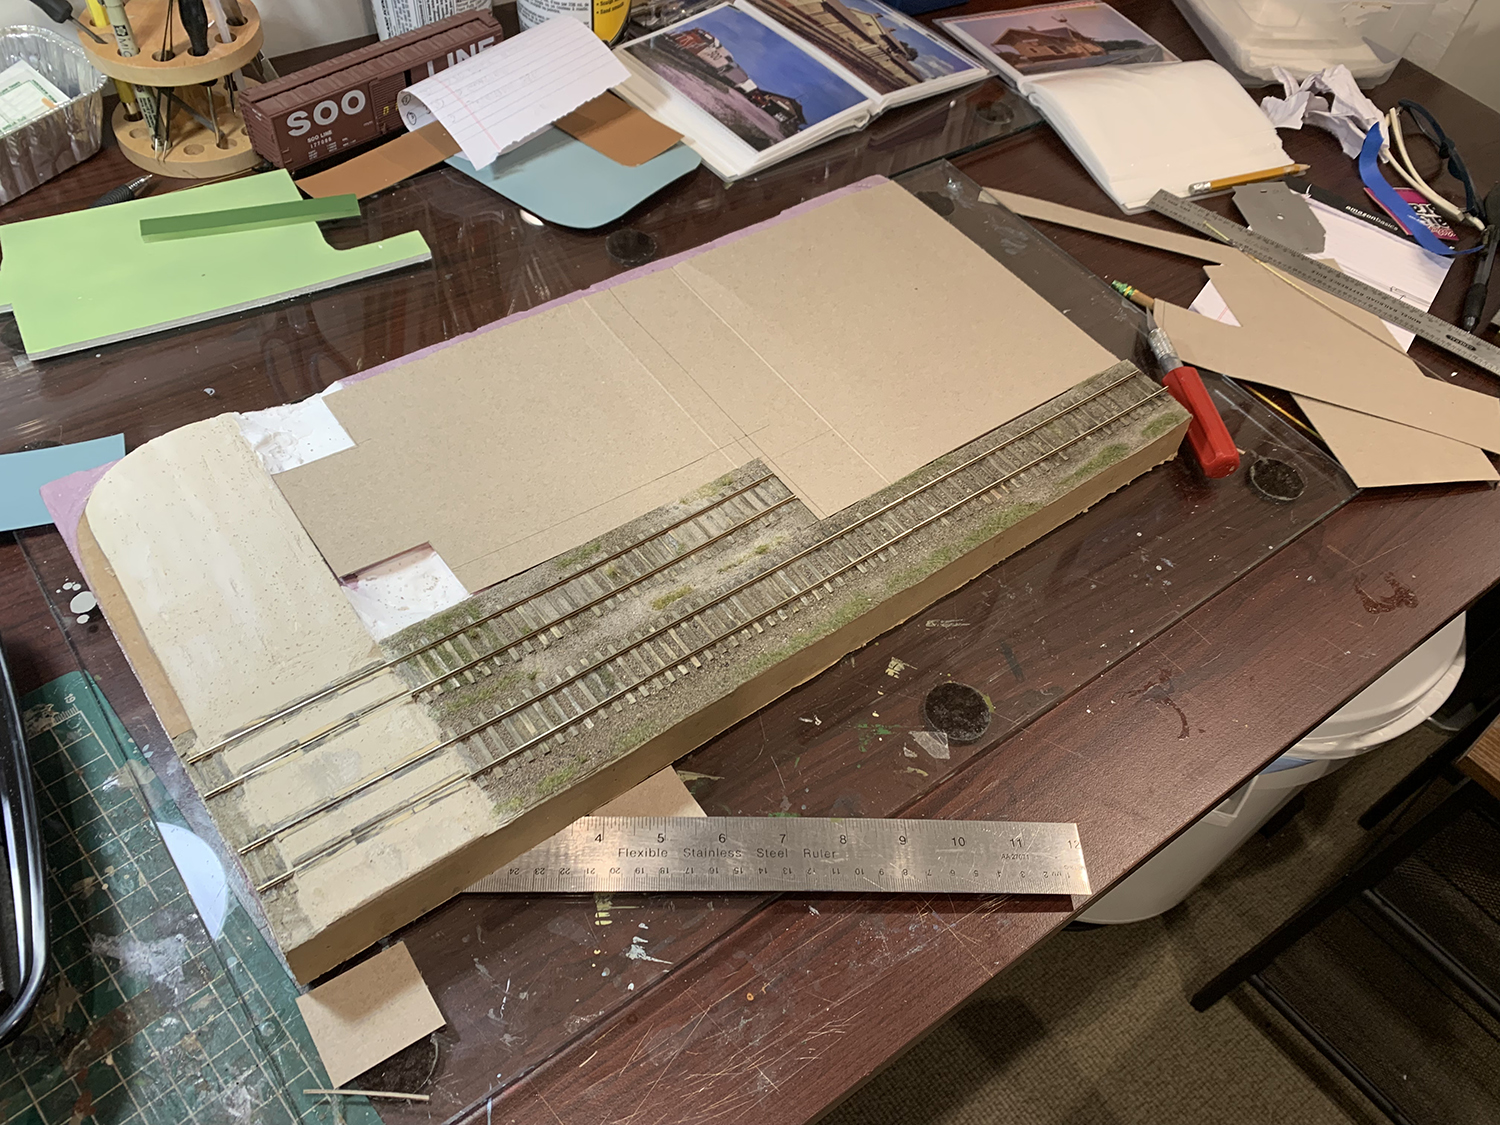
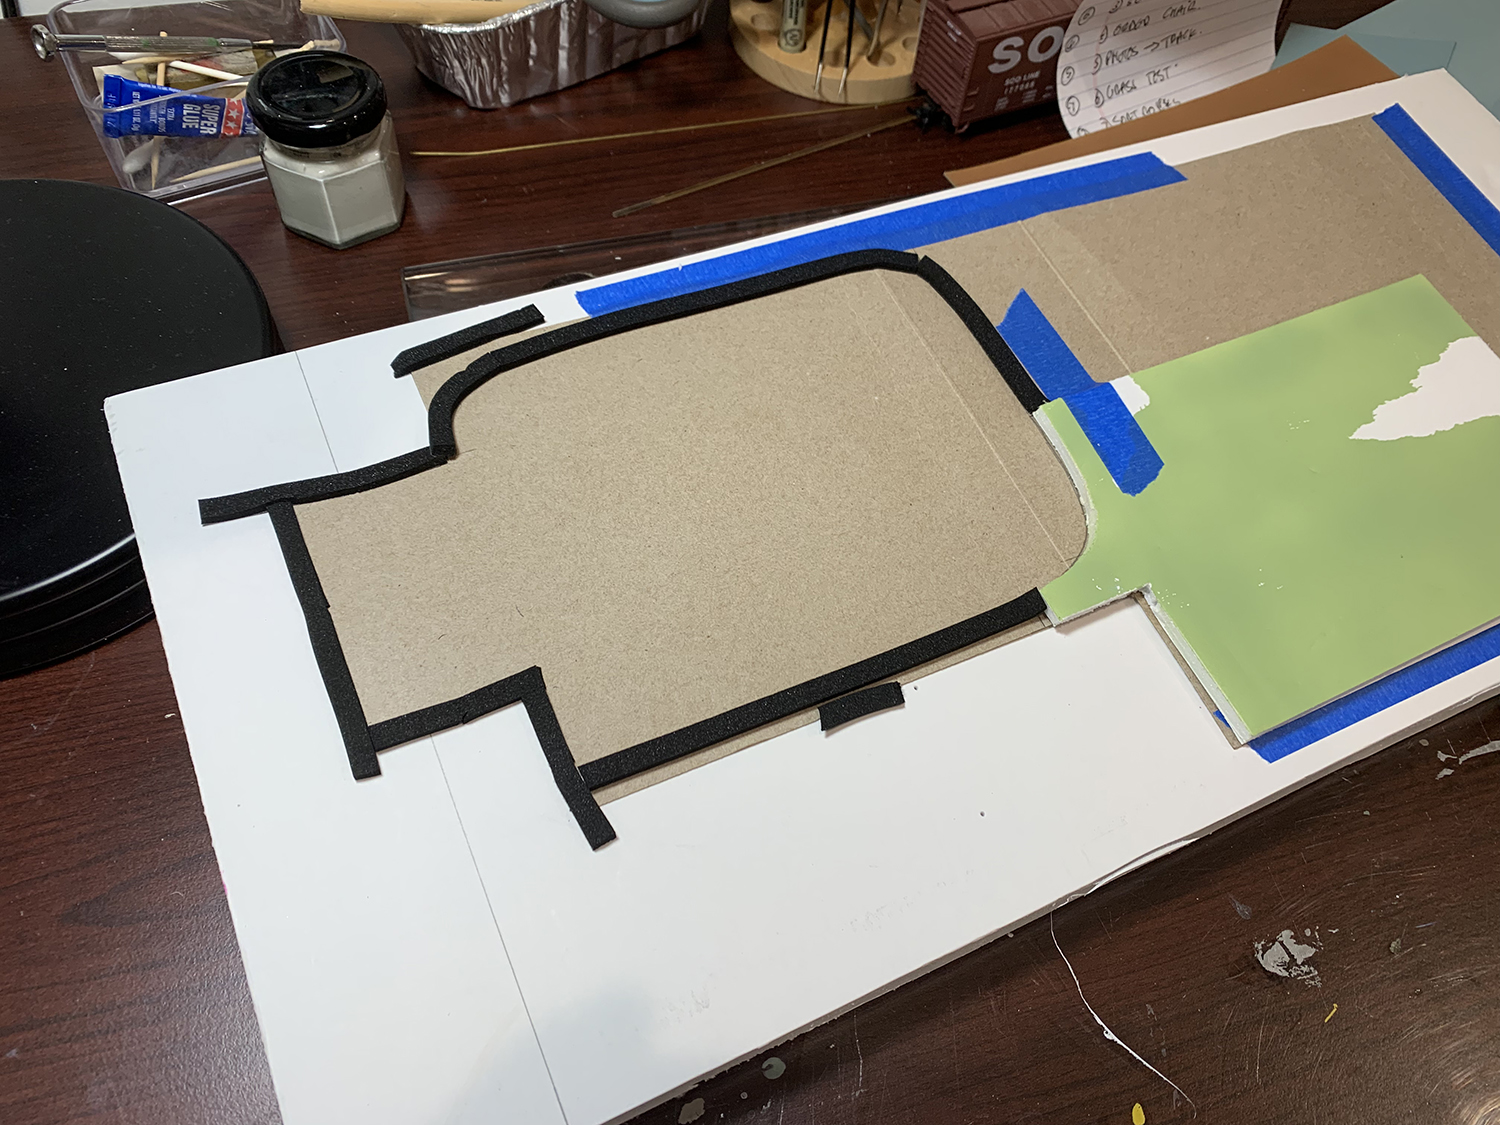
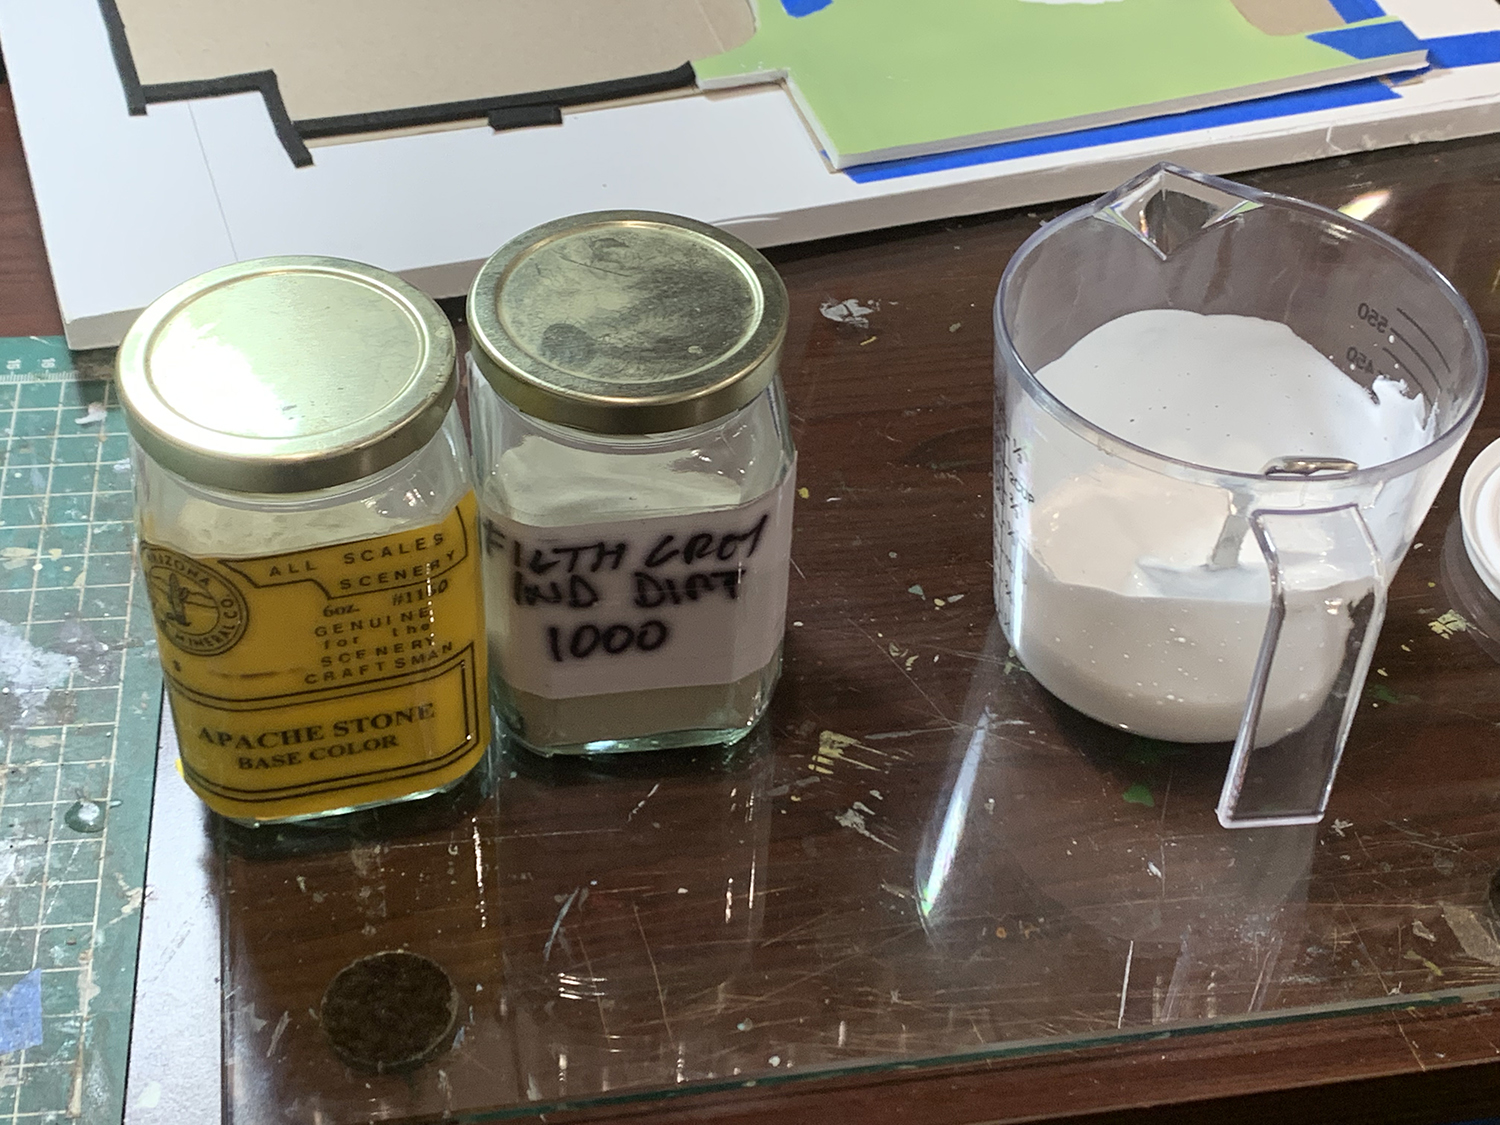
I cut up a large piece of card taken from my cardboard box. I keep as much cardboard as possible – cereal boxes, Amazon boxes etc – and have created an invaluable supply of card materials. I used this card as a base for all the remaining elements. The goal here is to control the relative heights of all the elements in relation to the track. Track levels in relation to the surrounding ground play a huge role in the atmosphere of a railroad – especially when poorly maintained. I did not want the trackbed to be above the height of the surrounding ground – I wanted the reverse – the track to be level or sunken beneath the surrounding ground. This card base is meant to give me control over the height of the elements.I cut the card to fit snugly around the trackbed and meet the roadway.I created a small mold for the parking area using soundproofing tape. The tape allowed me to easily create curves where needed.I used my formula of Woodland Scenic Foam Putty, water, and various light colored gravel to create the sandy mix. I wanted the parking area to be the same color as the road so I used the same formula as the roadway.
I poured the mix into the mold. I will be able to easily sand down the surface to get an even height once the mix has dried.
Two days later the mix had dried. I pulled up the surrounding tape and had a nicely formed parking area. Still plenty to do but a good starting point.A view of the overall area after I had stuck down the card base. I’ll fill any outstanding gaps etc with some of the original mix that I have stored.
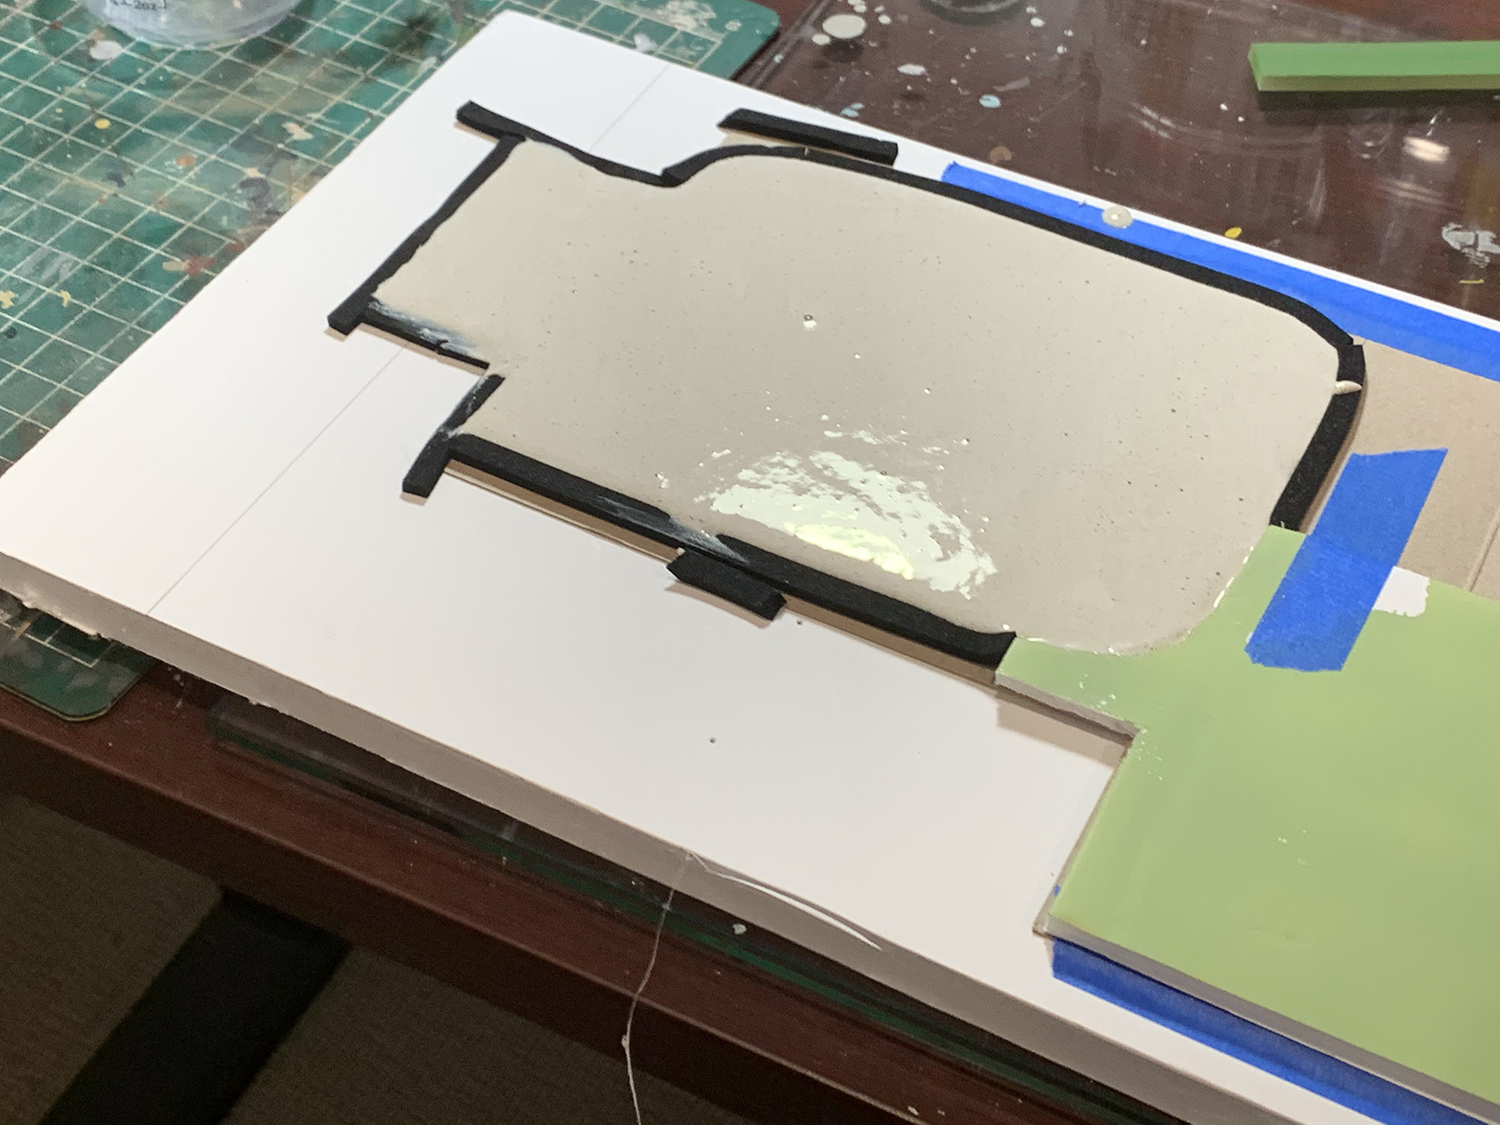
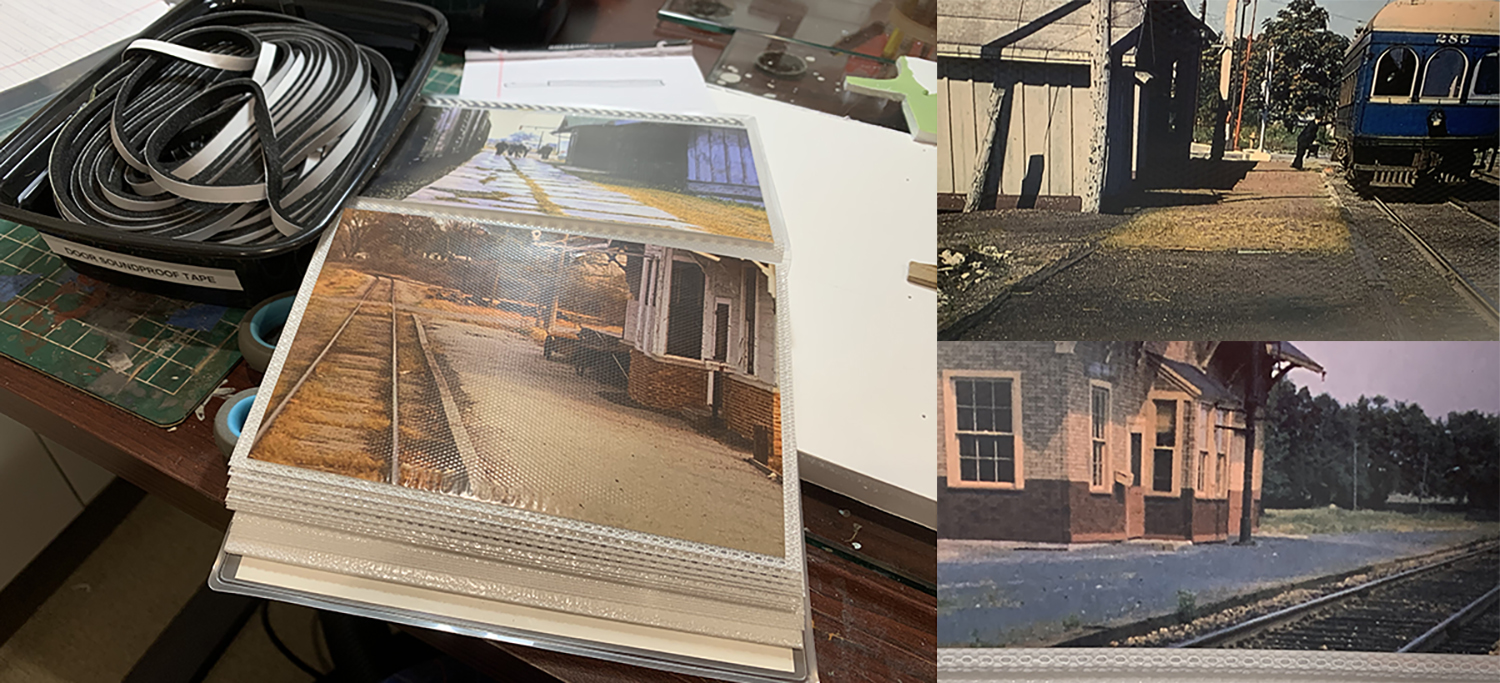
3. Platform
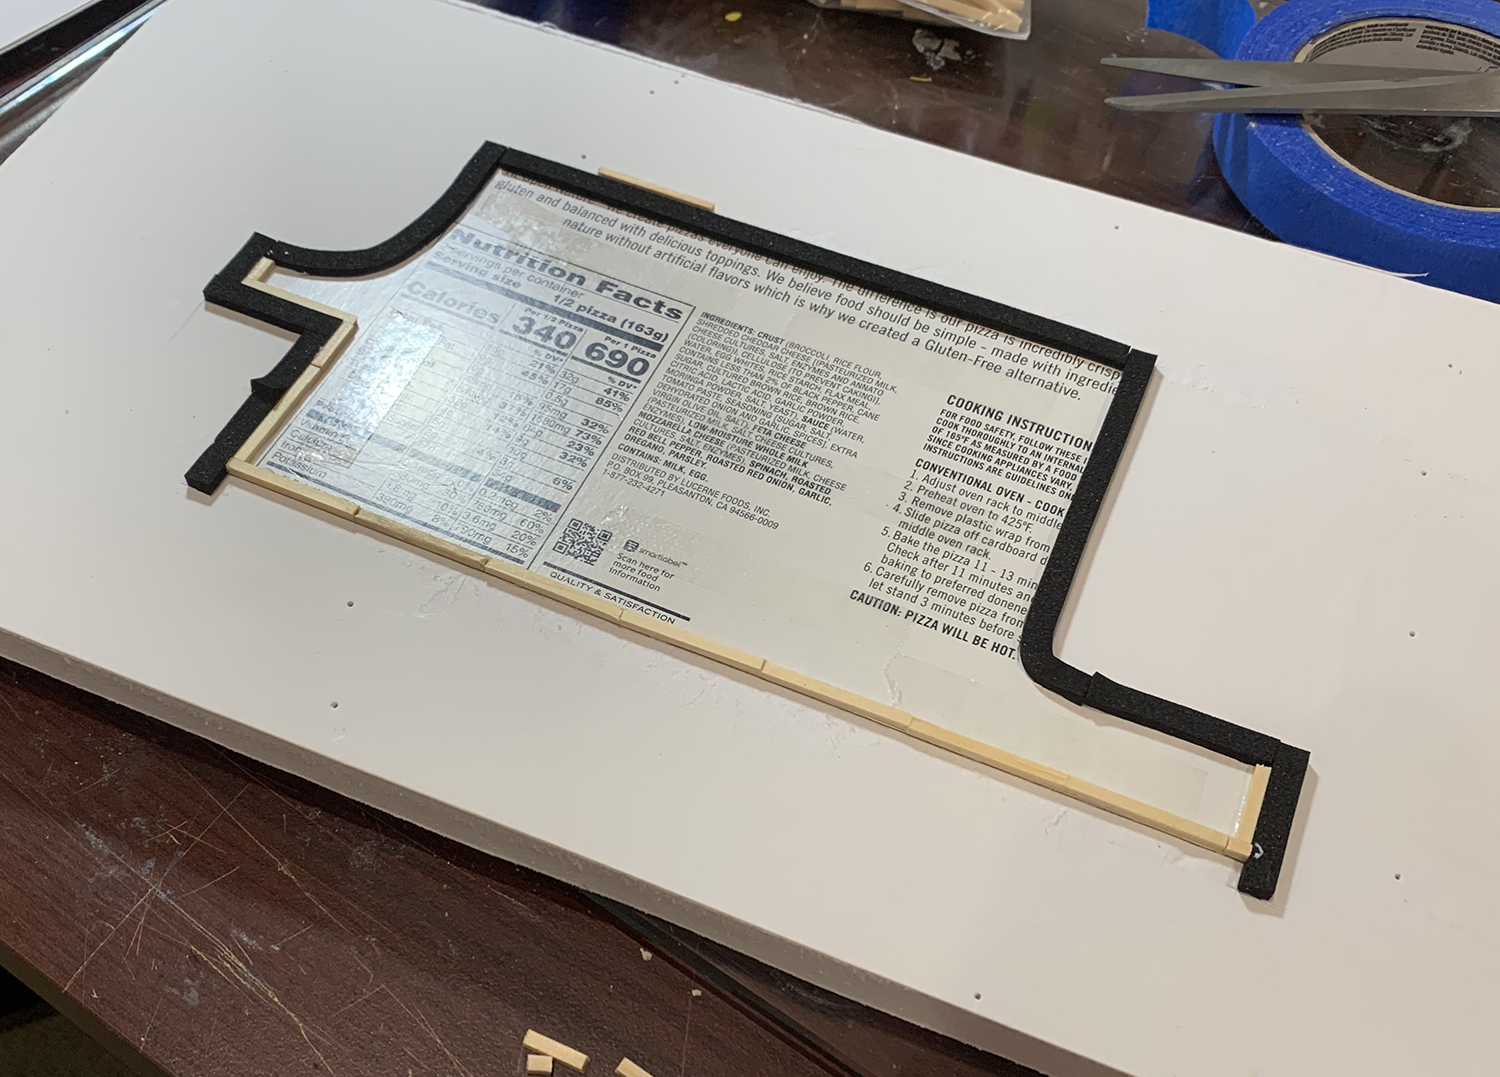
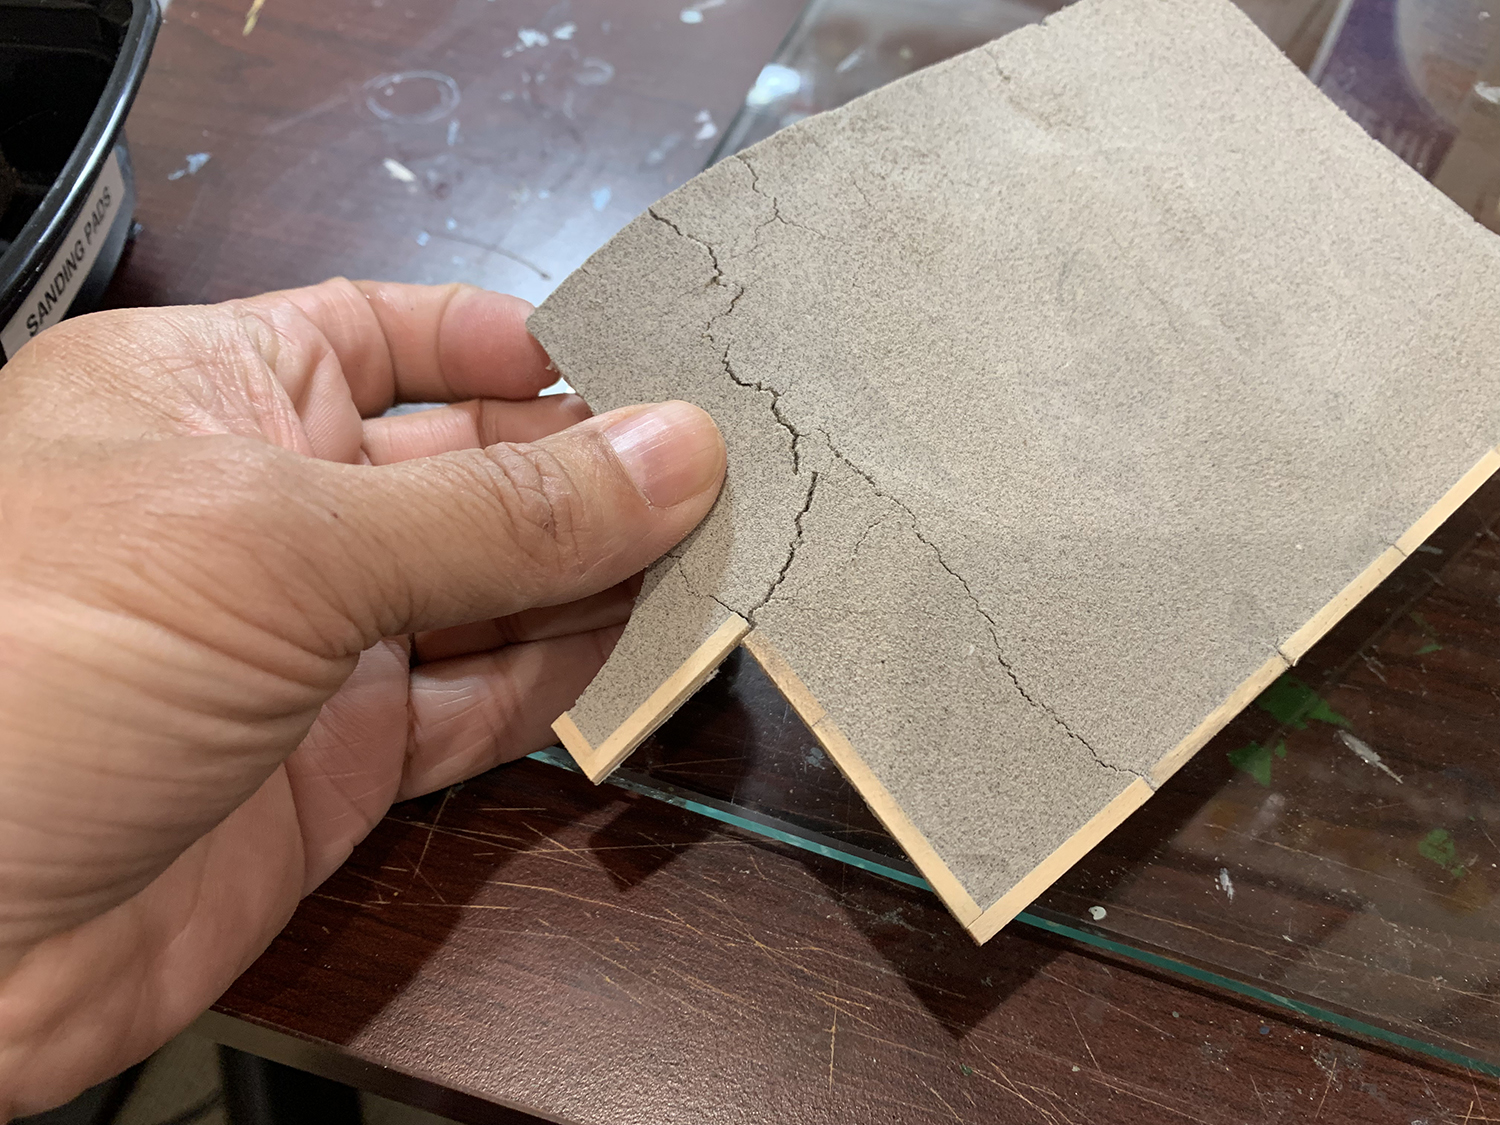
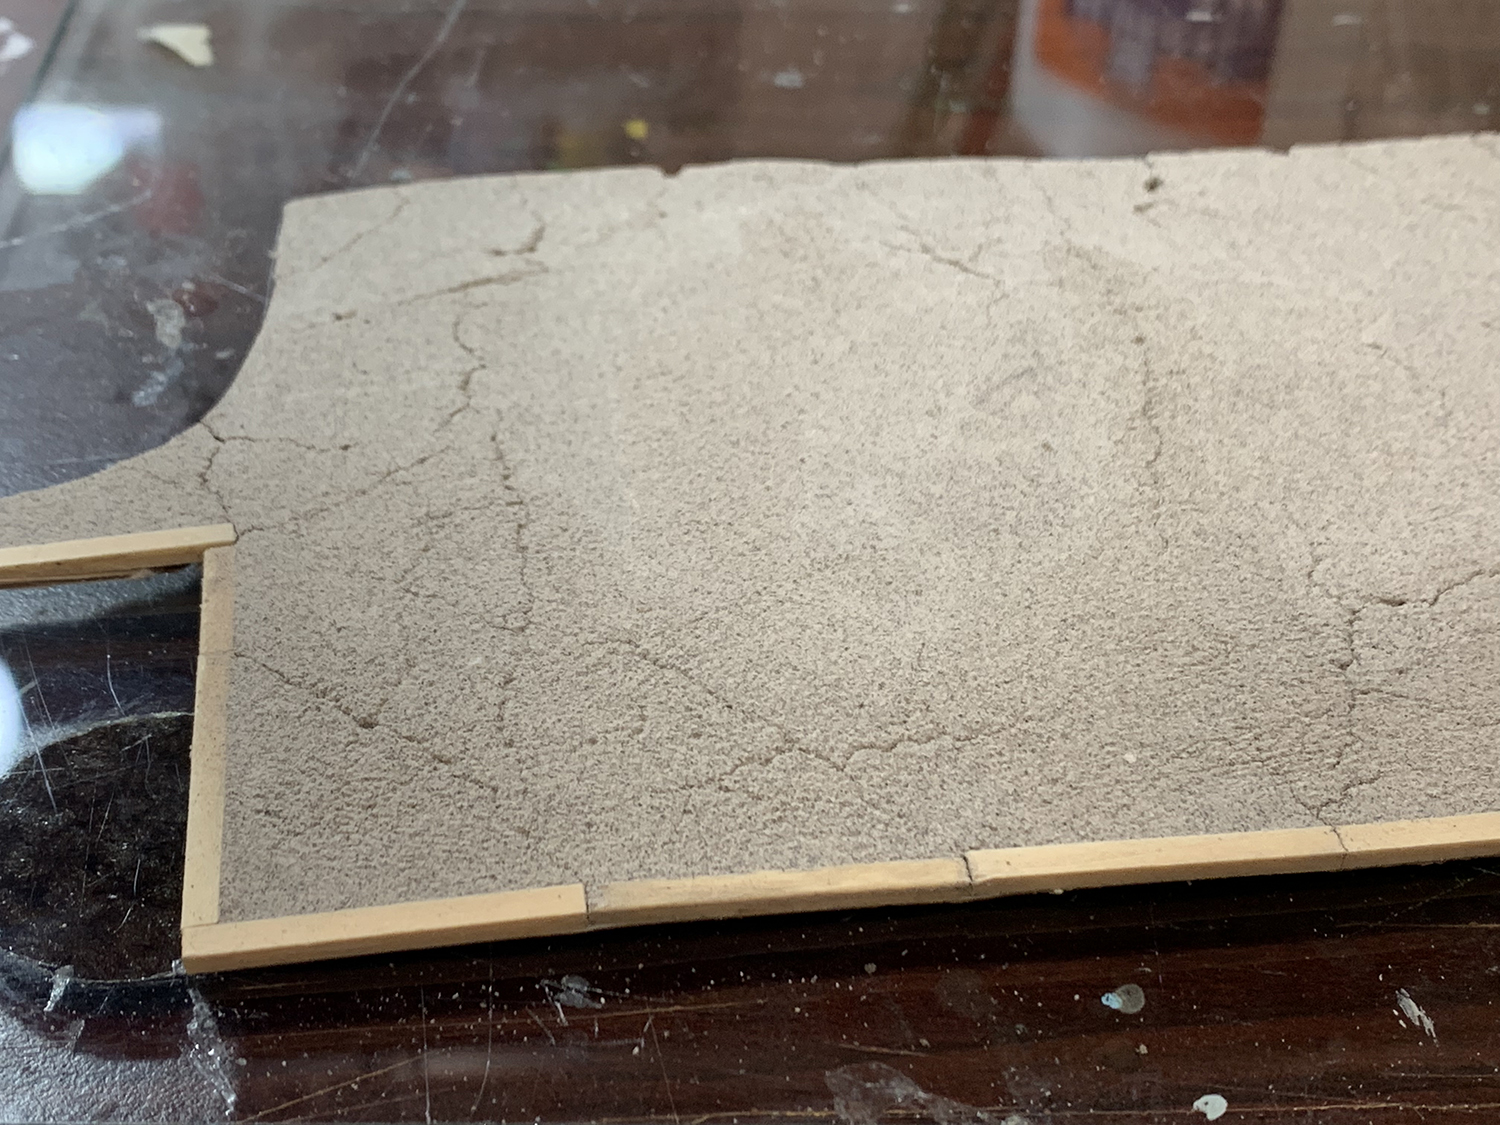
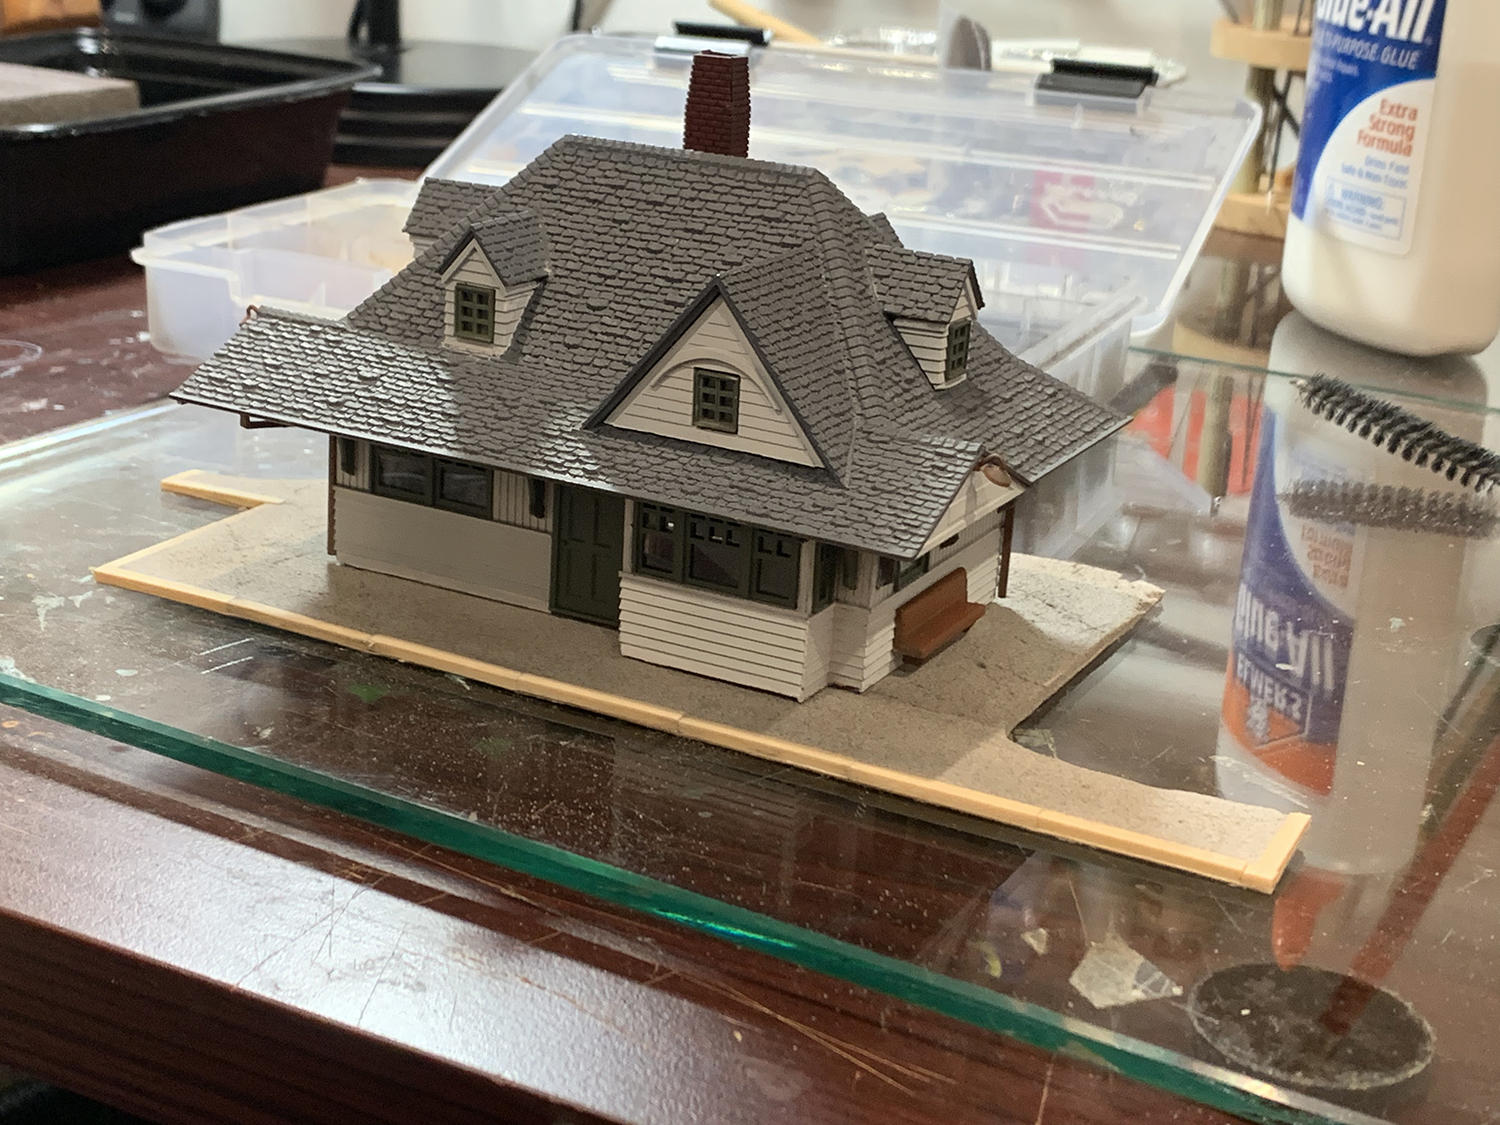
Before starting on the platform I did a quick study of the prototype. I decided that I wanted an asphalt surface with railroad tie edges similar to these photos. This meant that could finally test out my asphalt technique developed last year.The platform is made of two layers: a base to bring the platform up to the level of the parking area and then the platform itself that sits on the base. This ensures that the platform surface and rail tops are at the same height. I used the original planning platform card to create the base and then built a mold around the edges using soundproofing tape.I created a second thin base from thin card and dropped it into the mold. I removed the tape where the ties act as a border. This is not a necessary step but things worked out fine.And into the mold I poured the asphalt mix made from water, Woodland Scenics Foam Putty, and asphalt powder from Arizona Rocks and Minerals.After a couple of days it had dried. I pulled up the platform carefully from the mold and sanded it down.One of the reasons I used the foam putty method was that I wanted to create realistic cracks in the asphalt. The putty that’s sits on a thin card base, when dry, can be bent to create natural cracks. If you run a knife or in this case, pipe cleaners over the cracks and then return to a flat shape the cracks can be made visible. You can then weather the surface further by wiping chalk or dust across it to highlight the slight gap that has been created.This is the result after adding some cracks. All weathering is generally done in layers over time (much like the prototype) so I will continue working on this in finer and finer detail. These are just broad strokes to begin with.The next step will be to glue down the platform but I am happy with progress so far.