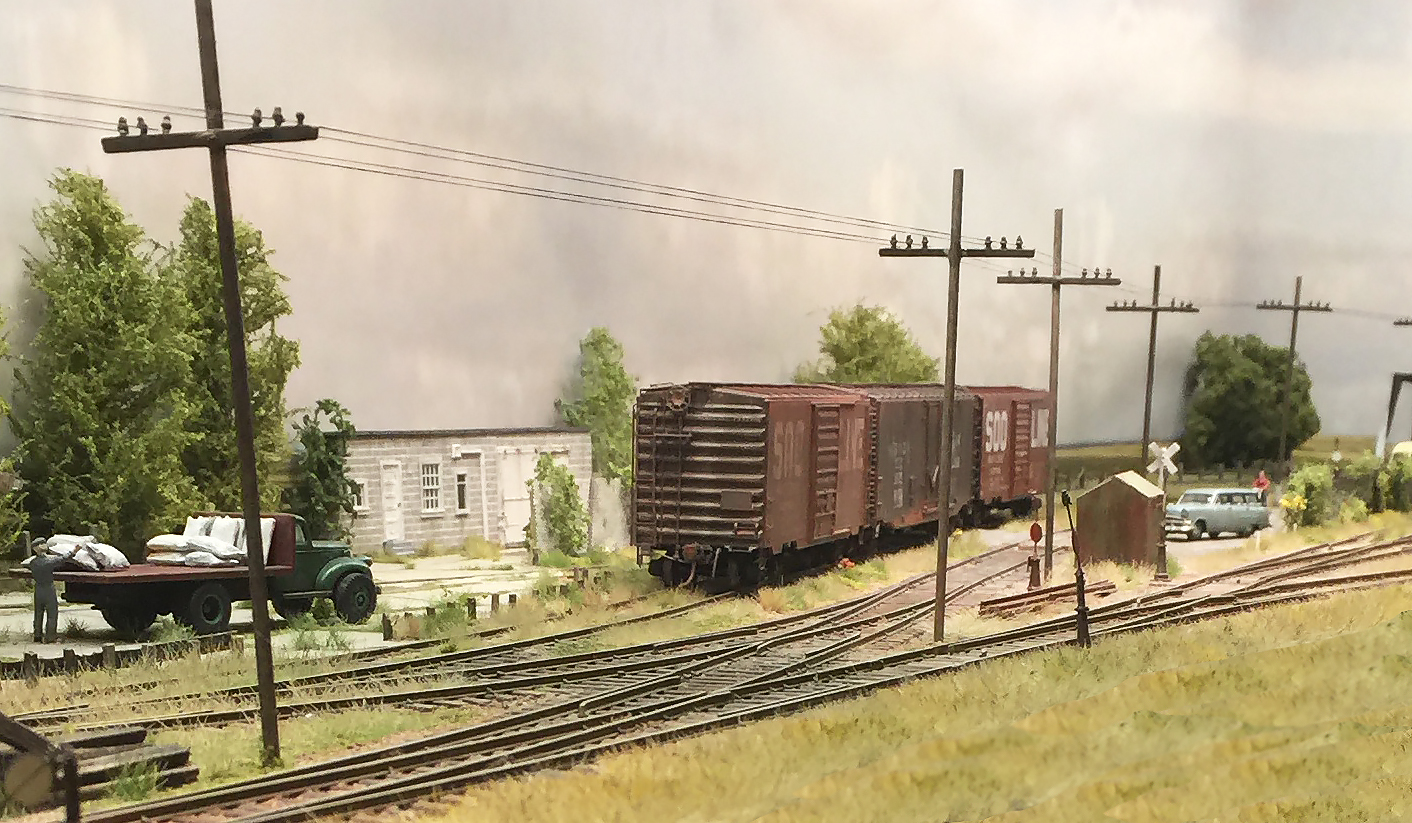
The track laying is mostly done. I’m 70% happy with it. I find that even though natural materials scale very well they tend to be a bit flat and boring. The way to spruce things up would be to use paint or details with color but I’m very reluctant to start messing with the current state of things. I can probably add some color – rusty rails, rust stain across the ties, as well as some details such as trash and leaves around the ties and the edges. I will do this at a later date.
Here are some of the steps:
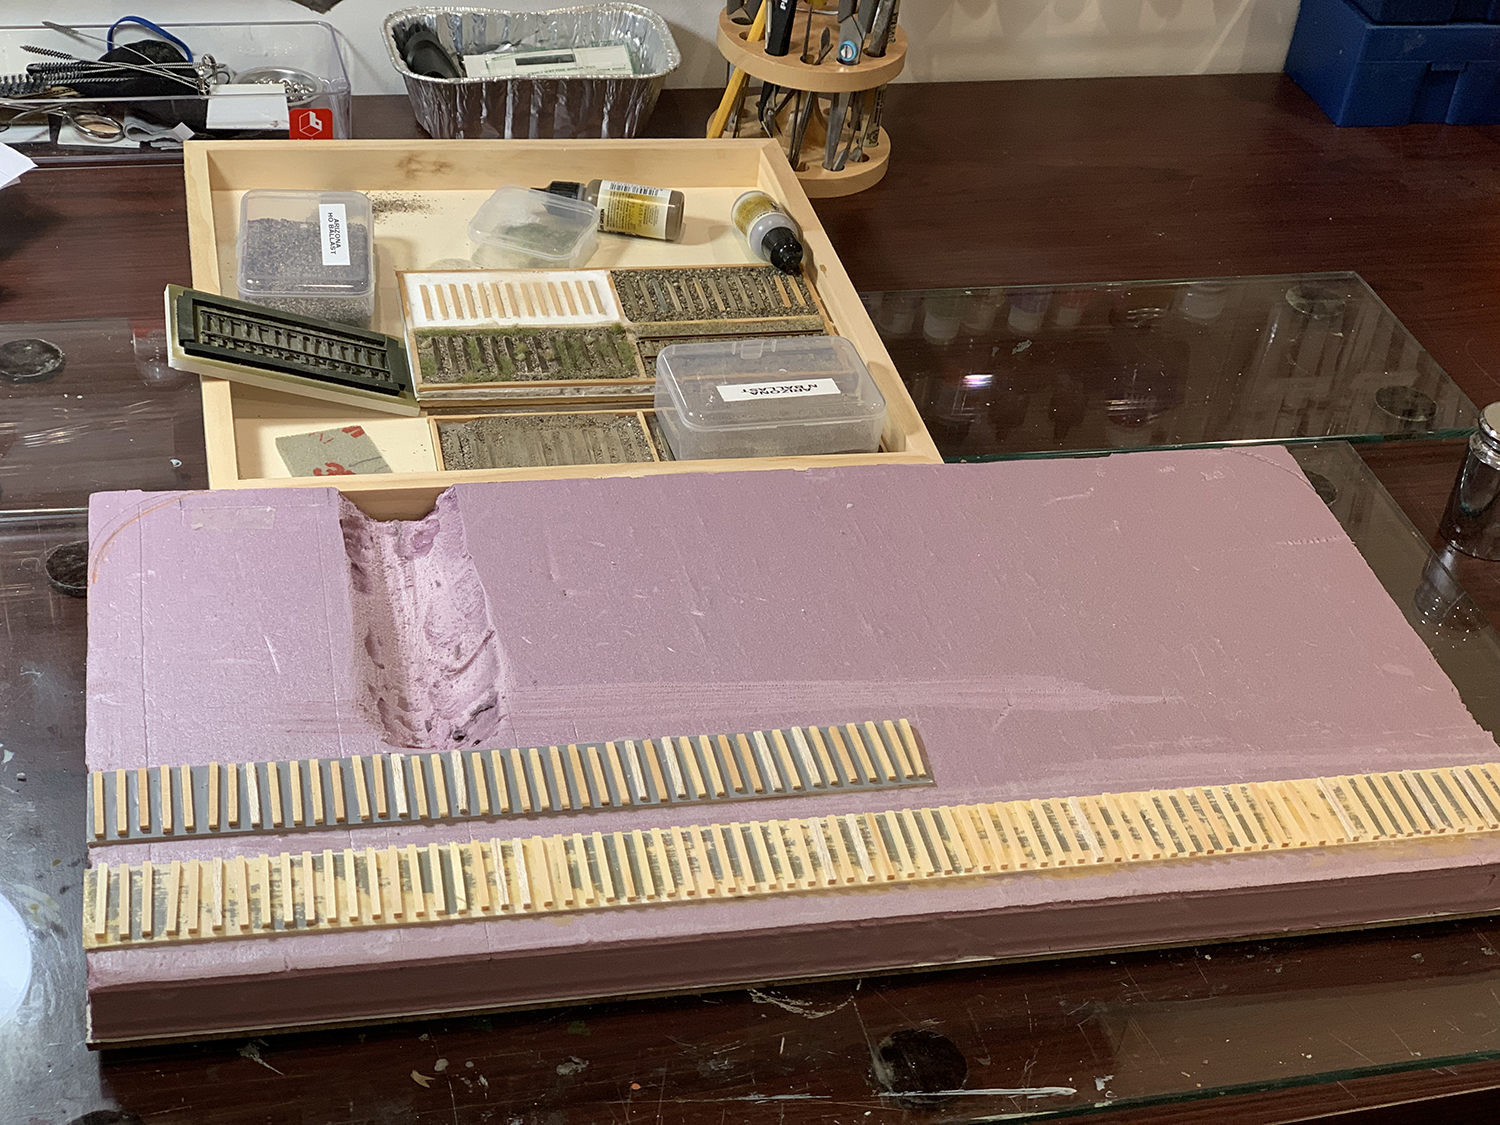
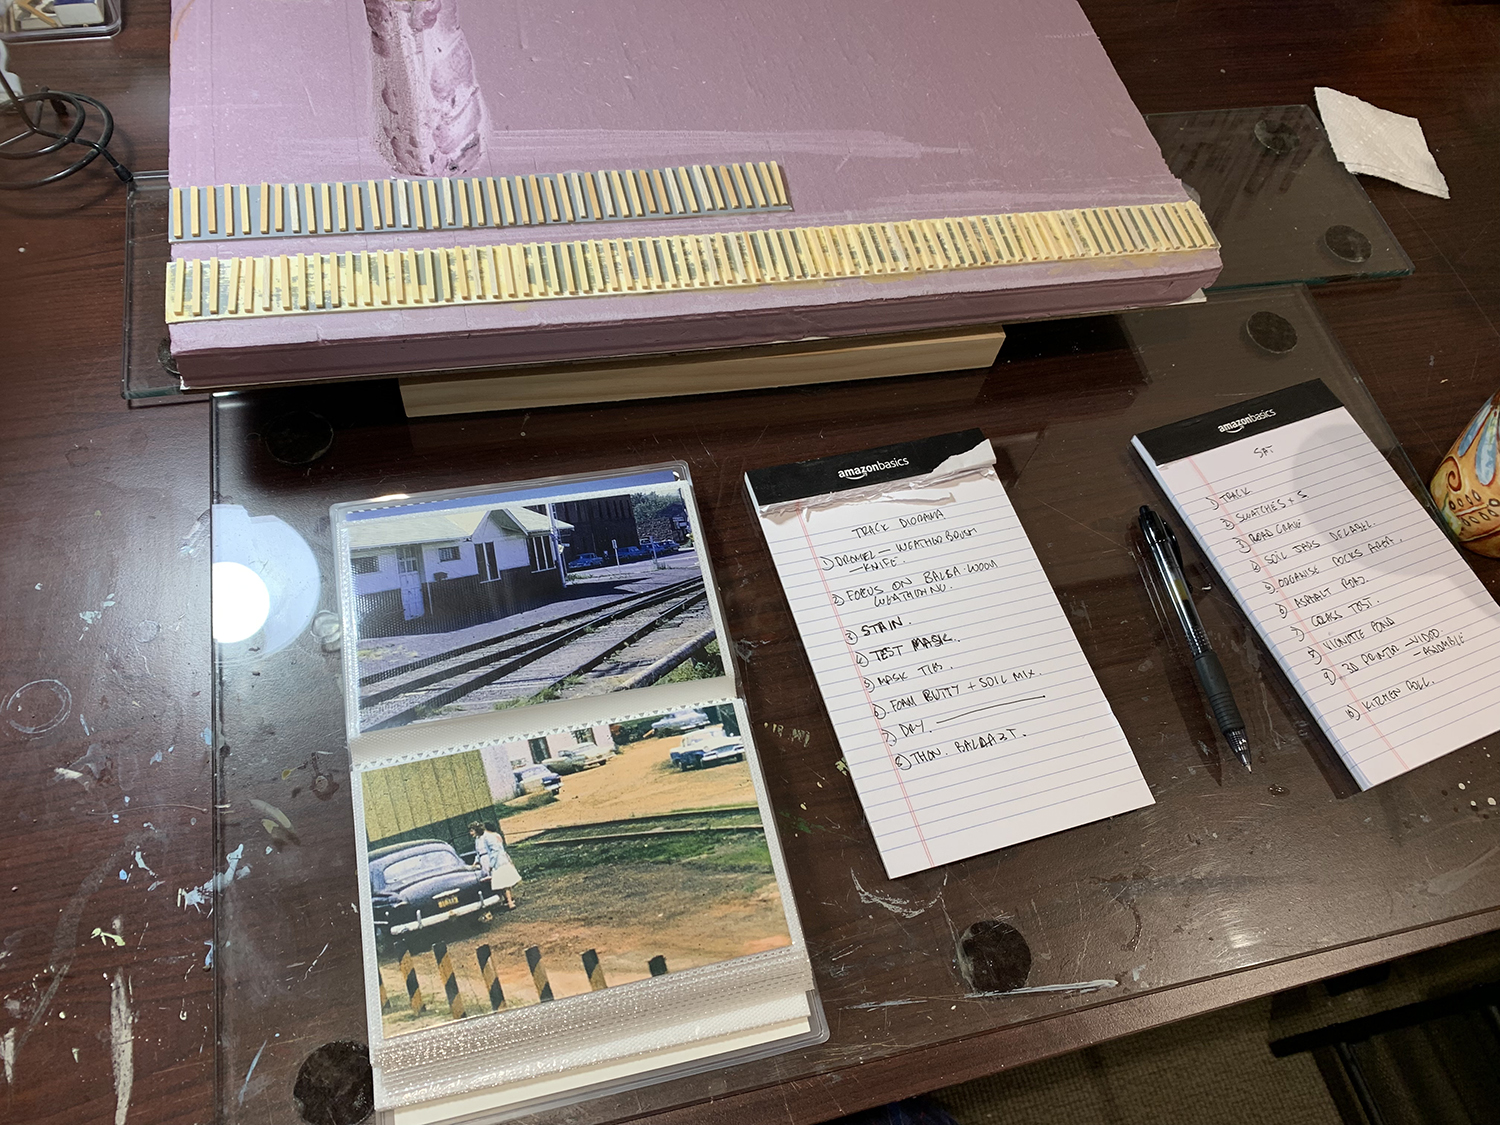
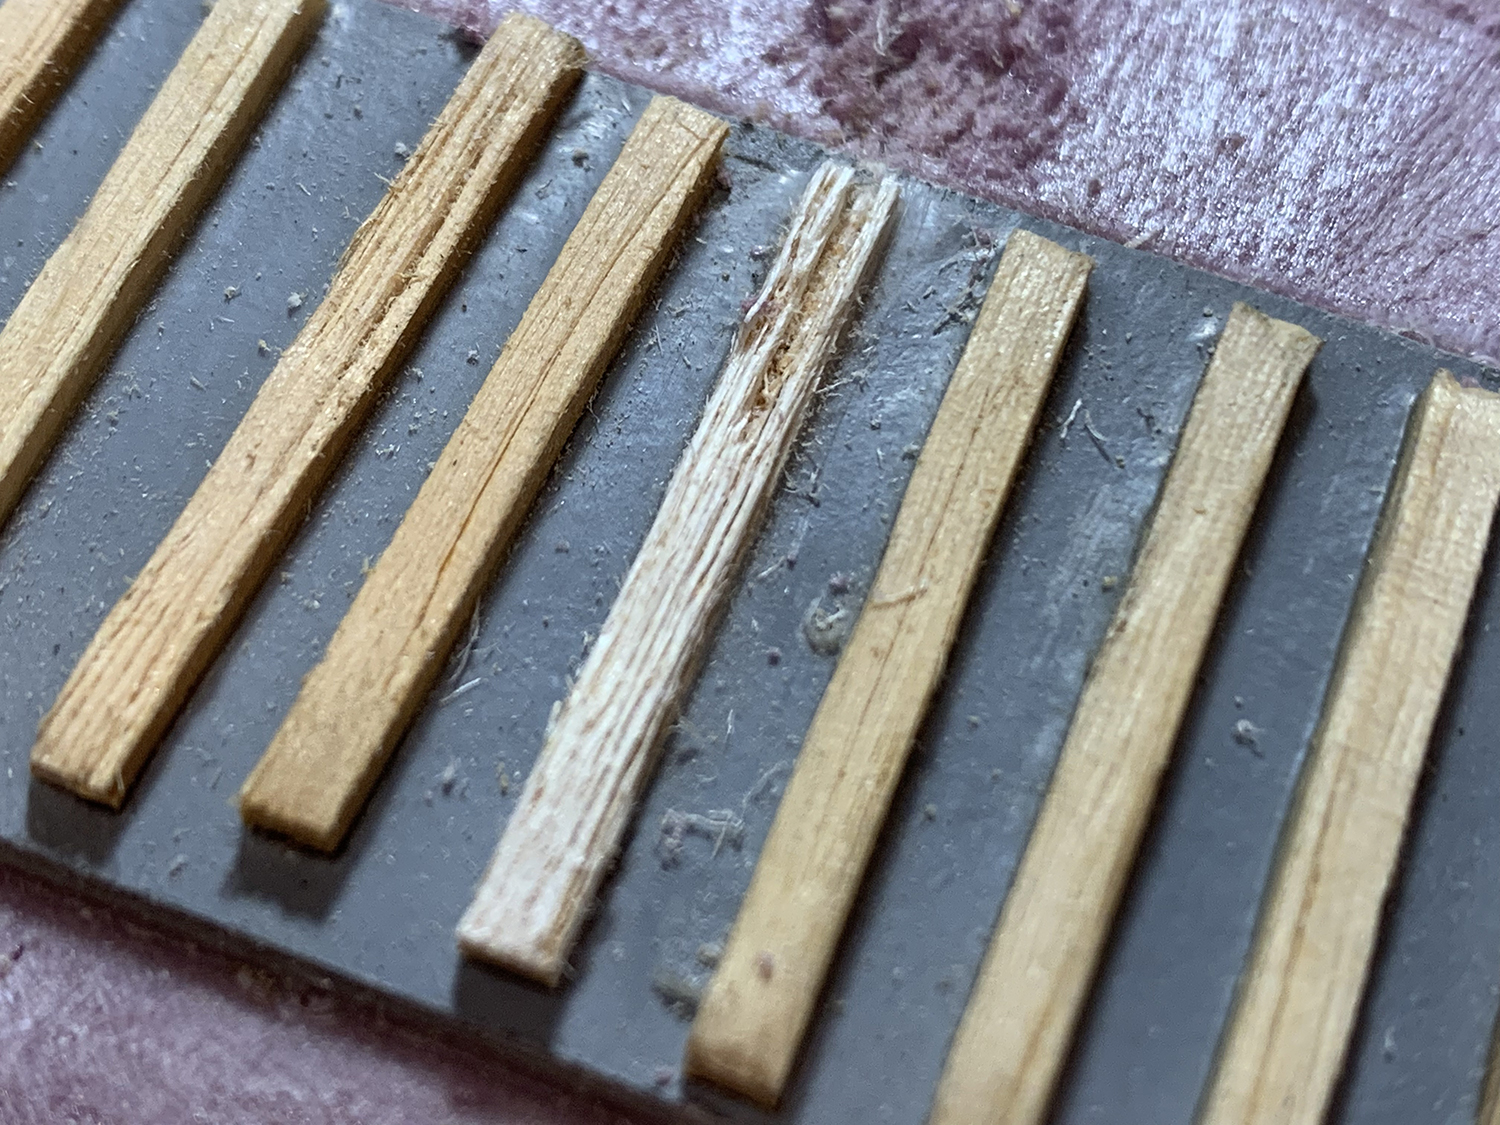
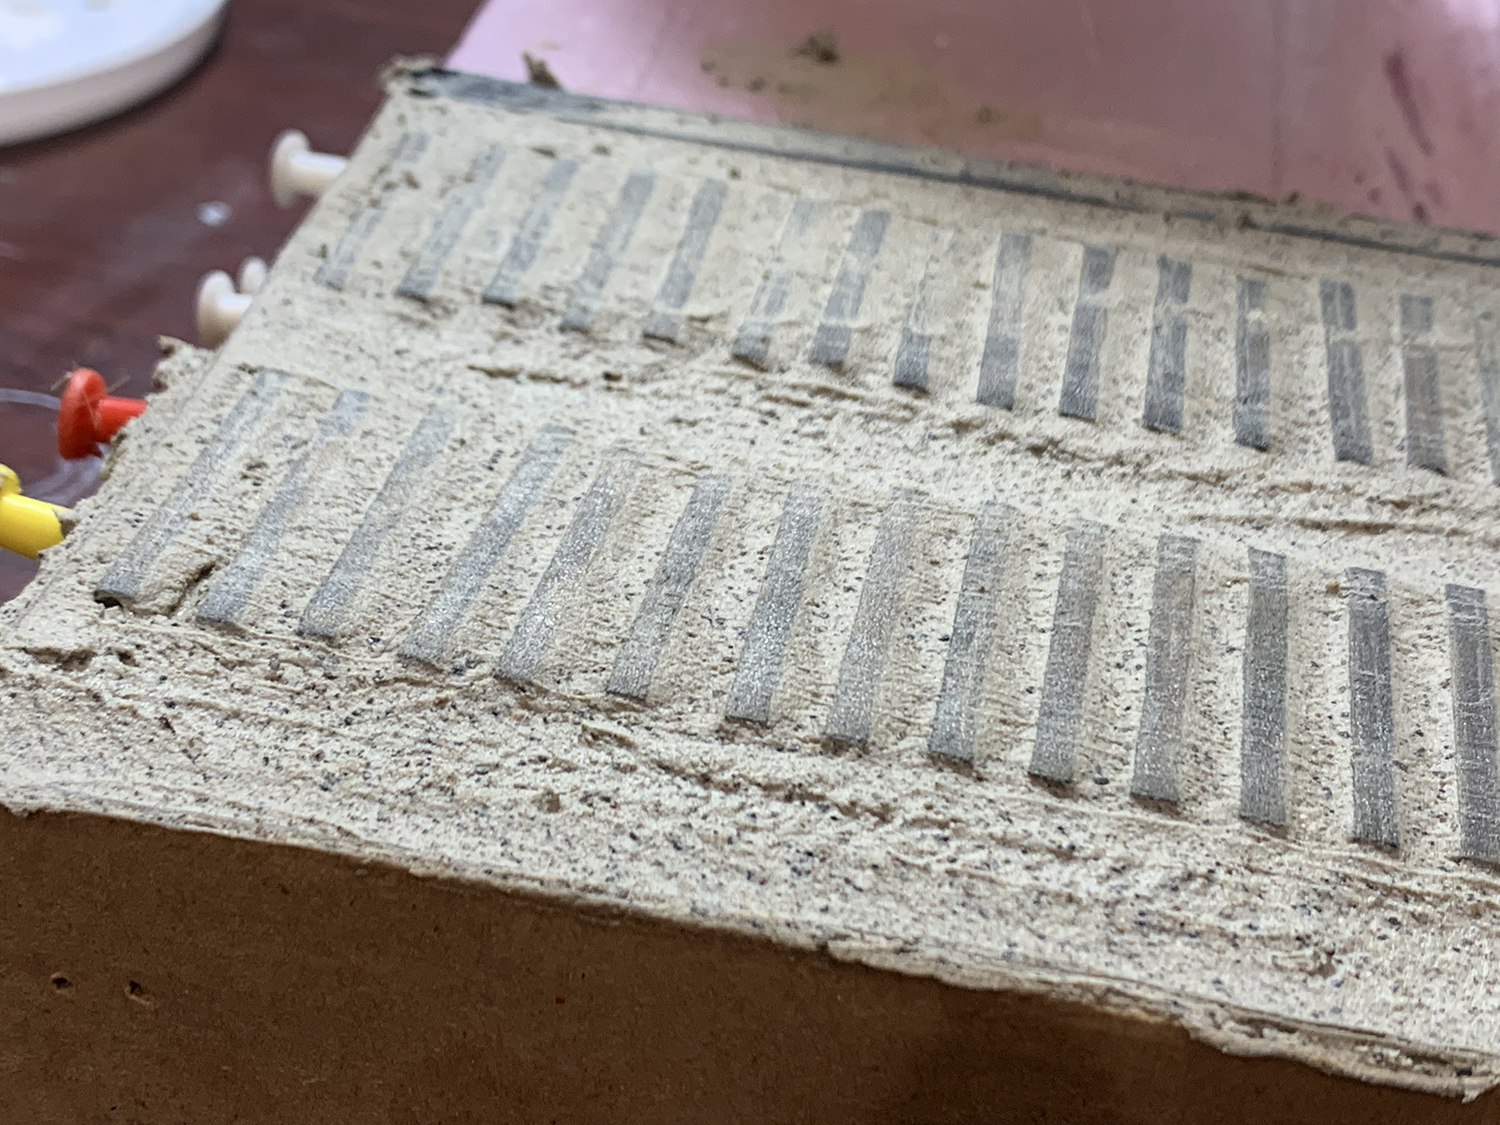
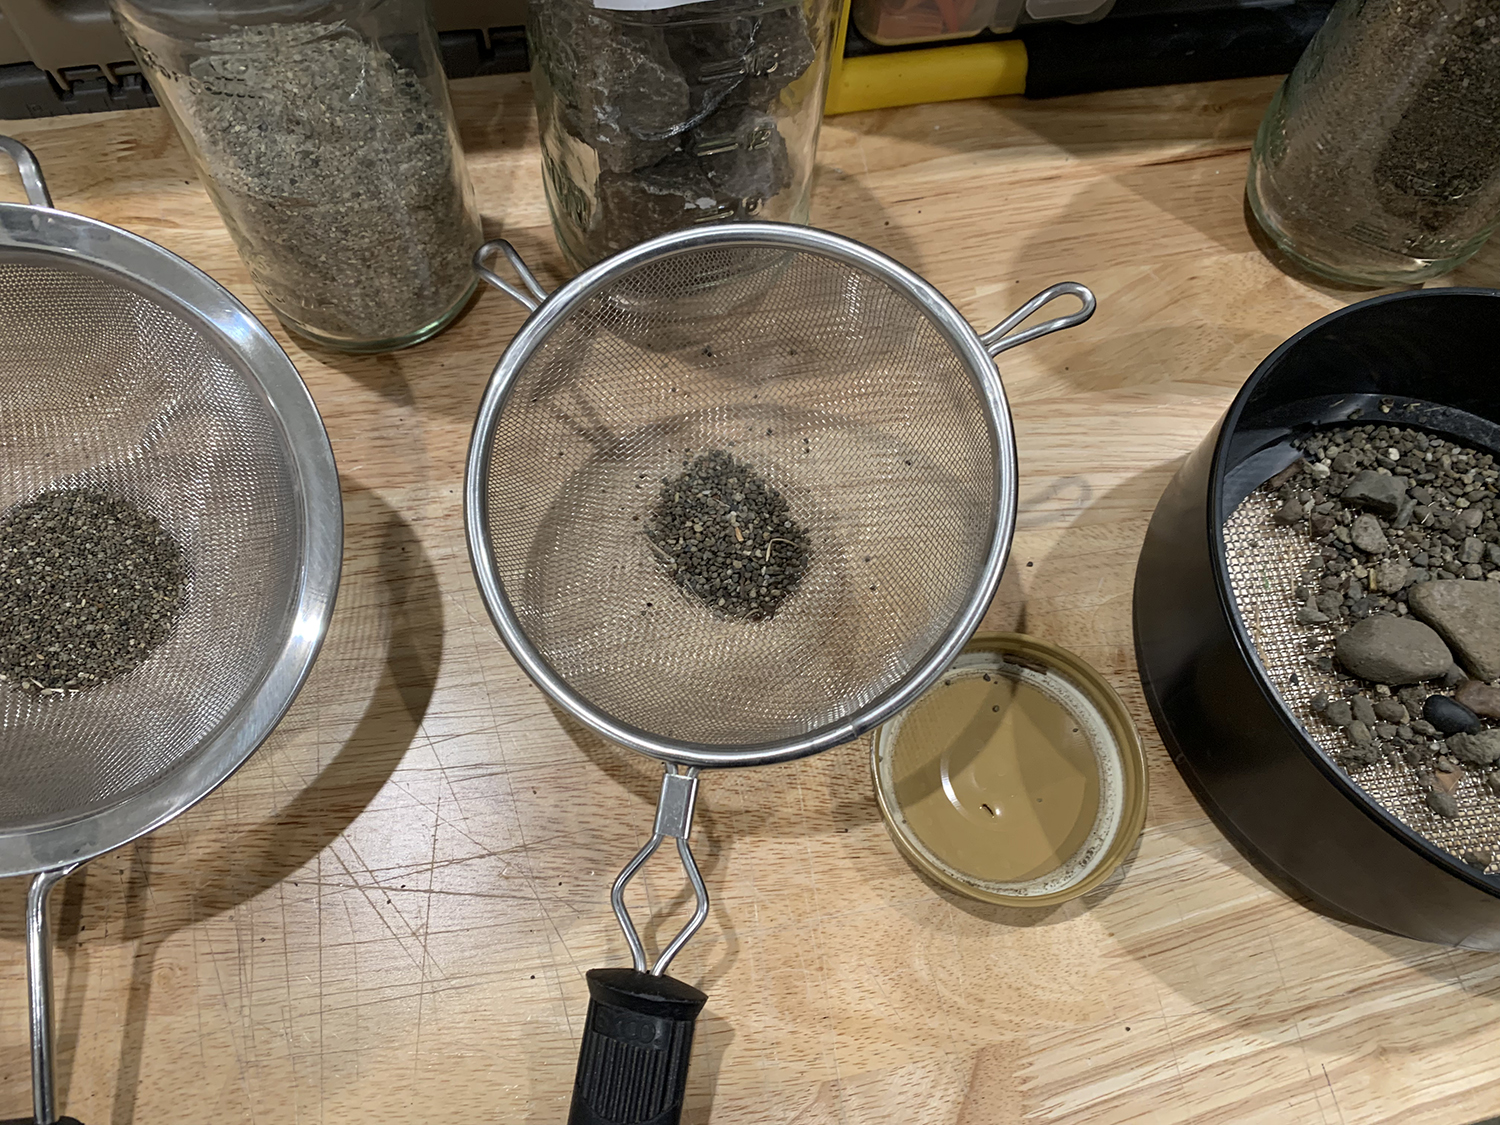
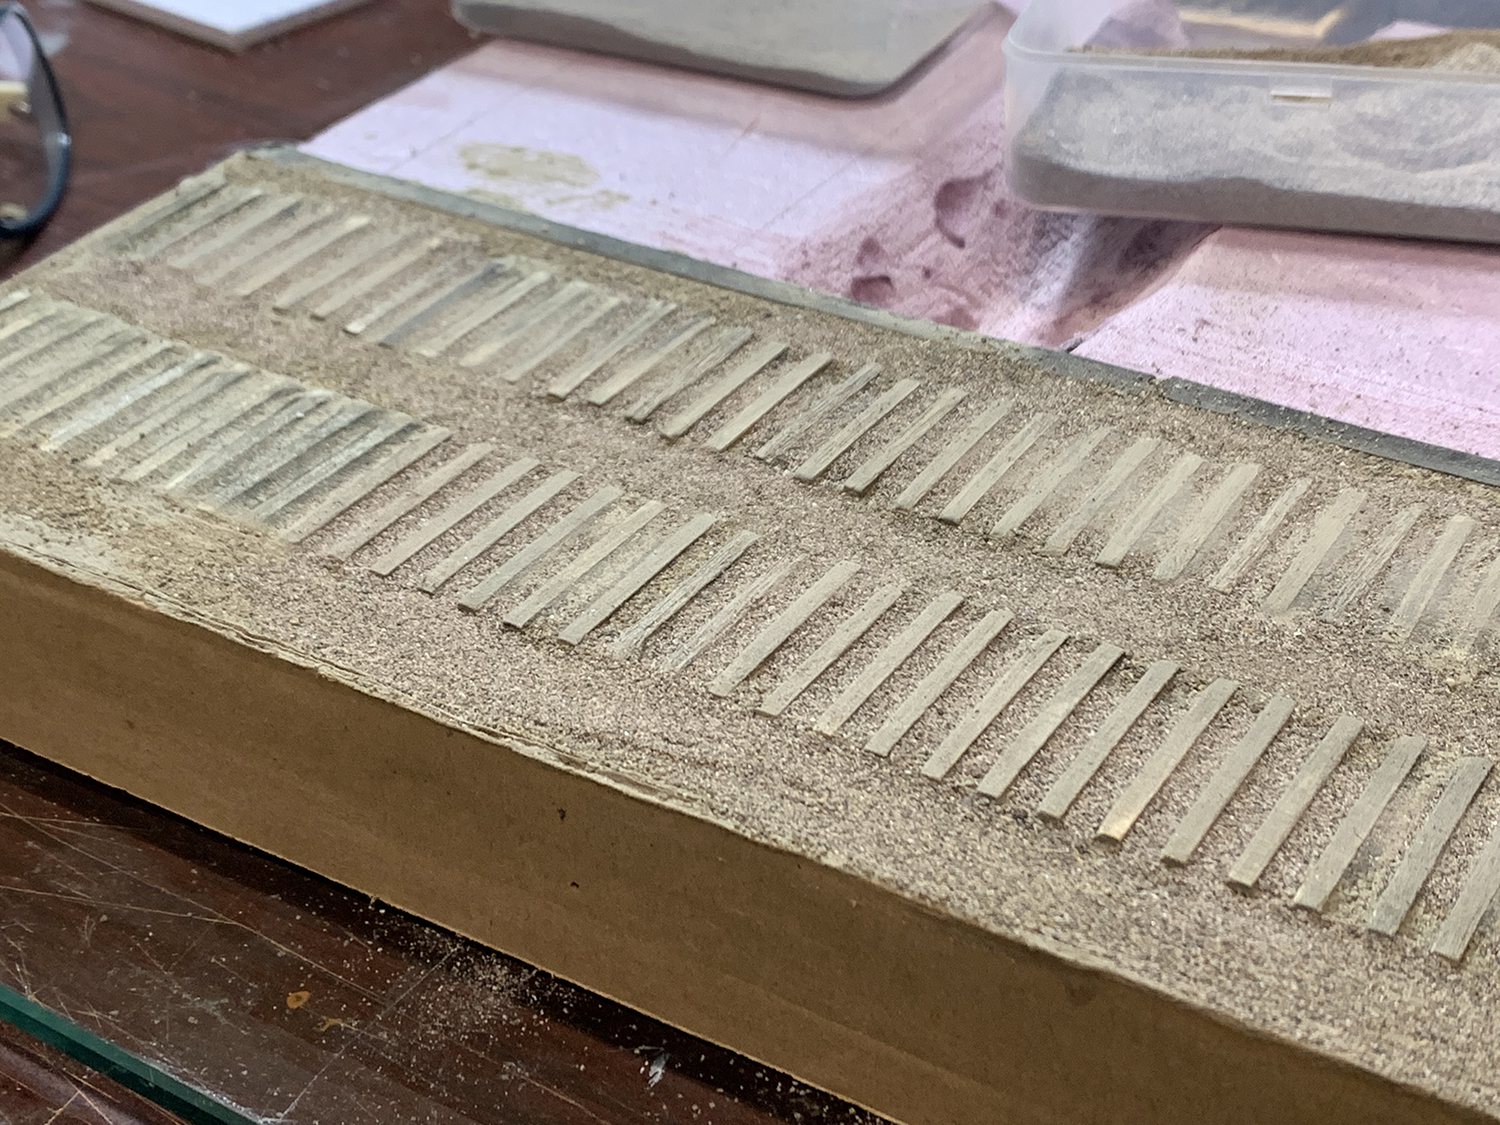
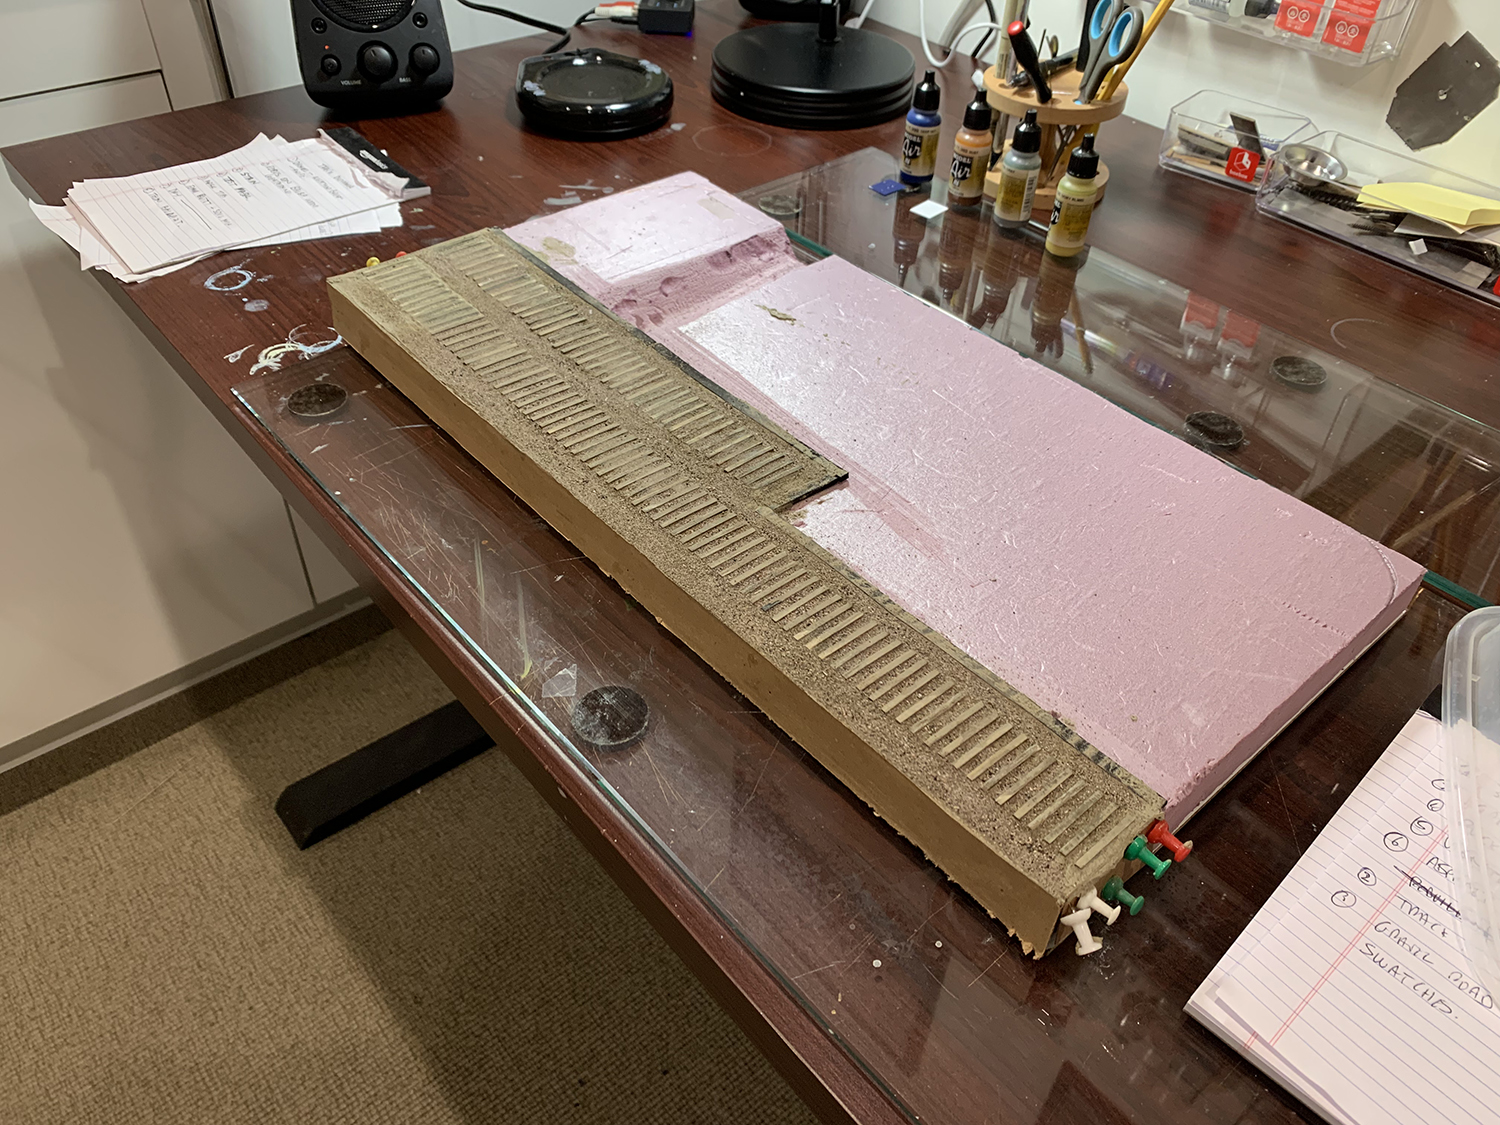
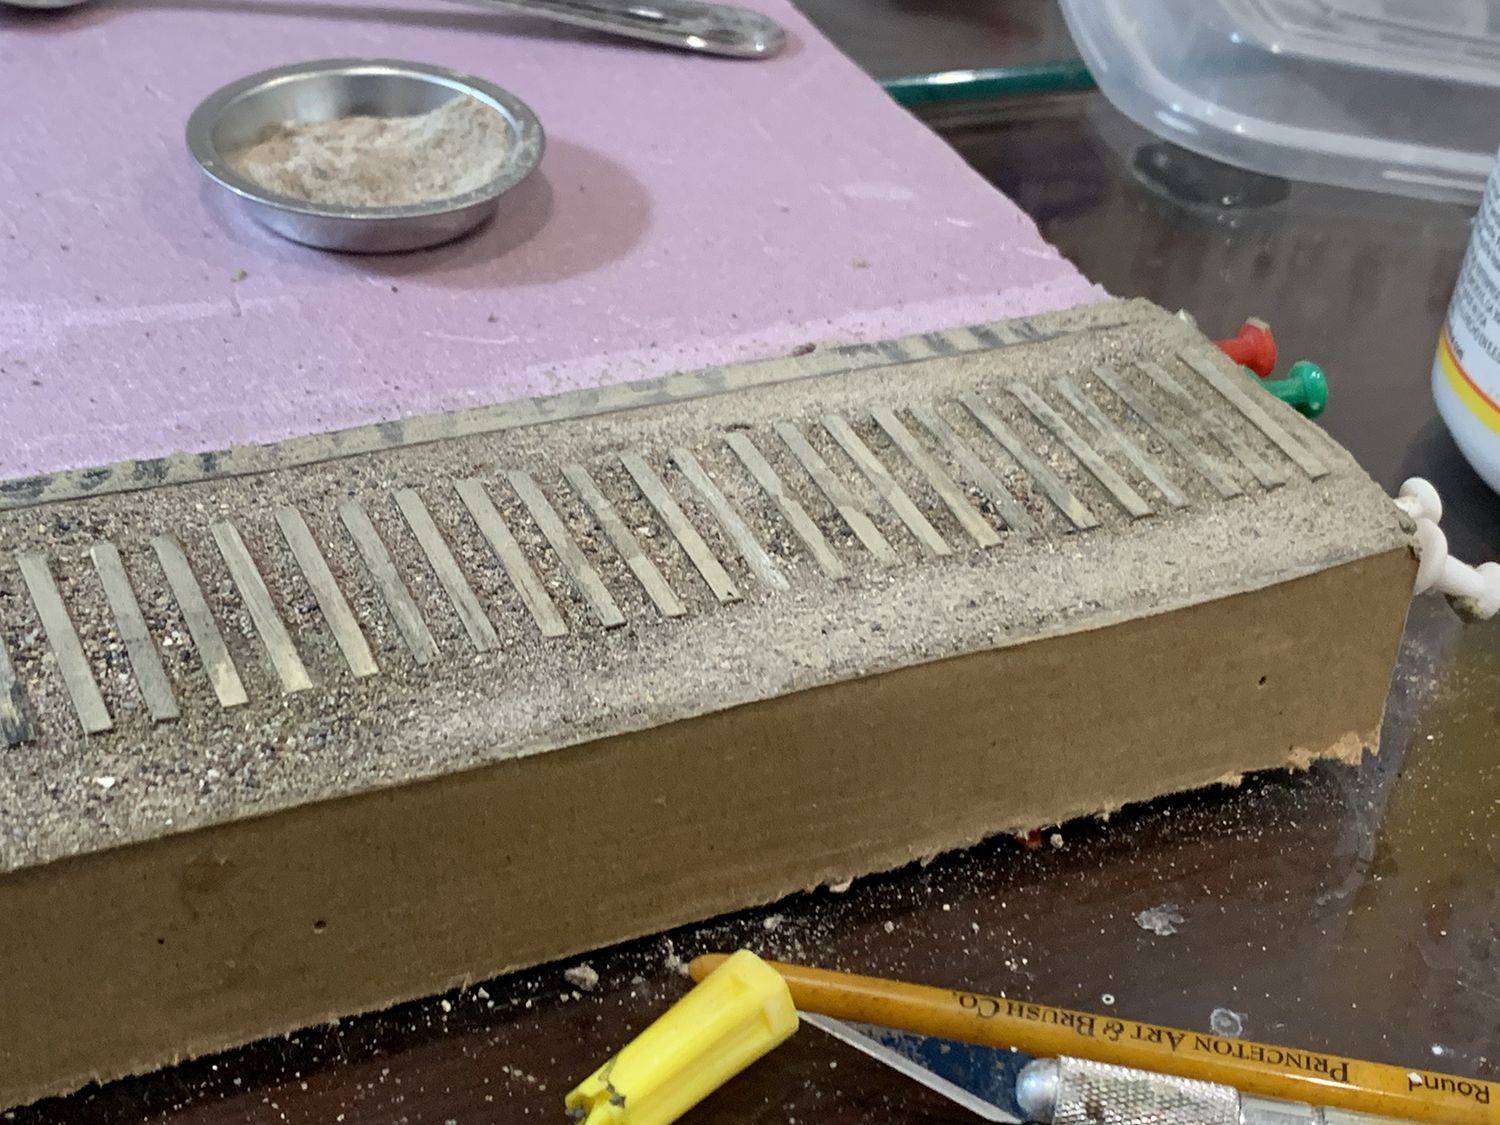
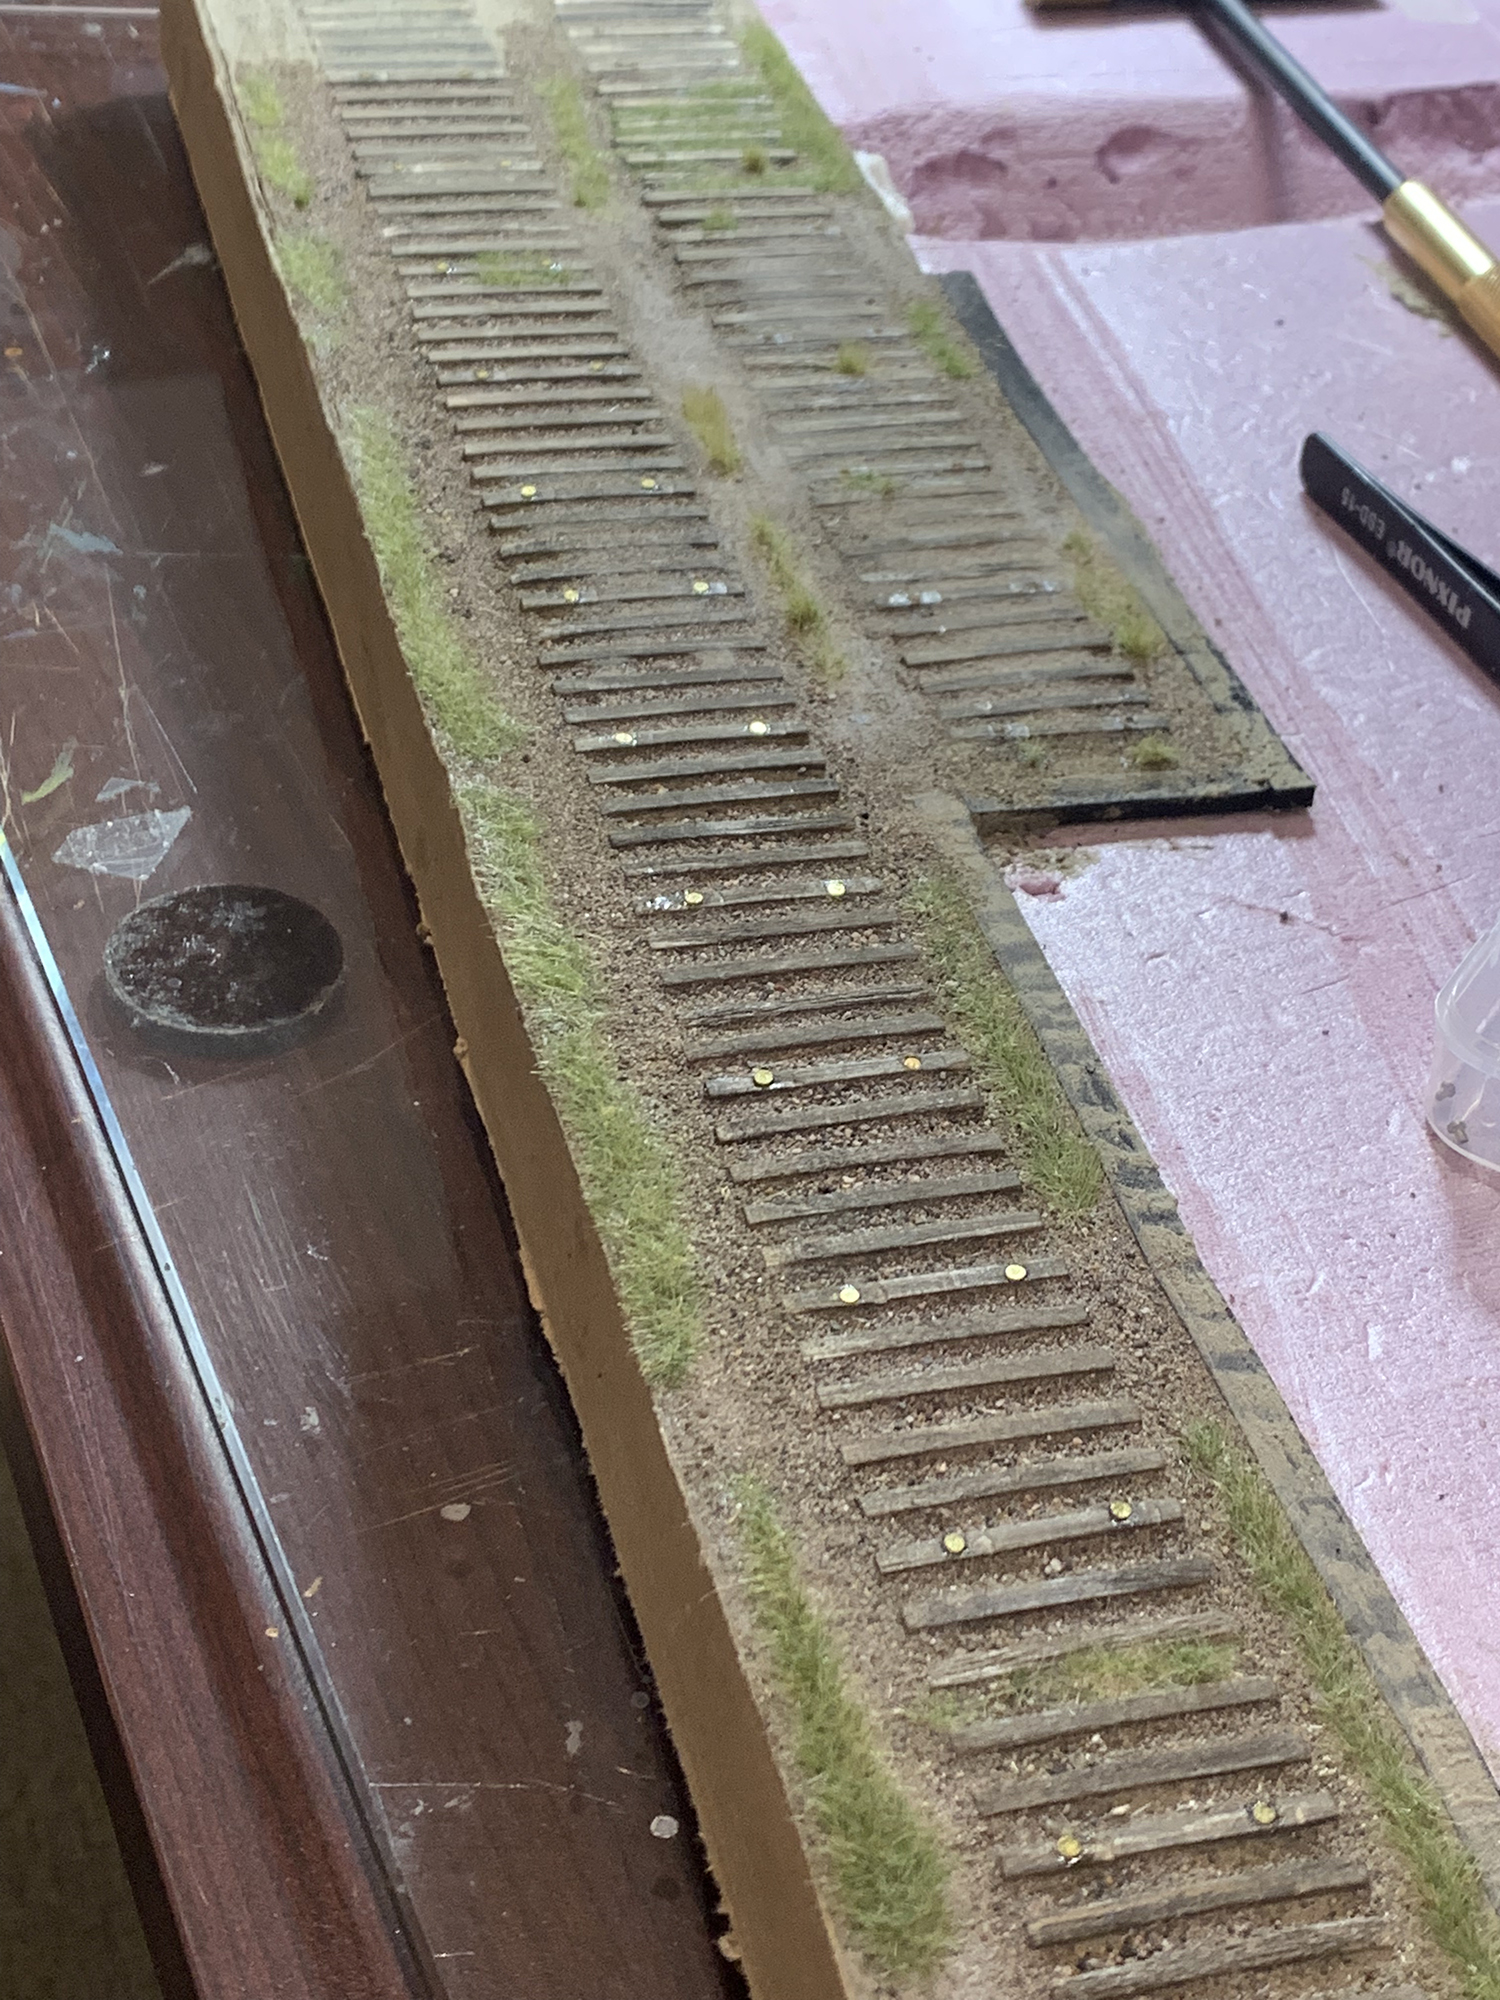
I gave up on the Micro Engineering track and decided to hand lay both sections. I want to be able to landscape the trackbed before the rails are laid down.I kept reference photos close at hand and made notes of the steps. The order of things was important.I used various methods to weather the ties such as a Dremel, weathering pen and knife. I also used balsa wood to represent very rotten ties. The wear and tear scales very nicely on balsa wood.I created a goopy mix from Woodlands Scenic foam putty and various grades of ballast which spread over and around the ties. I was trying to create a surface that I can carve and shape with a knife onto which I will eventually add ballast.After a couple of days drying the surface was ready to work on.I spent time sanding down the fill, cleaning off the ties, digging ties out, creating different levels of ground from tie to tie – sometimes level with the tie surface, other times sunken well below.I ground up three or four grades of gravel taken from one of my jars of stones collected on walks along railroad lines.
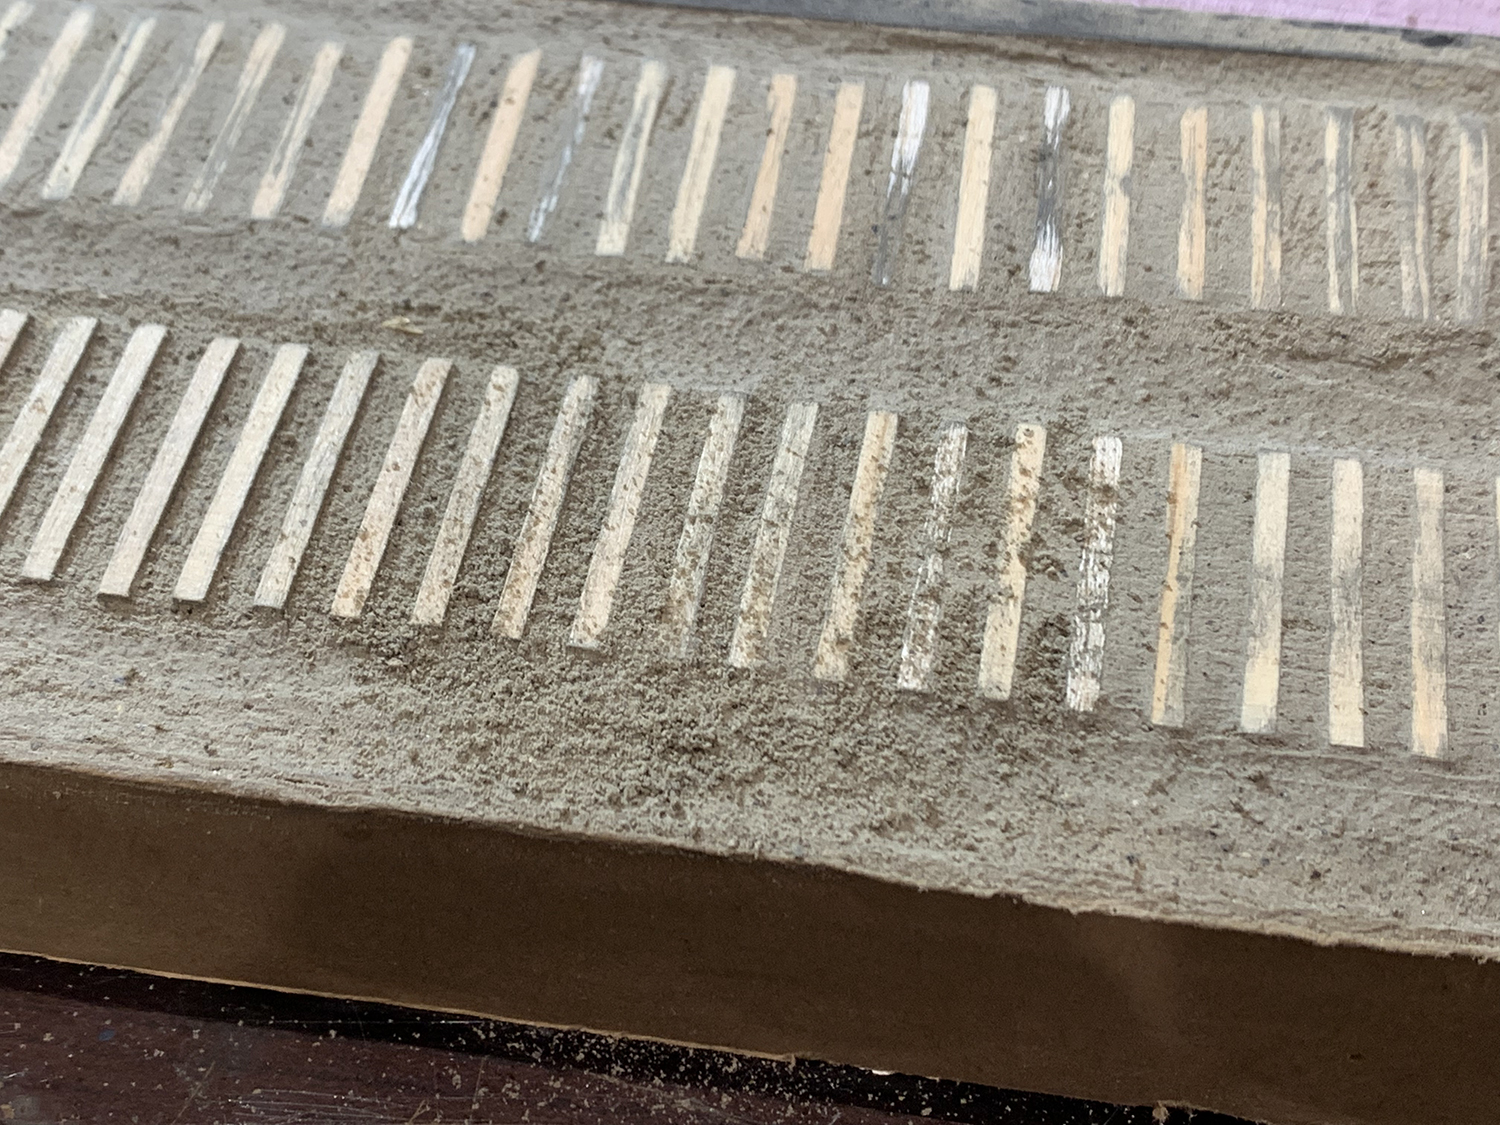
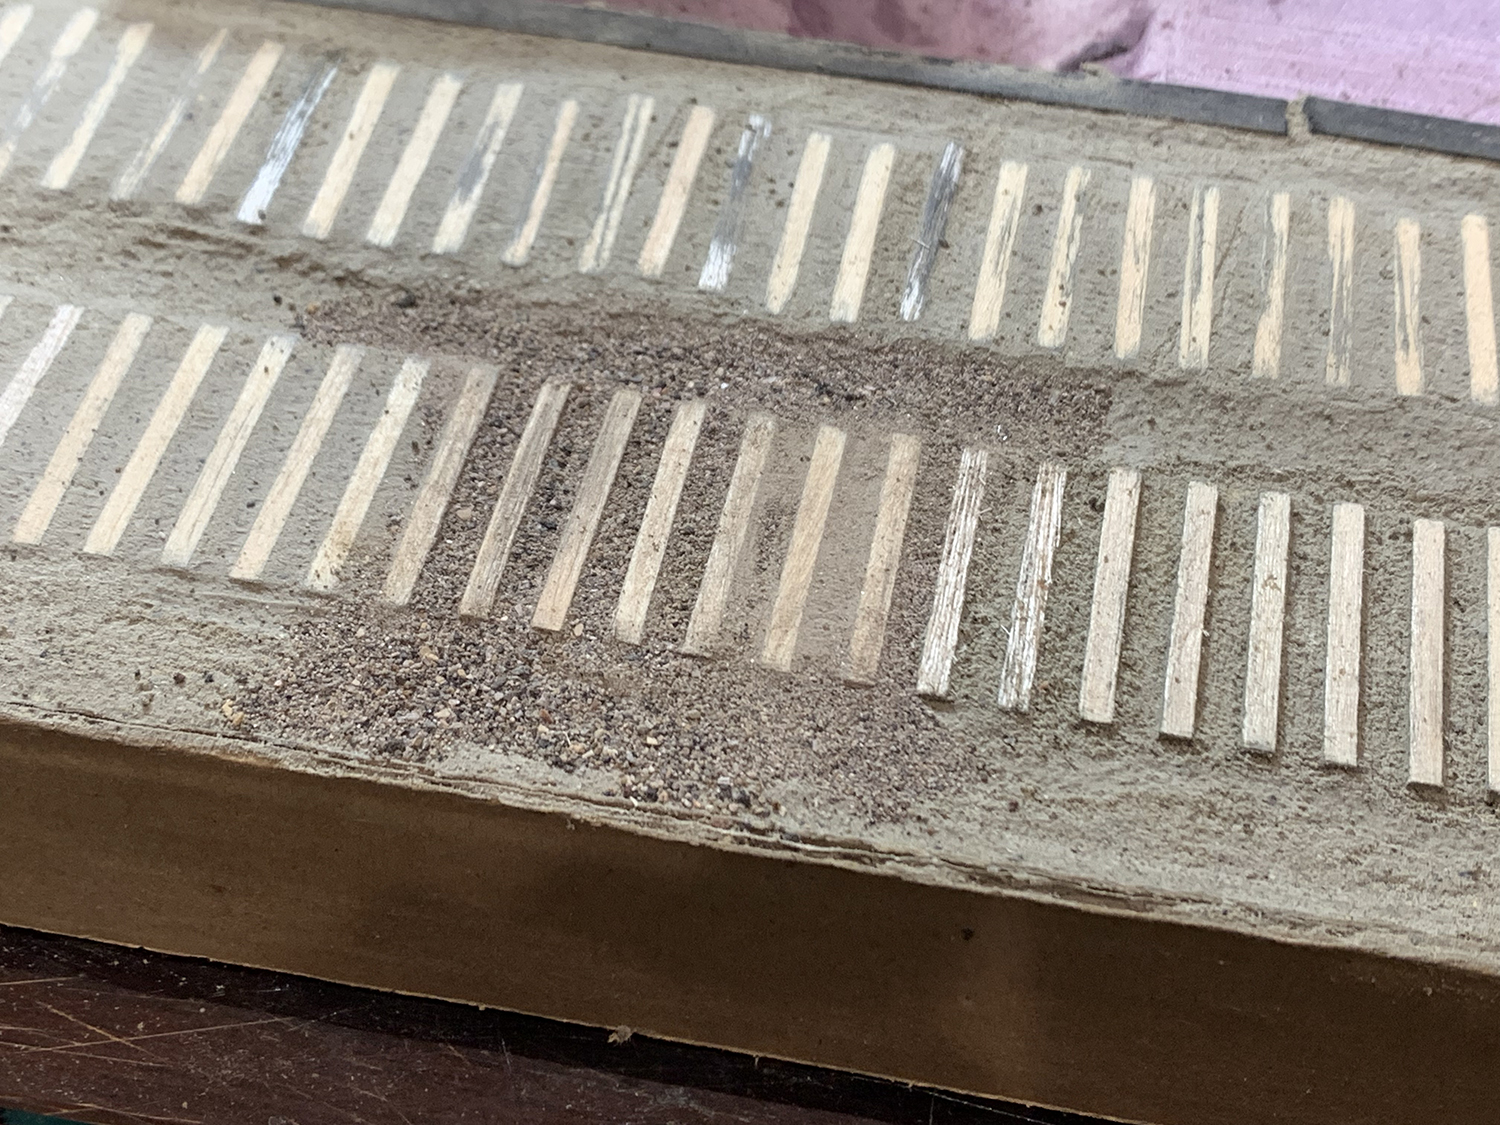
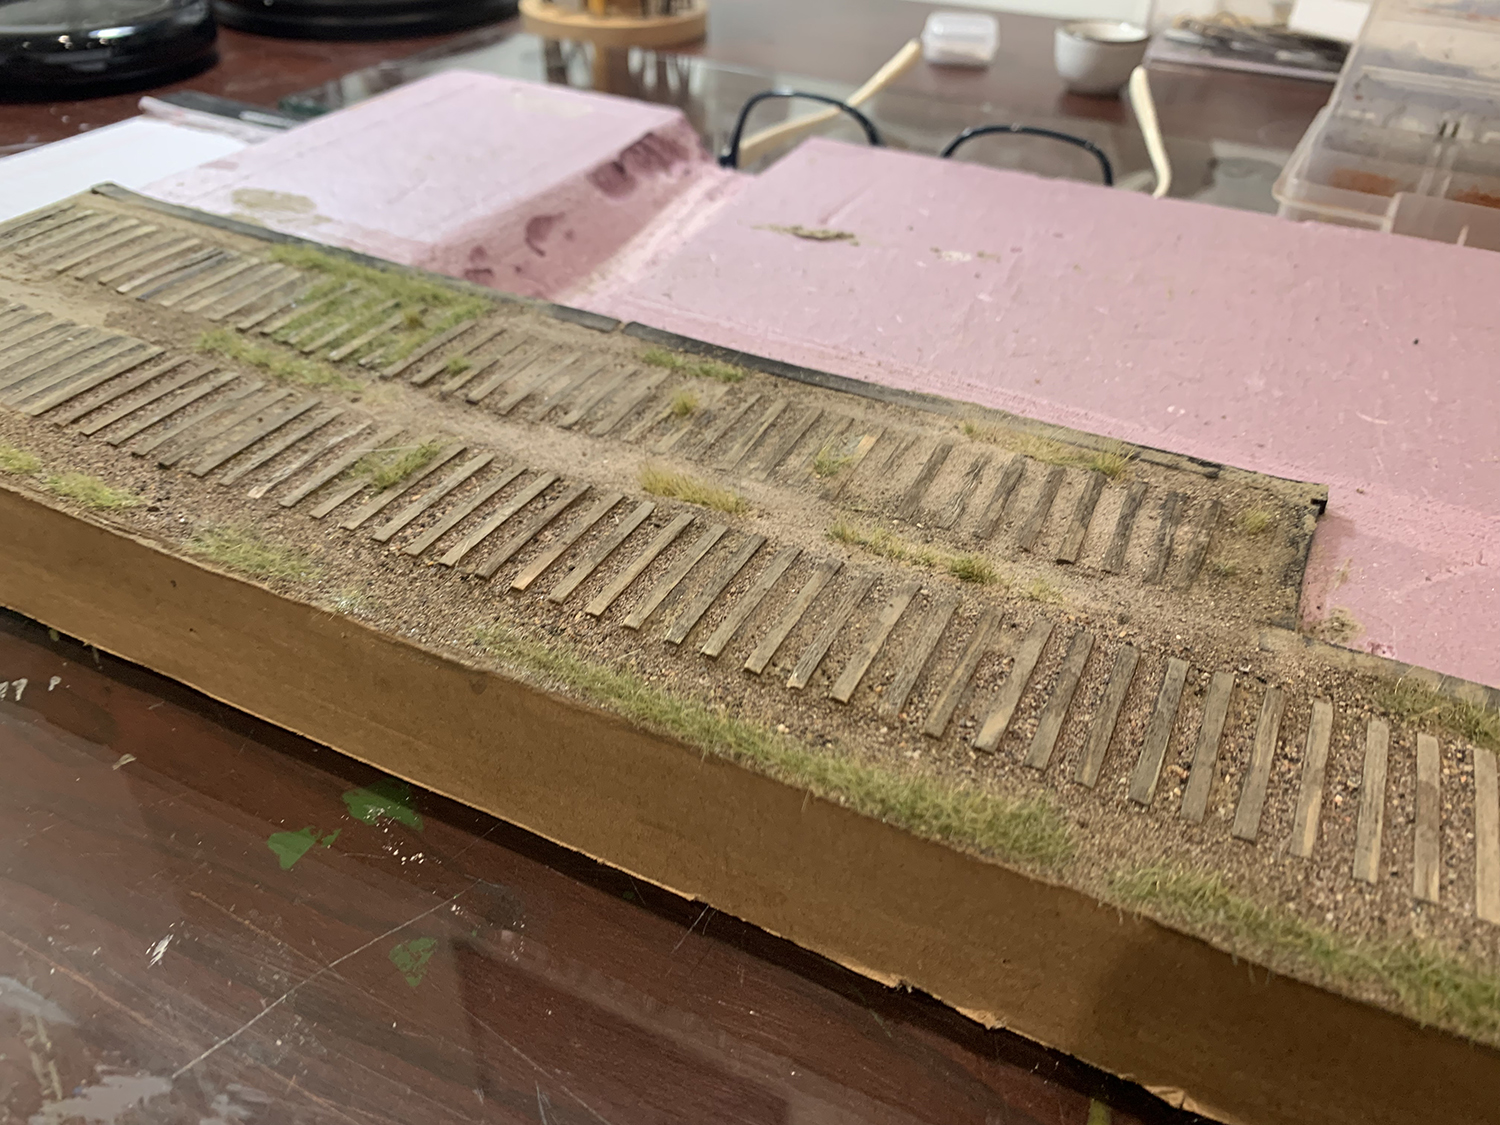
And started laying ballast starting with the finest grade first. The final grade is just a few larger ballast grains dotted here and there. No need to go overboard on that final layer.The ballast is just a base, other colors will be added. This is the view just before gluing down. The profile of the ground and ties are meant to change over the course of several ties.The result after gluing. Time to start the ground cover detailing.I have a jar of fireplace ash taken from the bed of an abandoned railroad (a fire had been started on it). I used the ash to provide some color and texture variation. It really has a nice weathering effect. I will have to re-stain the ties as they have lost much of their original color.Once I was relatively happy with the ground color I started adding some vegetation.Things really started to come together once I had completed the first layer of vegetation. More will be added later.
Laying Rails
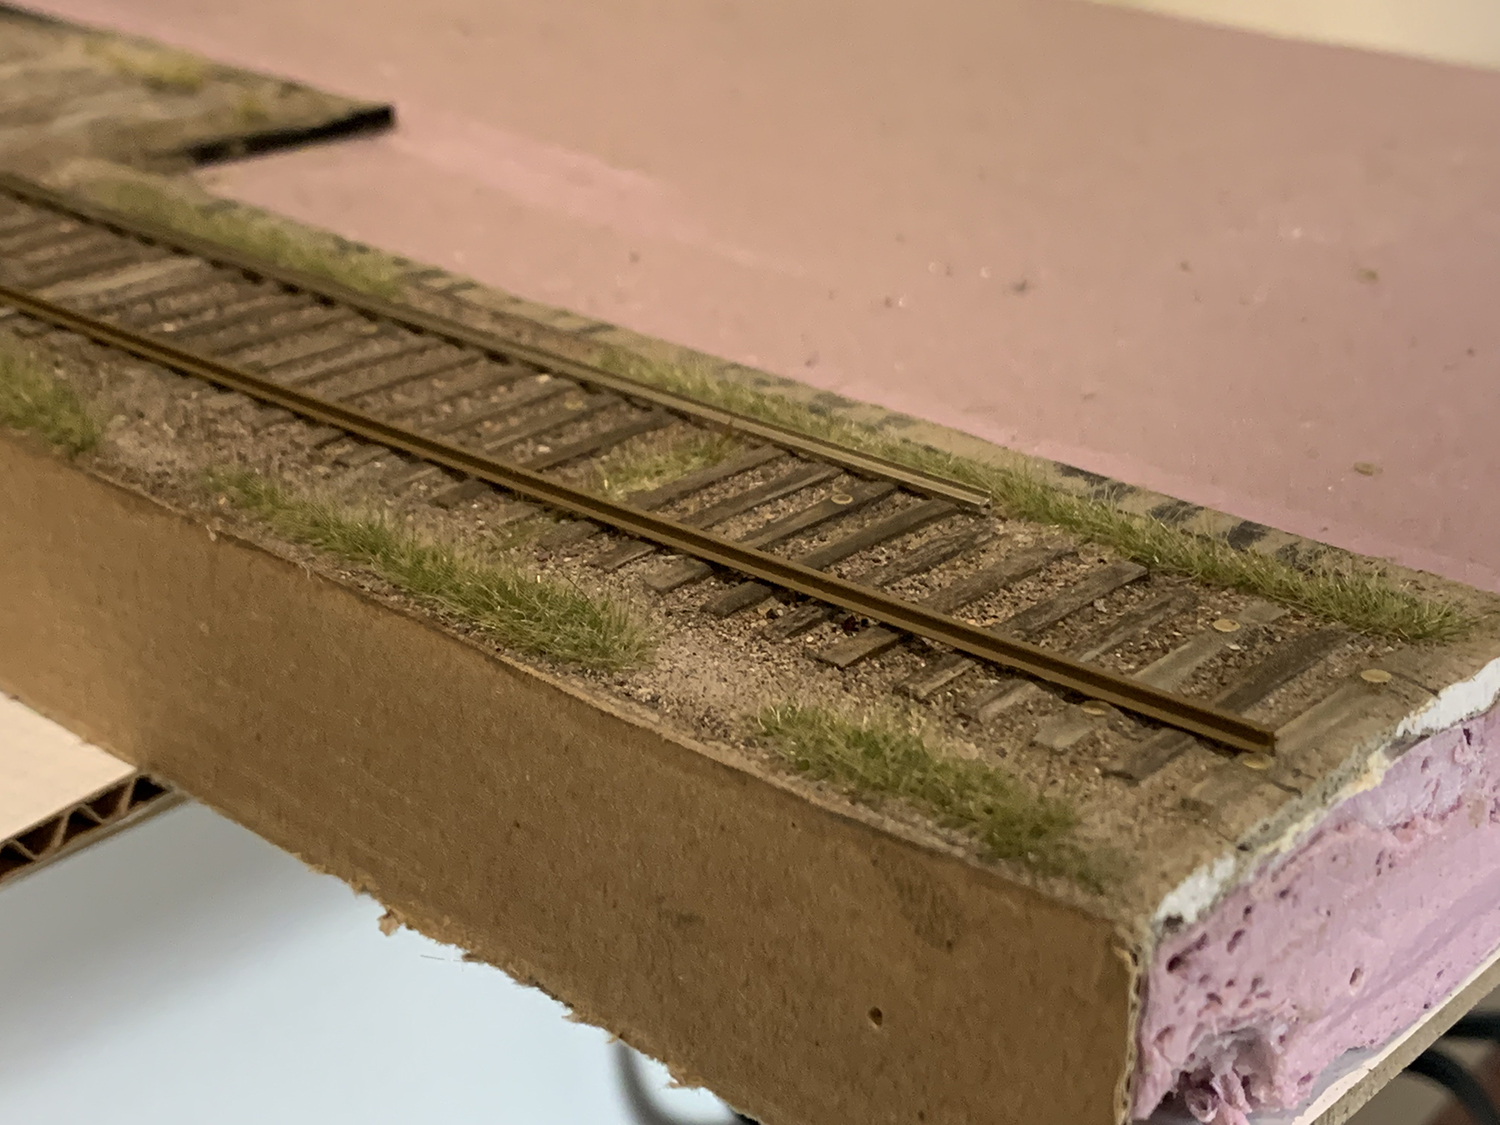
I decided to use the British Brook-Smith method of laying rails. The method was described by Iain Rice in one of his 1980s books on hand laying track. The method involves gluing rivets into the ties onto which the rail is soldered. I had to adapt it to American standards and I would say I only had partial success: it was slow, messy, damaged ties, and it was difficult to keep the rail in a straight line etc. Nevertheless I will continue to use the Brook Smith method and intend to create a bunch of tools to help speed up the track laying process.
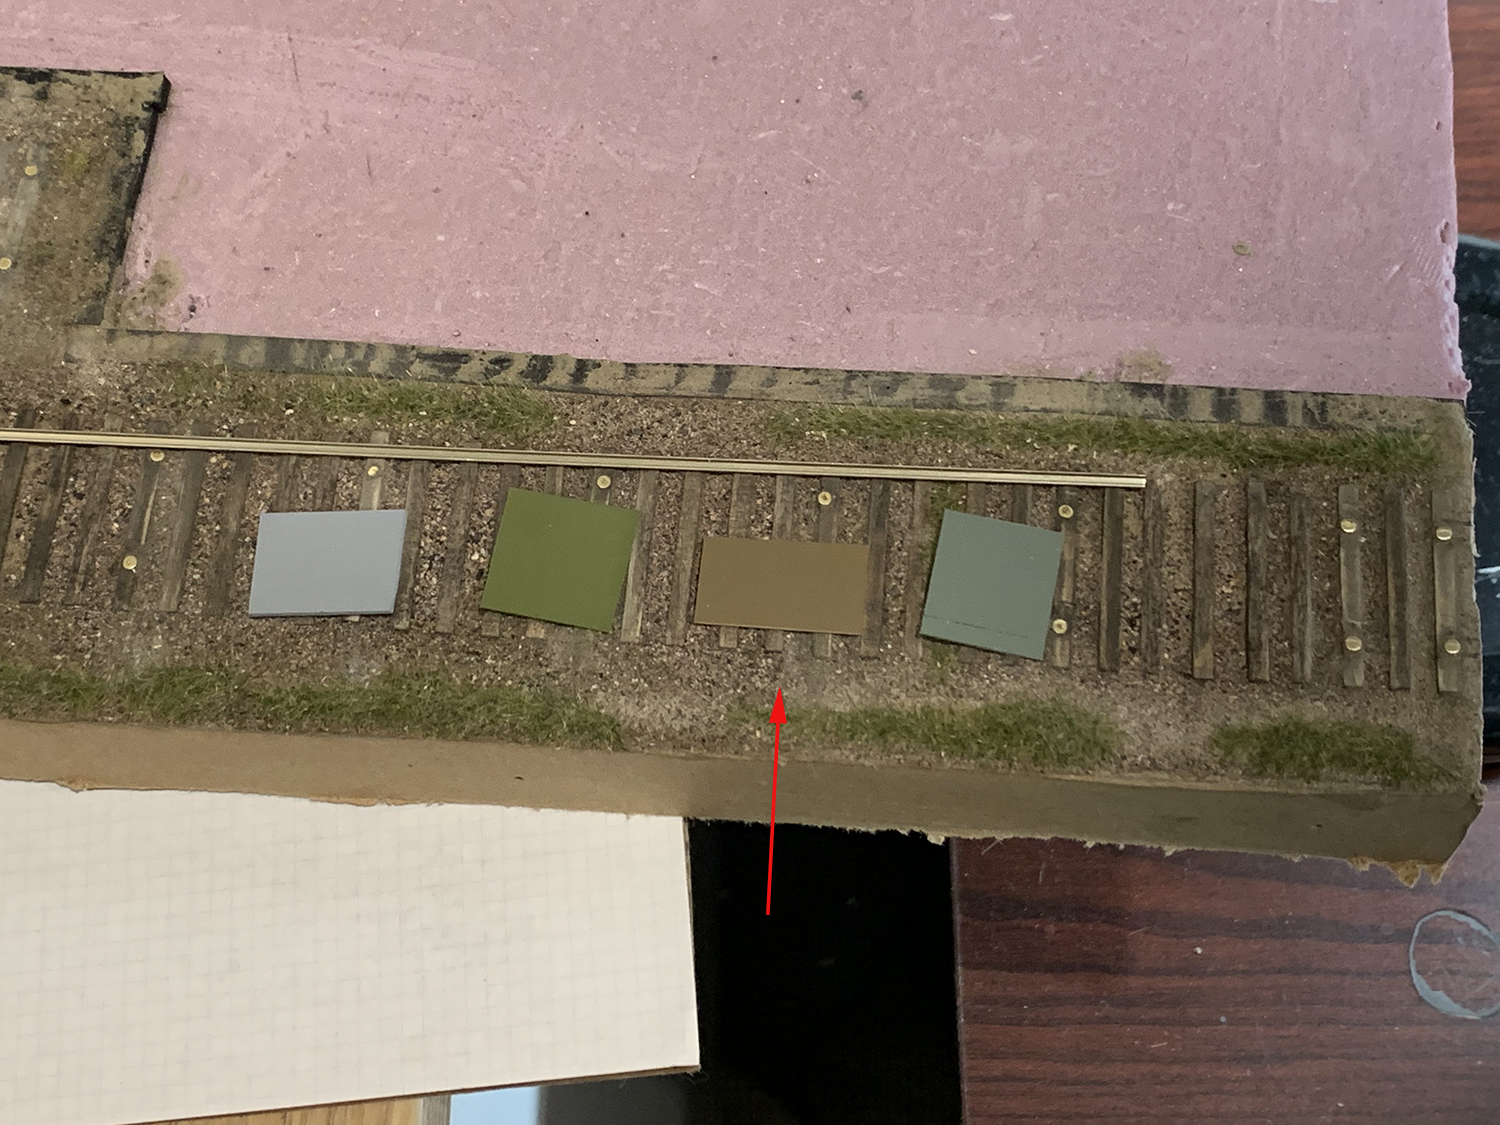
Holes are drilled and rivets are glued with 2-part epoxy every five ties.I decided to pre-paint the rails. I wanted a color as close to the roadbed as possible. In the end painting the rail first turned out to be a mistake: the coat of paint was easily damaged and flaked off as I worked on sticking the rail down. I found it easier to paint the rails once it was stuck down.Nevertheless the first color I chose turned out to be a good base to build additional colors upon – such as rust.I soldered the rail to the rivets and then painted them. The team track is a little more rusty than the main line. I intend to add another coat to both to bring out the color more. I don’t particularly like the tie coloring on the main line. I would have preferred it to be more uniform – it looks very messy. I could redo it but for the sake of keeping going I will leave it as it is and just tinker with it here and there.
Finished (kind of)
I still have to add details such as rail joiners across the gaps. A glaring omission is the tie plates – something I will add when building the next layout. Also the rail sits a little high above the ties in places. I intend to build various jigs to make the track laying faster and more accurate – this was just a test run of the Brook-Smith method. I’ll add more color via leaves, rust and more vibrant ground cover. I want to see how the diorama develops before adding too much new color.
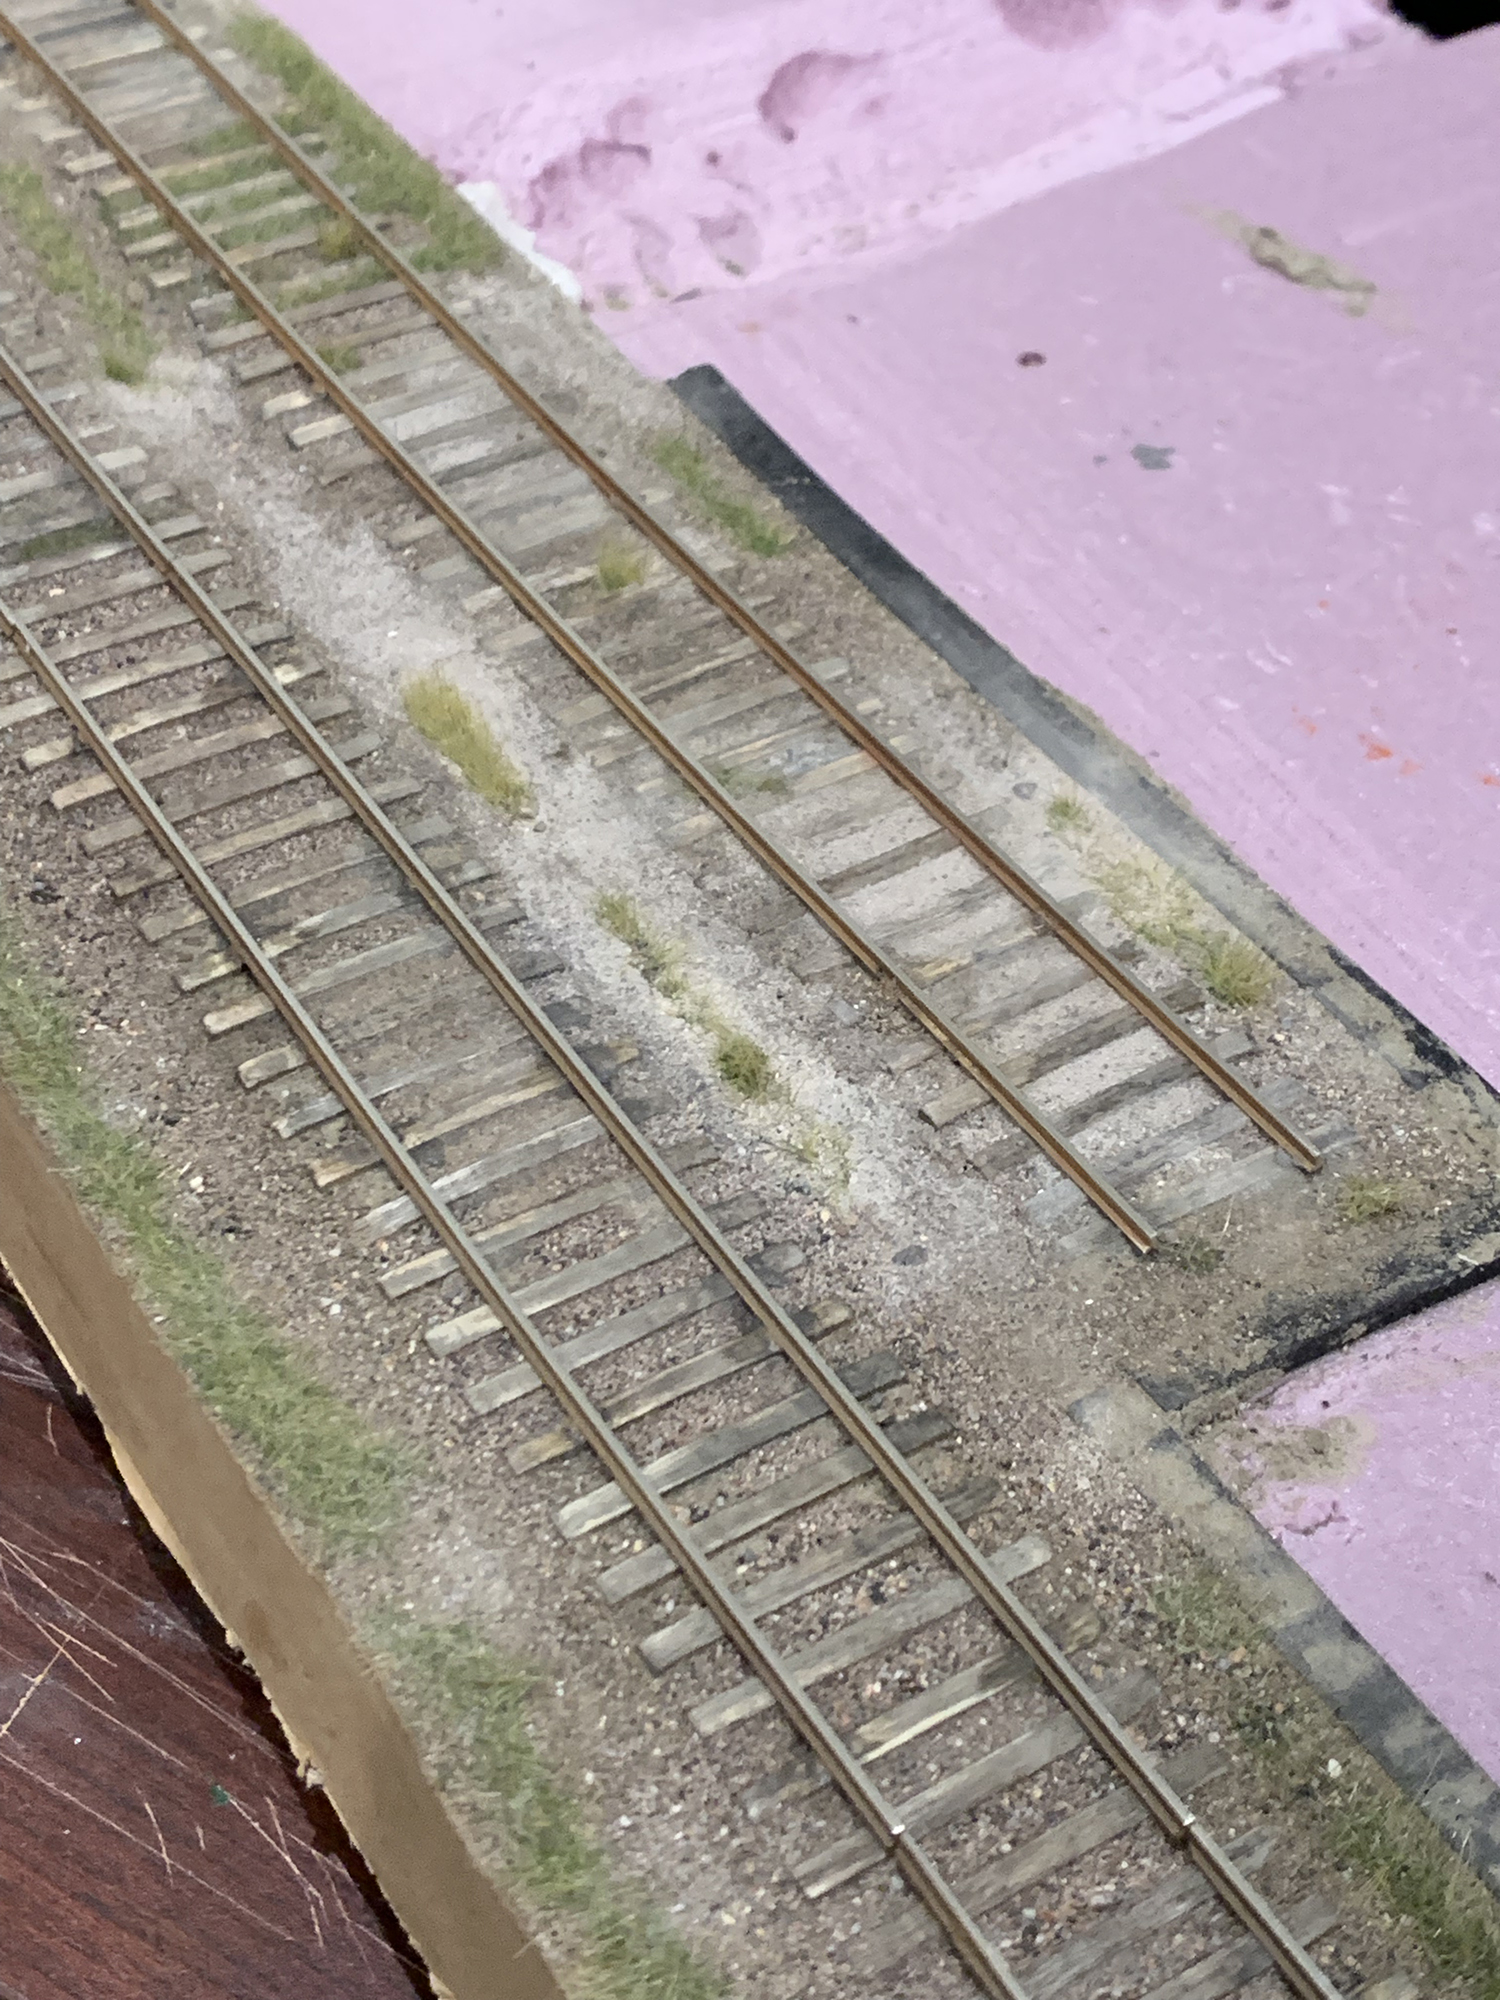
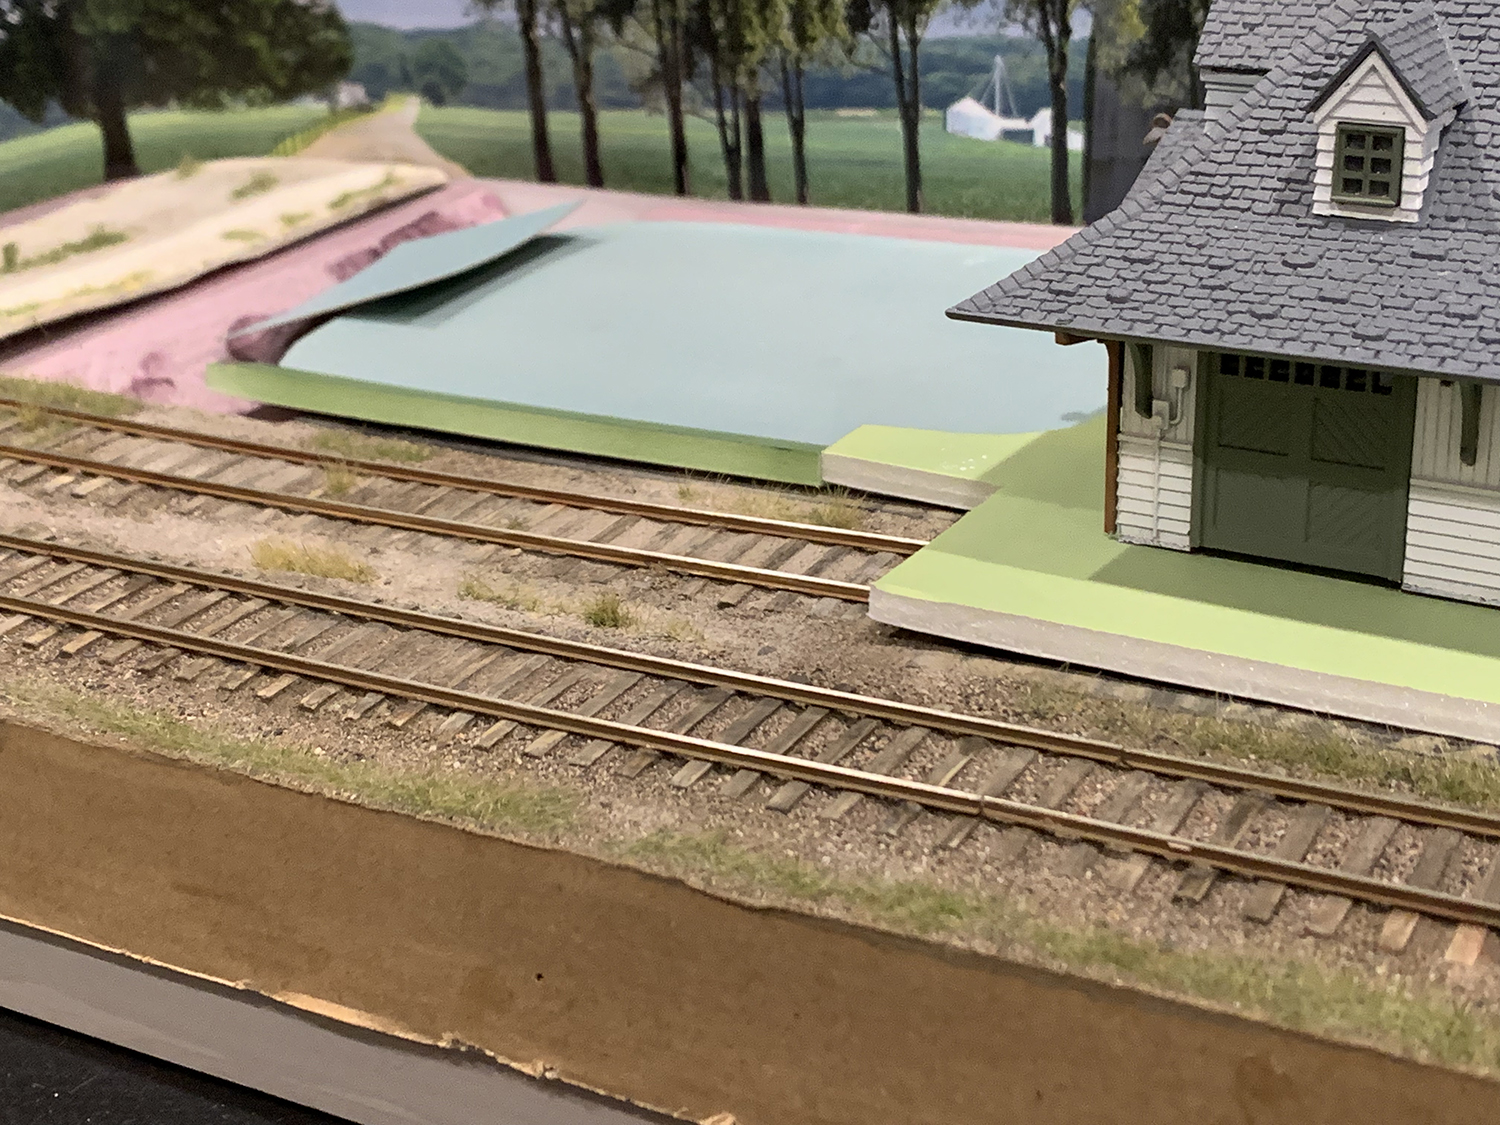
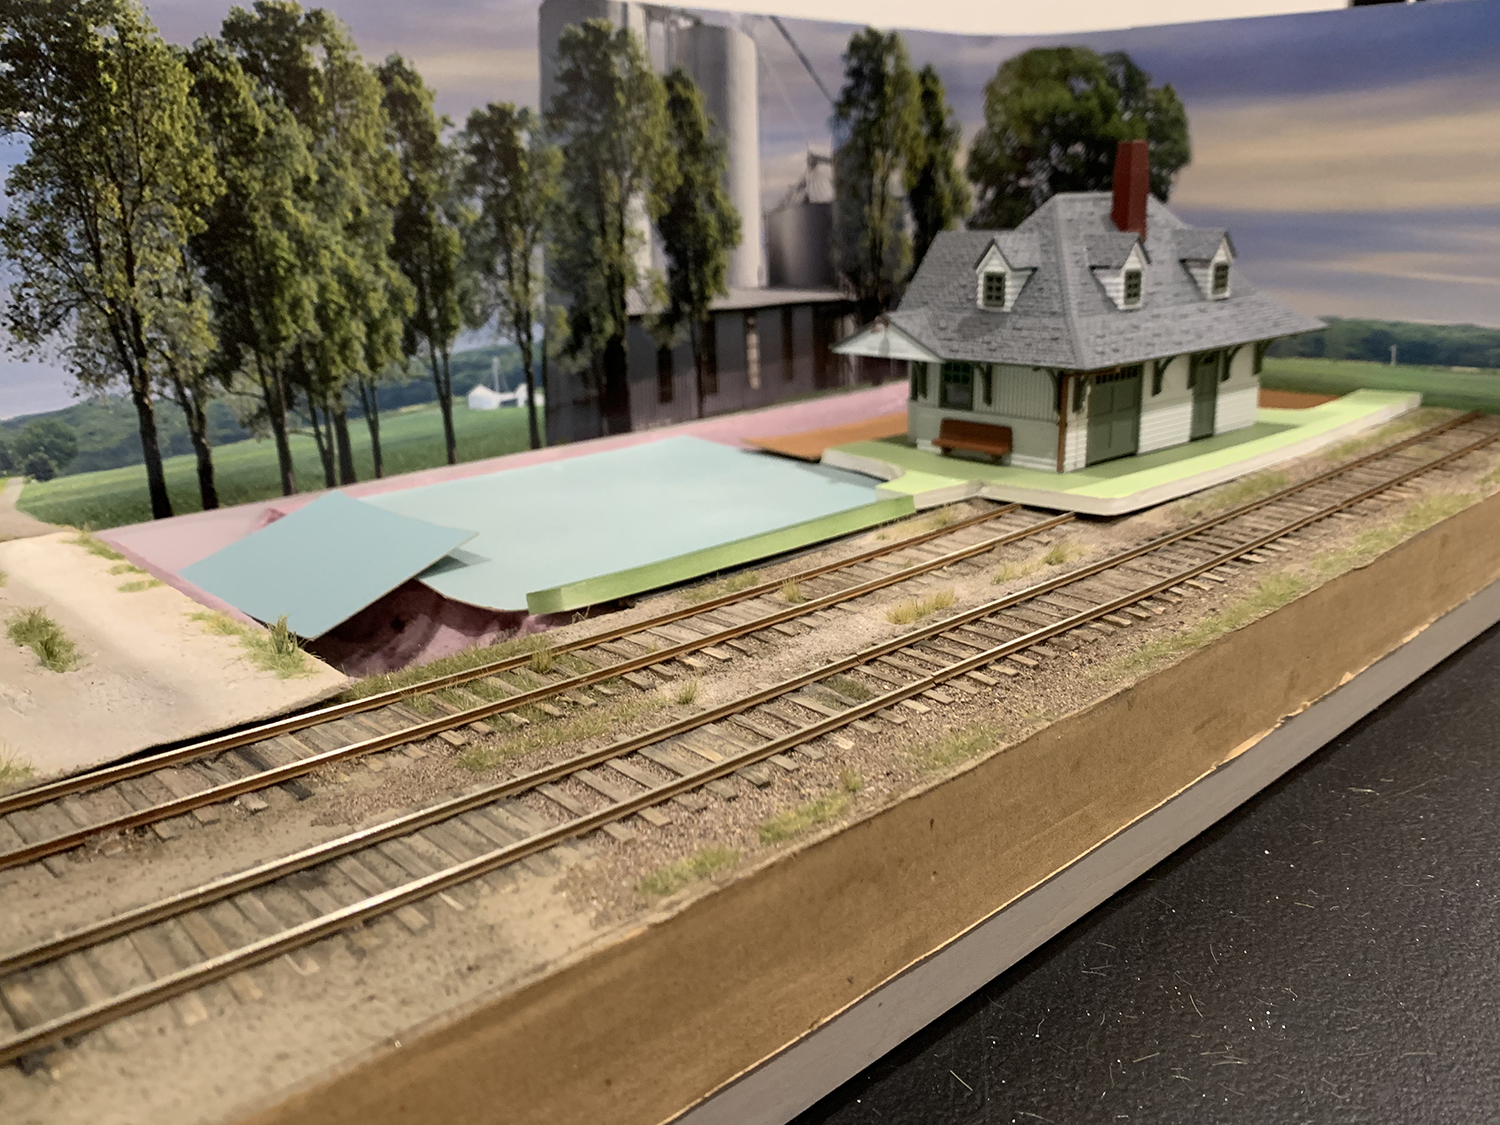
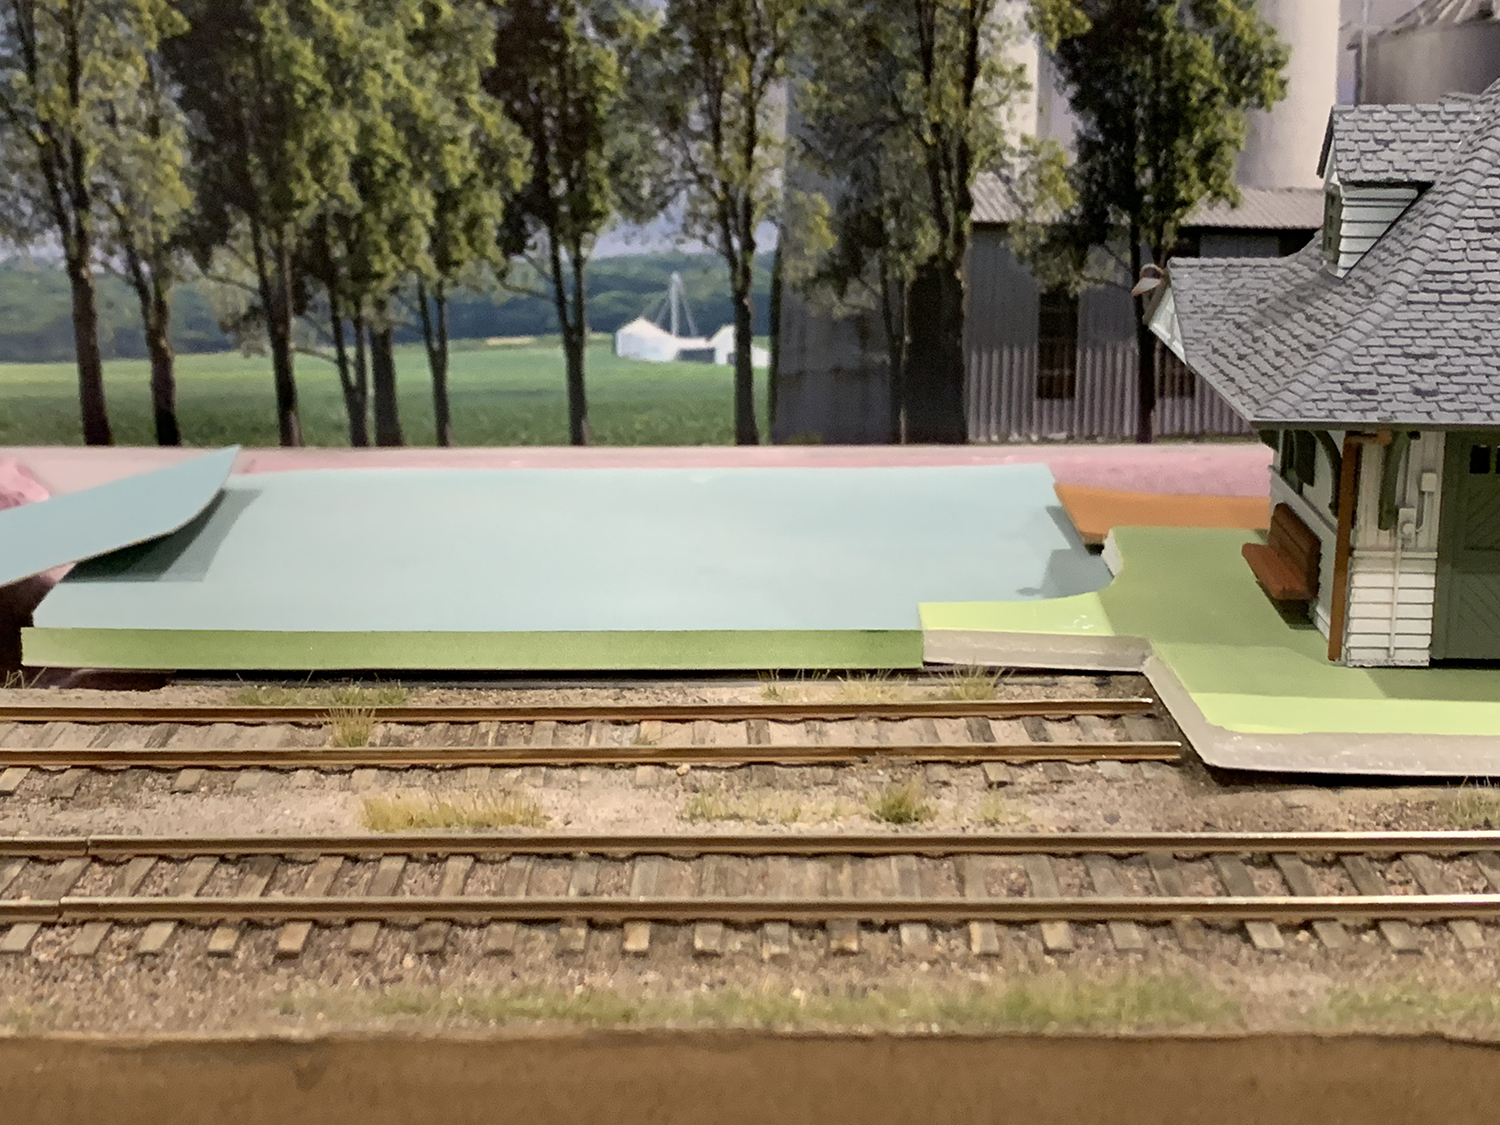
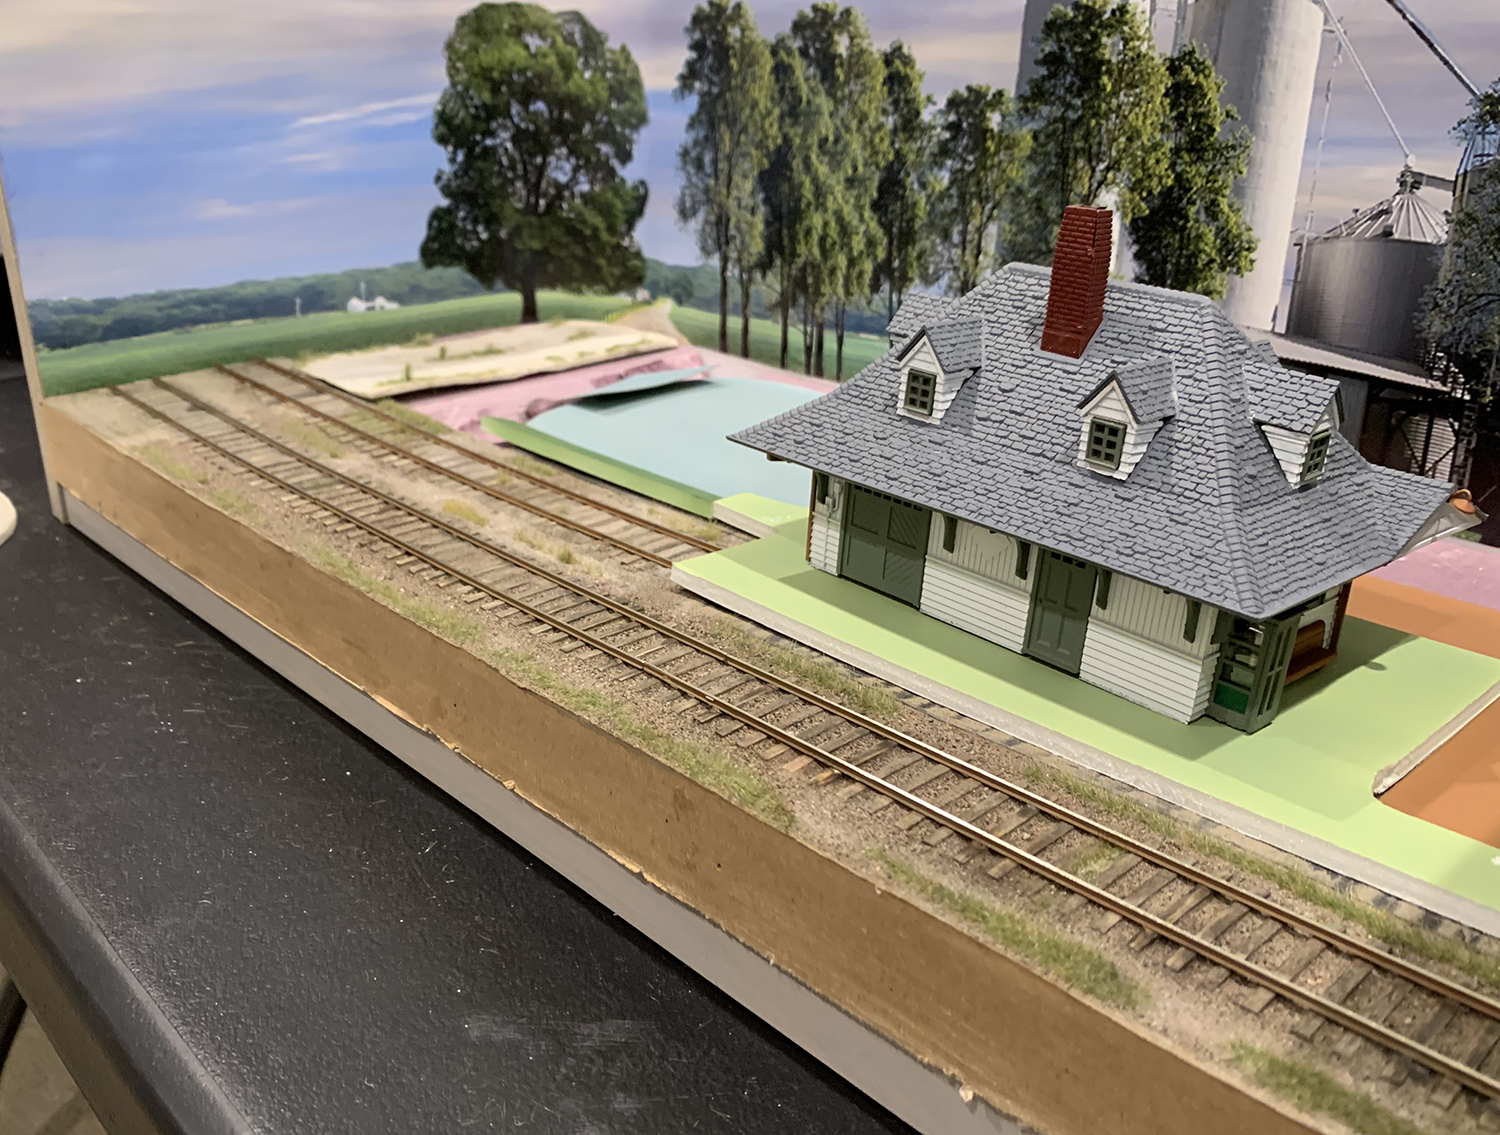
Nice to see things coming together.The ground levels in various places are really important to me. I like ties to be fairly sunken, have no ballast profile and for the surrounding ground to be at the same level as the ballast. The track level serves as a foundation to the levels and heights of all the remaining elements such as the road, the parking area, and the platform.There is going to be a grade crossing at this end. Sadly some of my nicely weathered balsa wood ties are going to be buried.The team track was meant to be code 50 but in my enthusiasm to get it done I completely forgot about it and laid it in code 70. You can see the rail is a little high above the ties here. I have to perfect the Brook-Smith method to lower the rail and incorporate tie plates. That will be the goal for the next project.Still lots to do to make the trackbed pop a little. I need to add colors but will wait until the remainder of the diorama is built before doing that. For now this track work is a good foundation for the rest of the diorama.