Time flys when you are having fun. I can’t believe my last post was quite so long ago. I’ve been hacking away at the diorama most days early in the morning. Even though I’m working at it each day, I’m working in such fine detail that several days can go by while I put together even smallish scenes. The time is spent mostly waiting for paint and glue to dry and thinking things through and planning during the day. The process is something like:
1. Set up in the morning – gluing, painting etc
2. Check work in the afternoon, clean up and then photograph the work so far.
3. Think things through in the evening, look over the photos of the work and have a plan of action for the work in the morning.
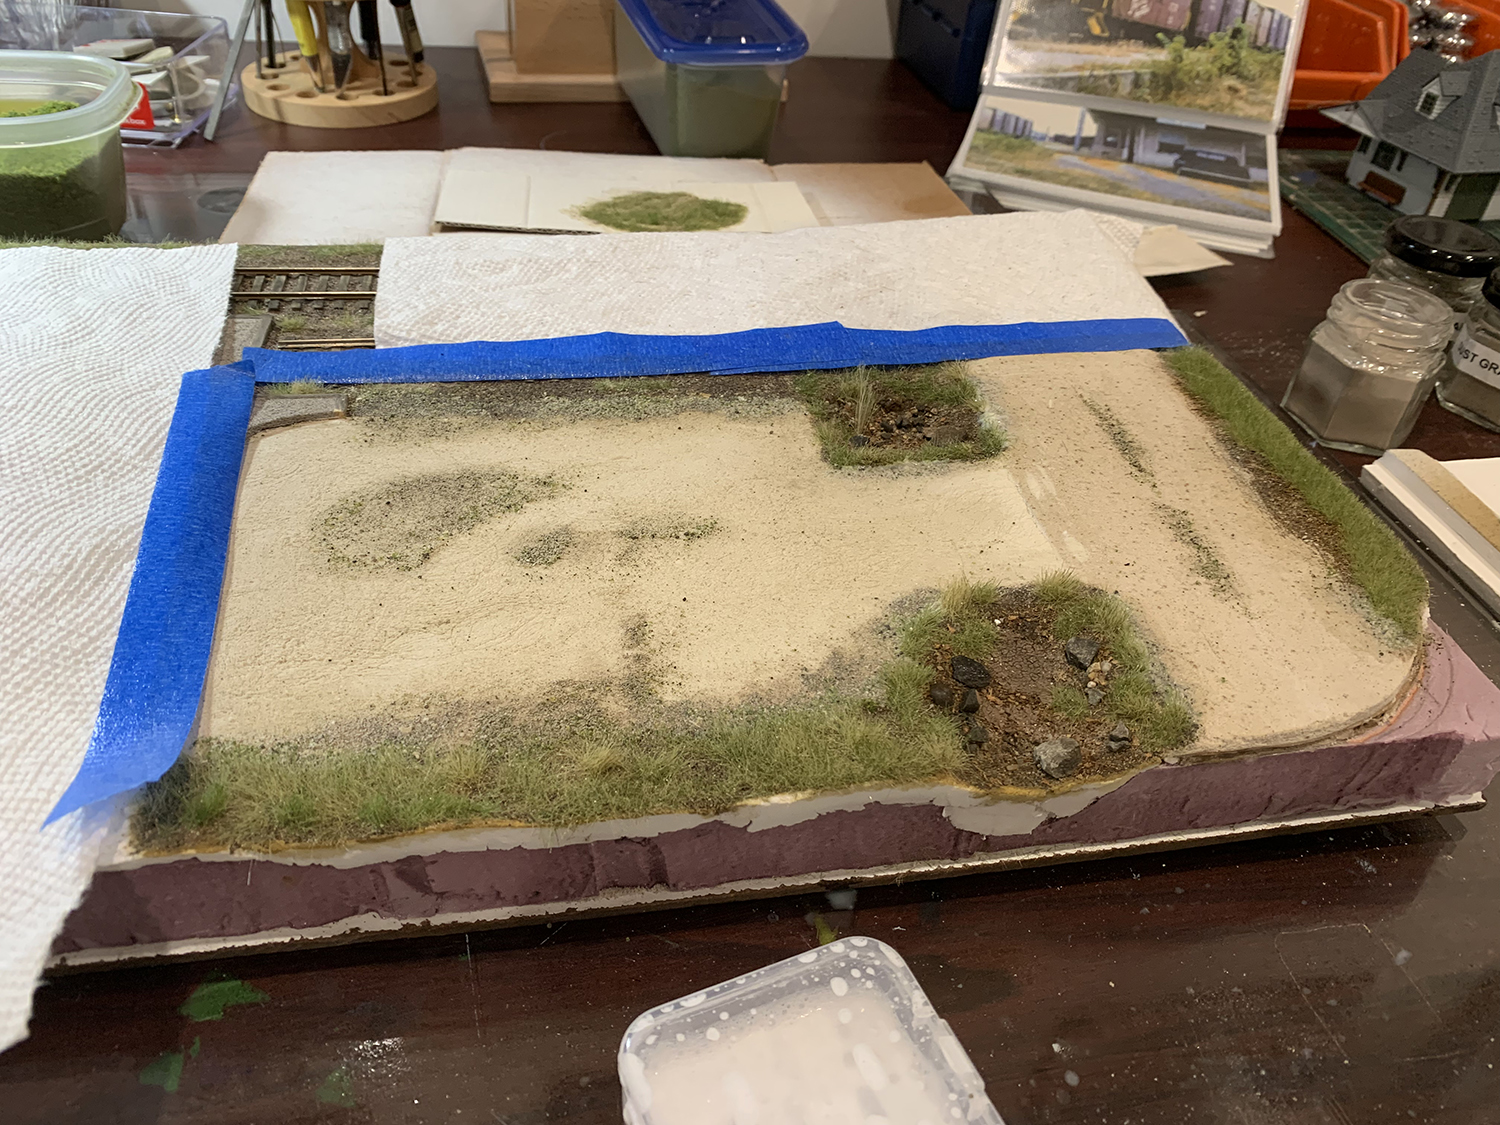
I applied this process to the parking and delivery area:
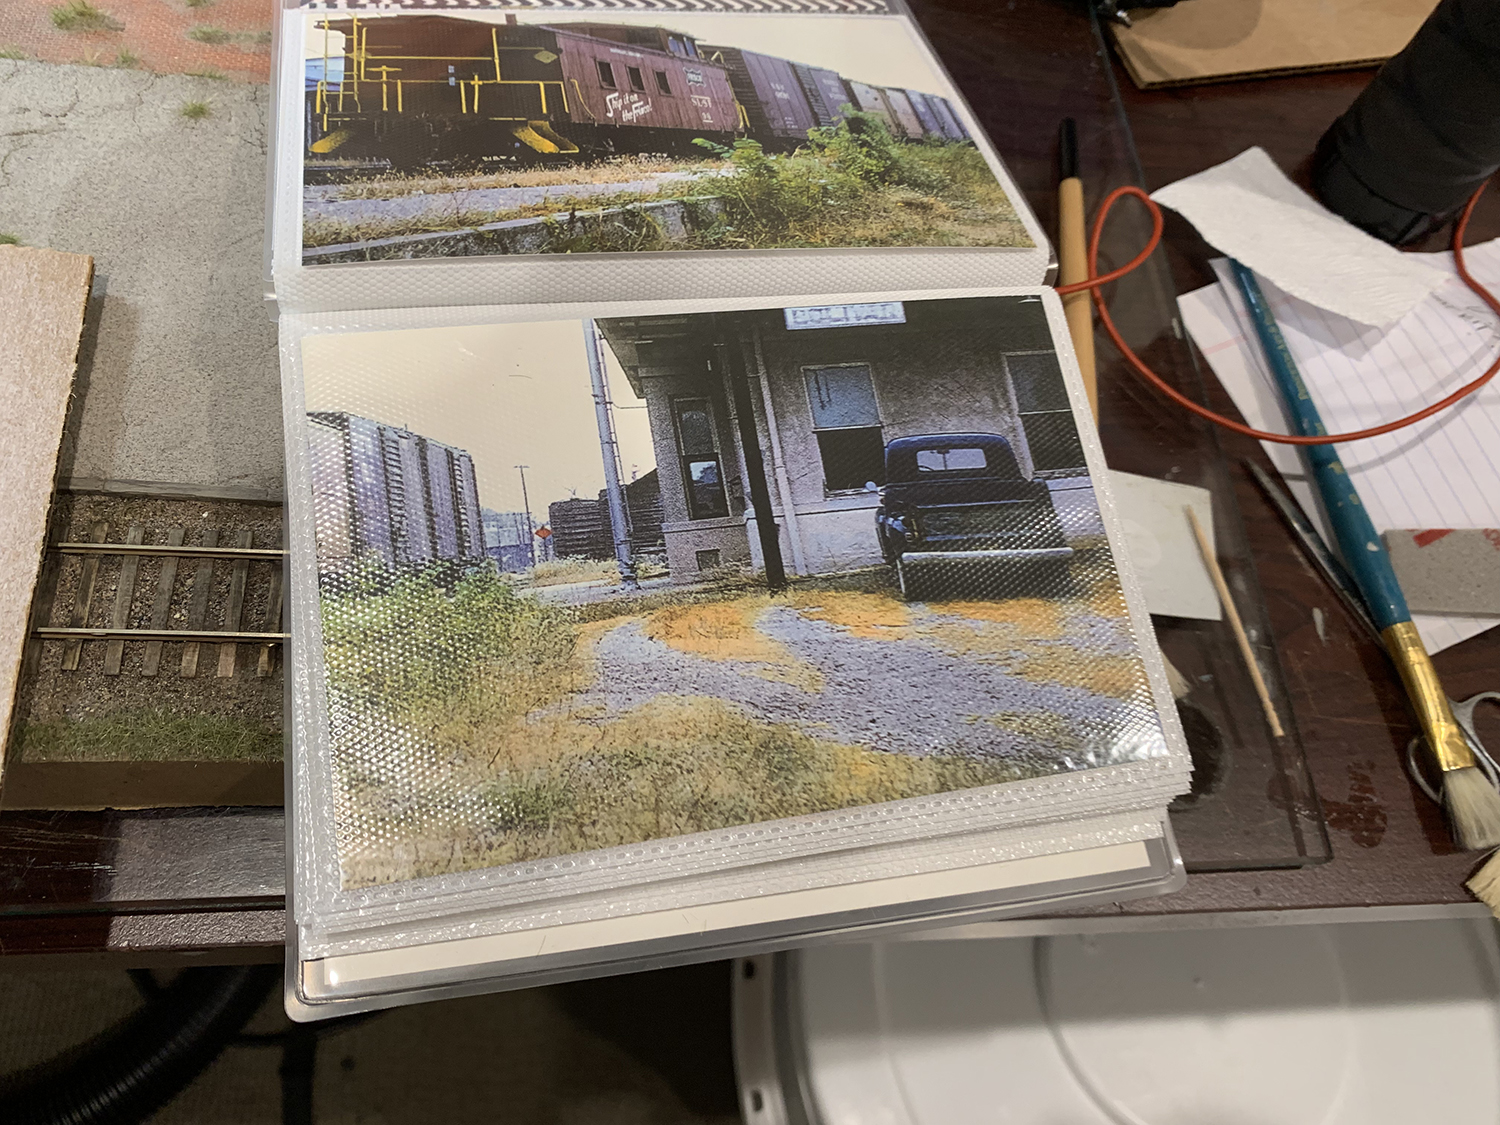
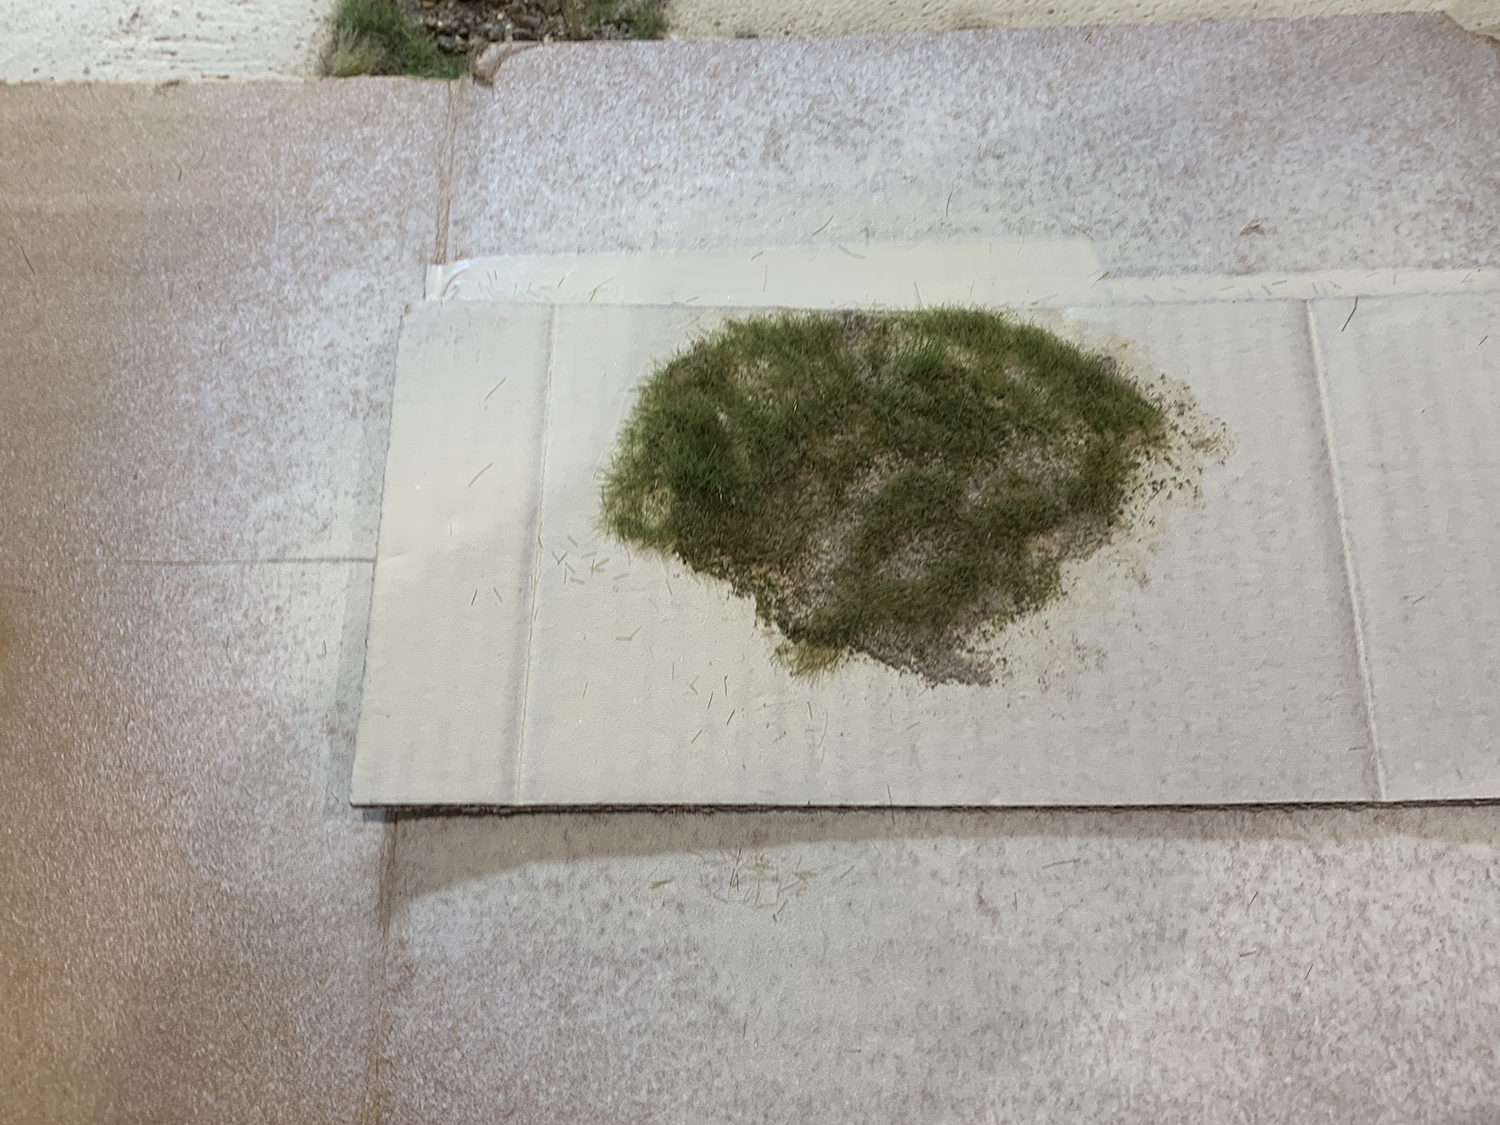
Here is a heavily overgrown parking area with the gravel just peeking through the invasive grass and brush. I wanted a similar effect on my parking area – just a little less overgrown. The picture shows the grass as a blend of green, dry, long, and short grass. I wasn’t sure how best put this together so I did a little test.The first layers was a mix of gravel and fine Woodland Scenics flock glued down using the ink drop method. Then I added tufts glued down with Aleene’s Fabric glue (my favorite tacky glue) and then lastly I added a layer of 2mm static grass of green/summer grass. This is how it came out. The order of the method got me a nice blend of grass heights and grass density and allowed some of the gravel below to peek through.
So starting with a clean parking area I got to work.First layer stones and flock.Tufts added and then static grass.And here is the result. Looked pretty good to me – good enough for the moment. Still work to do such as add a variety of colors/plants and smooth out the parking surface. I’ll get to that during a round of tidying up at a later date.
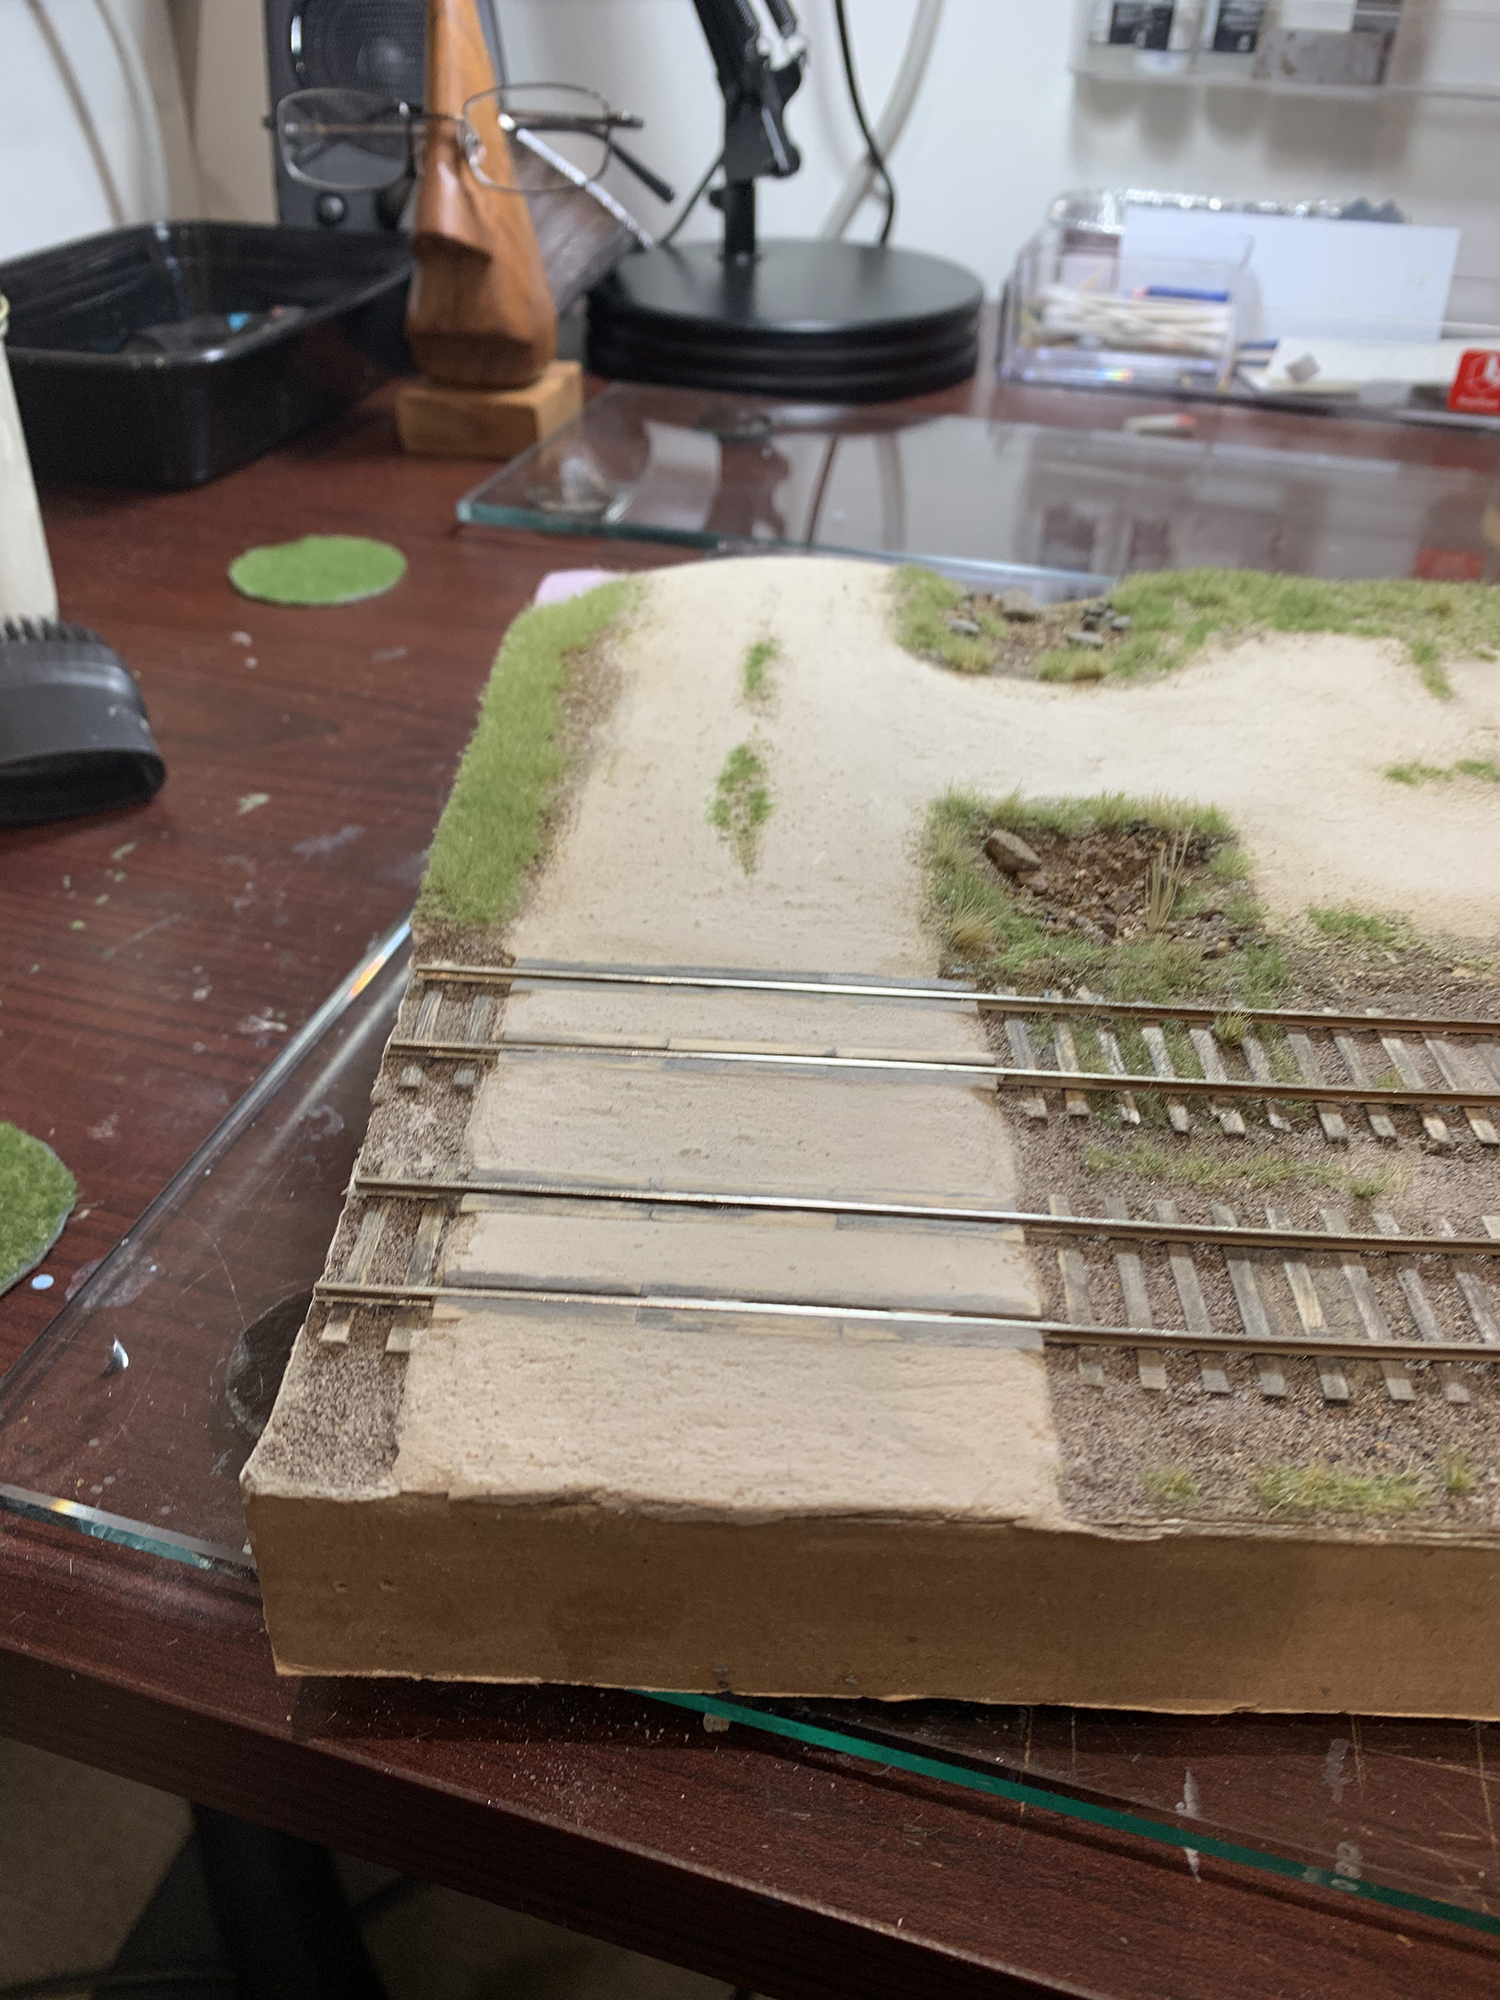
Road and crossing
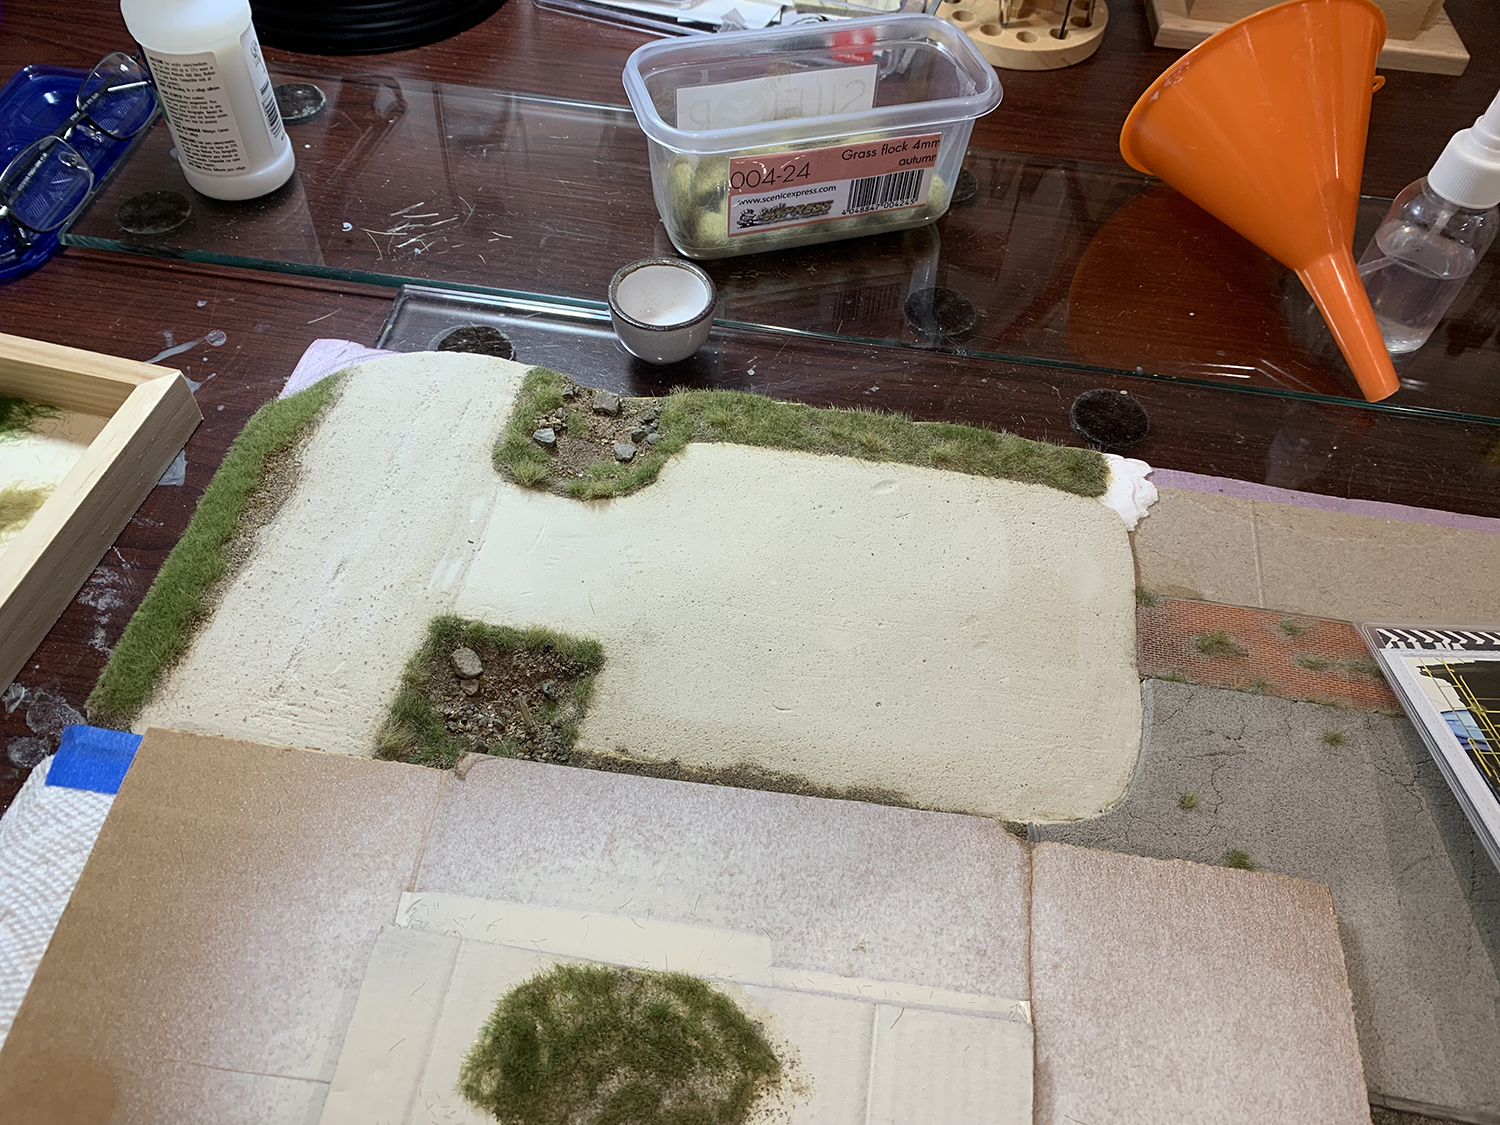
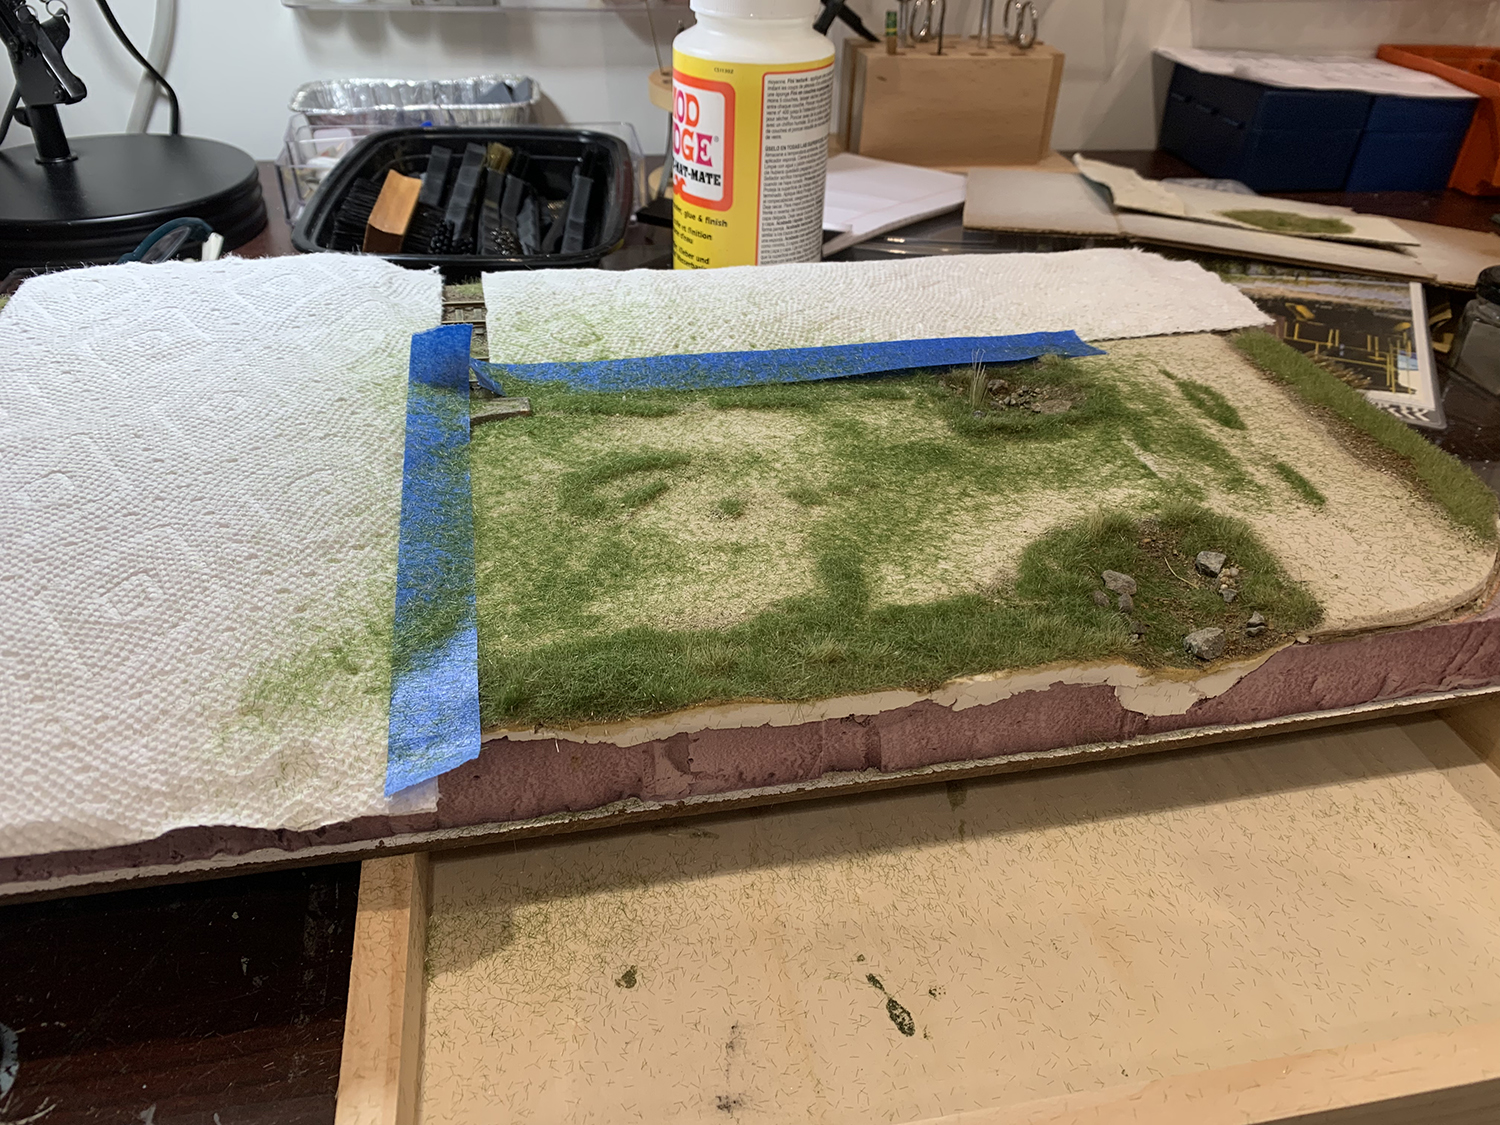
Using a similar process as above – glue in mornings, tidy up in afternoon, ponder in evening I turned back to the road and crossing. Generally I’m not happy with the crossing – even after trying to improve its look: I didn’t like the surface, the edges are sloppy, and there are gaps here and there due to poor modeling. I’ll do a round a of tidying up and tweaking later but for now I decided to salvage what I could.
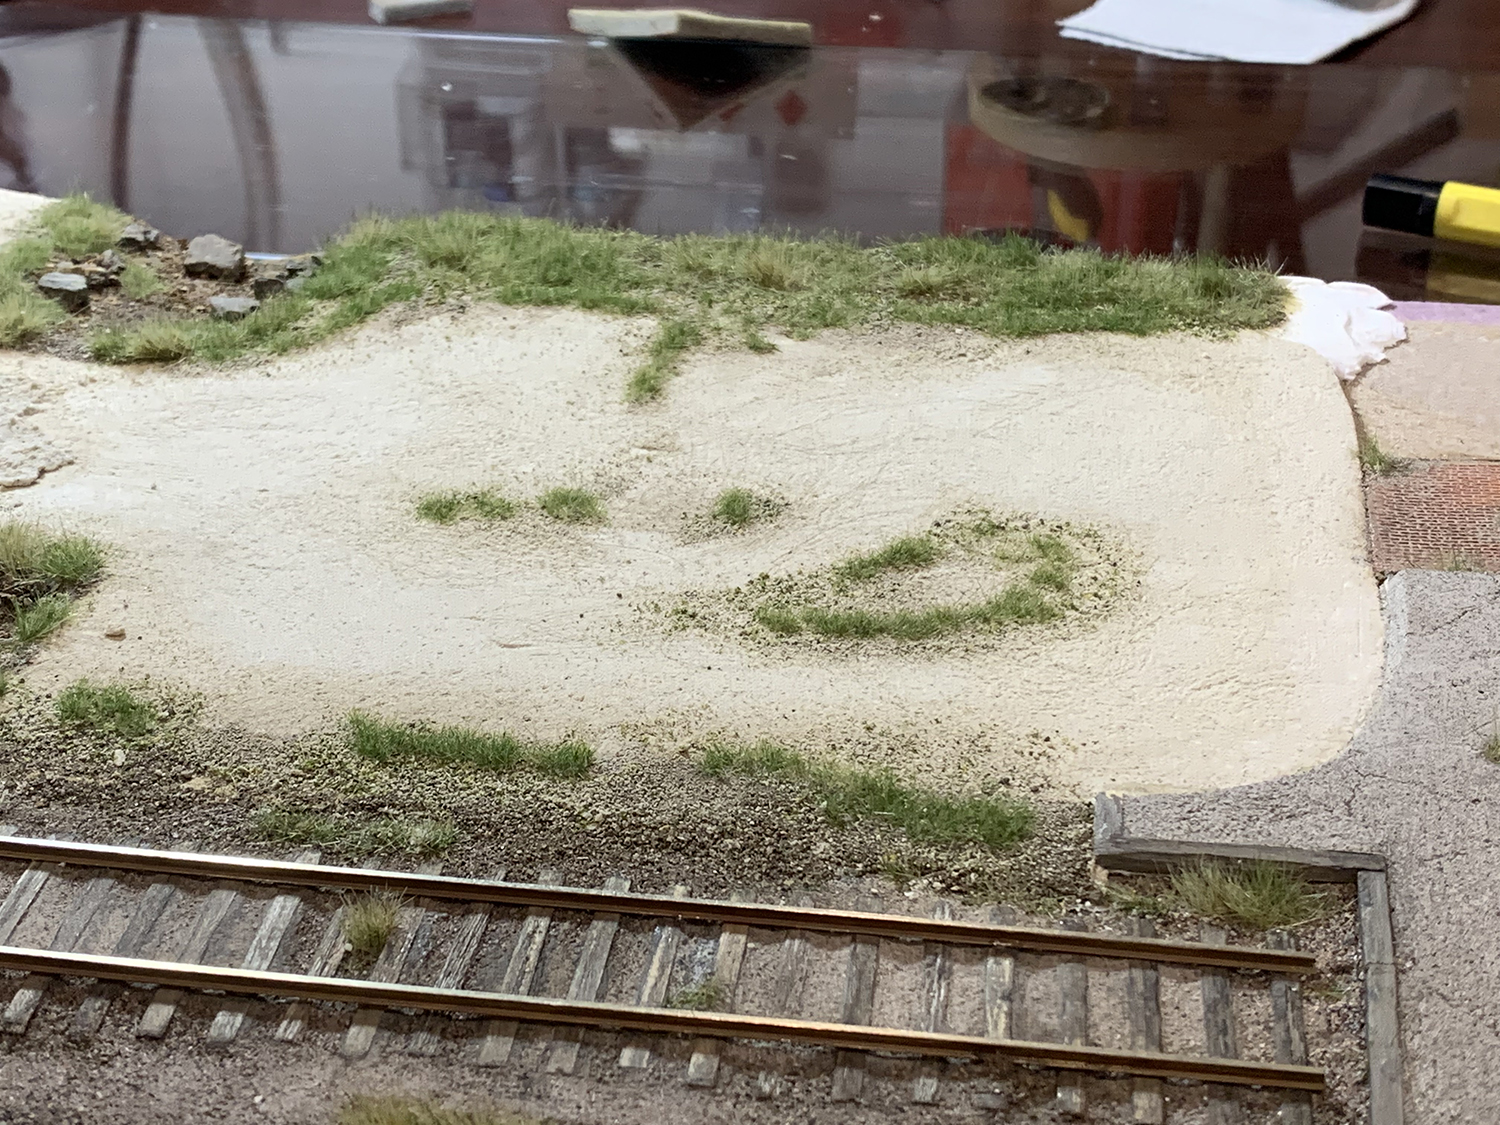
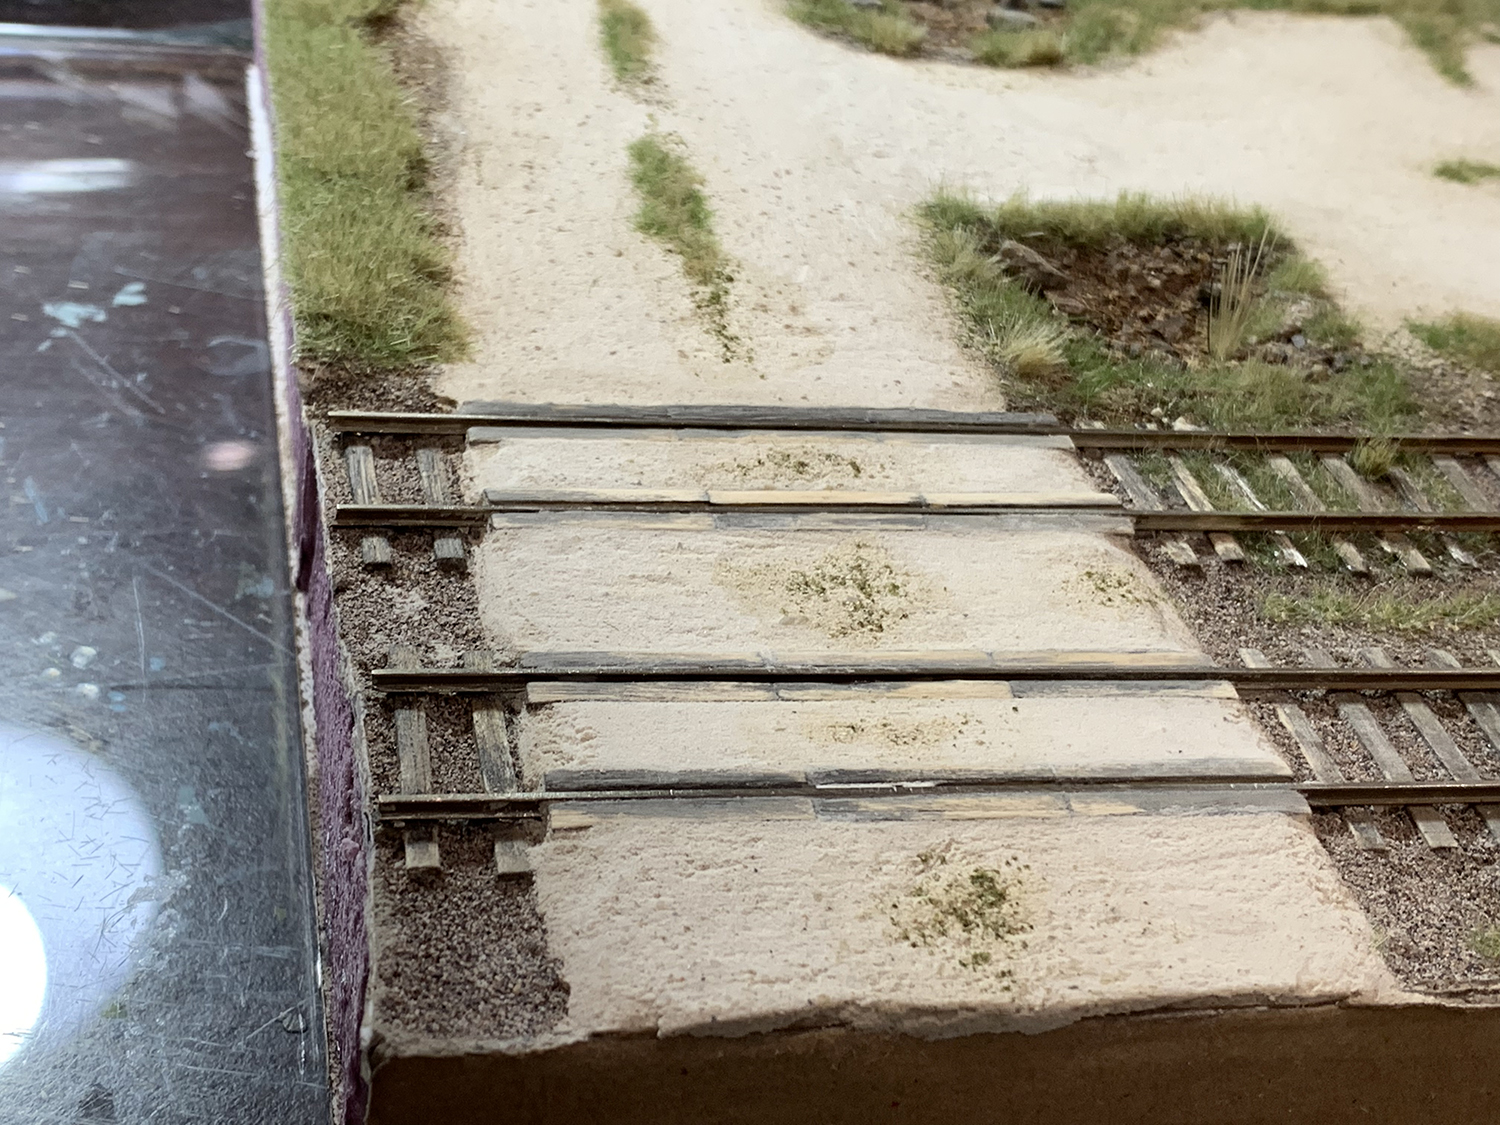
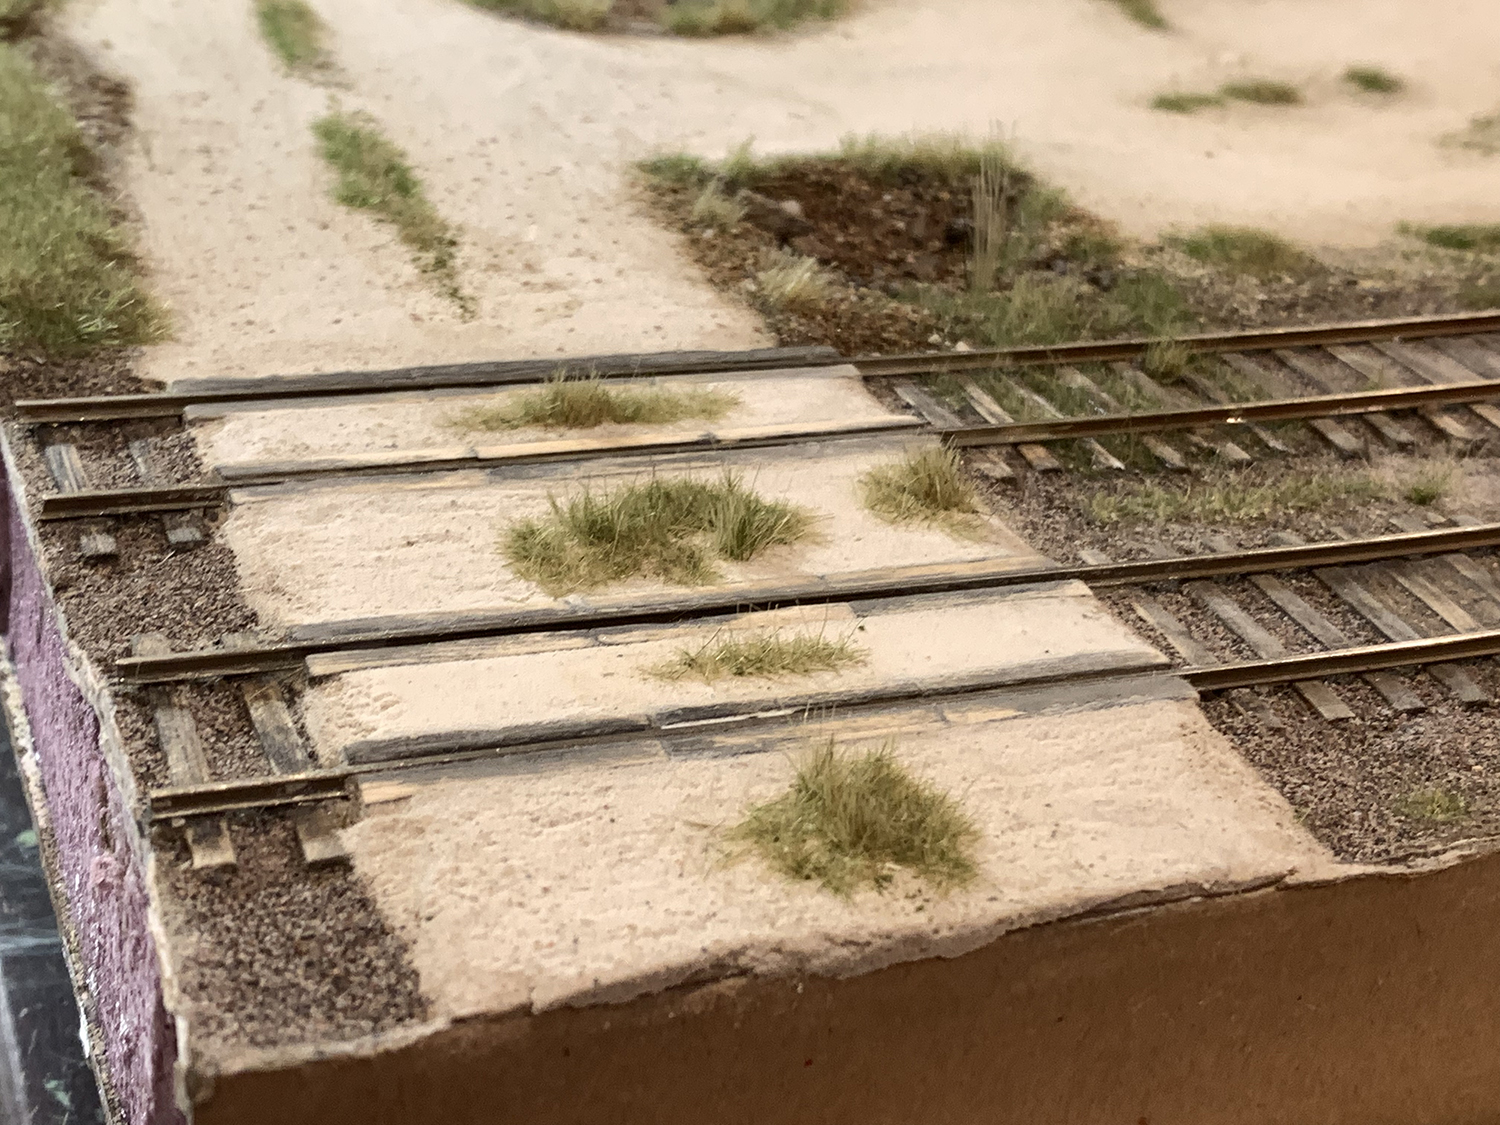
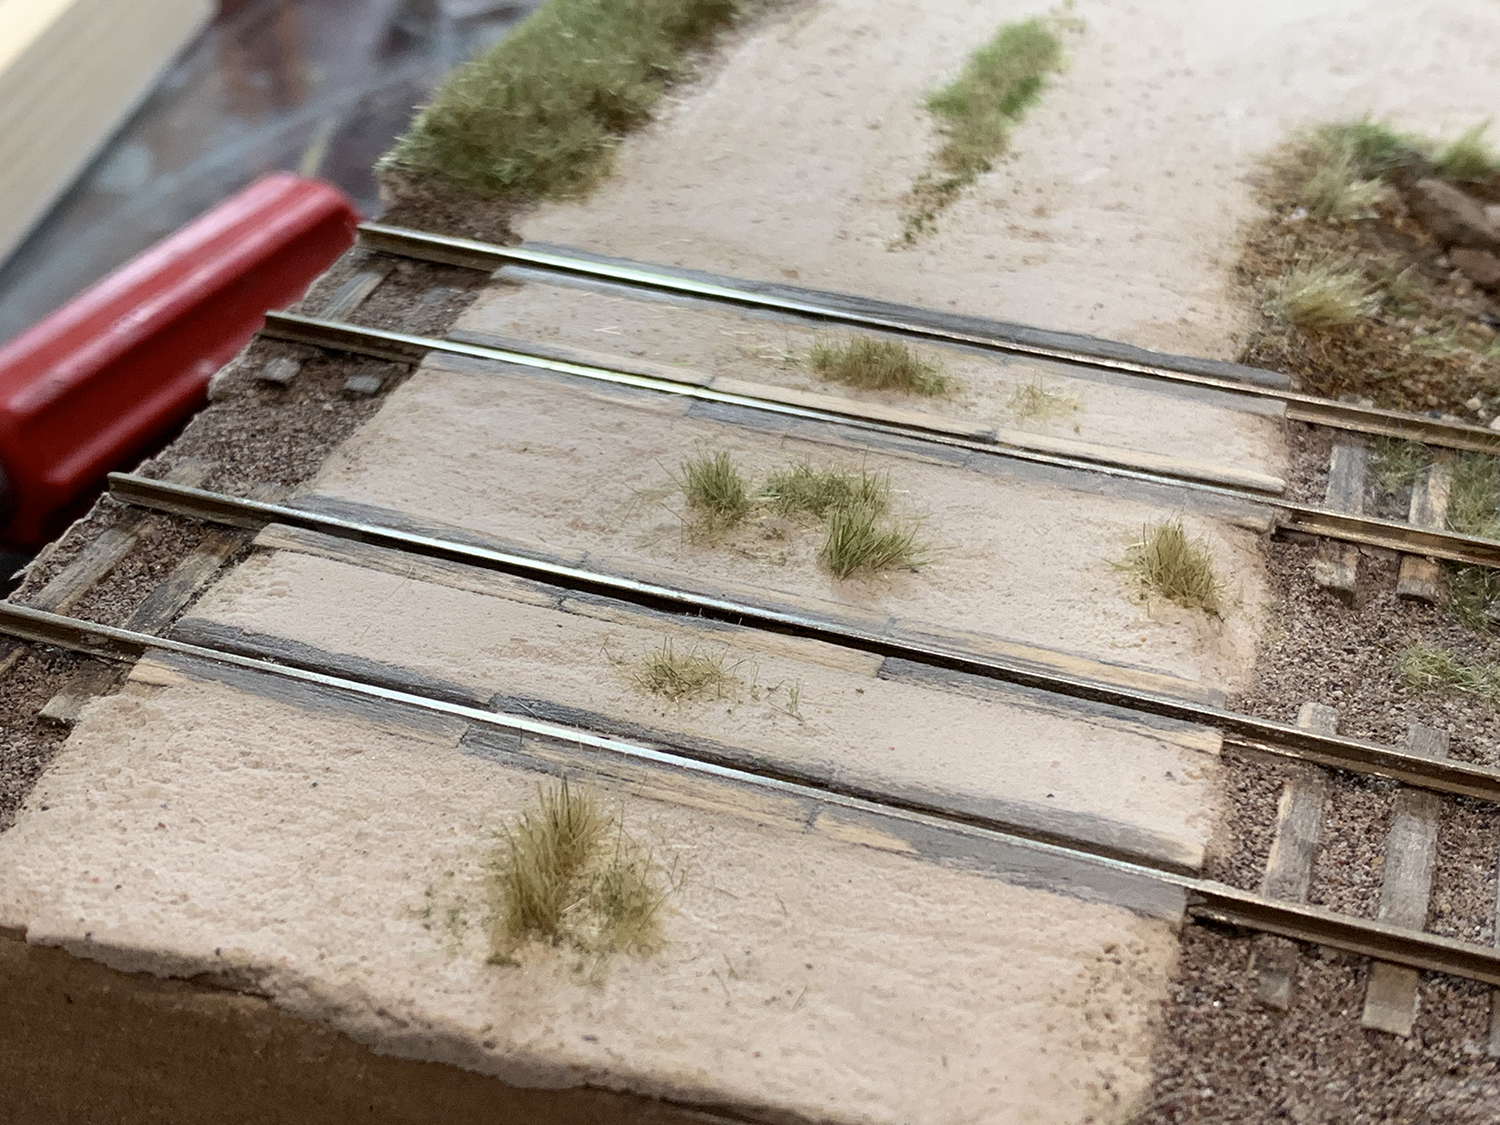
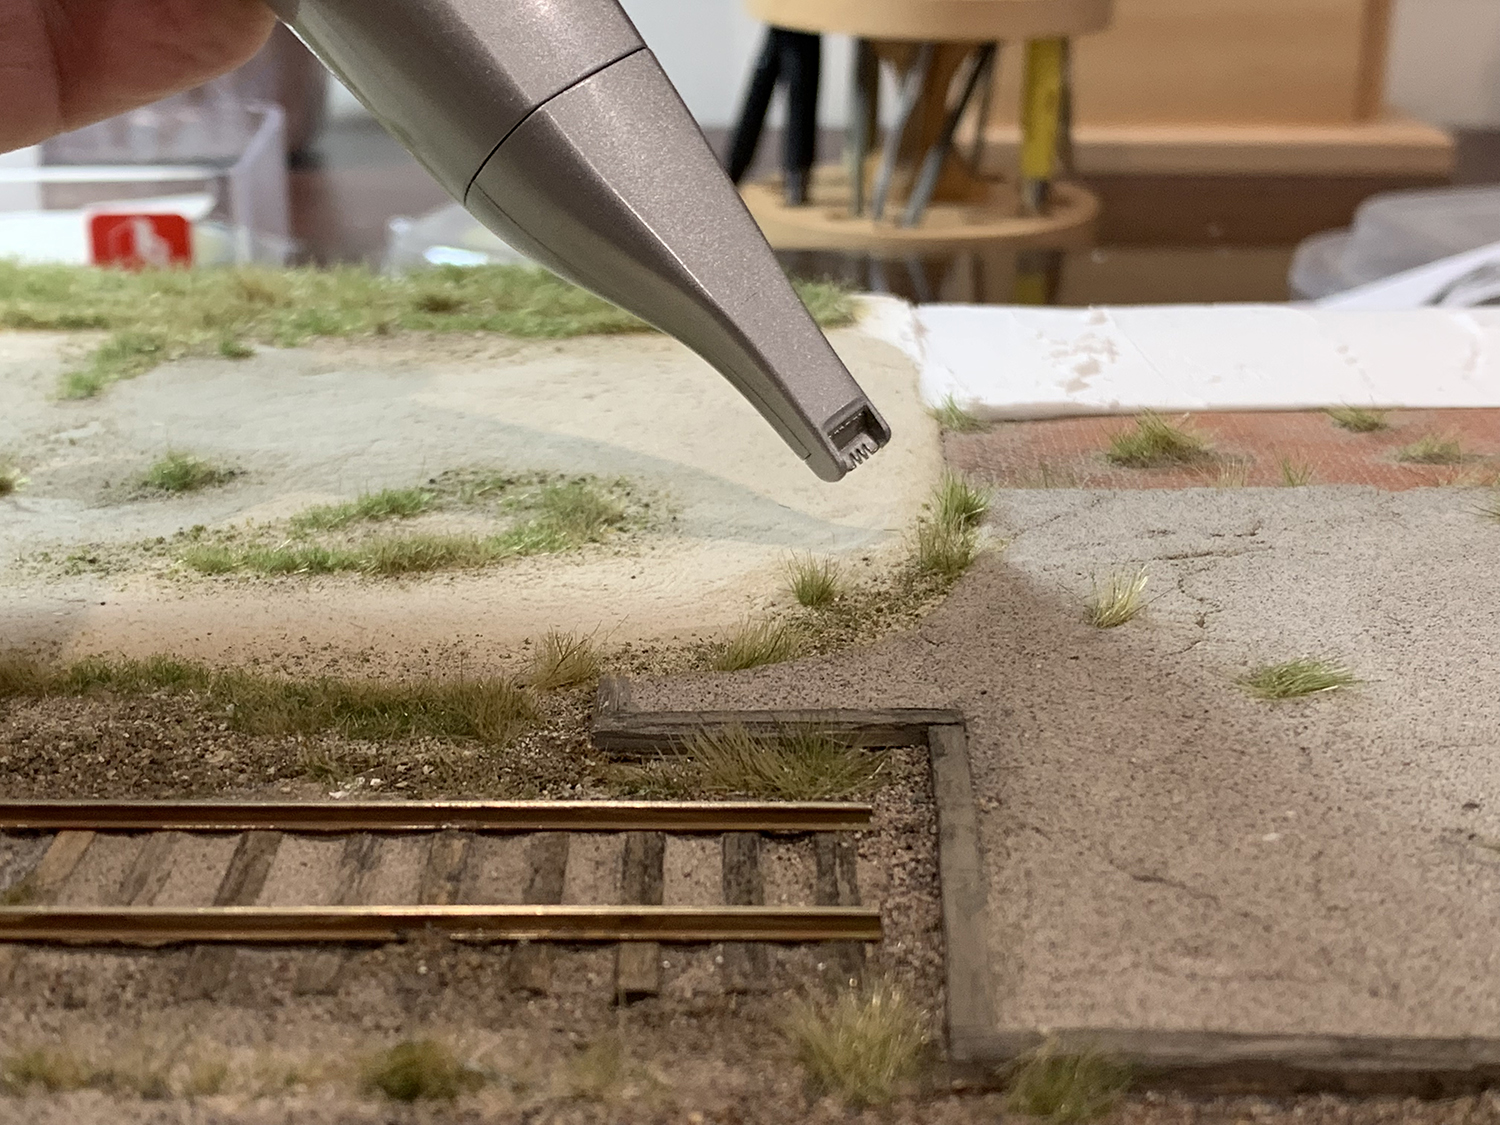
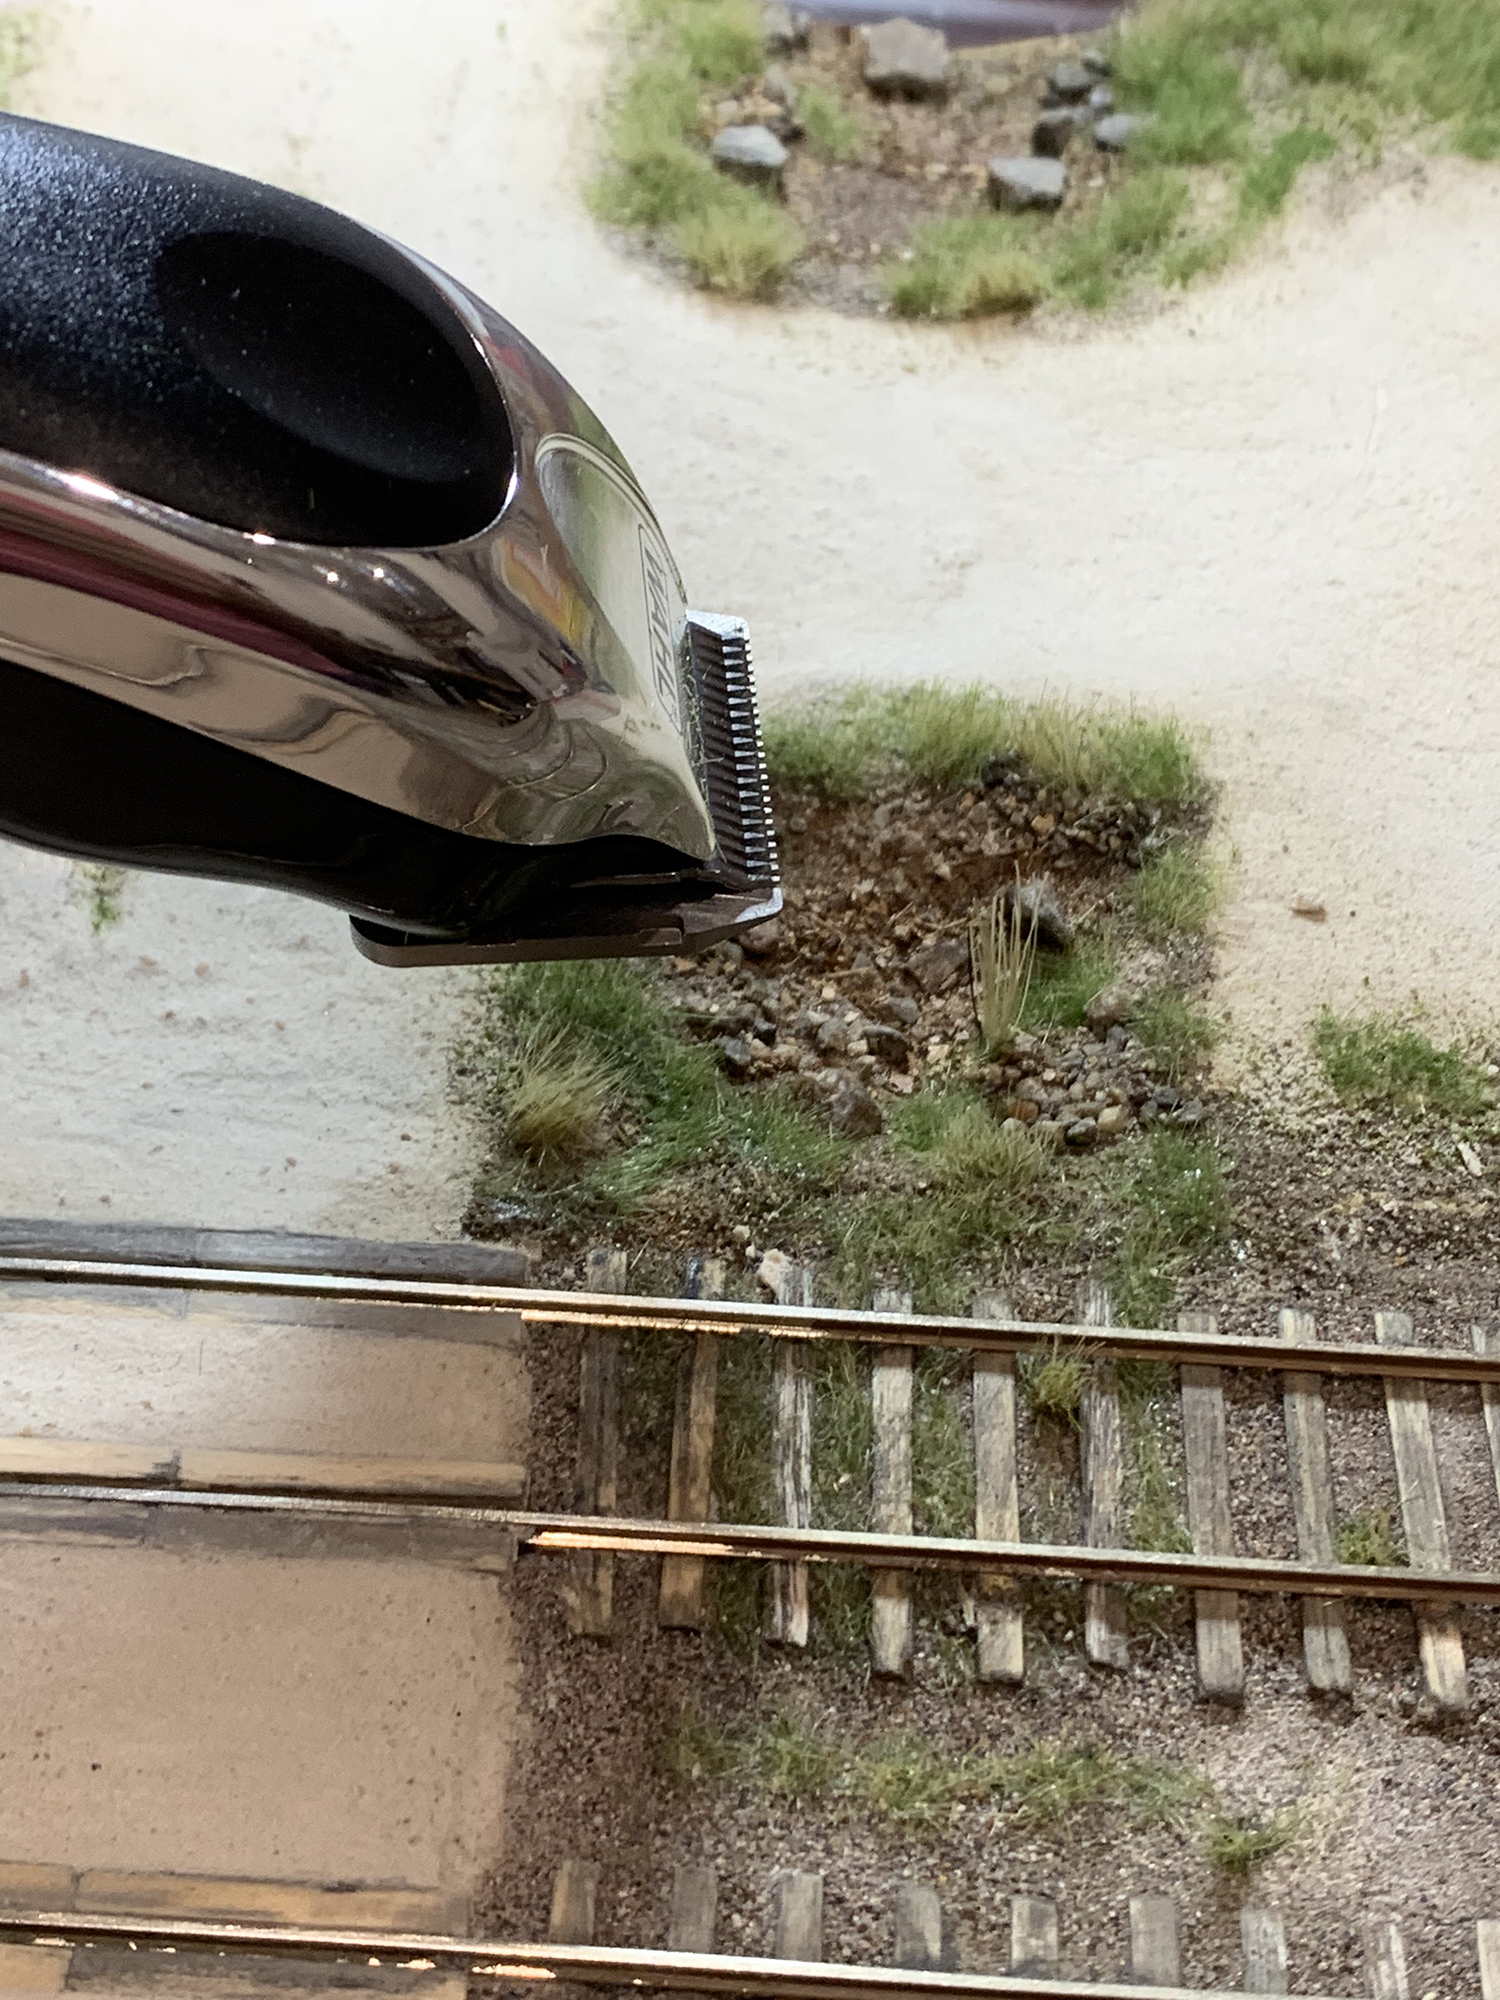
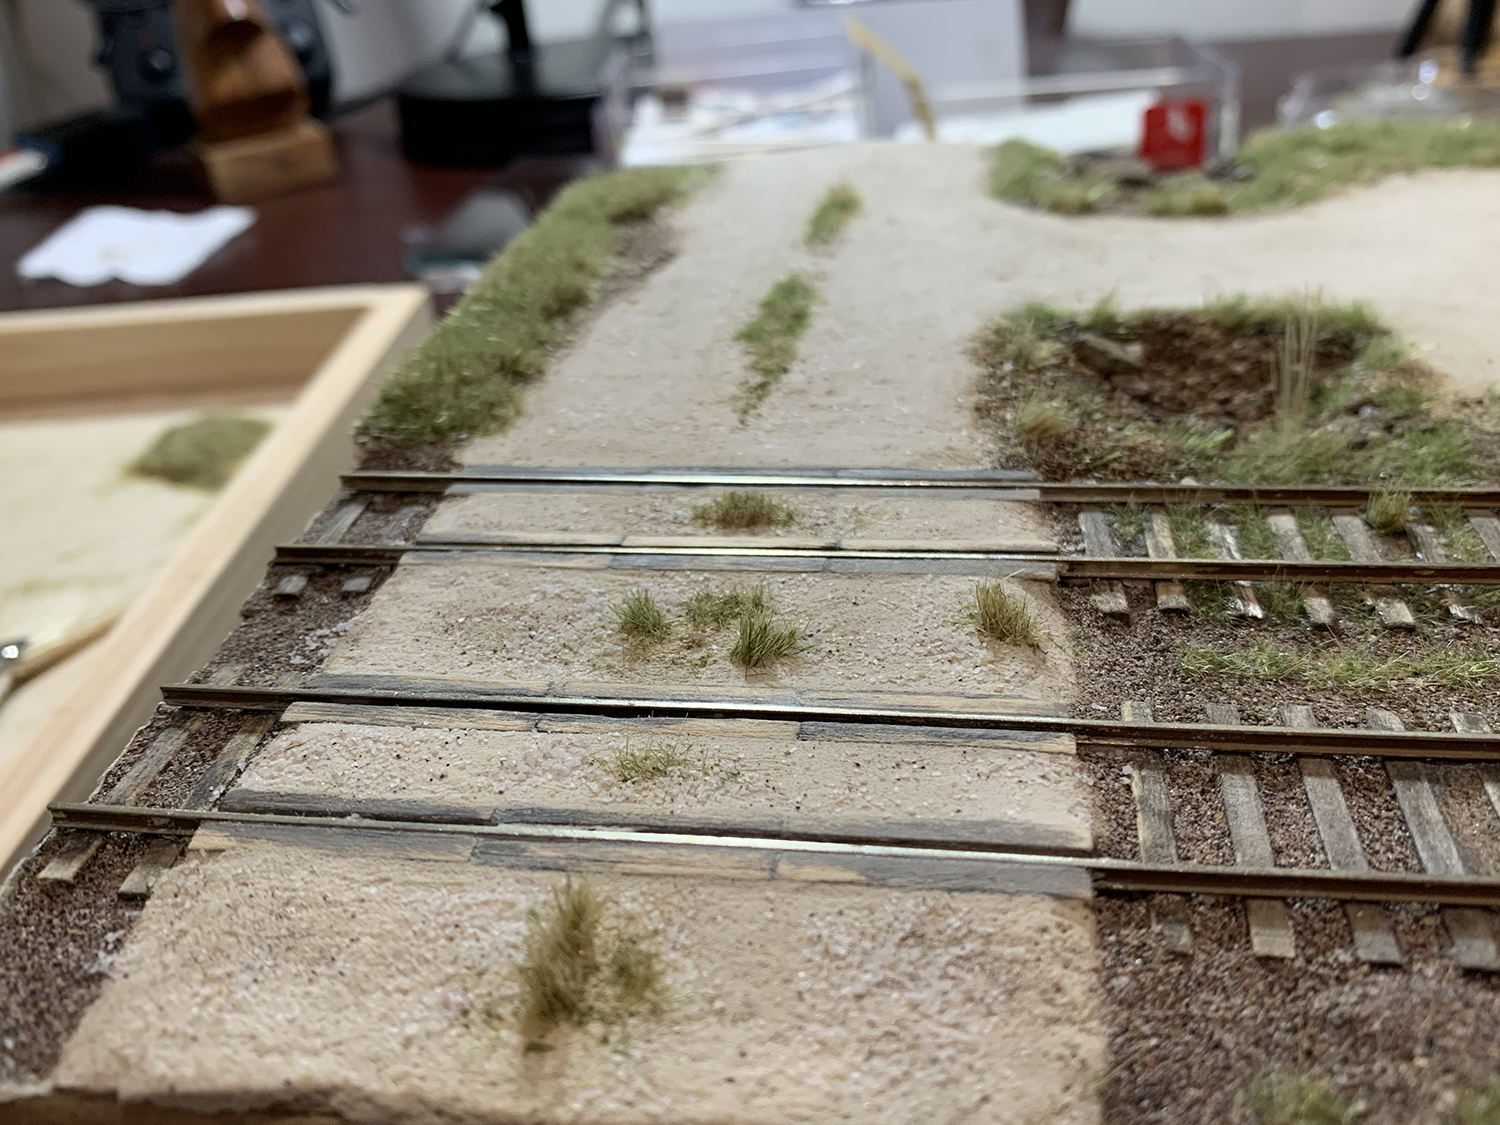
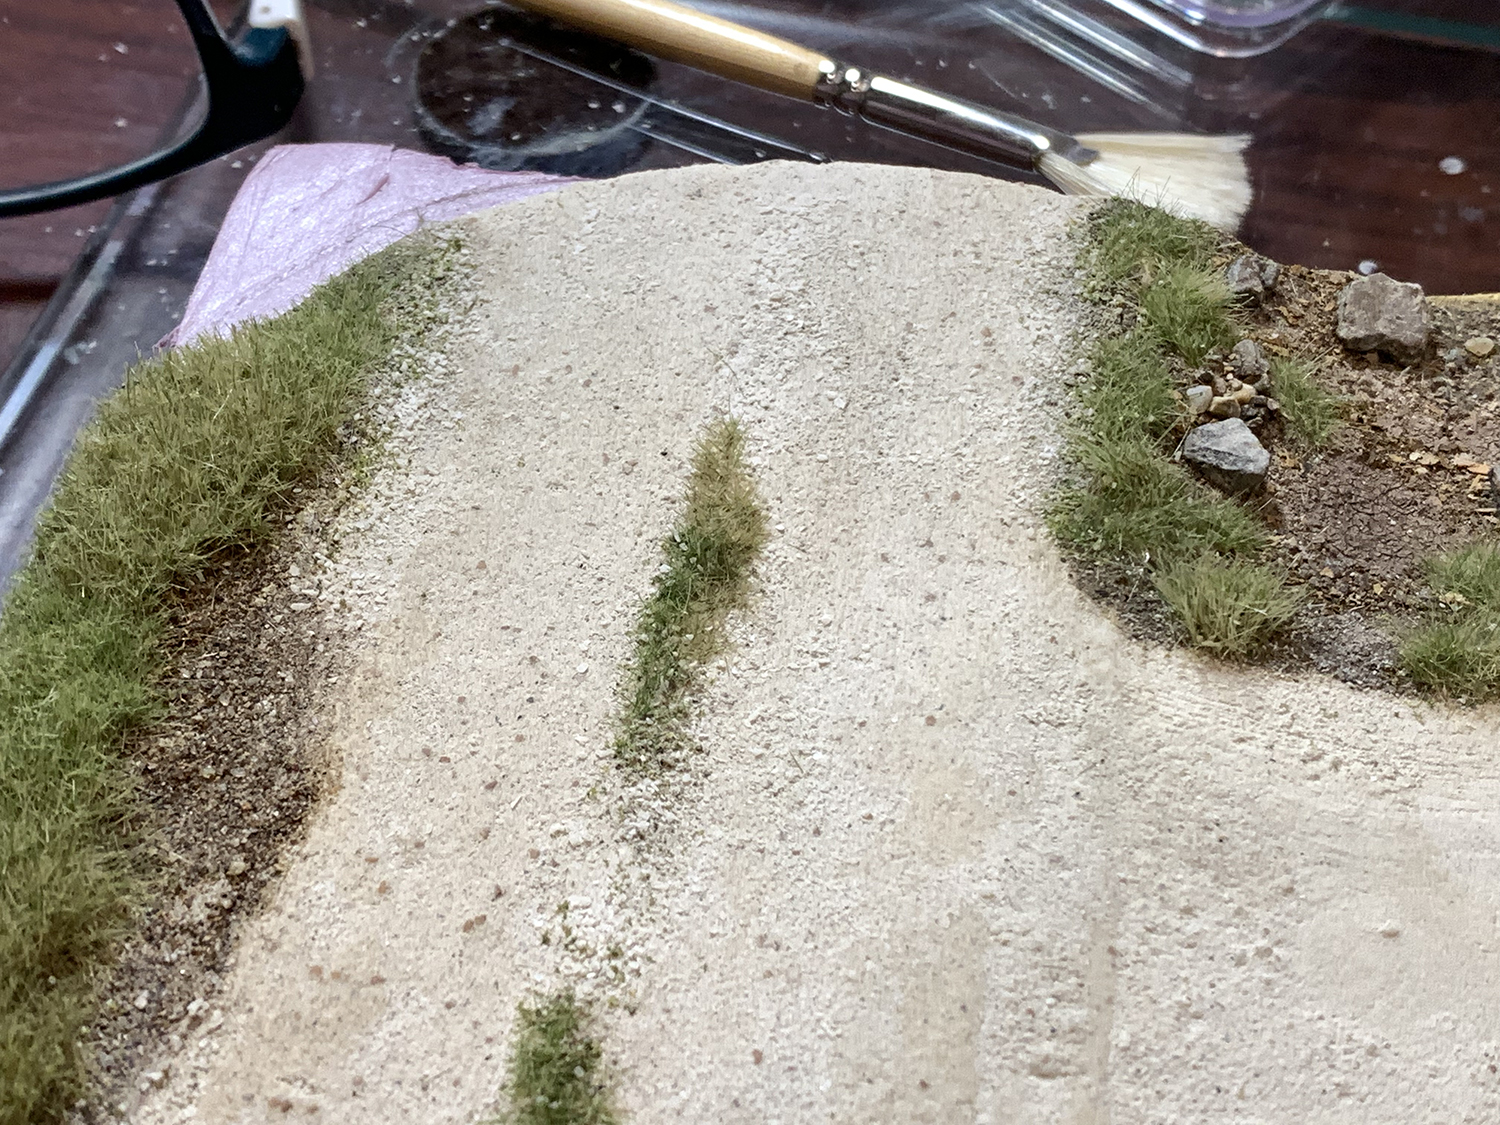
I resurfaced the crossing. I cut out the old surface and added a some of the wet roadway mix that I had saved in a jar. It came out ok: yes there is probably a prototype crossing somewhere in the world that looks like this but I’m not happy with the way it looks. I would have liked to have had a smoother surface and overall cleaner modeling.Once dried the surface looks cleaner but still rougher than I would have liked.I decided to add some center vegetation. The first layer is a mix of gravel, fine flock and dirt.Then I added tufts and then a layer of 2mm grass. It came out nice but thicker that desired. Below I describe how I chop grass down to fine and very short length – not using scissors.After thinning, blending and cutting. It looks like I went too far: the grass looks a little less grown but I need to do a better job of blending it and will spend more time on this at a later date.
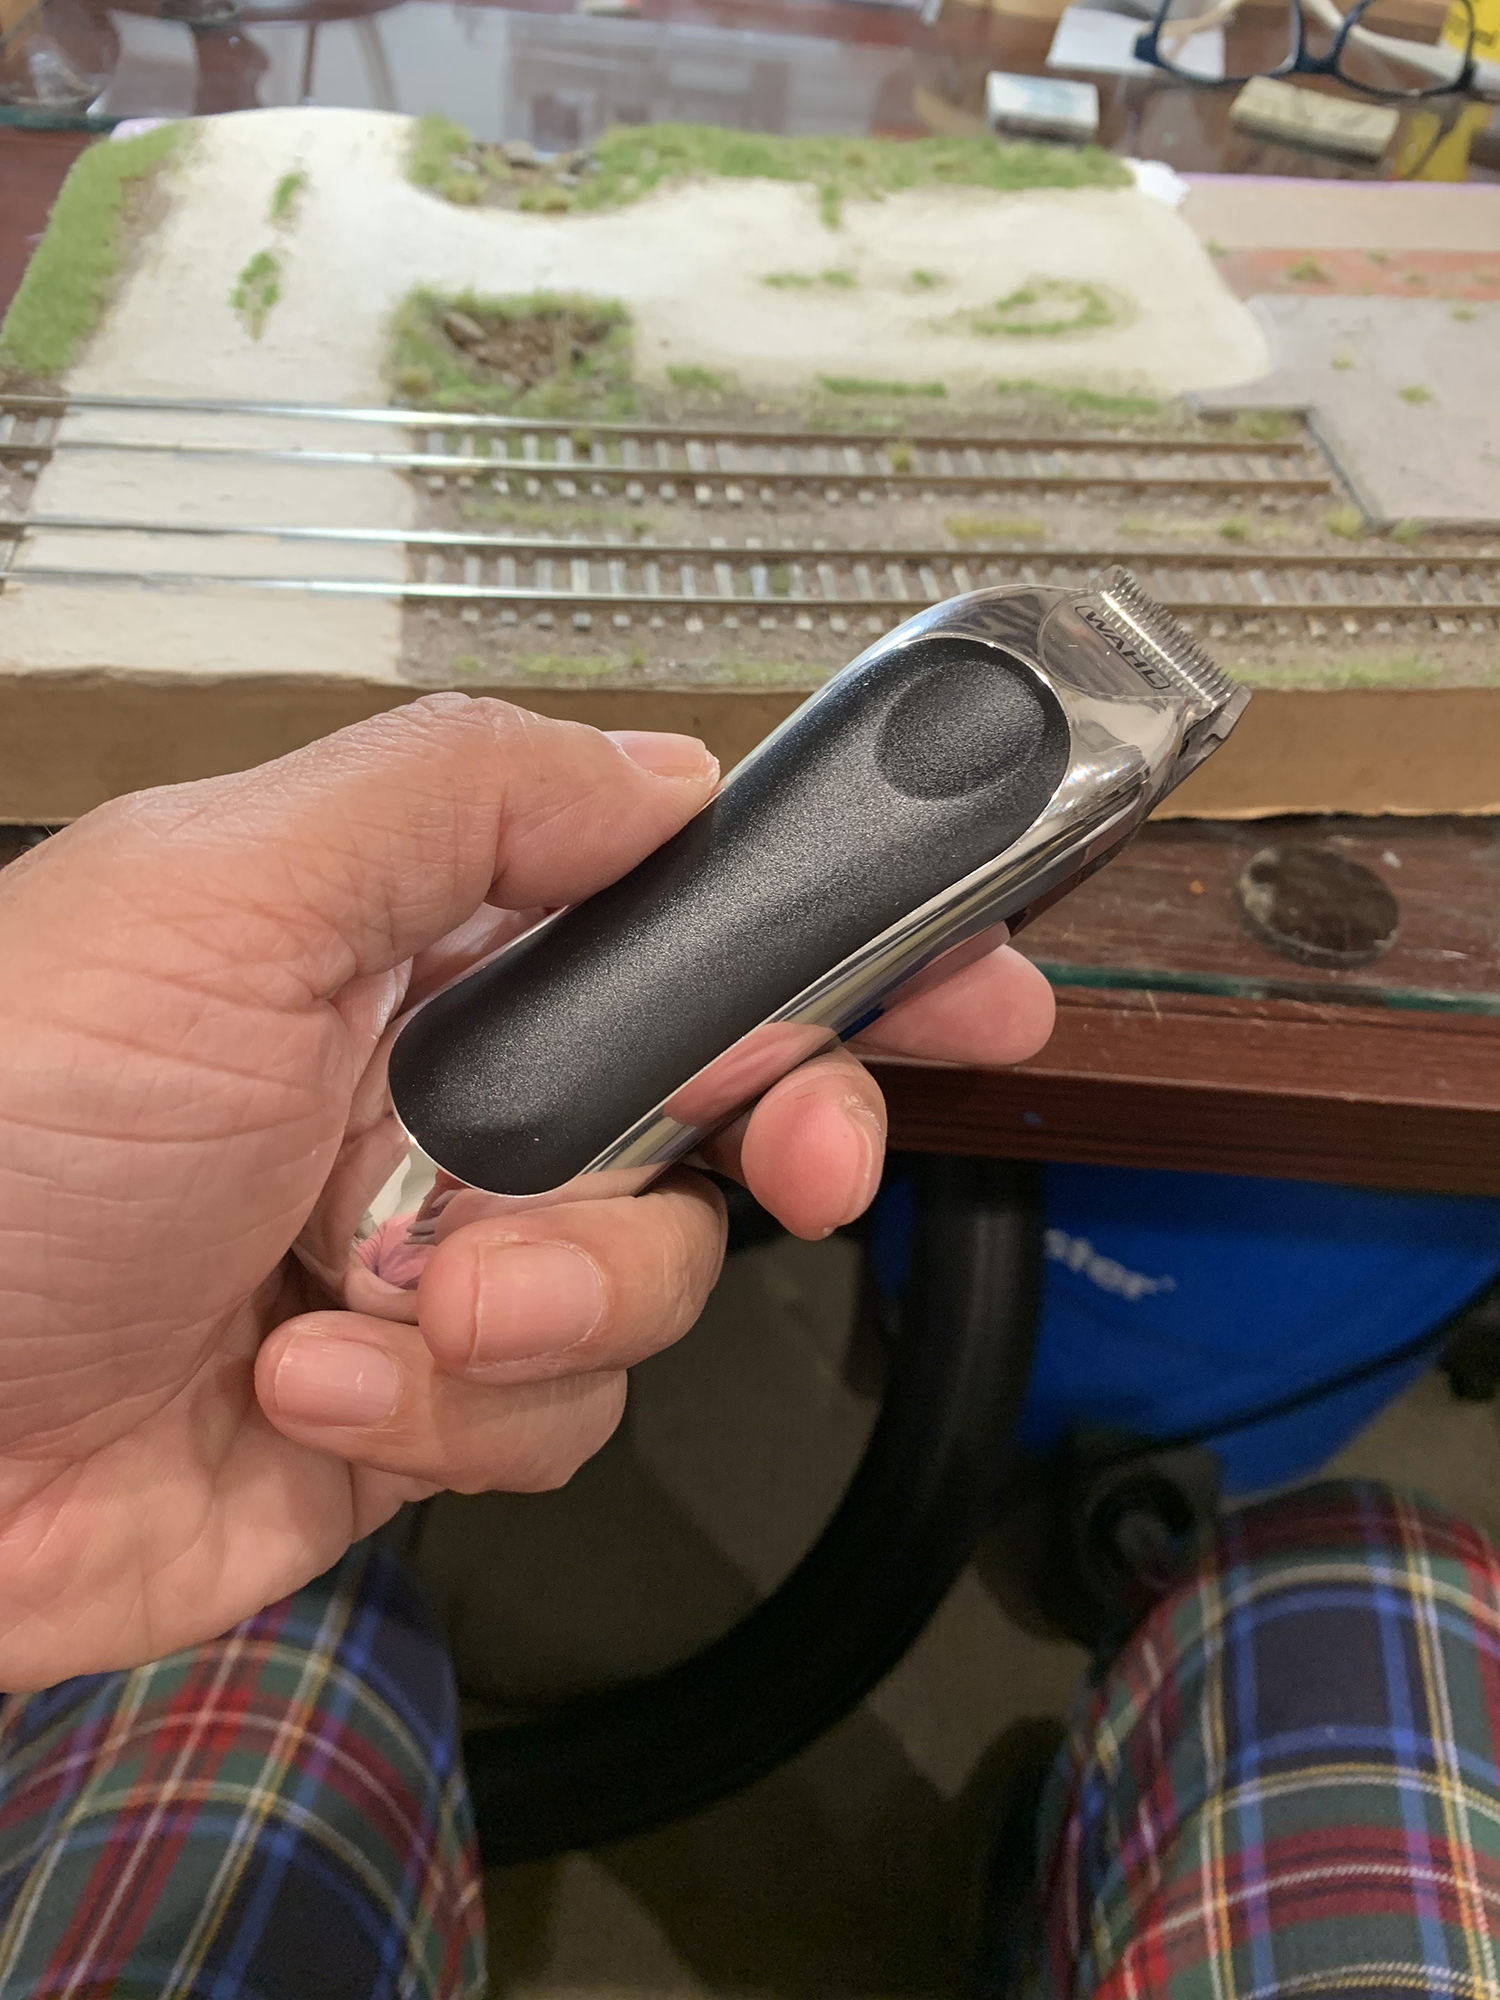
Grass cutting tools
Some of the issues I have with static grass are that you don’t have fine control over the density, shape and height of the post-glue result. Mixing in different lengths and colors will only get you so far. On the Trestle diorama I found the grass to be too tall and messy and made a mental note to find a way to cut and shape grass. At the time I called it ‘giving the grass a haircut’. That was the clue to finding adequate tools to help me control the use of static grass. The tools I settled on were:
1. Eyebrow scissors: https://www.amazon.com/dp/B08ZDM4L9Z/
2. Mini hair clippers: https://www.amazon.com/dp/B001S4GMV8
3. Nose hair clippers: https://www.amazon.com/dp/B003S4XC2I
Using these tools was able to shape static grass in any way I wanted. The electric tools were especially useful as I they were easily able to cut single hairs down – grass that was sticking out sideways for example. I was able to cut grass down to below 2mm (as can be seen on the parting area)
Nose hair clippers great for cutting single strandsMini hair clippers:
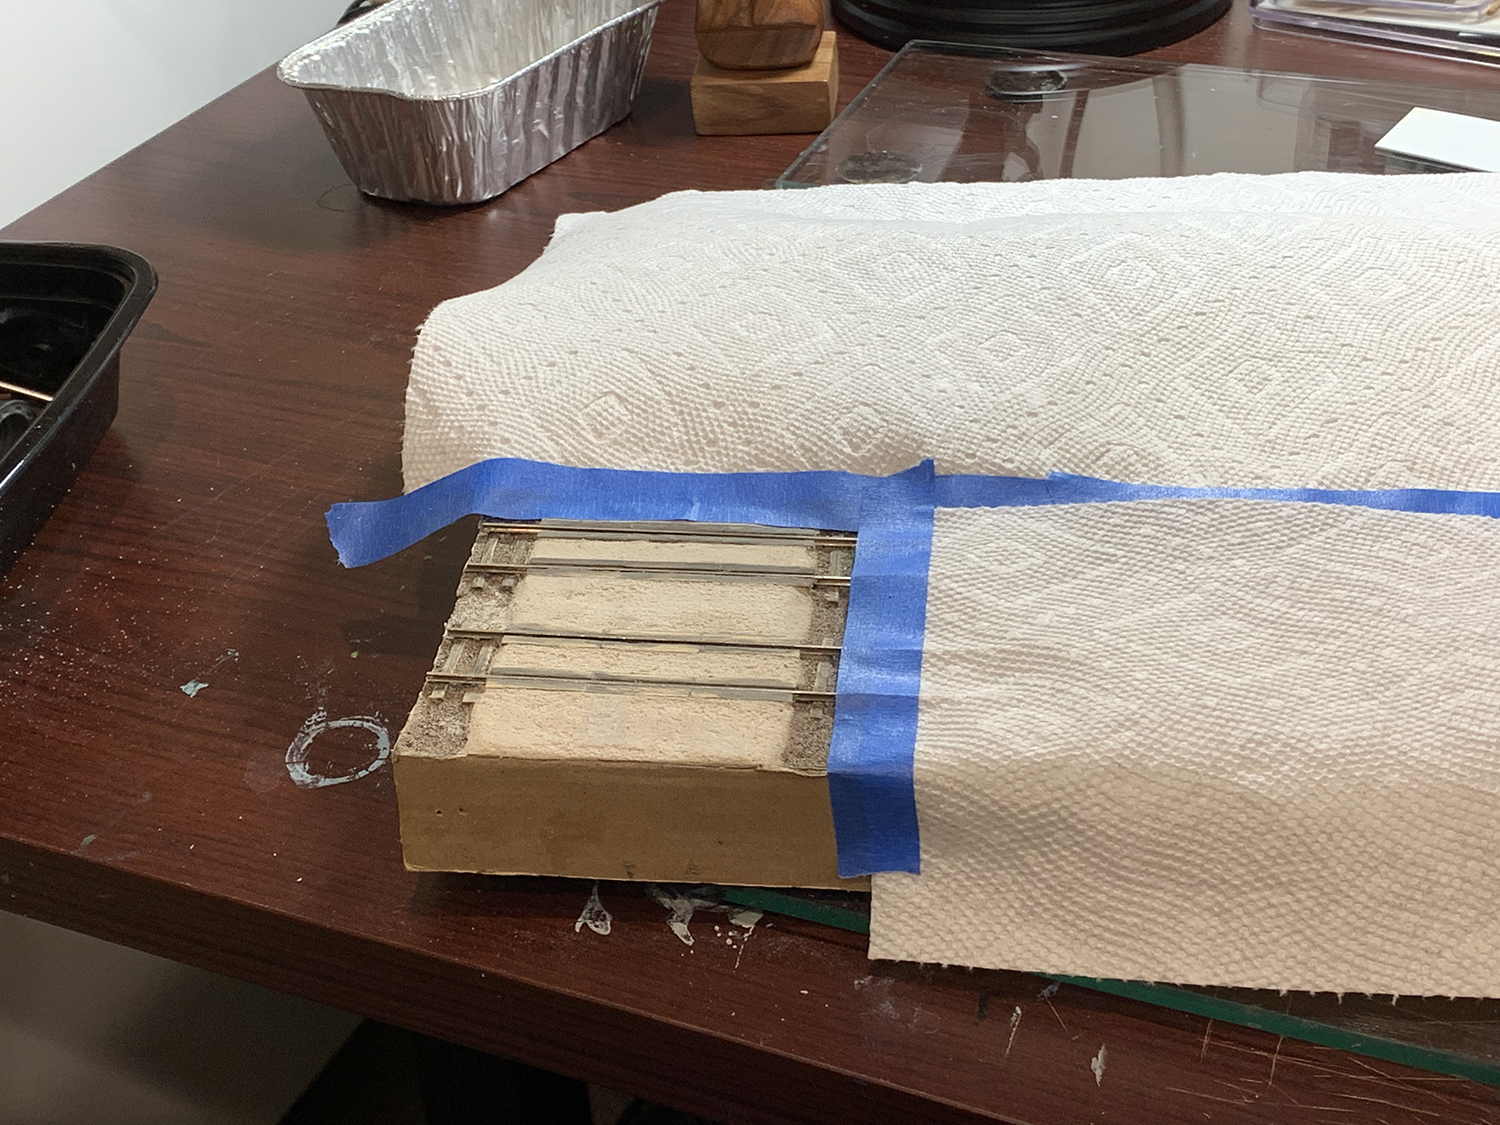
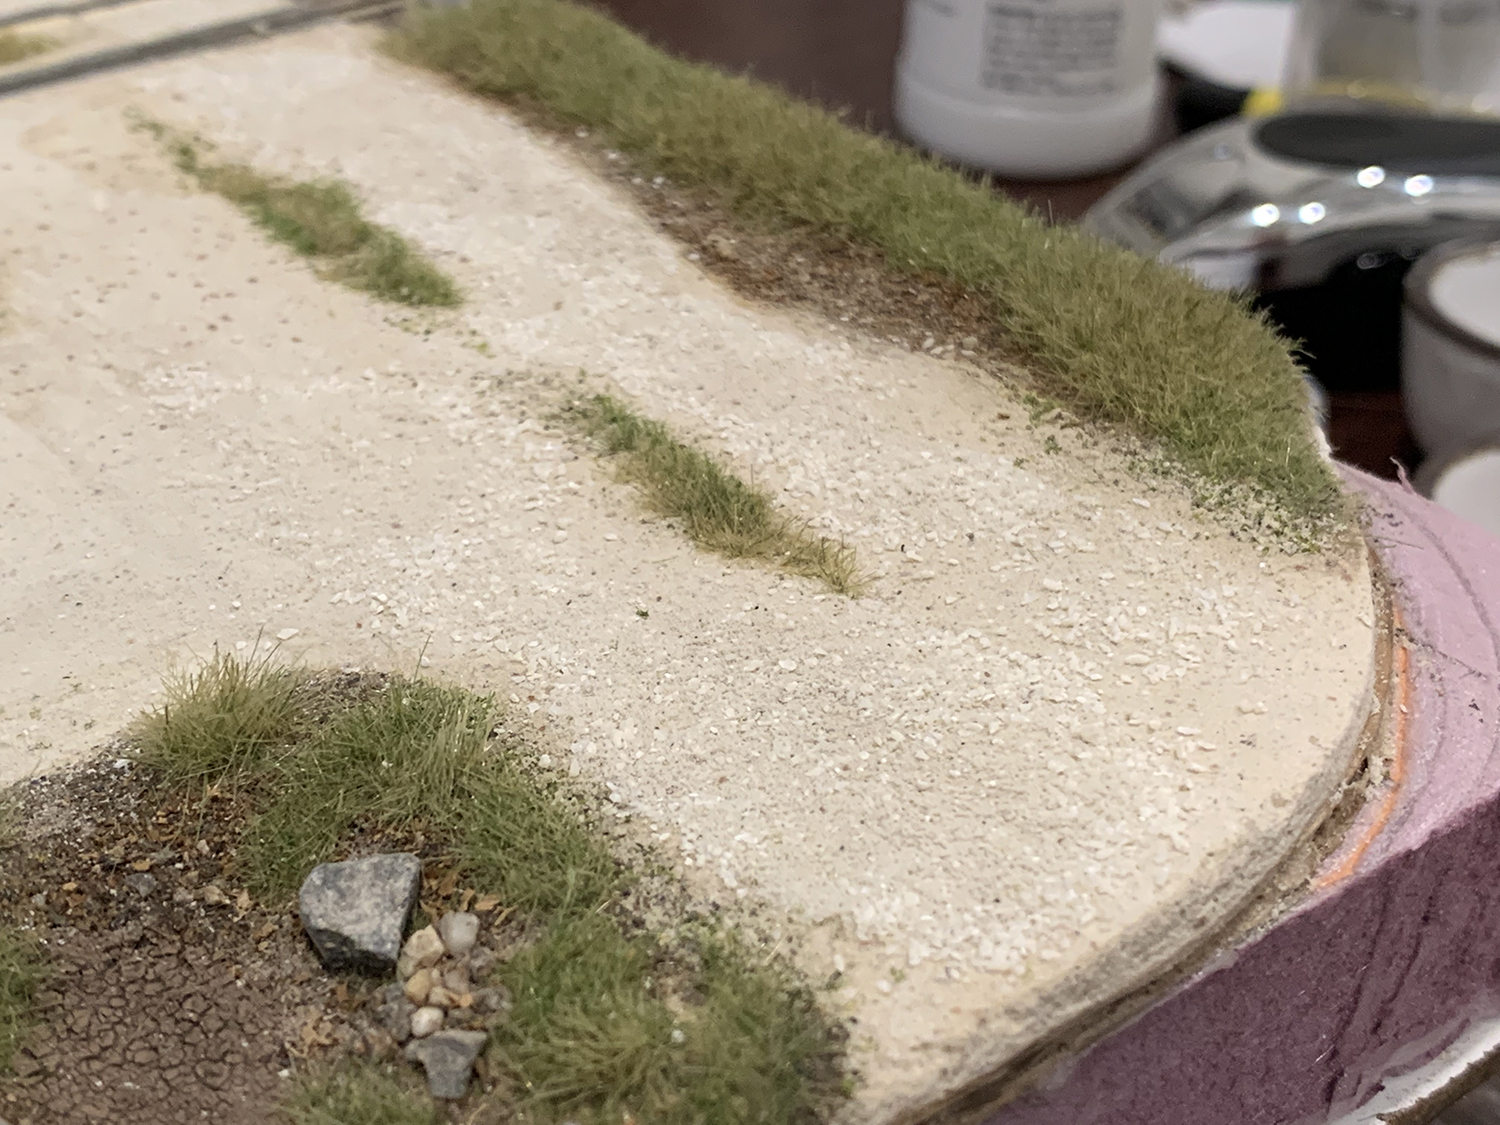
Road Surface
I wanted to bring out more texture in the road and decided it was time to add a layer of gravel. It took a couple of attempts. The problem is that my collection of white stones is translucent and this caused an unrealistic glowing effect when I ground the stones down. I eventually found a stone that was flat matte white and that produced a very nice effect on the road once glued down.
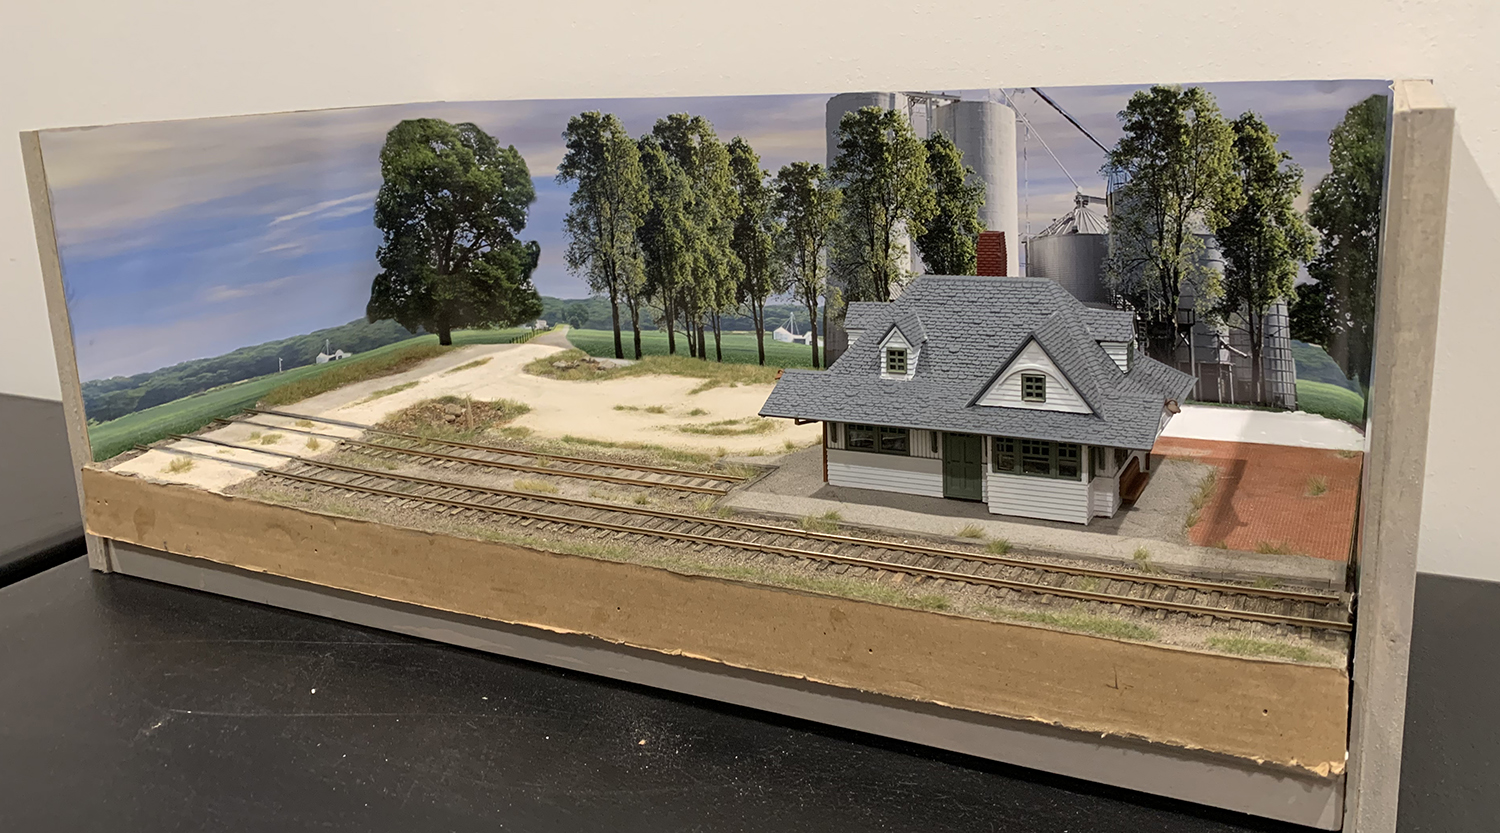
I did a quick test on my test piece to make sure I was heading in the right direction. I also wanted to see what size stones I would need. When I ground down my white stones I filtered the results into four grades. The final two grades worked best and were a realistic and prototypical size.My first attempt actually looked pretty good. I needed to remove some of the gravel and generally blend things a little better. What you cannot see however is the translucent effect which eventually led me to try again.After gluing down and before removing much of the gravel you can see the translucent effect of the stones. The translucence was quite jarring and led me to remove most of the gravel and start again. I eventually found a matte white stone to create my gravel from.Looking much better. This gravel was made from a matte white mixed with a touch of dirt and some of the dried mix that I made the road from. It brought out the texture of the road surface. I still need to do a round of tidying up – stones need removing from the grass and the edges of the road need a bit more blending but this is as good a starting point as I am going to get.Just a quick view of the diorama as it stand. It looks a little bare right now but that will change once I start adding details such as fencing, crossbucks, etc. I will also have to adjust the color of the grass to match the backdrop (or visa versa) but so far I’m pleased with the way things are turning out.