Track Studies 2 – Raw materials

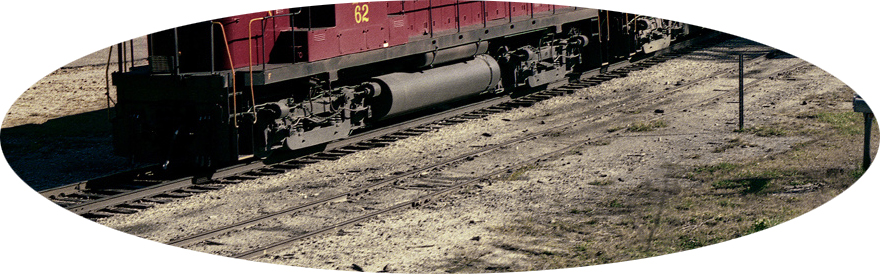
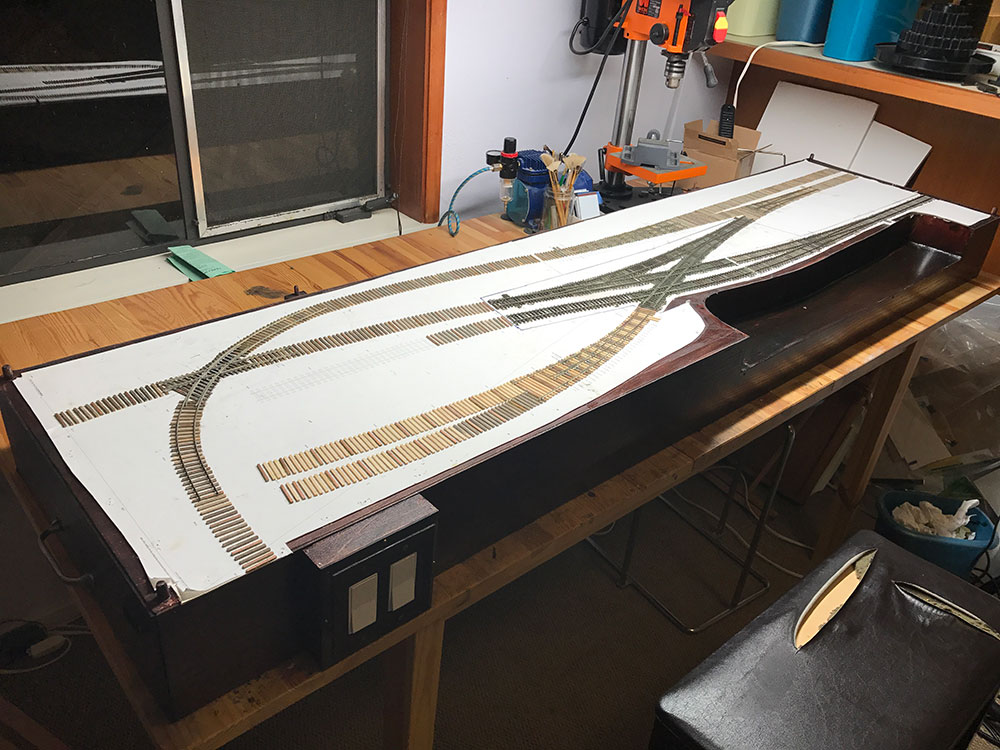
I wanted to model track vignettes – little scenes where I could explore the rapid changes that occur from tie to tie. Three ties may be split or moved over to an angle, others may have been splintered. Dust may have stained a few more and vegetation might have spread across another group. I wanted to model all these effects.

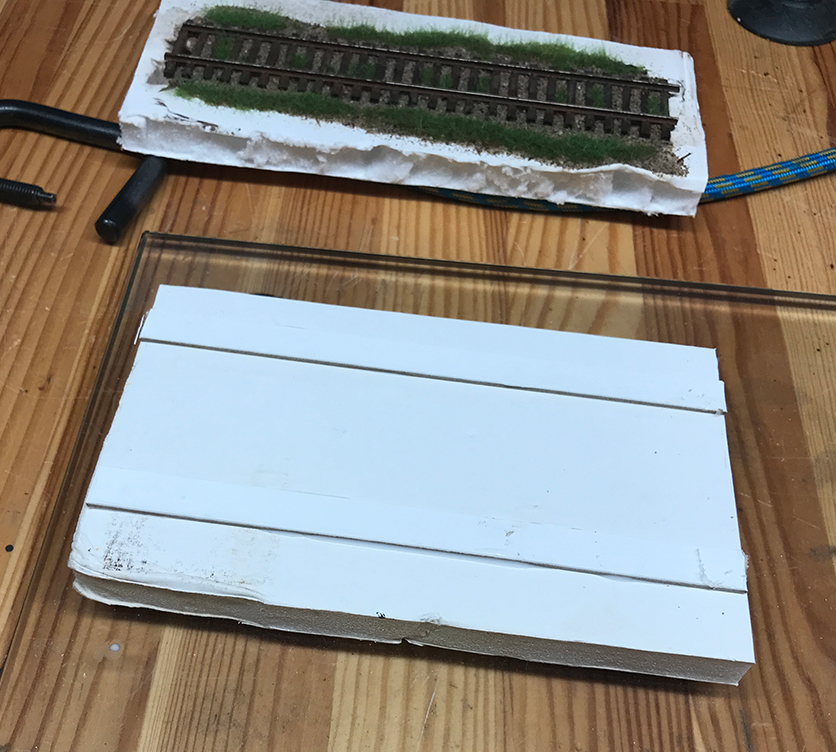
I built series of small testing platforms in order to work on short stretches of track. They were made of foam board and no other support. Once glue goes down on these boards they can warp but these pieces are so small (5.5 inches by 3 inches) that any warping was not noticeable.

Continue reading “Track Studies 2 – Raw materials”

Track Studies 1

I’m about to start working on The Town this upcoming week but before that I wanted to share some results of recent studies. Every now and then I try to get away from the layout to test out new ideas, to work with new materials and generally get experience in different areas of the hobby. As such I spent the last few weeks working in an area of the hobby that fascinates me the most: trackwork.

I’ve always been fascinated by trackwork – nicely eased passenger track, the complex arrangement of track around a station entrance, the spread of yard track, rickety old branch-line or short-line track; even abandoned track. I like the technical aspect of trackwork – how the components of a turnout fit together and how different weights of rail are used in different situations. But mostly I focus on the aesthetics of track and how the environment over the years affects its look and condition and how the look of the track affects the overall railway scene.

A stretch of track just covered in dirt and dust. No ballast to be seen at all. Also look closely and you can see so much variety and change that the effects of weather, time, and wear and tear have had on this stretch.

Continue reading “Track Studies 1”

DC Wiring Part 2 – Powering the track continued

Well I finally finished the wiring to power all the track. The two separate sections (the branch line and the traction freight line) are controlled from their own SPST switches. The crossovers required a little thought and in the end I came up with a couple of schemes to wire them up. I created a third bus not connected to either of the other two sections. The crossovers will always be on and are directly connected to the throttle. In order to control the frog poles I connected them to a DPDT switch and simply flip the switch to power the correct frogs for either direction.

This diagram demonstrates the general idea of how the crossovers are powered. I used just one DPDT switch to power all three crossovers.

Continue reading “DC Wiring Part 2 – Powering the track continued”

DC Wiring Part 1 – Lay track and isolate sections – Crossovers

Back to the project afer a short break. I continued to lay missing sections which I then isolated followed by the turnouts and finally the crossovers.

The nice thing about working on small modules is the ability to turn them around and work on them from the back. It allows me to get in very close. This will be particularly important when detailing the track bed. Here I have turned the module so that I could work on the back side.

Continue reading “DC Wiring Part 1 – Lay track and isolate sections – Crossovers”

DC Wiring Part 1 – Lay track and isolate sections

Now that the control panel has been designed and fitted I have begun the wiring. The steps are basically:

  1. Lay missing sections of track.
  2. Isolate rails .
  3. Connect sections to the control panel.
  4. Wire up the crossovers and connect them to the control panel.
  5. Add the turnout motors and connect them to the control panel.
  6. Add three docks to the exit points for the removable cassettes.
I had previously left several sections to be laid with rail while I focused on the turnouts and the crossovers. I have begun to lay those sections. It sometimes has meant removing rail and adding new ties but the goal is to lay the rail in complete and isolated sections wherever possible. The various tracks that will comprise a single wiring section will be powered by a single bus connected to an on/off (SPST) switch.

Continue reading “DC Wiring Part 1 – Lay track and isolate sections”

Back to the Town

I’m very excited about getting back to The Town project now that the diorama is finished. I’ve been mulling over next steps: should I start on some structures or shall I finish the track-laying and powering up? I’ve decided to finish track-laying and the goal is to have a powered locomotive navigate the whole layout. I will also build a second cassette and the exit points and a proper control panel so that I can operate the layout in full before starting any structures.

Continue reading “Back to the Town”

Third crossover finished – or is it?

Same process as the first two crossovers – using the Tim Warris notched rails method. The only mistake/customization I made was to make the outer guard rail further from its running rail due to the extreme curve of the track. But it looks interesting and works really well. The trucks run smoothly through the crossover without any issues.

First the running rails. I decided to do the curved rails first because the rails are hard to handle on the curve. It’s best to do the fiddly work with the other rails where there is less tension.

Continue reading “Third crossover finished – or is it?”